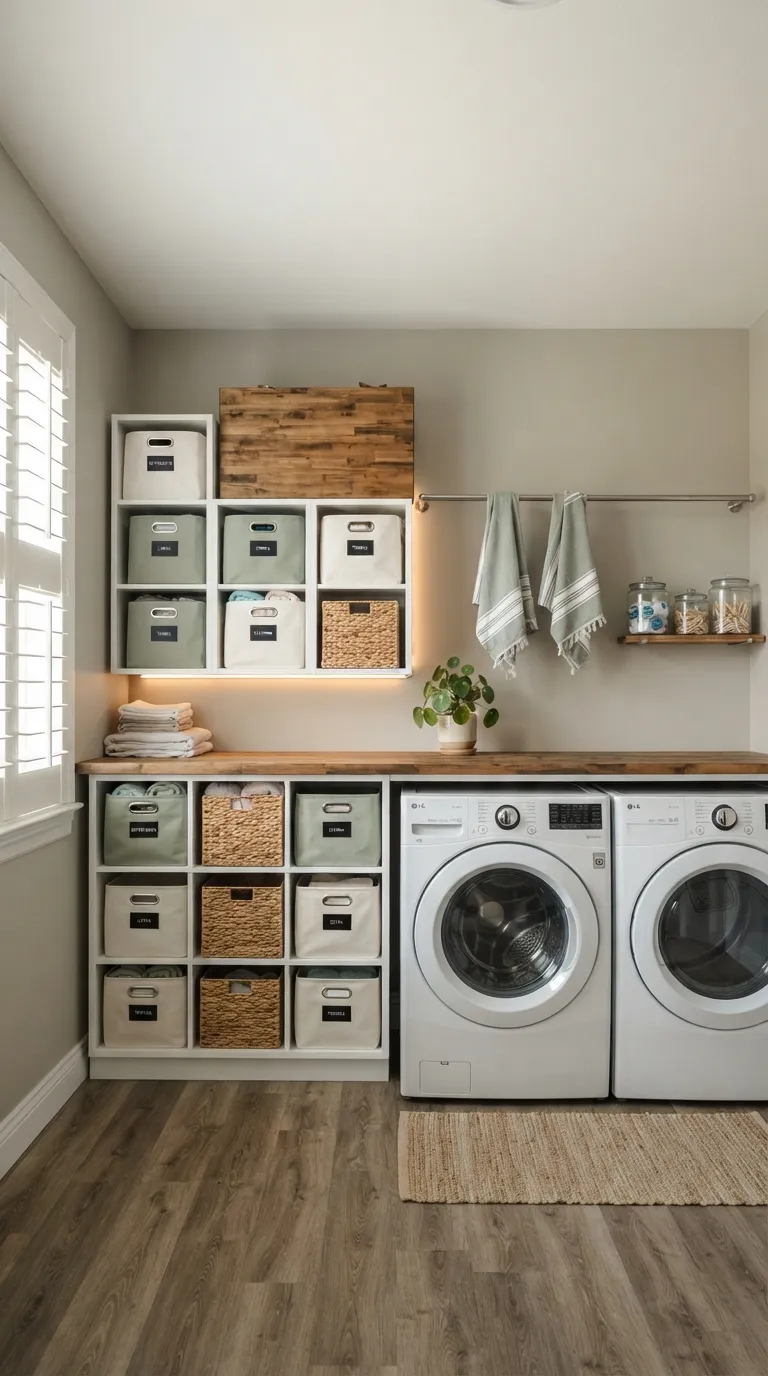
15 IKEA Kallax Laundry Room Storage Ideas That Actually Hold Up
A laundry room built around IKEA’s Kallax shelving unit turns one of the most overlooked rooms in the house into one of the most organized using a system that was originally designed for books and toys. This guide walks through 15 real, buildable Kallax laundry room storage ideas made specifically for the mess, moisture, and chaos a laundry room actually deals with.
There’s a specific kind of relief in walking past a laundry room and not flinching. Every basket has a spot. Nothing balances precariously on top of the dryer. That’s the whole point here less guessing, more grabbing.
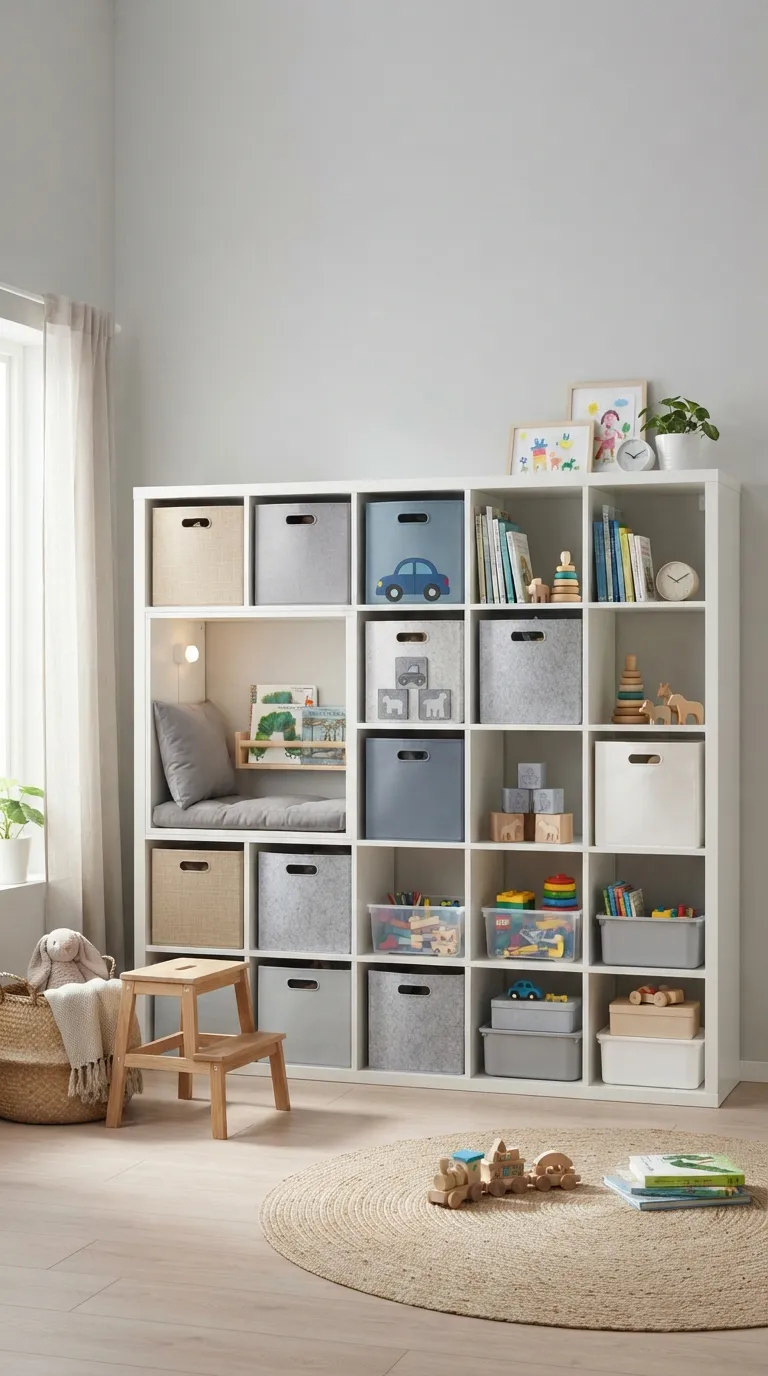
Jump To
- Why Kallax Laundry Room Storage Makes Such a Difference
- 15 IKEA Kallax Laundry Room Storage Ideas
- How to Start Your Laundry Room Transformation
- Ready to Create Your Dream Laundry Room?
Why Kallax Laundry Room Storage Makes Such a Difference
Kallax began as IKEA’s bookshelf, but its 13-inch cubbies happen to match a laundry basket almost exactly which is likely why laundry rooms adopted it in the first place. The particleboard-and-foil frame comes in white, black-brown, and a few oak-effect finishes, and it holds up fine here once the base is sealed against splashes.
Interest in it has grown alongside the mudroom-laundry combo trend, where one wall has to do the work of three rooms. In a tight laundry closet, skip the 4×4 and start with a 2×2 or 1×4 vertical beats floor footprint every time.
| Best starting point | A single 2×2 or 1×4 Kallax unit installed near the machines |
| Biggest impact area | The folding zone — a flat surface plus labeled bins beats an empty countertop |
| Budget to start | $60–$150 for one unit plus inserts |
| Time to complete | A weekend for one wall, 2–3 weekends for a full room |
15 IKEA Kallax Laundry Room Storage Ideas
1. Choose the Right Kallax Size for the Laundry Room You Actually Have
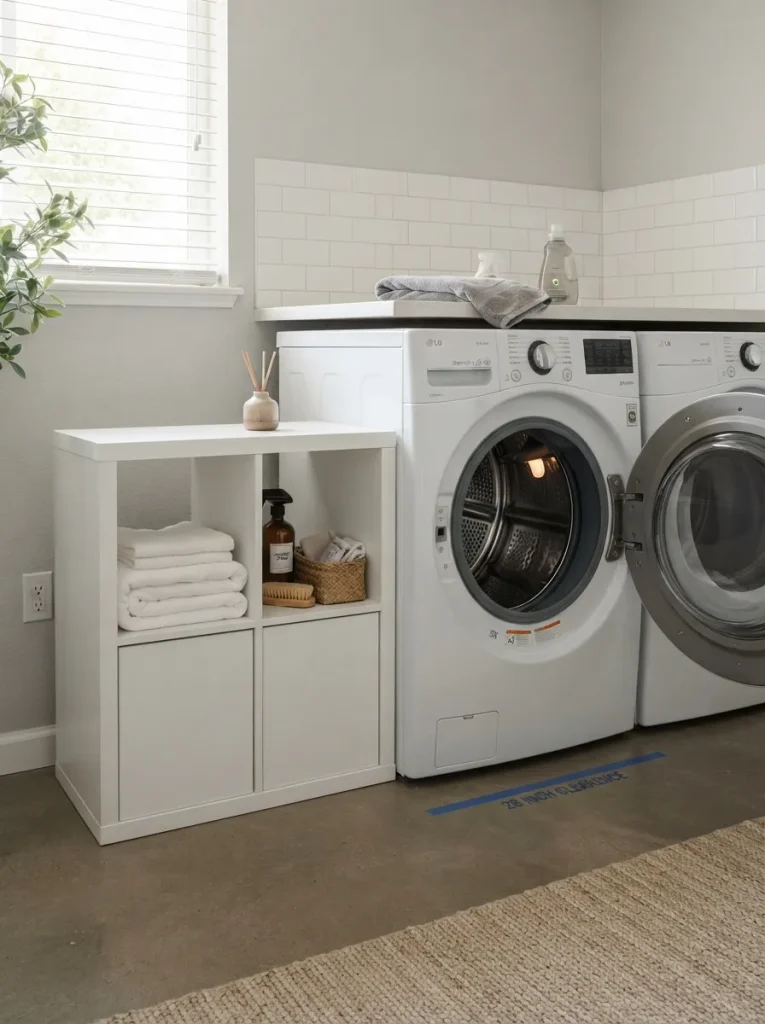
What it looks like: A single 2×2 or 1×4 Kallax column set flush against the wall beside the washer and dryer, not centered in the room.
Why it works: Cube storage only earns its keep when the cube count matches the machines it’s built around oversizing it just adds furniture to route around.
How to copy it: Tape the width and depth of a 2×2 (roughly 30×30 inches) or 1×4 (roughly 15×58 inches) directly onto the floor before ordering anything, then open both machine doors fully to confirm nothing gets blocked.
Best for: Renters and anyone converting a laundry closet rather than a full mudroom.
Pro Tip: Measure the depth of your washer and dryer’s control panel before buying a unit sitting flush against a front-load machine can block the door from opening fully.
Shop This Look
| Product |
|---|
| Anti-tip wall-anchor straps for tall furniture |
| Adjustable furniture leveling feet, set of 4 |
| Heavy-duty furniture moving dolly |
| Fabric measuring tape with room planner |
| Non-slip rubber shelf liner roll |
2. Seal the Base Before a Single Basket Touches It
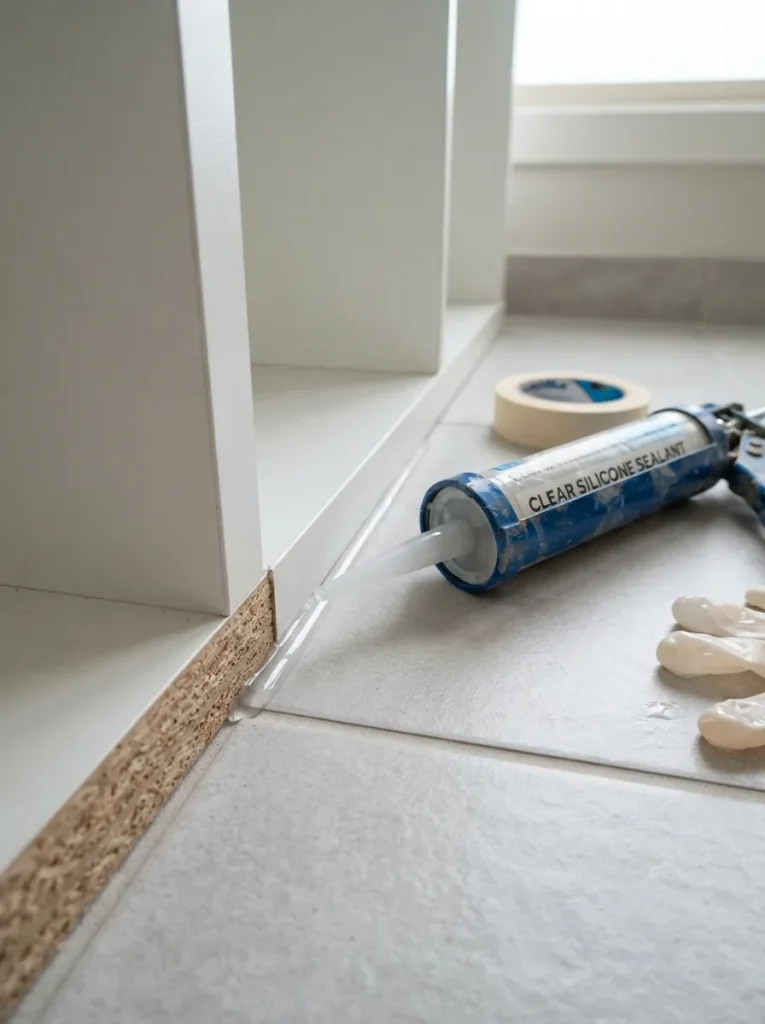
What it looks like: The same white or black-brown frame, but with a thin bead of clear silicone tracing the base and back seam before a single bin goes in.
Why it works: Particleboard swells at the seams first, not the face sealing the joints protects the structural points, not just the surface.
How to copy it: Run 100% silicone, not latex caulk, along the base-to-floor line and the back-panel seams, let it cure 24 hours, then set the unit into place.
Best for: Anyone whose laundry room shares a wall with a top-load washer or picks up condensation from the dryer vent.
Warning: Unsealed particleboard swells and delaminates fast near a washer. Skipping this step is the single most common reason a Kallax laundry setup needs full replacement in under two years.
3. Color-Code the Bins by Load, Not by Aesthetic
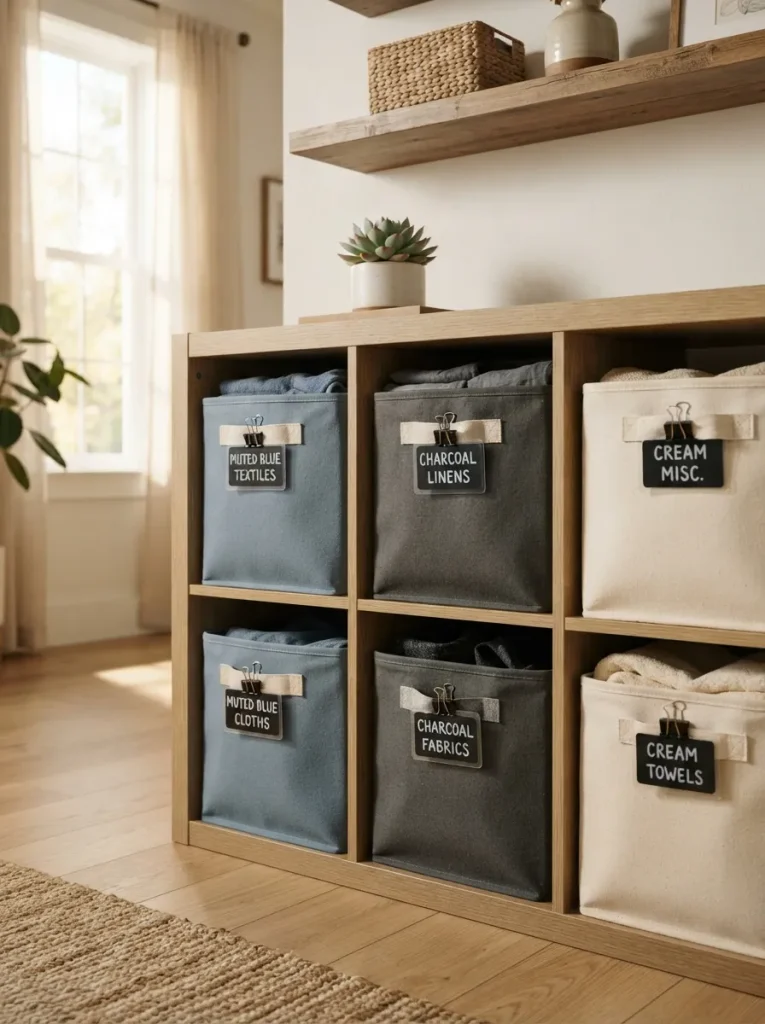
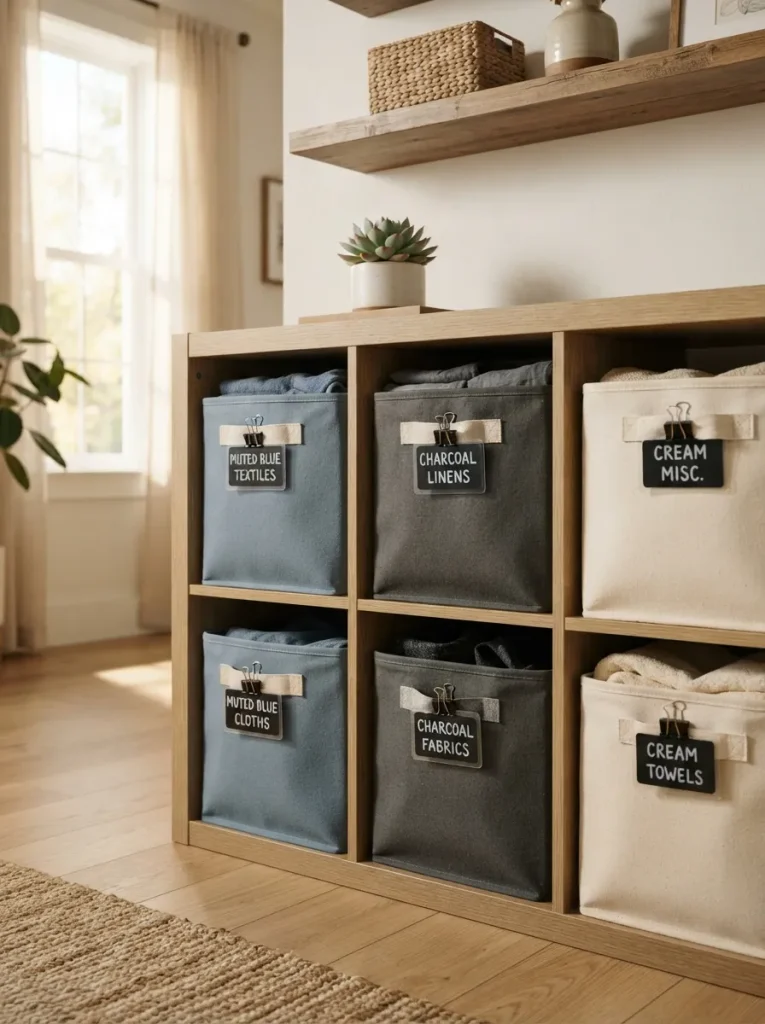
What it looks like: Six matching fabric bins, each labeled by load type darks, whites, delicates, towels instead of by room or family member.
Why it works: Sorting by load type cuts the number of decisions at wash time down to almost zero, which is the actual bottleneck in most laundry routines.
How to copy it: Use canvas or felt bins sized to about 12.75 inches so they slide into the cube without gapping, and clip a laminated label to the handle rather than the bin face.
Best for: Households doing laundry for more than two people, or anyone applying the same closet organization logic elsewhere in the house.
Quick Win: Zip-tie a small laminated label to each bin’s handle instead of buying a label maker it survives wash-day chaos better than an adhesive sticker does.
Shop This Look
| Product |
|---|
| Color-coded fabric storage bins, cube-size, set of 6 |
| Waterproof laundry sorting bin labels |
| Collapsible fabric hamper with handles |
| Cube-fit mesh laundry bins |
| Removable label clips for storage bins |
Up next: the one material choice that decides whether this whole setup survives past year two.
4. Keep the Unit White and Let the Wall Carry the Color
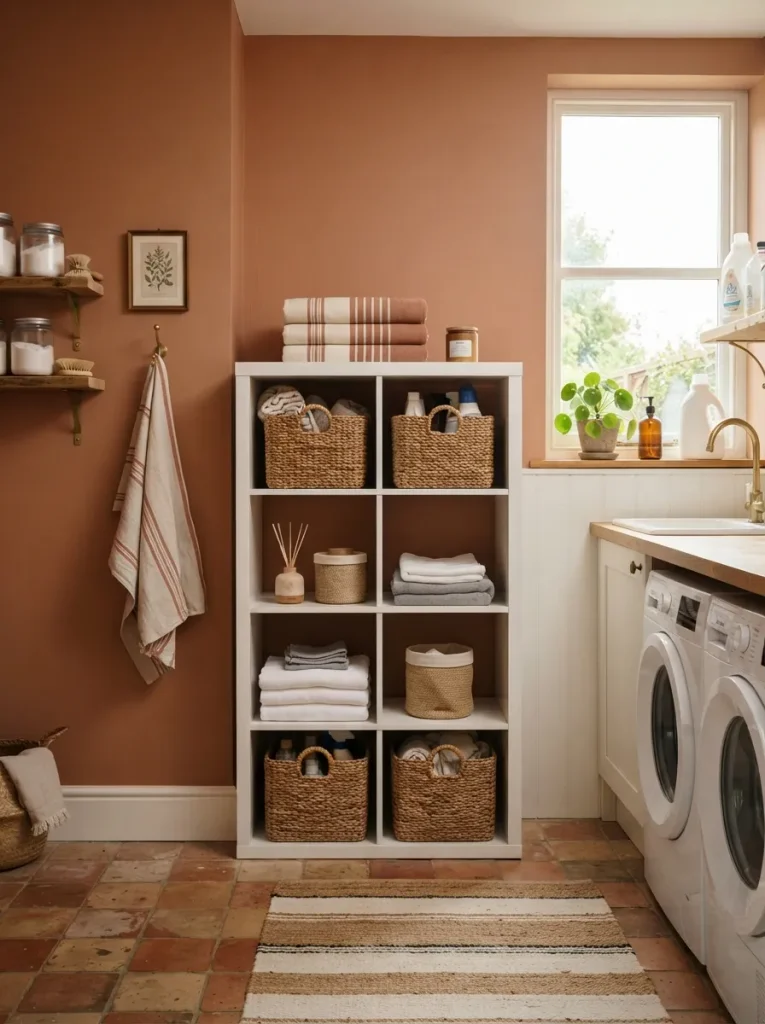
What it looks like: The Kallax stays factory white, and the wall behind it carries a mid-tone color like clay or sage instead of matching white.
Why it works: A mid-tone wall hides incidental splash and dust in a way bright white can’t, and it gives the white frame contrast to read against instead of disappearing into the wall.
How to copy it: Paint just the wall section behind the unit a warm greige or dusty sage in an eggshell finish wipes clean easier than flat paint, and pairs naturally with a broader home color palette if you’re painting more than one room.
Best for: Anyone tired of a laundry room looking dingy within a month of repainting it white.
Important: Most people assume a white cube unit needs a bright white wall behind it to look intentional. In a working laundry room, a mid-tone wall actually hides water splashes and dust better than white does.
5. Run an LED Strip Under the Top Shelf
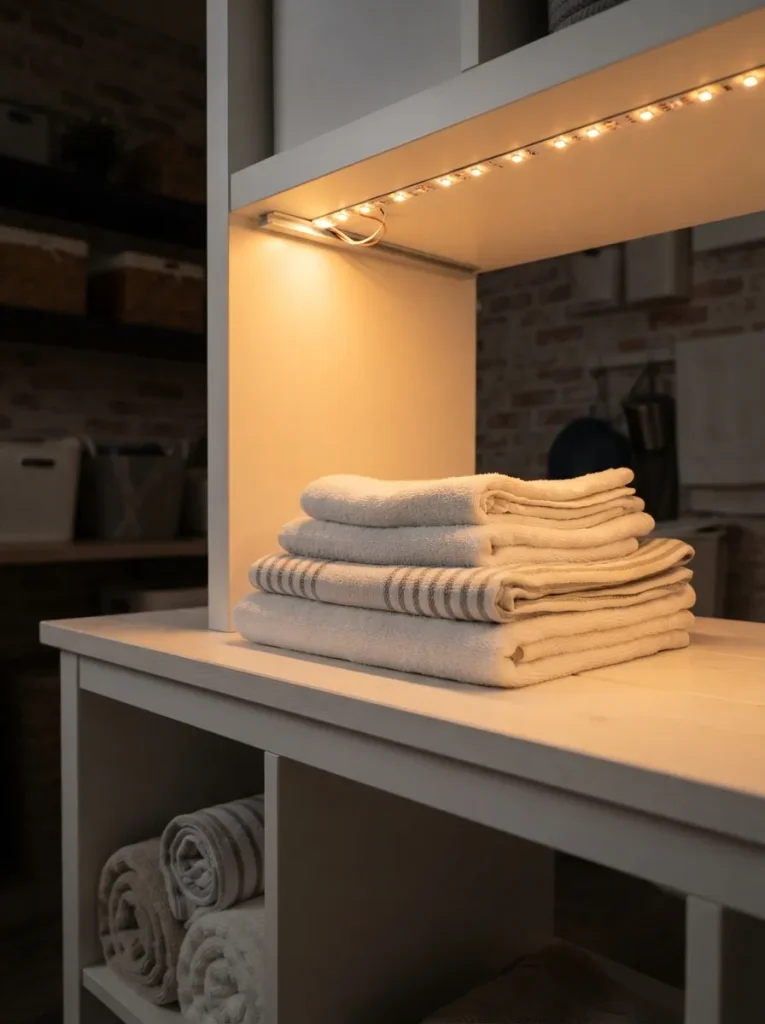
What it looks like: A slim LED strip mounted to the underside of the top shelf, aimed down at whatever counter or folding surface sits below it.
Why it works: Laundry rooms are frequently the worst-lit room in the house overhead fixtures rarely reach the corner where folding actually happens.
How to copy it: Mount a rechargeable or battery LED strip with adhesive backing to the underside edge, angled slightly forward rather than straight down, to avoid glare off a folded white sheet.
Best for: Basement or windowless laundry rooms.
Budget Version: A battery-powered LED strip with adhesive backing runs under $20 and skips wiring entirely swap the batteries twice a year instead of calling an electrician.
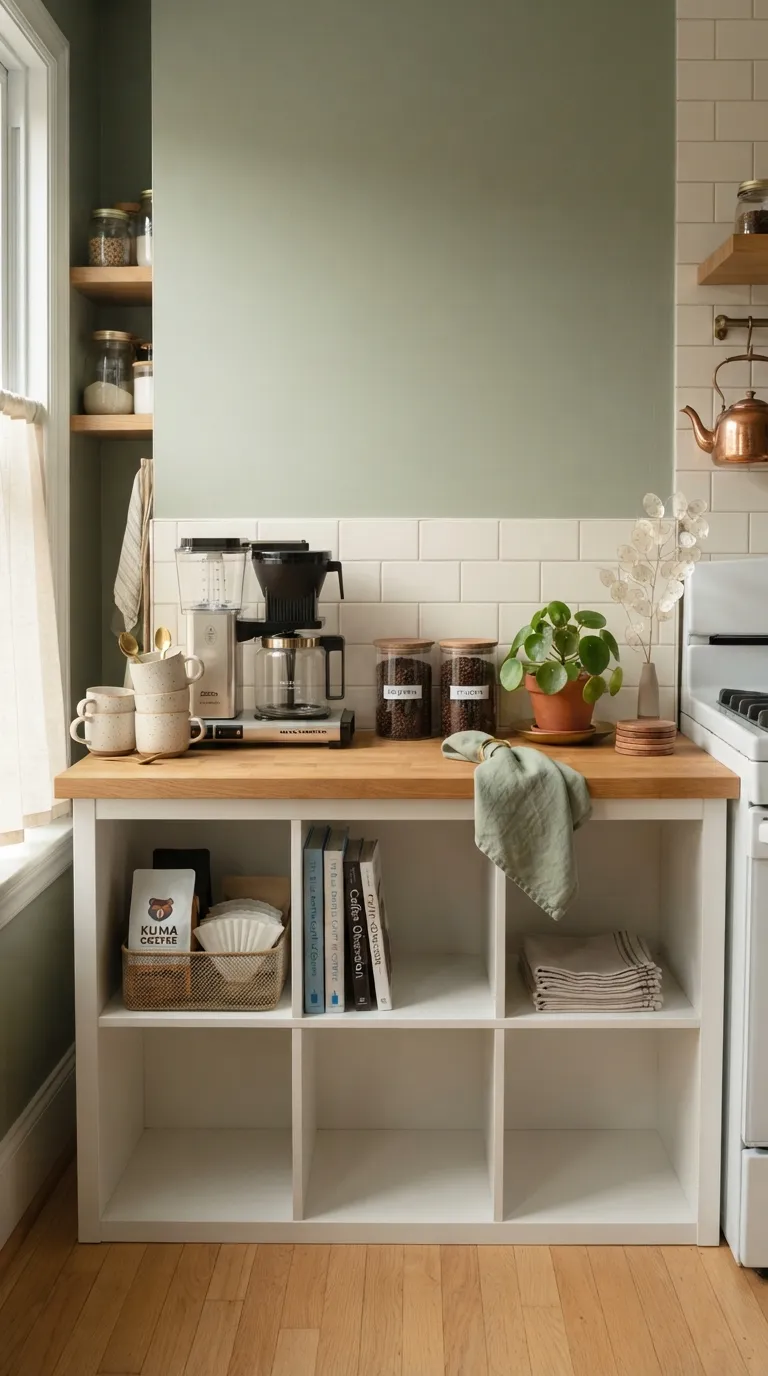
6. Top It With a Butcher-Block Slab for Real Folding Space
What it looks like: A single slab of butcher block laid across the top of two side-by-side Kallax units, creating one continuous folding counter.
Why it works: A flat, stable surface at counter height solves the single biggest complaint about laundry rooms nowhere flat to fold or sort.
How to copy it: Use a 1.5-inch unfinished butcher block slab, seal it with food-safe mineral oil, and anchor it to the cube frames with L-brackets from underneath.
Best for: Anyone running two or more Kallax units side by side.
Pro Tip: Let the butcher block’s front edge overhang the frame by about an inch it gives you a lip to catch spilled detergent instead of letting it run down the cube faces.
Shop This Look
| Product |
|---|
| Unfinished butcher block countertop slab |
| Food-safe mineral oil wood finish |
| Heavy-duty L-bracket shelf supports |
| Corner clamps for wood assembly |
| Felt furniture pads for tabletop protection |
The next idea solves a problem most people don’t think about until moving day.
7. Measure the Whole Laundry Zone Before You Order a Single Kallax Cube
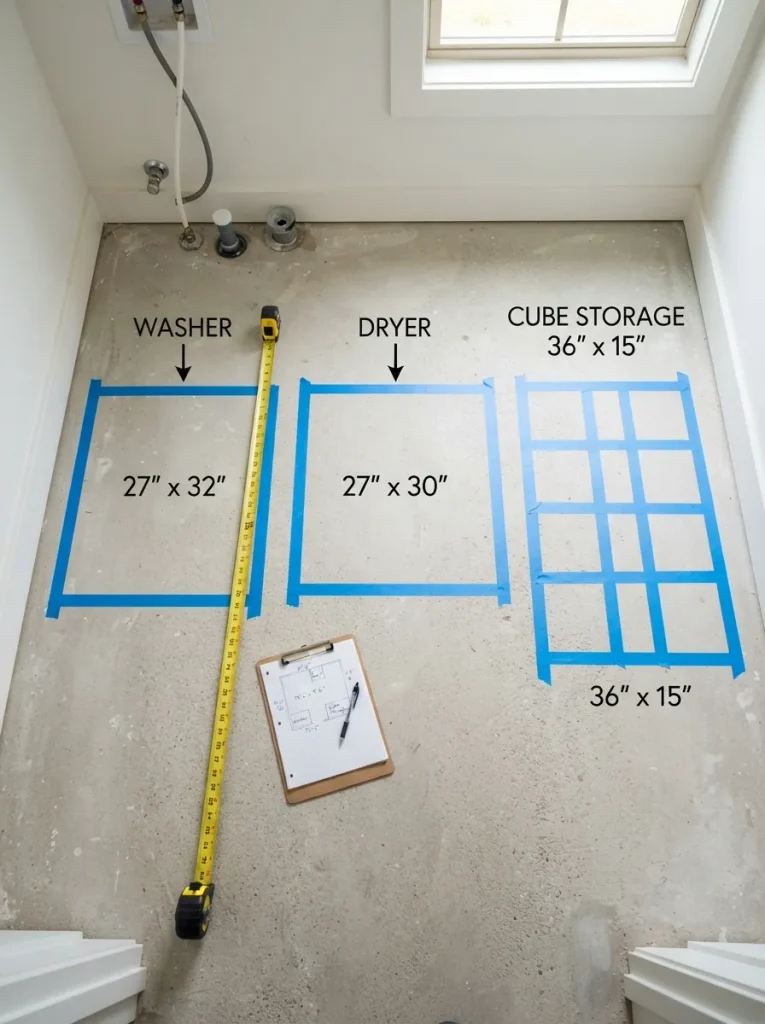
What it looks like: A taped floor outline of every machine and cube footprint, done before a single item is purchased.
Why it works: Laundry rooms are usually the smallest room in the house doing the most jobs planning the layout on the floor first prevents buying furniture that has to be returned.
How to copy it: Tape out the exact footprint of the machines and the planned unit on the floor, then walk through folding and loading motions before ordering most clearance problems show up in that walk-through, not on a tape measure.
Best for: Anyone doing a full laundry room build-out rather than adding one shelf the same planning step matters for a full closet conversion too.
✅ Before You Order a Single Cube:
- [ ] Measure washer and dryer width, height, and door swing clearance
- [ ] Measure the doorway width the unit needs to pass through during delivery
- [ ] Decide which cubbies need backs versus open shelving
- [ ] Count how many bins or baskets the household actually uses each week
- [ ] Mark outlet and vent locations so the unit doesn’t block either
8. Swap Half the Bins for Closed Wicker Baskets
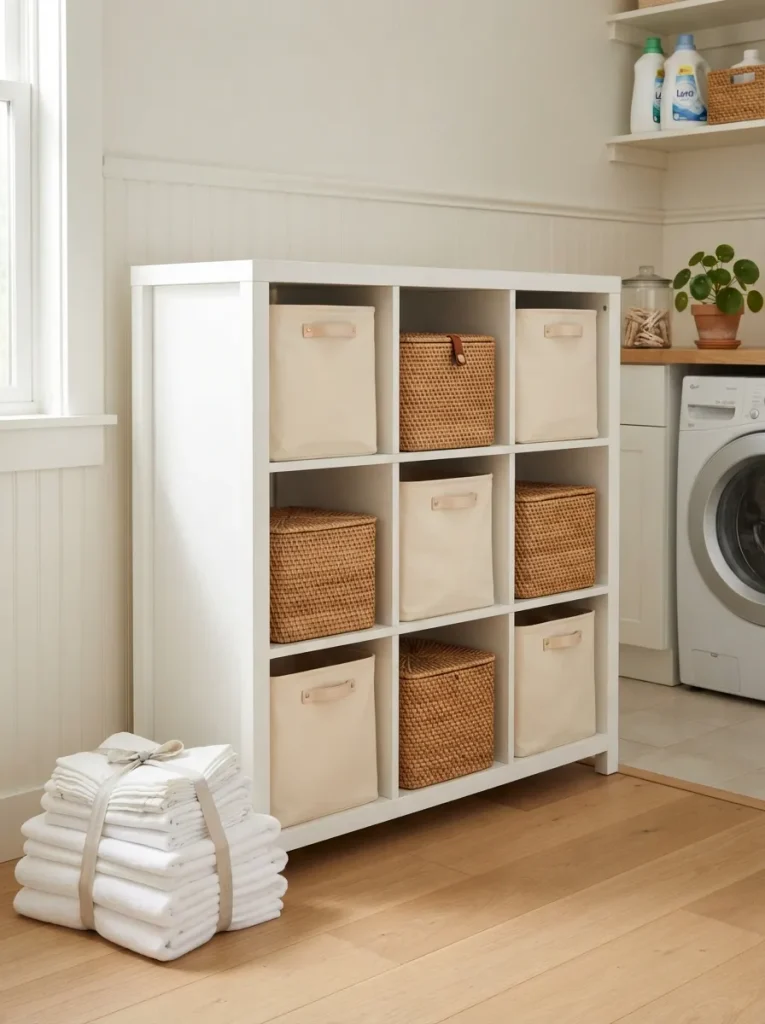
What it looks like: Half the open cube bins swapped for closed wicker or rattan baskets with lids, reserved for bulk and seasonal items.
Why it works: Open bins work fine for daily-use items, but they make a room look cluttered fast when they’re holding things used once a month.
How to copy it: Use wicker baskets sized to the 13-inch cube for detergent refills, seasonal linens, or cleaning supplies, and keep the open fabric bins for anything touched weekly.
Best for: Anyone whose laundry room doubles as a pantry or supply closet.
Mistake to Avoid: Don’t put your most-used items stain remover, dryer sheets in the closed baskets. Reserve those for the stuff you grab once a month, not once a day.
9. Stack a Single Column Instead of Going Wide
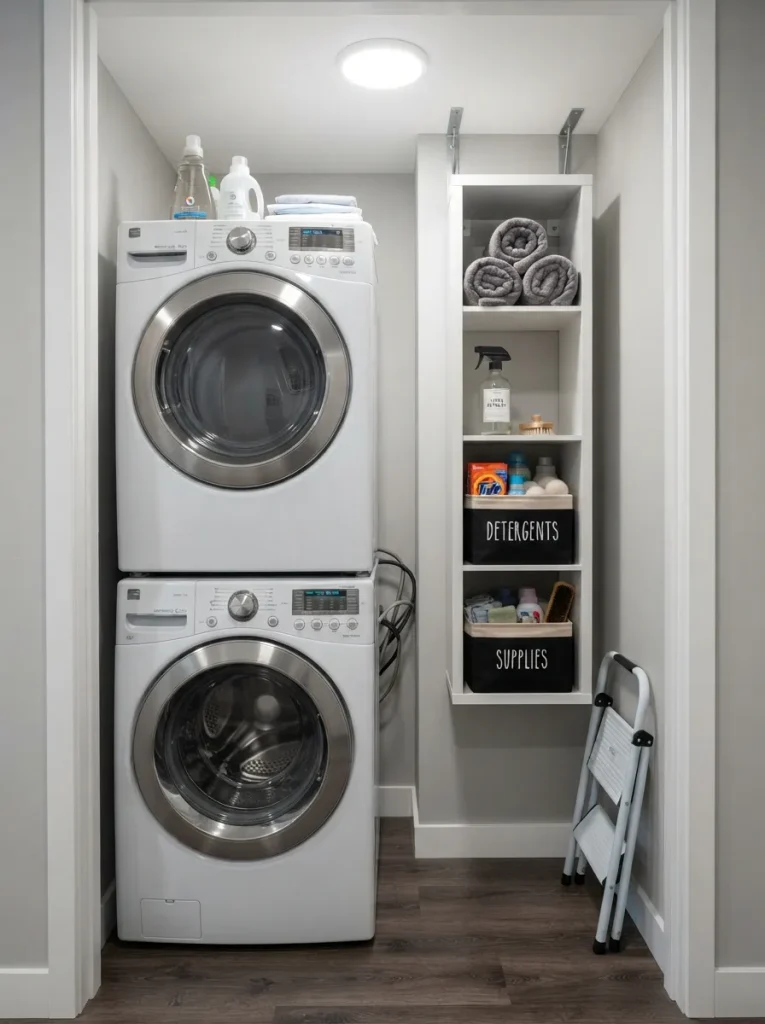
What it looks like: A single 1×4 Kallax column mounted vertically in a laundry closet under three feet wide, instead of a wide, shallow unit.
Why it works: Vertical storage trades floor footprint for wall height, which is the only trade a genuinely small laundry closet can afford to make.
How to copy it: Anchor a 1×4 unit to wall studs, not just the floor, since a tall, narrow column carries a higher tip risk than a wide one.
Best for: Stacked-machine closets and apartment laundry nooks the same vertical-first approach shows up in small dorm room layouts too.
Important: A lot of people assume a single column needs a full 4×4 footprint to be useful. One 1×4 column mounted vertically holds nearly as much as a 2×2 while using half the floor space.
This next one is the cheapest idea on the whole list and the easiest to skip by accident.
10. Go Black-Brown Where Scuffs Are Inevitable
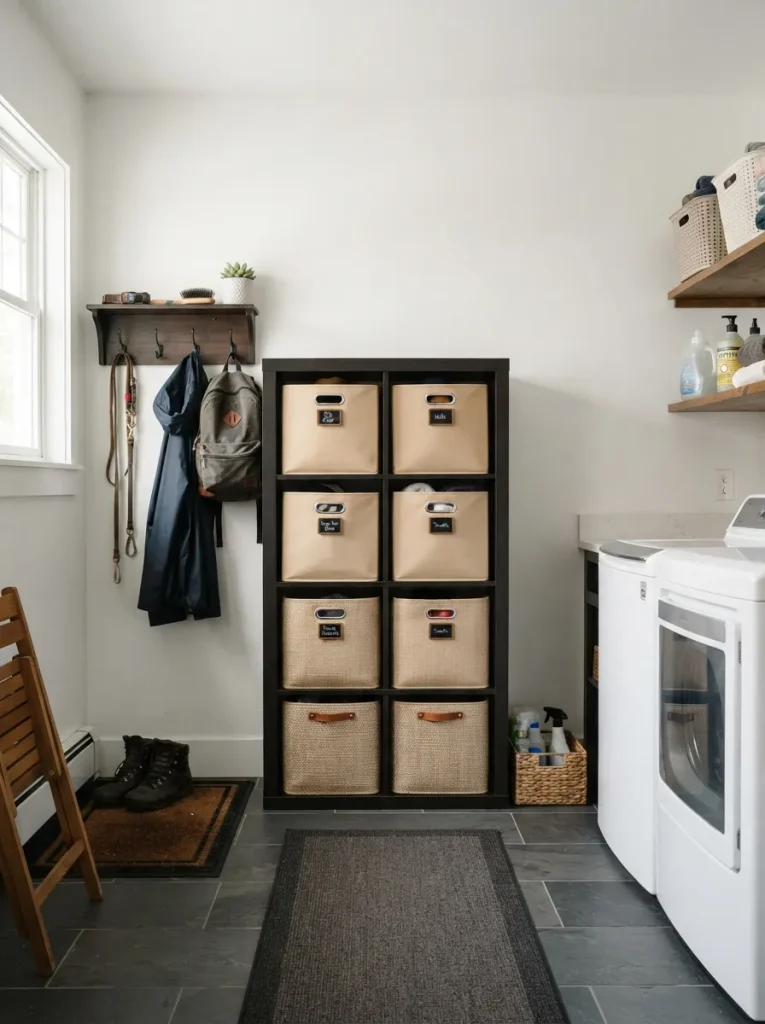
What it looks like: A black-brown Kallax frame instead of white, set against plain white walls and trim.
Why it works: Darker frames hide scuffs, drips, and dust in a way white furniture in a working laundry room simply can’t keep up with.
How to copy it: Pair the black-brown frame with light-colored bins and baskets so the storage still reads as organized rather than heavy or dark.
Best for: High-traffic laundry rooms shared with a mudroom or pet-washing station.
Styling Note: If half your unit is white and half is black-brown from an older set, don’t fight it group the dark cubes together on one end instead of alternating them. It reads as intentional zoning, not a mismatch.
11. Mount a Hanging Rod Above One Kallax Row
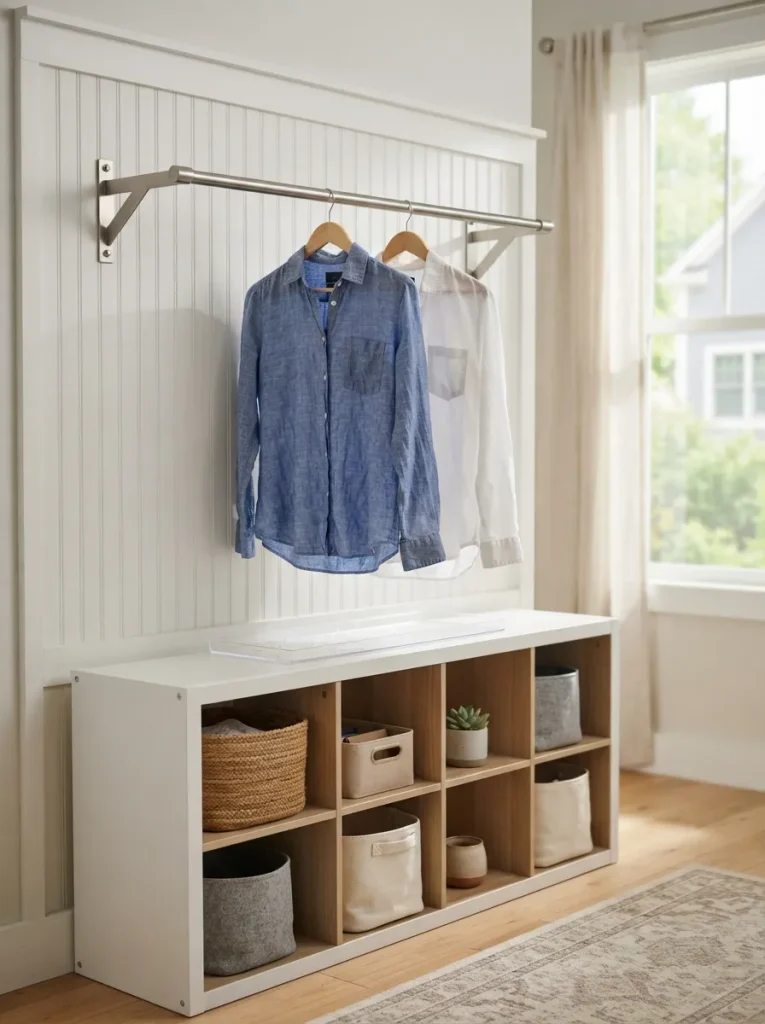
What it looks like: A wall-mounted hanging rod installed just above one row of Kallax cubes, positioned for air-drying shirts straight out of the wash.
Why it works: Air-drying delicate items needs a dedicated spot or it ends up draped over the machines themselves a rod above the storage keeps that function contained.
How to copy it: Mount the rod bracket into wall studs about four inches proud of the cube face so hangers clear the frame instead of scraping against it.
Best for: Anyone who line-dries a portion of their laundry regularly.
Pro Tip: Mount the rod with real clearance hangers need room to swing, and a flush-mounted rod means every hanger scrapes the cube edges on the way past.
Shop This Look
| Product |
|---|
| Adjustable wall-mounted closet hanging rod |
| Heavy-duty rod end brackets |
| S-hooks for hanging drying racks |
| Collapsible wall-mount drying rack |
| Non-slip velvet hangers, set of 20 |
12. Line the Backs With Cork Before Anything Gets Stored
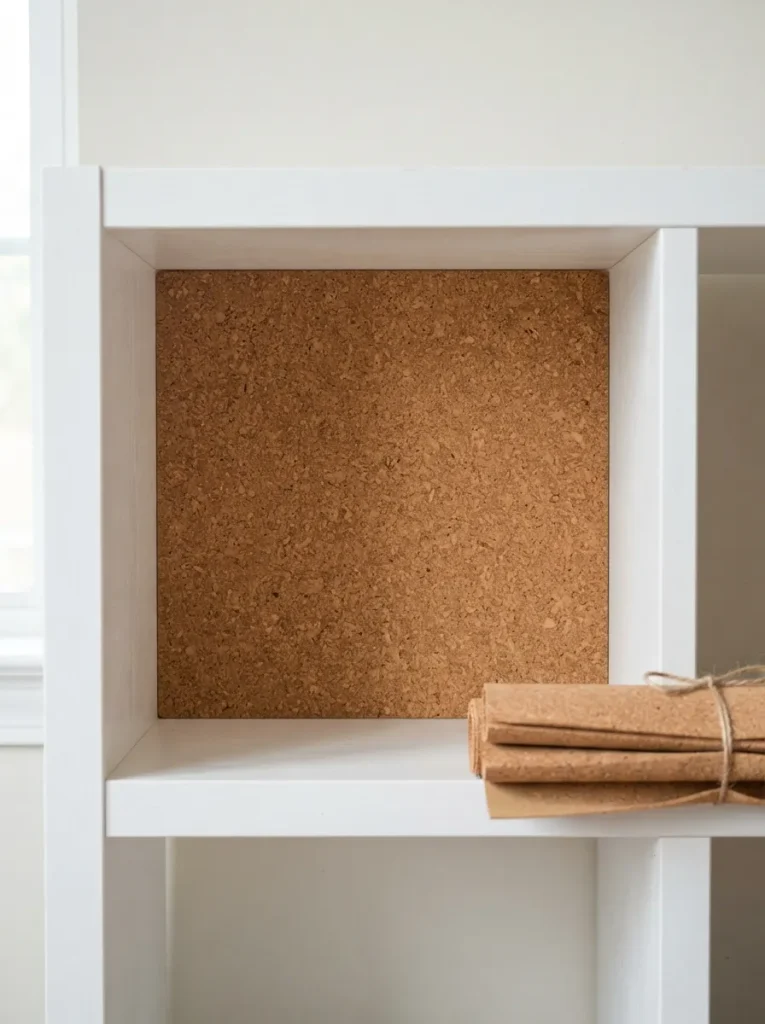
What it looks like: Thin cork sheeting lining the back panel of the cubes closest to the machines, hidden behind whatever’s stored there.
Why it works: The back panel facing the washer takes the most incidental moisture and vibration a cork liner absorbs both instead of letting the particleboard take the hit directly.
How to copy it: Cut adhesive-backed cork sheeting to size and press it directly onto the interior back panel before loading any bins in.
Best for: Laundry rooms where the unit sits directly beside a top-load washer.
Small-Space Tip: In a laundry closet under 3 feet wide, cork-line only the back panel facing the machines it’s the wall that takes the most incidental splash, and skipping the rest saves both material and cost.
MY Views:
What I’ve seen in actual laundry rooms the Kallax setups that fail aren’t the ones with the wrong bins, they’re the ones sized for a magazine photo instead of an actual hamper.
A standard oval laundry basket runs close to 24 inches at its widest point, which does not fit inside a 13-inch cube. If baskets are still sitting on the floor six months after installing the unit, the cube size was wrong from day one not the organizing system.
One more practical fix before the closing ideas this one’s for the darkest corner of the room.
13. Add Battery Puck Lights to the Darkest Cubbies
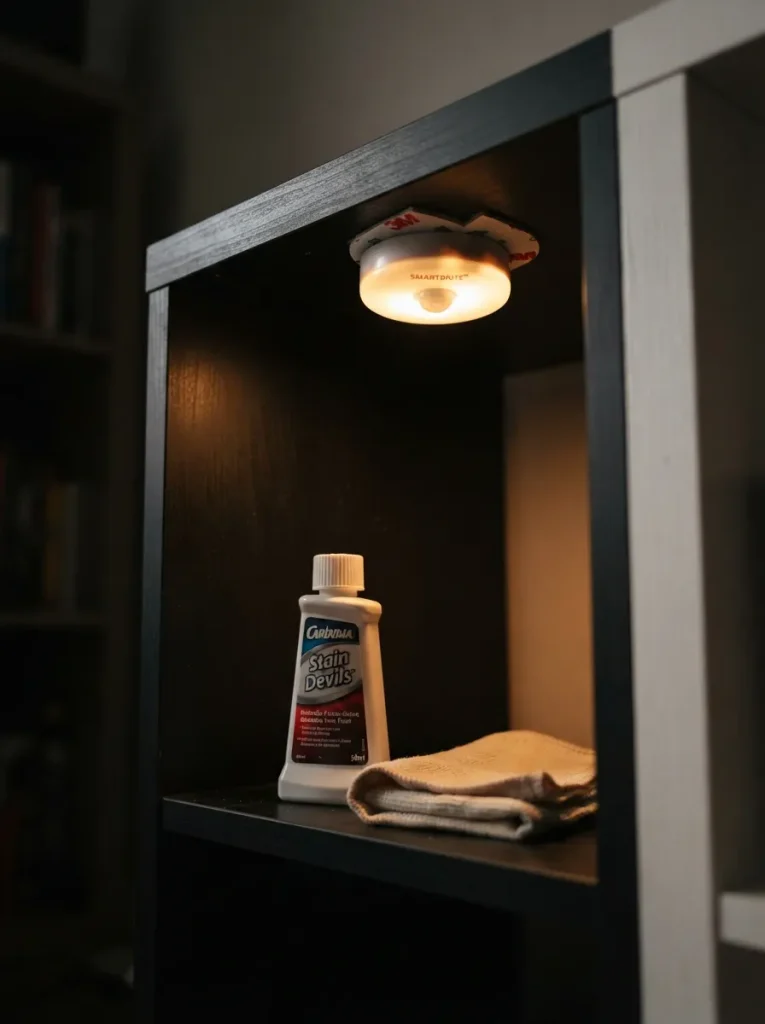
What it looks like: Small battery-powered puck lights tucked into the two or three darkest cubbies, triggered by touch or motion.
Why it works: Even a well-lit room usually has one or two cubes that sit in their own shadow puck lights solve that without running any new wiring.
How to copy it: Stick motion-sensor puck lights to the underside of the shelf above the darkest cube, angled toward the back so they don’t glare when the door’s open.
Best for: Laundry rooms with only one overhead fixture.
Important: Puck lights inside a cubby feel like overkill until the one week a year you’re digging for a stain remover before school. Battery-powered versions skip an electrician entirely.
14. Use Clear and Amber Glass to Do the Color Work Instead of Paint
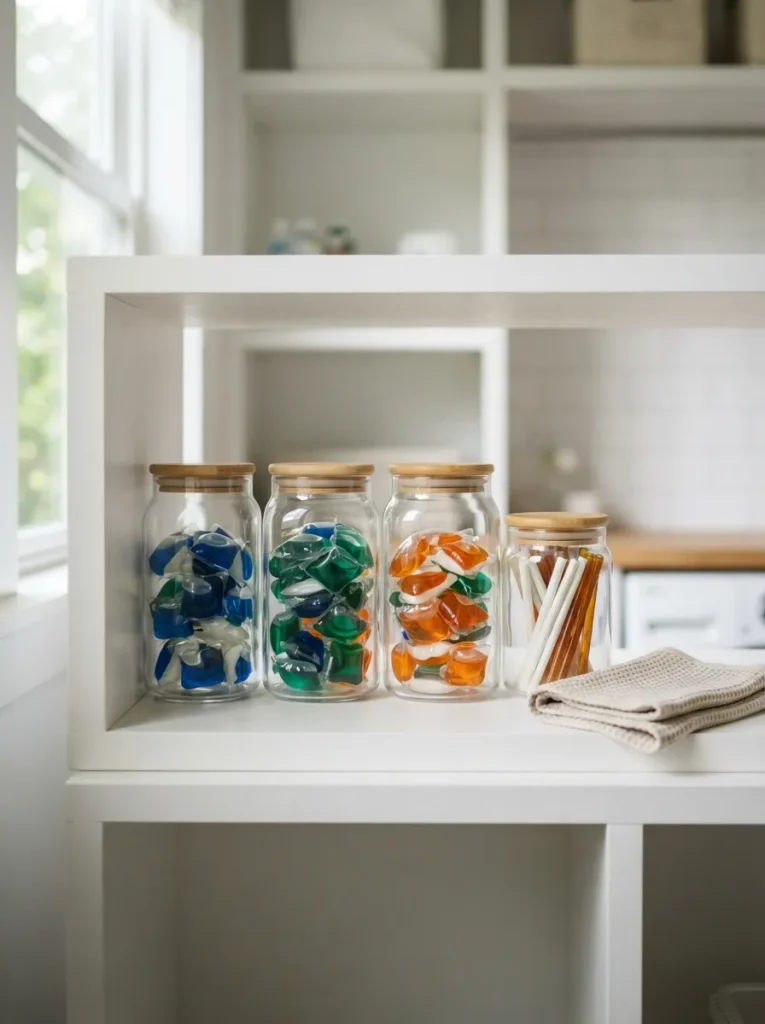
What it looks like: Clear and amber glass jars on one open shelf, holding detergent pods, stain sticks, and pretreatment sprays instead of their original plastic packaging.
Why it works: Repackaging into consistent glass does the visual organizing work that paint or bins can’t reach it’s the detail that makes an open shelf look intentional instead of leftover.
How to copy it: Reuse straight-sided jars from pantry items, or buy a matching set, and keep the lids uniform so the shelf reads as one collection rather than scattered containers.
Best for: Anyone with one fully open shelf they’re not sure what to do with the same styling logic carries over to open shelf styling elsewhere in the house.
Quick Win: Reuse pasta sauce jars for pretreatment sticks and stain pens before buying matching glass containers function first, matching set later if it still bothers you.
15. Add Locking Casters and Make One Column Mobile
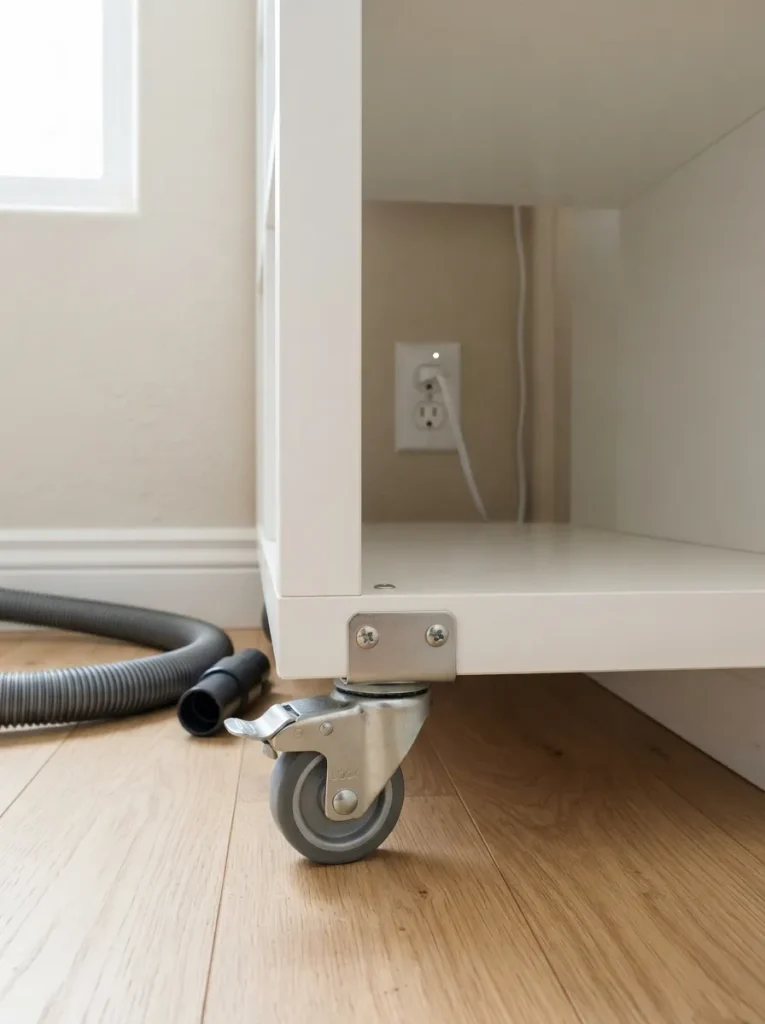
What it looks like: One end column of a multi-unit Kallax wall mounted on locking casters instead of bolted to the wall.
Why it works: A mobile column gives access to the wall and outlets behind it for cleaning or repairs without disassembling the whole setup.
How to copy it: Lock three of the four casters and leave one free to swivel, which keeps the column stable while folding but still easy to pull out.
Best for: Anyone who wants to vacuum or reach an outlet behind the unit without a full teardown, similar to other no-drill Kallax setups built for flexibility.
Pro Tip: Lock the casters on three of the four corners, not all four a fully mobile column tends to drift when you lean on it while folding.
How to Start Your Laundry Room Transformation
What first? In practice, the first move isn’t buying the Kallax at all it’s measuring your washer and dryer’s total footprint, including door swing and vent clearance, and taping that outline on the floor before ordering anything. A 2×2 unit that looks small online can still crowd a dryer door in real life.
What mistake? The most common fixable error is skipping the base seal and assuming a laundry room is “dry enough.” Splashes from a top-load washer or condensation off a dryer vent will swell unsealed particleboard within a season a small tube of clear silicone at install time avoids a full unit replacement later.
What three items under $50? A roll of cork shelf liner for the back panels, a set of six labeled fabric bins, and a battery-powered LED strip for the folding zone. None of them require tools beyond scissors.
What timeline and budget? A single-column setup is a weekend project and typically runs $80–$180 once bins and lighting are included. A full wall multiple columns, a butcher-block top, and a hanging rod is closer to two or three weekends and $250–$450 depending on how much gets built from scratch versus bought pre-made.
Ready to Create Your Dream Laundry Room?
Between the color choices, the material swaps, and the lighting tweaks, these 15 ideas cover more ground than a single Kallax unit usually gets credit for. None of it needs to happen all at once a sealed base and one set of labeled bins this weekend is still real progress.
Start there: measure the machines, tape the footprint, and order one column instead of the whole wall. A laundry room that works stops feeling like a chore and starts feeling like a room that’s just quietly handling itself. Save the ideas that fit the space in front of you, not the ones that look best in a photo.
Read Next
- 12 IKEA Kallax Hacks for a Small Mudroom
- 10 Budget Laundry Room Organization Ideas Under $100
- 8 IKEA Kallax Ideas for a Home Office Nook