17 IKEA Kallax Garage Organization Ideas for DIYers Who Want Order, Not Chaos
A Kallax unit in the garage turns wall space you’re currently wasting into the one storage system that doesn’t collapse into chaos the week after you set it up. This guide walks through 17 IKEA Kallax garage organization ideas built for DIYers who want an actual system, not just a shelf bolted to a wall.
There’s a specific kind of relief that comes from opening a garage door and seeing the floor. Bins stop tipping over. Tools stop disappearing behind the mower. What used to take twenty minutes of digging turns into grabbing exactly what you need and walking back out. Let’s get your garage there.
Quick Navigation
- Why Kallax Garage Storage Makes Such a Difference
- 17 Kallax Garage Organization Ideas
- How to Start Your Kallax Garage Transformation
- Ready to Create Your Dream Kallax Garage?
Why Kallax Garage Storage Makes Such a Difference
Kallax works in a garage for the same reason it works everywhere else it’s a plain grid that doesn’t argue with whatever you put inside it. The catch is that garages aren’t climate-controlled, so standard melamine-laminated particleboard left sitting on damp concrete will swell at the base within a season.
Raising units on rubber risers matters more here than in a living room. Right now, with garages doubling as gyms and workshops, a modular system beats built-in cabinetry. In a one-car garage, claim wall space before floor space.
| Best starting point | Measure the wall and sketch three storage zones before buying anything |
| Biggest impact area | The back wall behind the car, floor to ceiling |
| Budget to start | $150–$300 for one Kallax unit plus bins |
| Time to complete | One weekend per wall; 2–3 weekends for a full garage |
17 Kallax Garage Organization Ideas
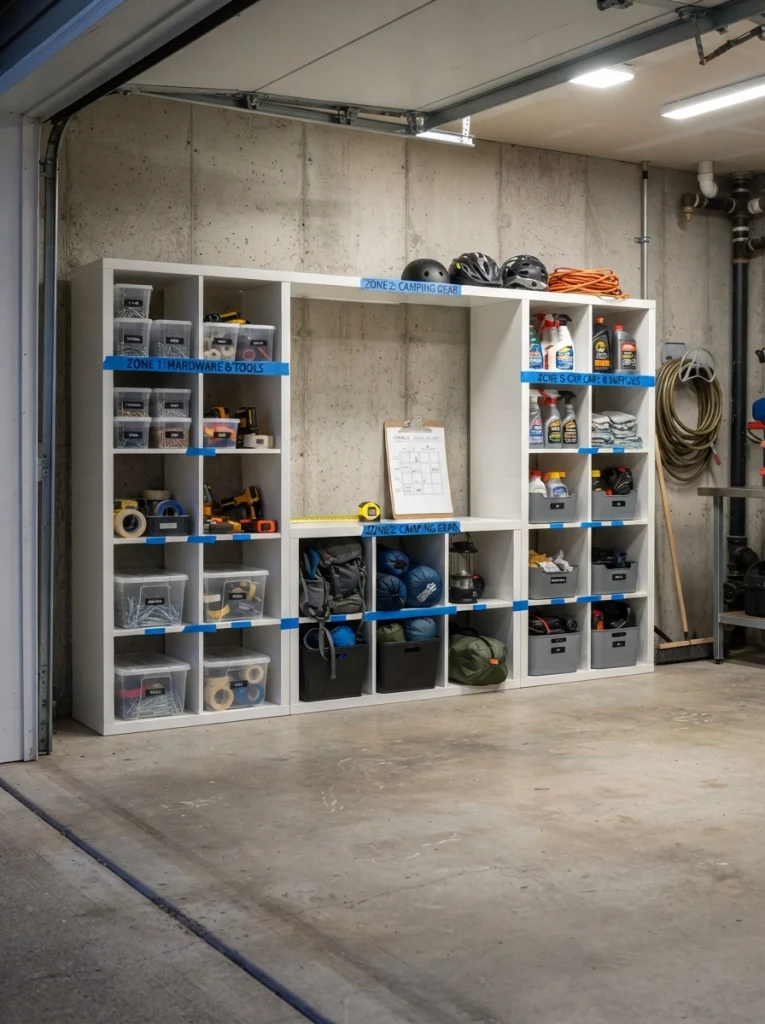
1. Zone Your Garage Into Three Kallax Sections Before You Buy Anything
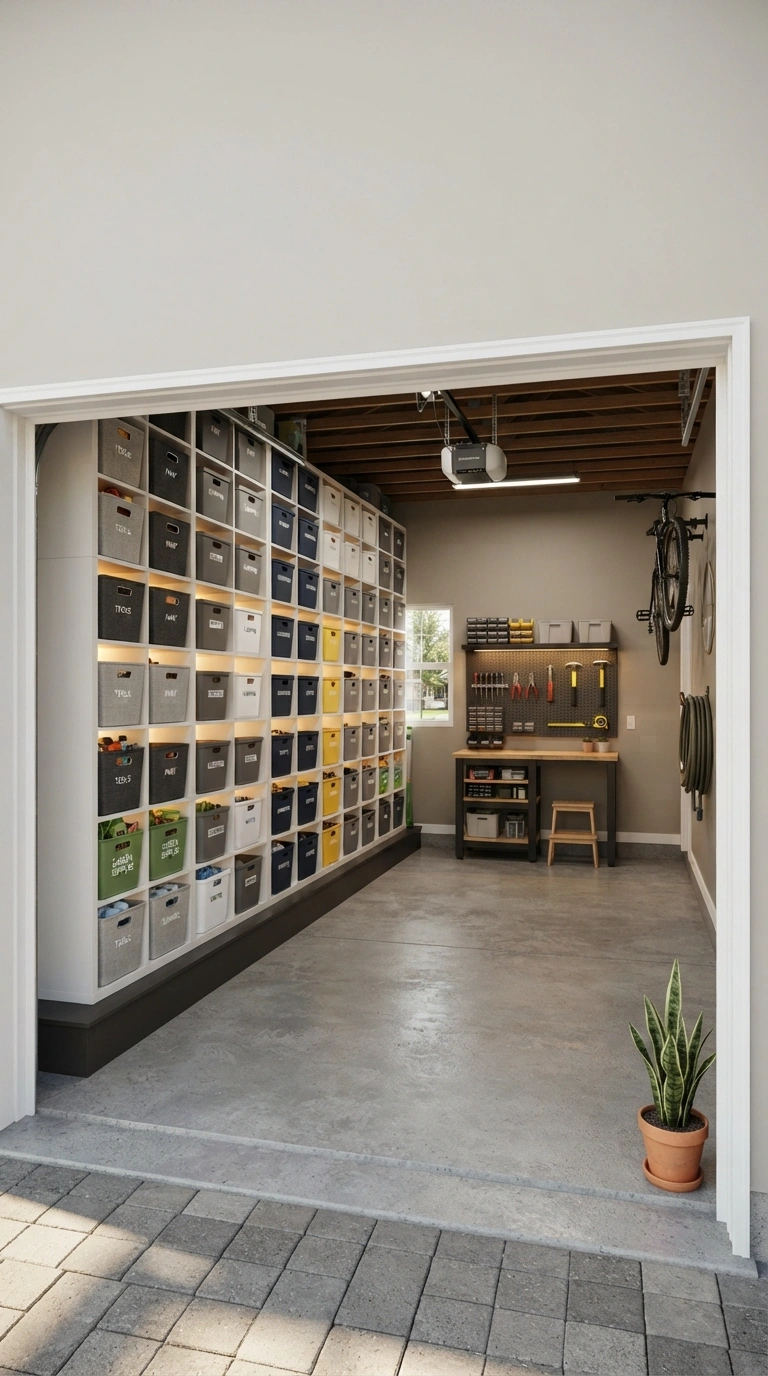
What it looks like: One long, deliberate wall of cubes instead of scattered shelving units competing for space.
Why it works: Most garage clutter isn’t a storage shortage it’s a lack of assigned zones, so things drift to whatever surface is closest. A single Kallax wall forces every item into a category before it ever gets stored.
How to copy it: Before buying, sketch three zones on paper: seasonal (holiday bins, patio cushions), tools (hand tools, hardware), and recreation (sports gear, bikes accessories). Assign each zone a physical section of the shelf and stick to it for 30 days before rearranging. If you’re also working on a matching entry space, our guide to closet organization ideas covers the same zoning logic for smaller rooms.
Best for: Anyone starting from a fully cluttered garage with no existing system.
✅ Zone Setup Checklist:
- [ ] Measure your garage wall width and ceiling clearance before choosing a Kallax size
- [ ] Sketch three zones: seasonal, tools, and sports/recreation
- [ ] Decide which zone needs eye-level access and which can live up top
- [ ] Confirm the wall studs can support anchored shelving before mounting
2. Choose Moisture-Resistant Materials Over Standard Particleboard
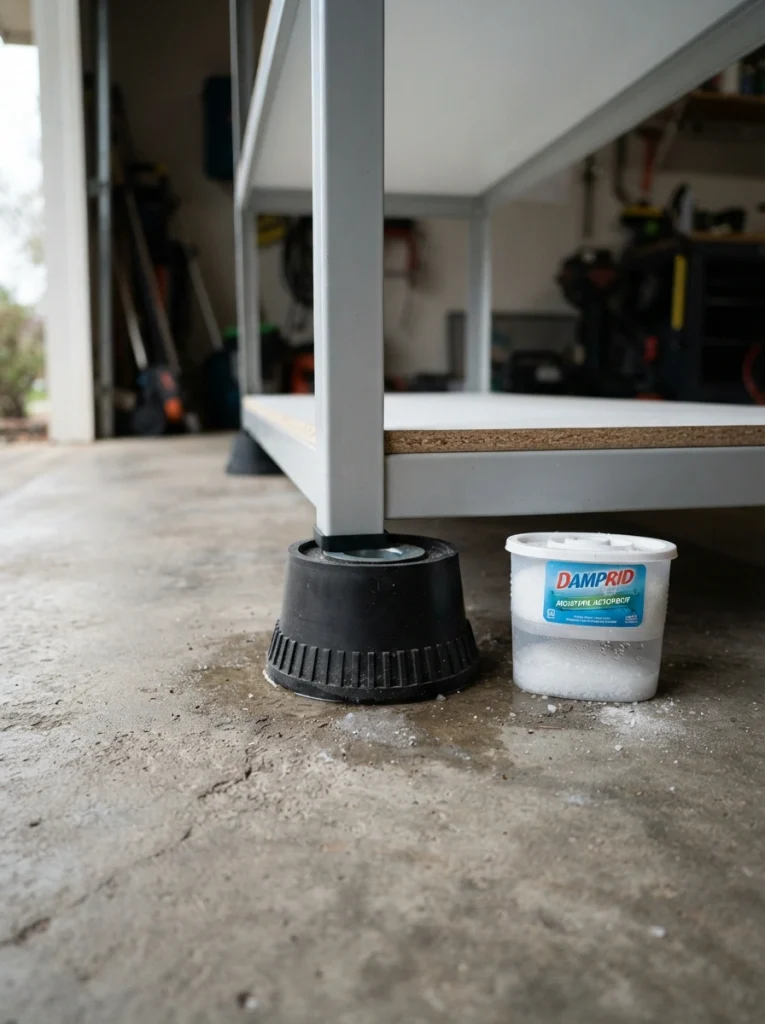
What it looks like: The same familiar Kallax cube, just lifted an inch off the slab and sealed at the base.
Why it works: Concrete garage floors wick moisture even when they look dry, and standard particleboard swells and delaminates at contact points over a single humid season. Raising the unit breaks that moisture path entirely.
How to copy it: Set the unit on four rubber furniture risers or a shallow 2×4 frame, then run a bead of clear silicone along the bottom edge seams. Skip this step and you’ll be replacing the bottom shelf within a year in humid climates.
Best for: Anyone in a humid climate or an unheated, unfinished garage.
Warning: Placing particleboard shelving directly on bare concrete without a moisture barrier is the single most common mistake the swelling starts at the base and isn’t reversible once the laminate lifts.
3. Build a Color-Coded Bin Labeling System
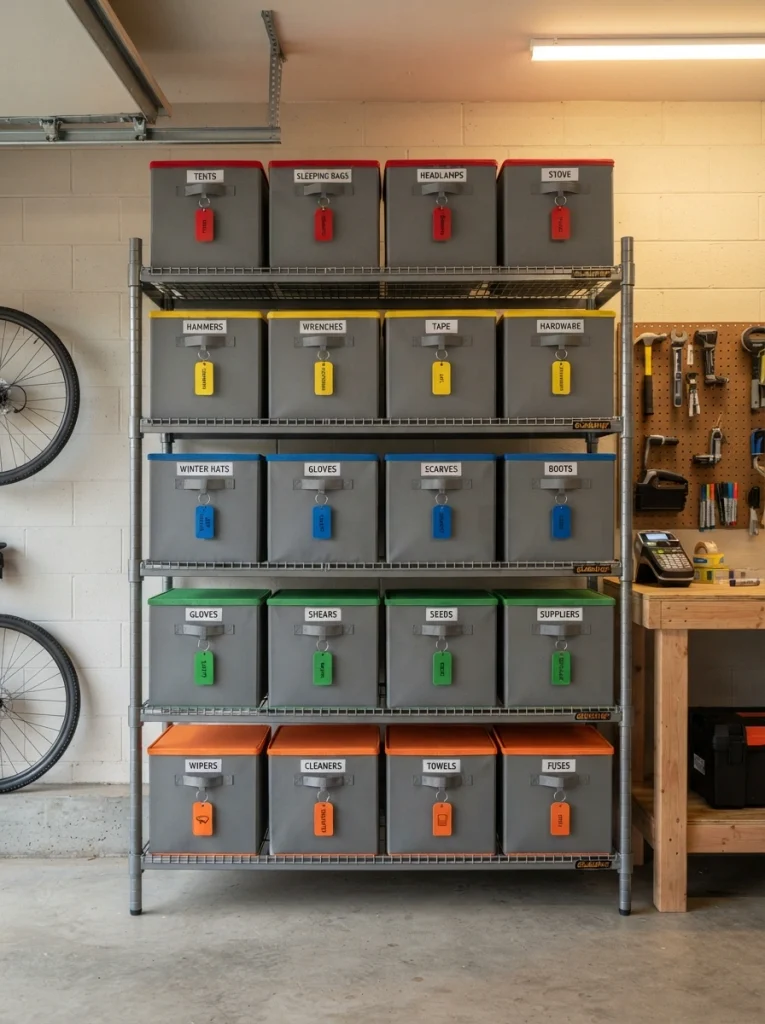
What it looks like: A shelf where you can identify a bin’s category from across the garage without reading a single word.
Why it works: Color is processed faster than text, so a consistent color code reduces the daily friction of finding things especially for anyone else in the household using the same garage.
How to copy it: Assign one color per zone (red for tools, blue for seasonal, green for sports) and buy bin lids or label tape in those exact colors. Keep it to three colors maximum or the system stops being fast to scan.
Best for: Households where more than one person uses the garage regularly.
What You’ll Need
| Product |
|---|
| Clear stackable storage bins with lids |
| Waterproof vinyl label sheets |
| Color-coded bin lid set |
| Adhesive label holders for bin fronts |
The next idea solves the one problem almost every garage Kallax setup runs into eventually.
4. Anchor a Workbench Directly to One Kallax Unit
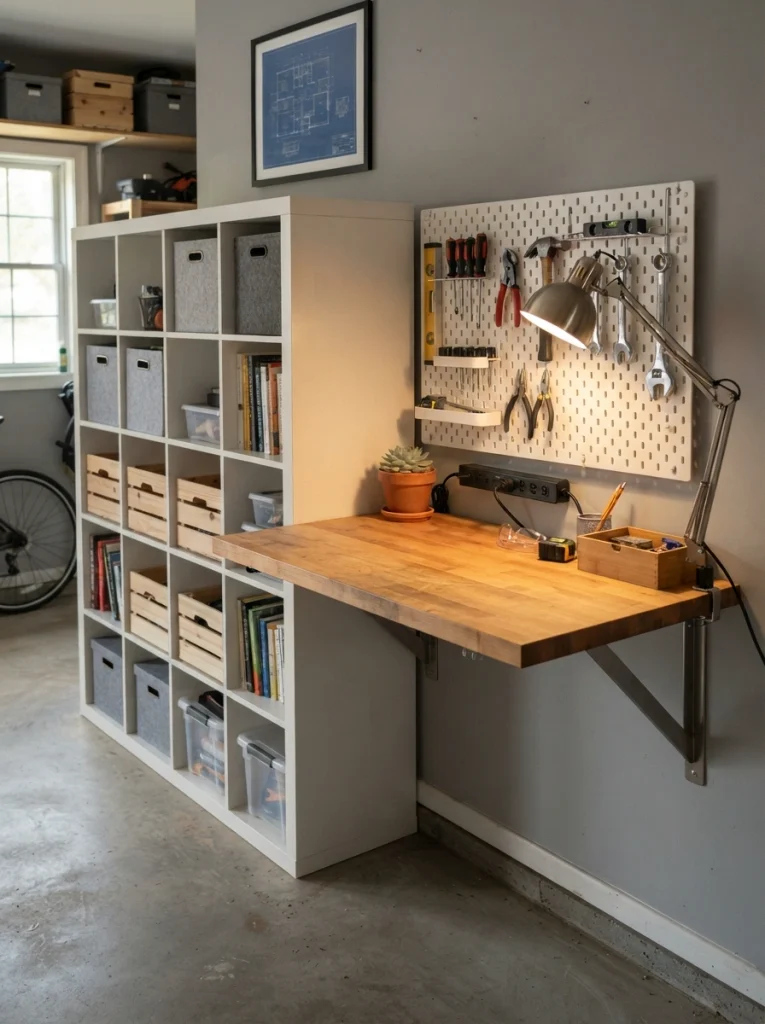
What it looks like: A shelf that quietly doubles as the base for a work surface instead of sitting there as dead storage.
Why it works: A Kallax unit is exactly counter height when paired with a butcher block top, so it becomes load-bearing storage instead of just a wall of cubes every inch does two jobs.
How to copy it: Attach a 1.5-inch butcher block countertop across the top of a low, wide Kallax unit using L-brackets from underneath, then reserve the top three cubes for items you reach for mid-project.
Best for: DIYers and hobbyists who need a dedicated project surface but don’t have room for a separate bench.
Quick Win: Skip permanent mounting at first clamp the countertop in place for two weeks and see if the height works for your projects before drilling anything.
5. Stack Kallax Vertically in a Single-Car or Narrow Garage
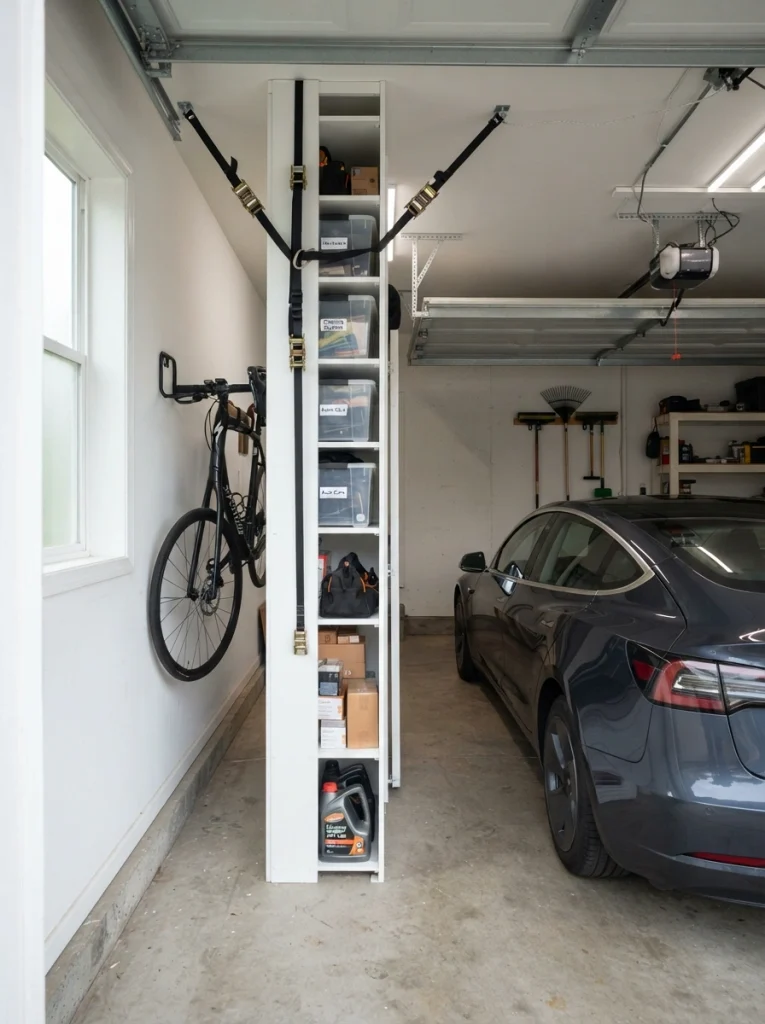
What it looks like: A tall, narrow column that hugs the side wall instead of eating into the width a car needs to pass.
Why it works: In a single-car garage, floor footprint is the scarcest resource, so height becomes the only direction left to expand storage without losing the ability to park.
How to copy it: Stack two 2×2 Kallax units on top of each other and anchor them to wall studs with an L-bracket at the top never stack without anchoring, since a top-heavy tower is a tip hazard next to a vehicle. If you’re working with an especially tight footprint, the same stacking logic shows up in our Kallax under-stairs storage ideas.
Best for: Single-car garage owners and anyone converting a carport into usable storage.
Important: Stacked units need top-anchoring even against a garage wall a car door swinging open nearby creates enough vibration over time to walk an unanchored stack forward.
6. Match Bin and Frame Colors to What’s Actually Visible From the Driveway
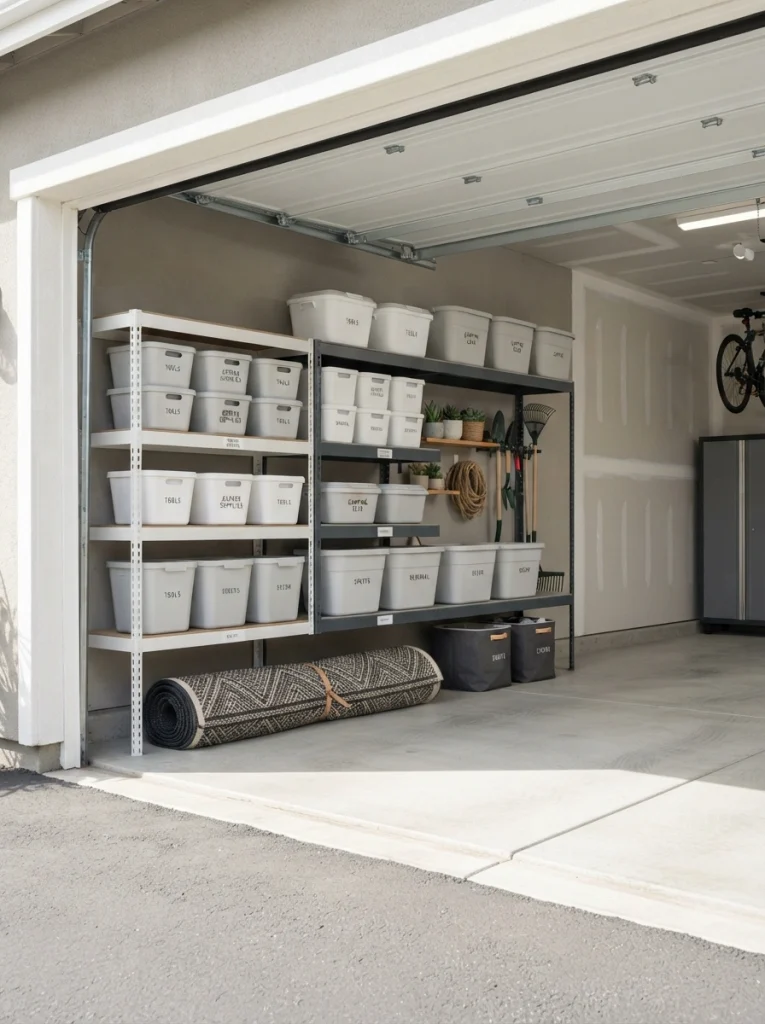
What it looks like: A garage that reads as tidy the moment the door rolls up, even before anyone steps inside.
Why it works: Garages are visible from the street every time the door opens, so color consistency here does real curb-appeal work, not just organizational work mismatched neon bins read as clutter even when they’re technically organized.
How to copy it: Pick one neutral (warm greige or soft charcoal) for anything visible from the driveway and save bright colors for bins tucked on upper shelves out of sightline.
Best for: Homeowners who use the garage as a visible extension of curb appeal.
Budget Version: Repaint mismatched plastic bin lids with a plastic-specific spray paint in one neutral shade for under $20 instead of replacing the bins entirely.
Up next: the lighting trick that makes late-night garage searches bearable.
7. Add Under-Shelf LED Strip Lighting to Every Kallax Row
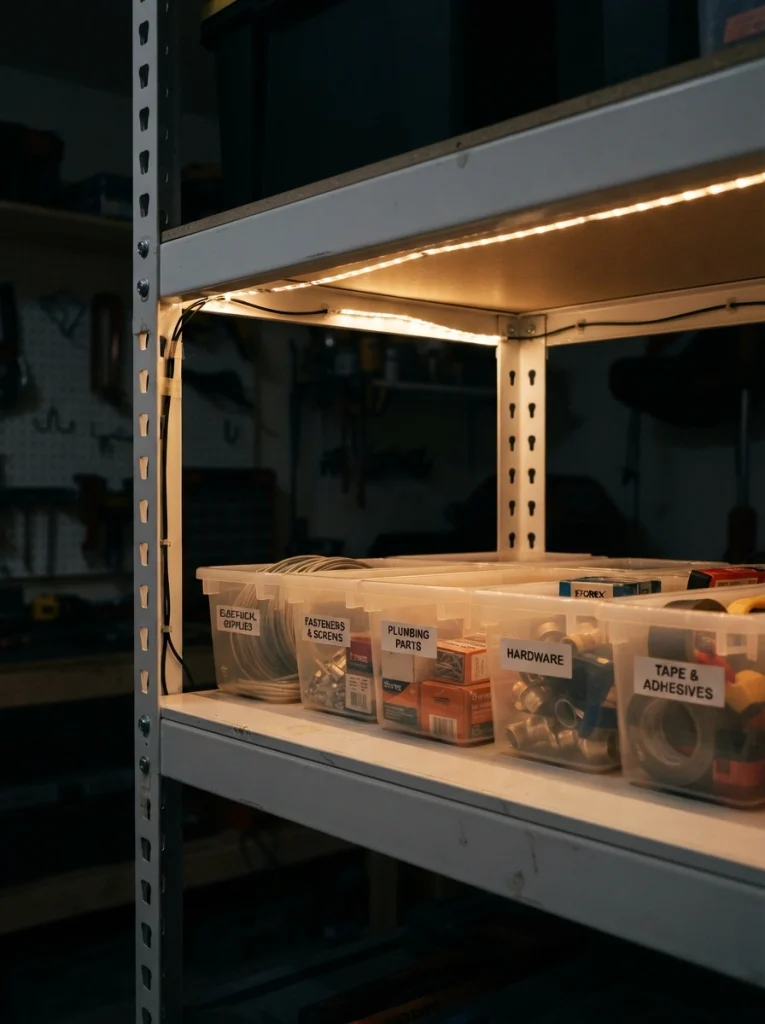
What it looks like: Every shelf row lit from above so bin labels are readable without a flashlight or squinting.
Why it works: Most garages rely on a single overhead fixture that casts hard shadows straight down onto shelving, which is exactly where you need light the most under-shelf lighting solves the shadow problem at its source.
How to copy it: Run battery-powered or plug-in LED strip lighting along the underside of each shelf row, angled slightly forward so the light hits the bin fronts, not just the shelf floor.
Best for: Garages without strong overhead lighting, or anyone who organizes tools after dark.
Pro Tip: Battery-powered motion-sensor LED strips avoid running an extension cord across a floor where a car or bike passes daily.
8. Mount a Pegboard Panel to the Side of the Kallax Unit
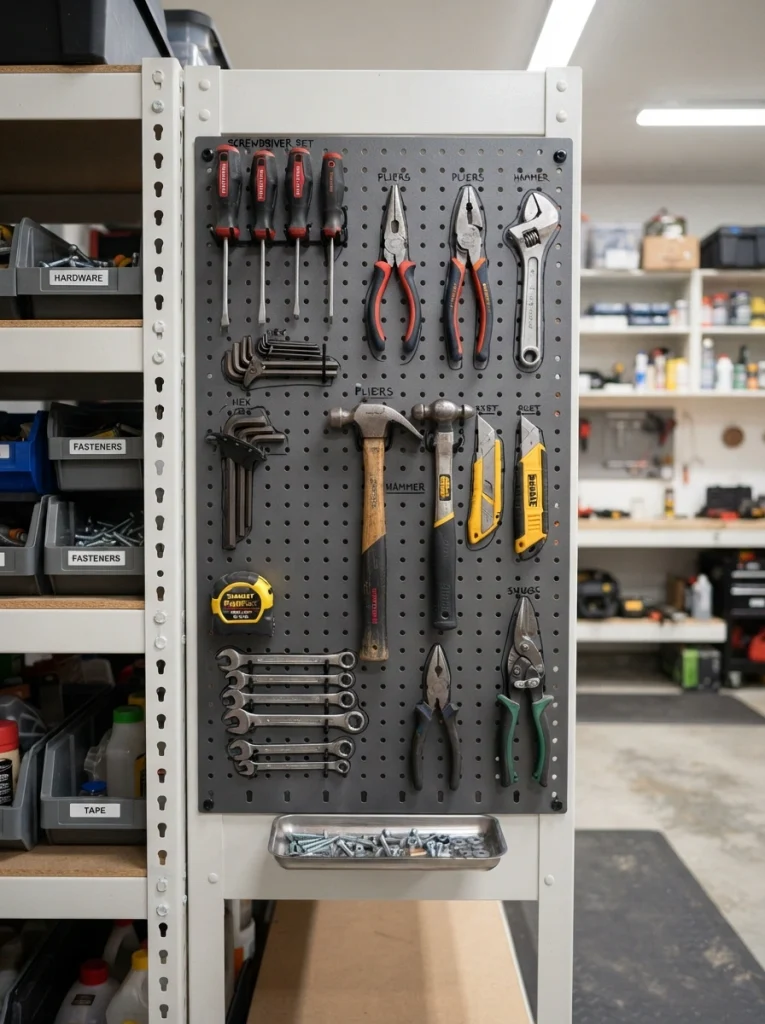
What it looks like: The blank side panel of the shelf turned into a second organizing surface instead of wasted vertical space.
Why it works: A Kallax unit only has two functional faces front cubes and one exposed side and most people leave that side blank when it’s actually the ideal spot for anything that needs to hang rather than stack.
How to copy it: Screw a metal or hardboard pegboard panel directly into the exposed side panel using the internal frame for anchor points, then trace tool silhouettes in marker so misplaced items are obvious at a glance. Renters can get a similar hanging setup without drilling into the unit itself see our Kallax no-drill hacks for the adhesive-mount version.
Best for: DIYers with a rotating set of hand tools who need them visible, not boxed.
What You’ll Need
| Product |
|---|
| Metal pegboard panel |
| Pegboard hook assortment set |
| Pegboard tool holder clips |
| Small parts tray attachment |
Here’s an idea that often gets skipped and it protects the unit itself, not just what’s inside it.
9. Add Locking Caster Wheels for a Mobile Storage Section
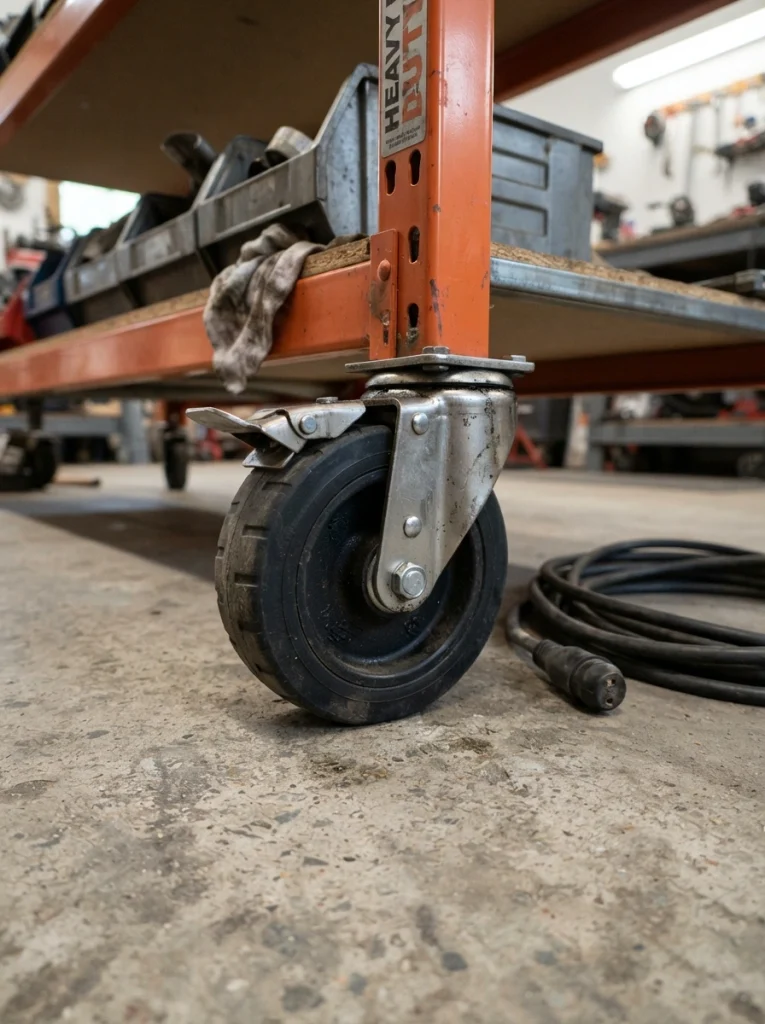
What it looks like: A storage unit that rolls out of the way when you need the full garage floor and locks solid the rest of the time.
Why it works: Garages double as workspaces more often than any other storage area in the house, so a fixed unit permanently blocks floor access locking casters turn the same shelf into something that gets out of the way on demand.
How to copy it: Choose casters rated for at least double the unit’s loaded weight, and only add them to a lower, lighter-loaded unit a fully loaded tall Kallax on wheels becomes a tip risk the moment it’s unlocked.
Best for: Garages that also function as a workshop, gym, or seasonal parking overflow space.
Warning: Never add casters to a fully stacked or top-loaded unit the raised center of gravity combined with wheels turns a stable shelf into a tipping hazard the first time it’s rolled.
What You’ll Need
| Product |
|---|
| Heavy-duty locking caster wheels |
| Rubber shelf floor protector pads |
| Anti-slip rubber garage flooring mat |
| Furniture moving dolly |
10. Map Out Seasonal Zones Before the First Snowstorm or Heatwave
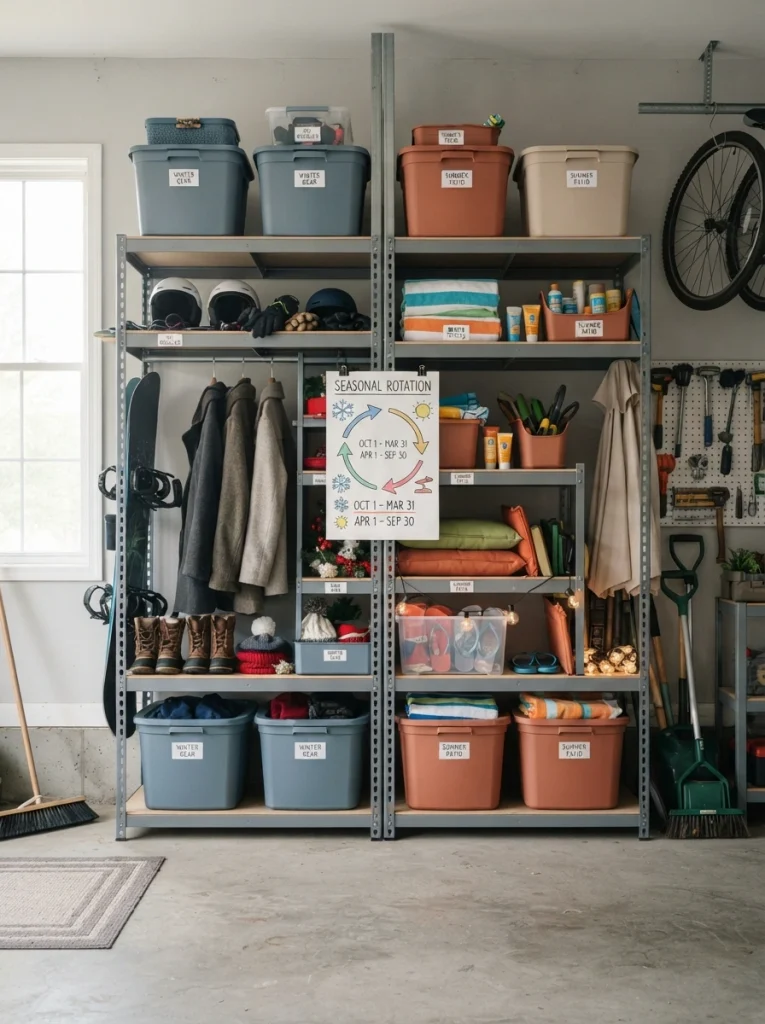
What it looks like: One half of the shelf that visibly flips character depending on the season, instead of gear from every season mixed in one pile.
Why it works: Seasonal items are used for a few weeks a year and forgotten the rest, so anchoring them to a fixed shelf location prevents the annual re-discovery hunt every time the weather changes.
How to copy it: Dedicate the top two rows to whichever season is currently inactive (holiday decor in summer, patio cushions in winter) and rotate the contents twice a year on a set calendar date rather than “whenever I get to it.”
Best for: Households with heavy seasonal gear holiday decorations, patio furniture, snow equipment.
Important: Most people assume seasonal bins belong at floor level for easy access, but floor-level spots should go to items used weekly seasonal storage is the correct use for the hardest-to-reach top shelf.
11. Add a Bench Seat to the Base of a Low Kallax Row Near the Entry Door
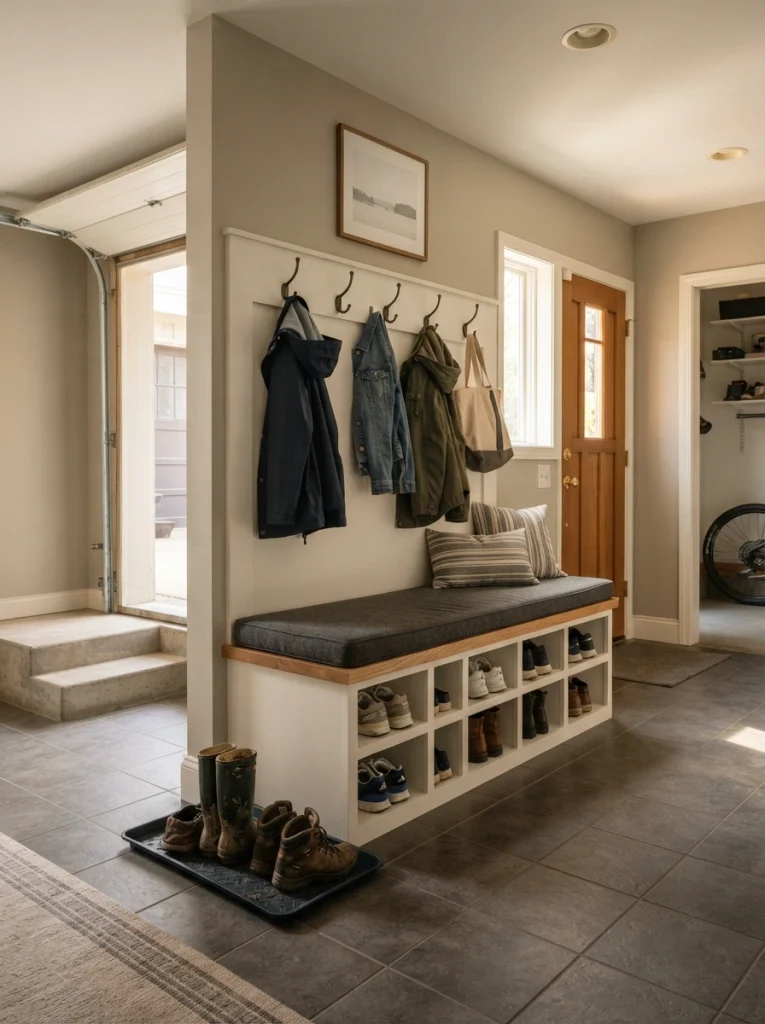
What it looks like: A short shelf near the garage-to-house door that doubles as a place to sit down and change shoes.
Why it works: The transition point between garage and house is where shoes, bags, and gear pile up the fastest, and a seat at that exact spot removes the friction of bending down to reach a low bin.
How to copy it: Position a single low 2×2 Kallax row directly beside the entry door, top it with a fitted foam cushion, and reserve the cubes underneath for shoes and bags only nothing seasonal. The same low-bench logic works well as the anchor for a garage-adjacent mudroom; see our Kallax entryway ideas for the full setup.
Best for: Households entering through the garage daily rather than the front door.
Mistake to Avoid: Skipping a cushion thickness test before committing anything under 2 inches of foam feels like sitting on a shelf, which defeats the purpose entirely.
One more idea before the setup that surprised even seasoned organizers the first time they tried it.
12. Paint the Frame to Match — Not Fight — the Garage Door Color
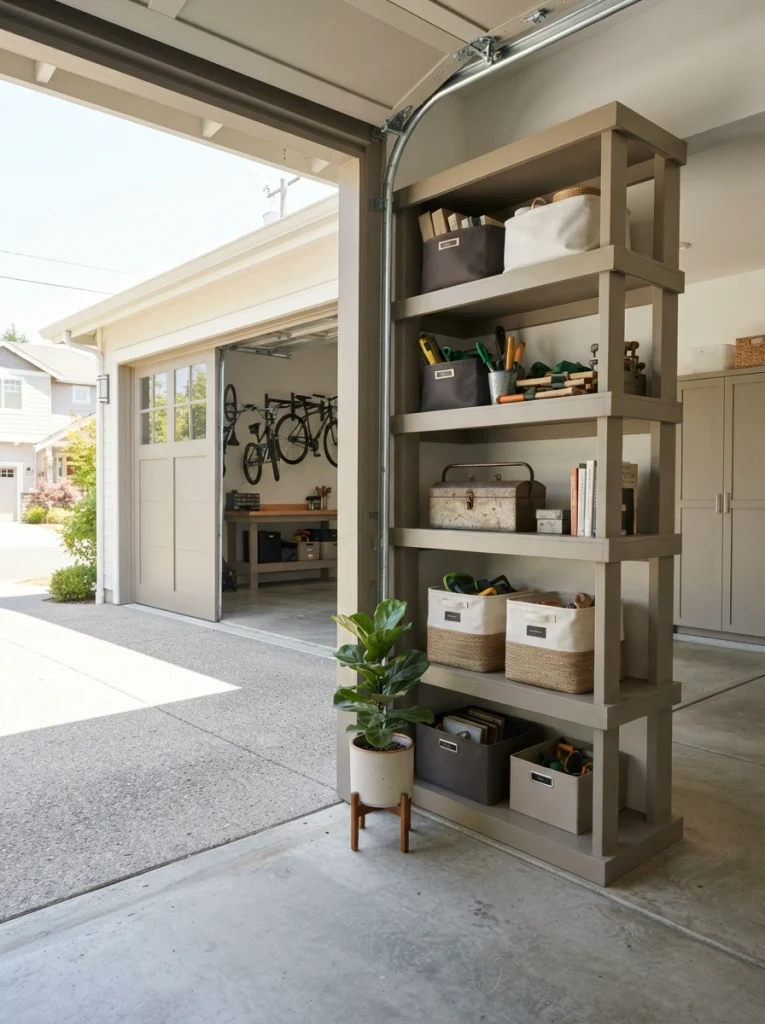
What it looks like: A shelving unit that looks chosen on purpose because its tone echoes the door frame it sits behind.
Why it works: Color harmony between what’s visible from outside and what’s just inside the door reads as intentional design rather than leftover storage, even though the function hasn’t changed at all.
How to copy it: Sand the factory laminate lightly, prime with a bonding primer made for laminate surfaces, then paint in a shade pulled directly from your garage door or trim color rather than guessing at a coordinating tone.
Best for: Homeowners who leave the garage door open regularly and care about the view from the street.
Pro Tip: Bonding primer is non-negotiable on laminate standard primer peels off in sheets within months under garage temperature swings.
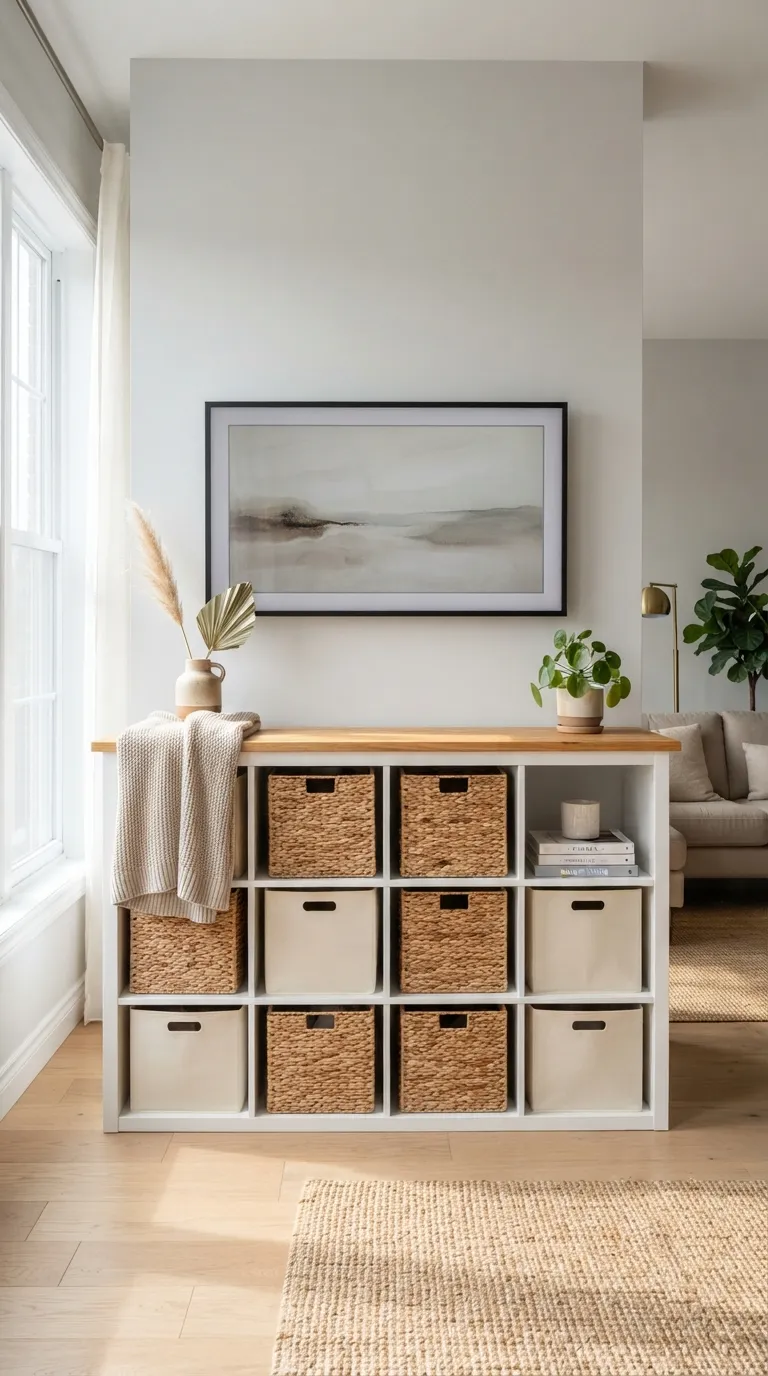
13. Switch to Fabric or Basket Inserts for Anything That Doesn’t Need to Be Seen
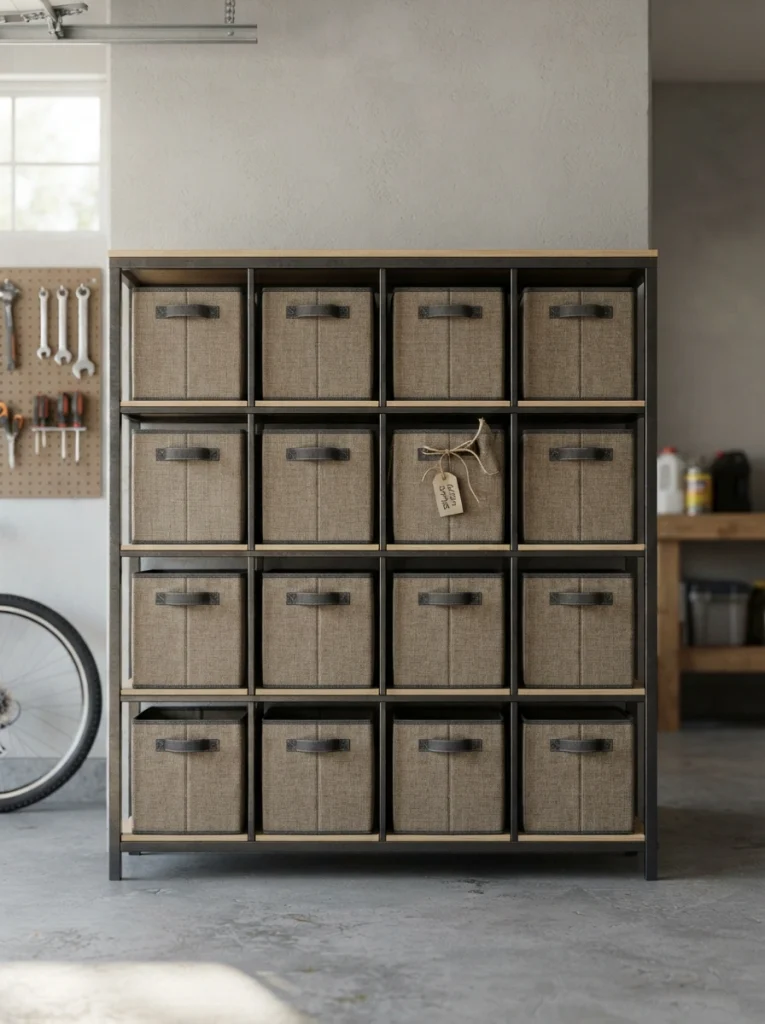
What it looks like: A wall of cubes that reads softer and less industrial once half the bins are fabric instead of hard plastic.
Why it works: Not everything in a garage needs to be visible or airtight soft-sided bins are lighter to pull down repeatedly and reduce the visual noise of mismatched hard plastic containers stacked at different heights.
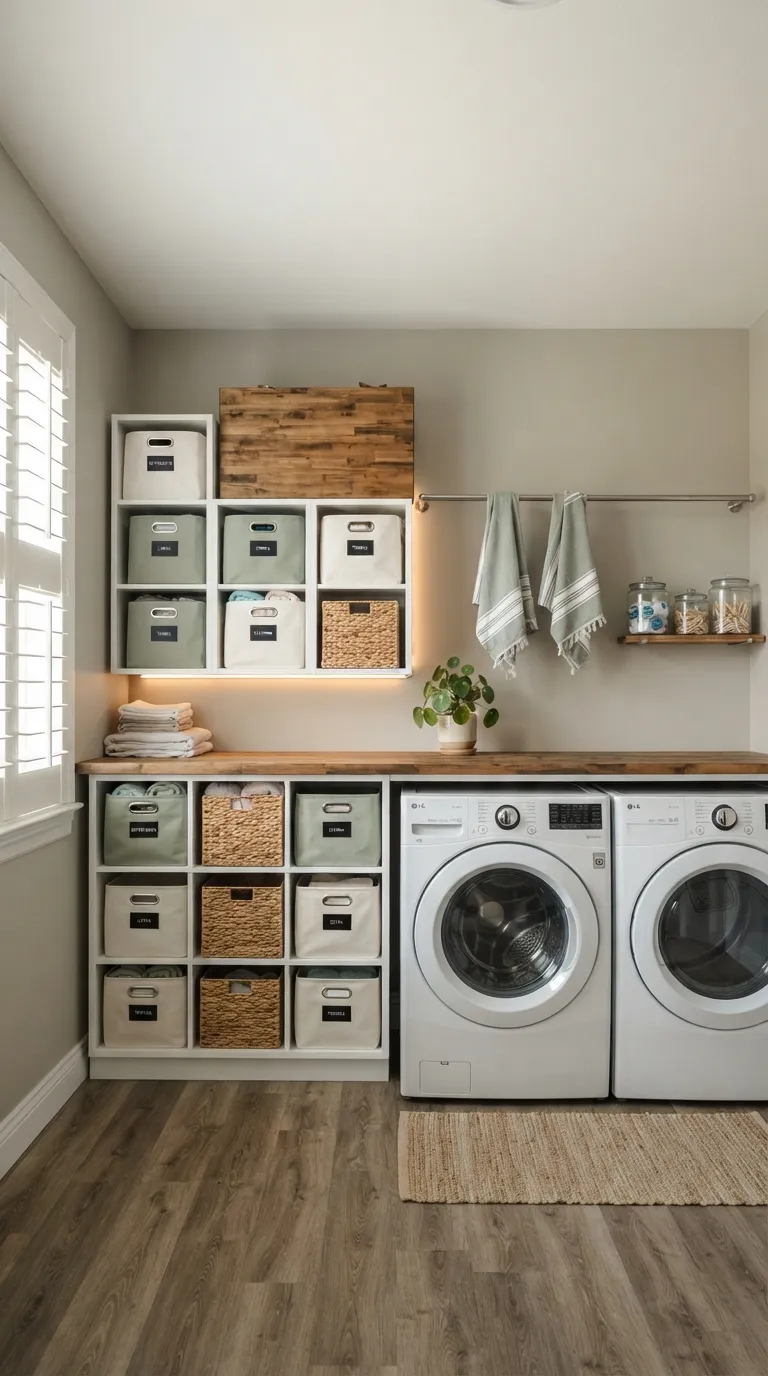
How to copy it: Reserve fabric bins for soft goods (rags, gloves, sports padding) and keep hard bins only for anything that needs moisture or pest protection, like birdseed or fertilizer. The same swap works well in adjoining utility spaces our Kallax laundry room storage ideas use the identical fabric-versus-hard-bin split.
Best for: Anyone softening an otherwise all-hard-surface garage storage wall.
What You’ll Need
| Product |
|---|
| Fabric storage bins with handles |
| Cube storage baskets, 13×13 inch |
| Woven seagrass storage cube |
| Felt storage bin organizer |
Here’s something most guides won’t tell you: in real garages, one tall 4-cube-high Kallax against the back wall consistently outperforms two smaller 2×2 units flanking a workbench fewer seams means fewer gaps for dust, moisture, and the occasional mouse to get behind bins that rarely get pulled all the way out. If your garage isn’t fully finished, run a thin strip of weatherstripping foam along the wall-facing edge; a gap as small as a quarter inch is enough for pests to nest behind a unit that looks perfectly sealed from the front.
14. Carve Out a Corner Nook in a Tight Single-Car Garage
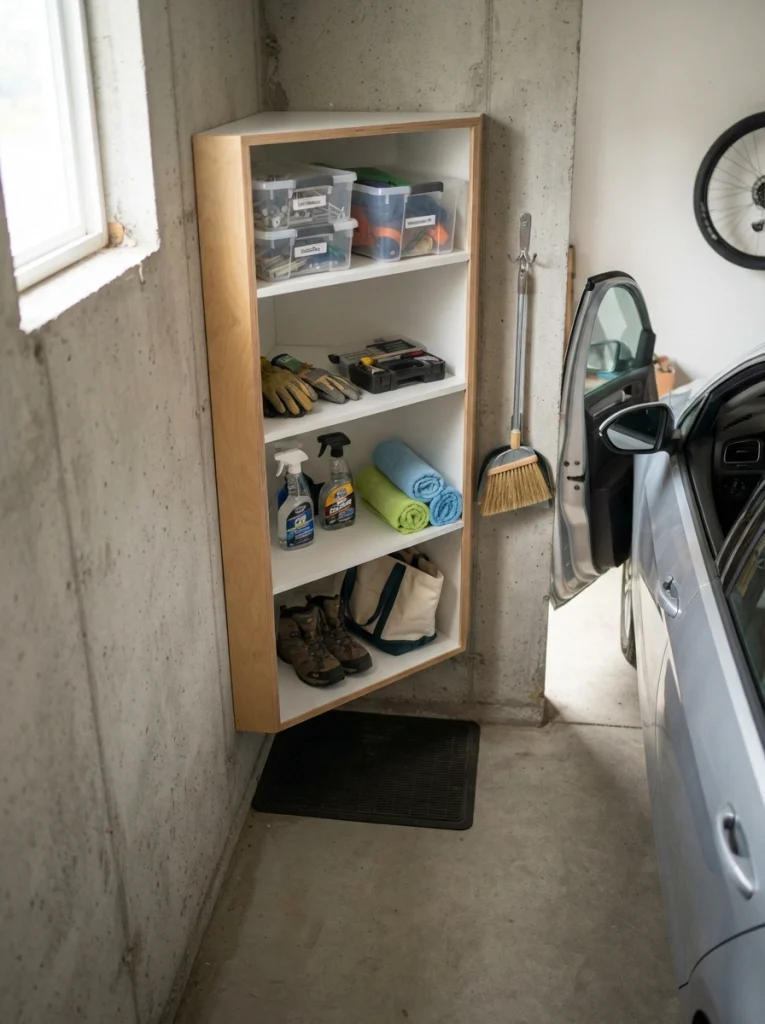
What it looks like: A single shelving unit tucked into the one corner a car door never swings into, rather than fighting for space along a full wall.
Why it works: In a true single-car garage, every wall is a potential door-swing zone except the far corners identifying that dead zone first prevents buying a unit that later has to be moved.
How to copy it: Measure your car door’s full swing radius with the door open before placing anything, then angle a single 2×2 or 2×4 Kallax unit into the corner just outside that radius rather than centering it on the wall.
Best for: Single-car garage owners working with tight clearance on both sides.
Important: Most people measure garage width but skip measuring door swing radius that’s the number that determines where storage can safely go.
15. Position the Unit to Work With Existing Windows, Not Block Them
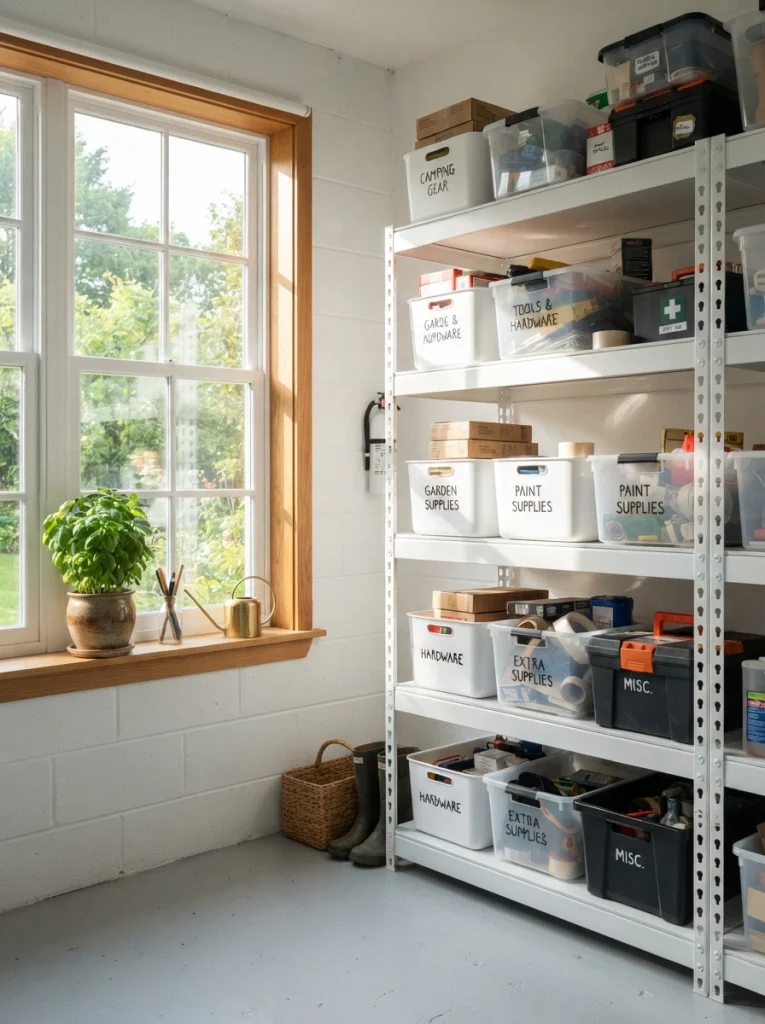
What it looks like: A shelf that sits just off to the side of a window instead of blocking the one natural light source the garage has.
Why it works: Garages rarely have more than one window, and blocking it forces total reliance on overhead lighting positioning storage beside rather than in front of it keeps the space readable during daylight hours for free.
How to copy it: Measure the window’s width and leave at least six inches of clearance on either side when placing the unit, angling it slightly if the wall is narrow rather than centering the shelf directly over the glass.
Best for: Garages with a single window that’s currently blocked or partially covered by existing storage.
Quick Win: If a window is already blocked, simply sliding the unit twelve inches to one side often solves the problem without buying anything new.
Two more ideas, and one of them handles the clutter nobody plans for cords and chargers.
16. Add Stackable Overflow Shelving in Heavy-Duty Wire or Steel
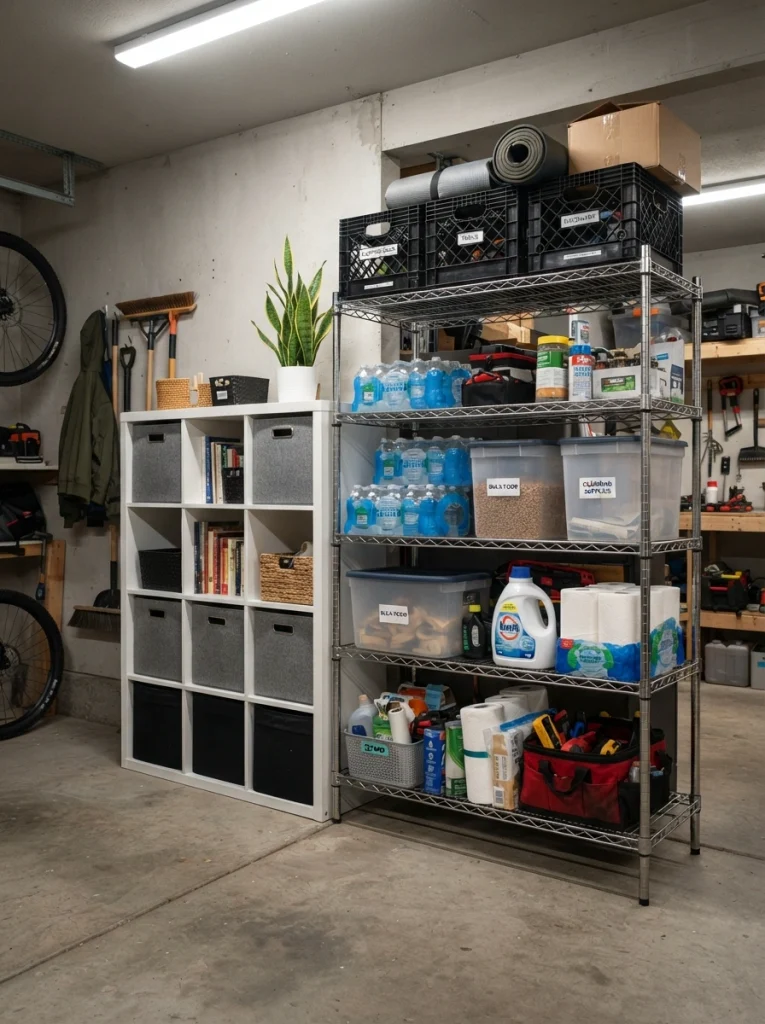
What it looks like: A second, heavier-duty shelving system standing beside the Kallax wall for anything too bulky or too heavy for laminate cubes.
Why it works: Kallax units have a per-shelf weight limit that bulk items like paint cans, soil bags, or power tool cases can exceed quickly, so pairing it with steel or wire shelving prevents sagging shelves down the line.
How to copy it: Reserve the Kallax wall for anything under 15 pounds per cube and route heavier bulk items to an adjacent wire shelving unit rated for at least 300 pounds per shelf. The same overflow pairing works in craft-heavy storage rooms too see our Kallax craft room storage ideas for that version.
Best for: Garages storing heavy items soil, paint, power tools, bulk pet food.
Pro Tip: Check the actual per-shelf weight rating printed on the Kallax assembly instructions before loading it with anything bulk-bought it’s lower than most people assume.
17. Build a Dedicated Charging and Cord Station Into One Cube
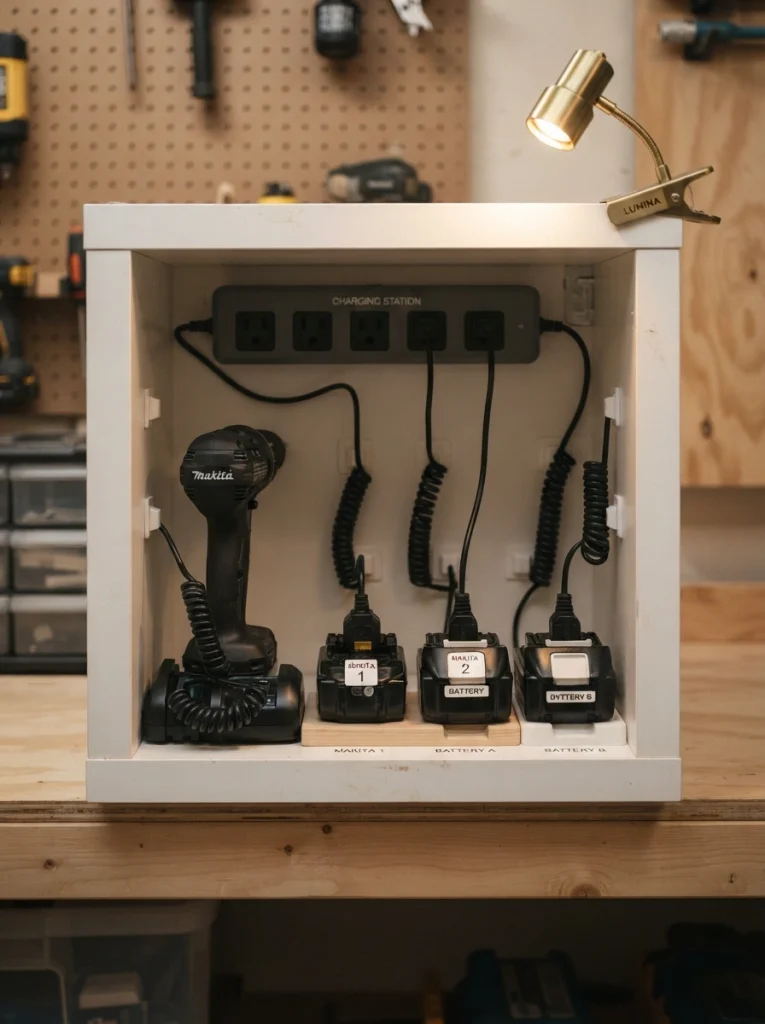
What it looks like: One single cube, converted entirely into a mini charging bay instead of general storage.
Why it works: Cordless tool batteries and chargers are the single most common source of tangled-cord clutter in a garage, and isolating them to one dedicated cube keeps the tangle contained instead of spreading across every drawer.
How to copy it: Mount a power strip inside the back of one cube, drill a small cord-access hole in the back panel if the unit backs onto an outlet, and add cord clips along the interior sides to keep charging cables separated by tool.
Best for: Anyone with more than two cordless power tools and their matching chargers.
Warning: Never coil charging cords tightly inside a closed cube while actively charging heat buildup in an enclosed space is a real fire risk with lithium-ion tool batteries. Leave the cube door off or vented during active charging.
How to Start Your Kallax Garage Transformation
What I’ve found with real garages: the first move isn’t buying the shelf it’s measuring your car’s door swing and your ceiling clearance with a tape measure, standing in the actual space. That single measurement determines whether you need a 2×2, a 2×4, or a stacked tower, and skipping it is how people end up returning units.
The most common fixable mistake is buying seasonal-sized bins before deciding on zones, which leads to a shelf full of bins that don’t share a footprint and waste cube space with gaps. Decide your three zones first, then buy bins sized to match your specific Kallax cube dimensions.
Three items under $50 that create immediate impact: a set of waterproof vinyl label sheets for instant category clarity, a battery-powered motion-sensor LED strip light for under-shelf visibility, and a set of four rubber furniture risers to lift the unit off damp concrete.
A single wall takes one focused weekend, start to finish, including assembly and labeling. A full garage system zones, lighting, pegboard, and overflow shelving realistically spans two to three weekends spread over a month, with a starter budget around $150–$300 and a full-system budget closer to $500–$700.
Ready to Create Your Dream Kallax Garage?
Seventeen ideas in, you’ve now got color coding, moisture-proofing, lighting, and layout logic to pull from not just a pile of bins. Nobody organizes a full garage in one afternoon, and starting with a single zone this weekend still counts as real progress.
Pick just one wall, measure it today, and sketch your three zones before you buy a single container. A garage that works stops feeling like a chore and starts feeling like the one room in the house where everything has an answer. Save this one before your next trip to buy bins you’ll want the zone list handy in the store.
Keep Exploring
- 12 IKEA Kallax Mudroom Ideas for a Functional Entryway
- 9 IKEA Kallax Workshop Storage Ideas for Serious DIYers
- 15 Garage Organization Ideas That Don’t Require a Full Remodel