11 IKEA Kallax Grandmillennial Styling Ideas for a Vintage Look
Grandmillennial style takes everything your grandmother did right chintz, brass, scalloped trim and lets a millennial edit it down until it feels fresh instead of fussy. Here are 11 ways to turn a plain IKEA Kallax into a piece that looks pulled from an estate sale, not a flat-pack box.
Picture warm ivory walls, a shelf lined with mismatched ironstone, and the kind of clutter that looks intentional. There’s a softness to this look pleated skirts, ruffled trim, brass pulls gone slightly warm with age that no sleek Scandinavian shelving unit can fake. It’s nostalgic without being dated. Layered without being cluttered. Grab your paintbrush. This one’s fun.
Quick Navigation
- Why Grandmillennial Style Works So Well
- 11 Grandmillennial Kallax Styling Ideas
- How to Start Your Grandmillennial Transformation
- Ready to Create Your Dream Grandmillennial Kallax?
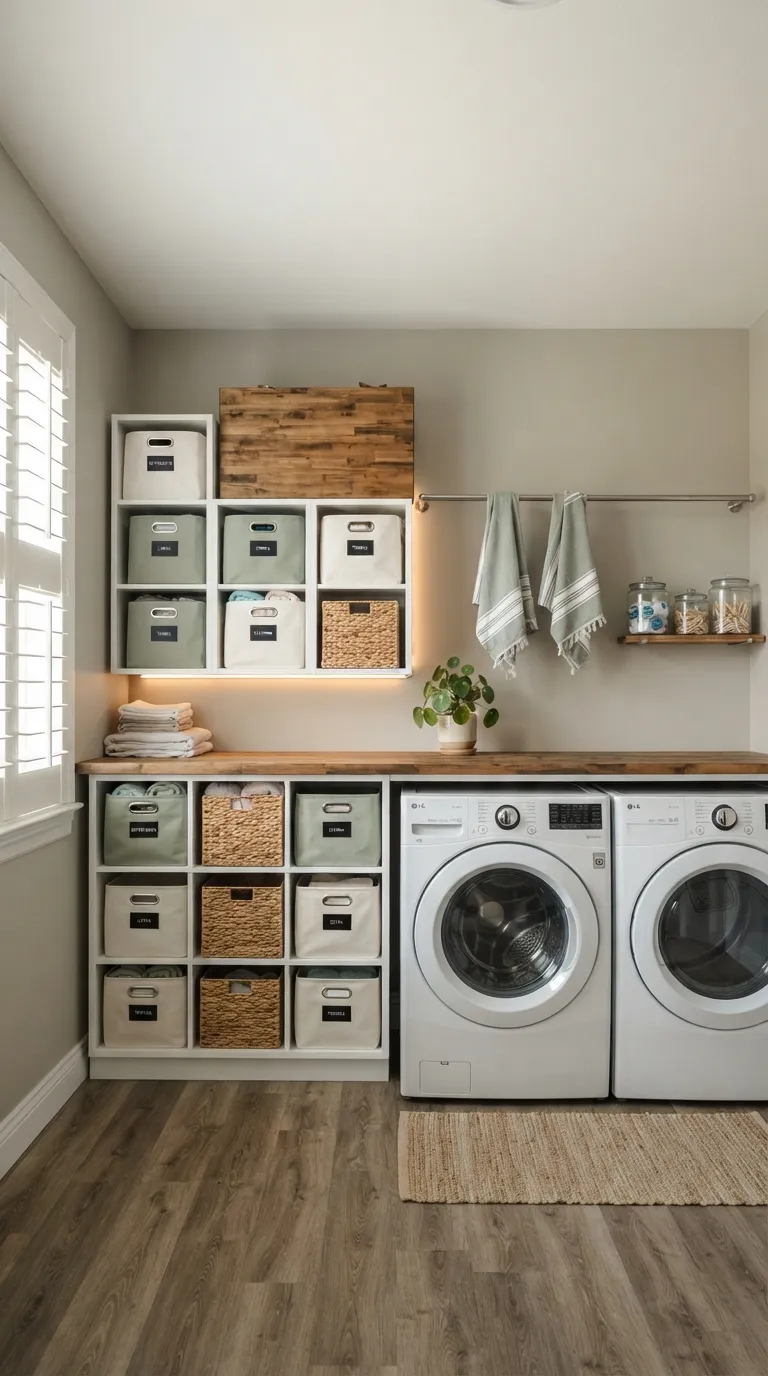
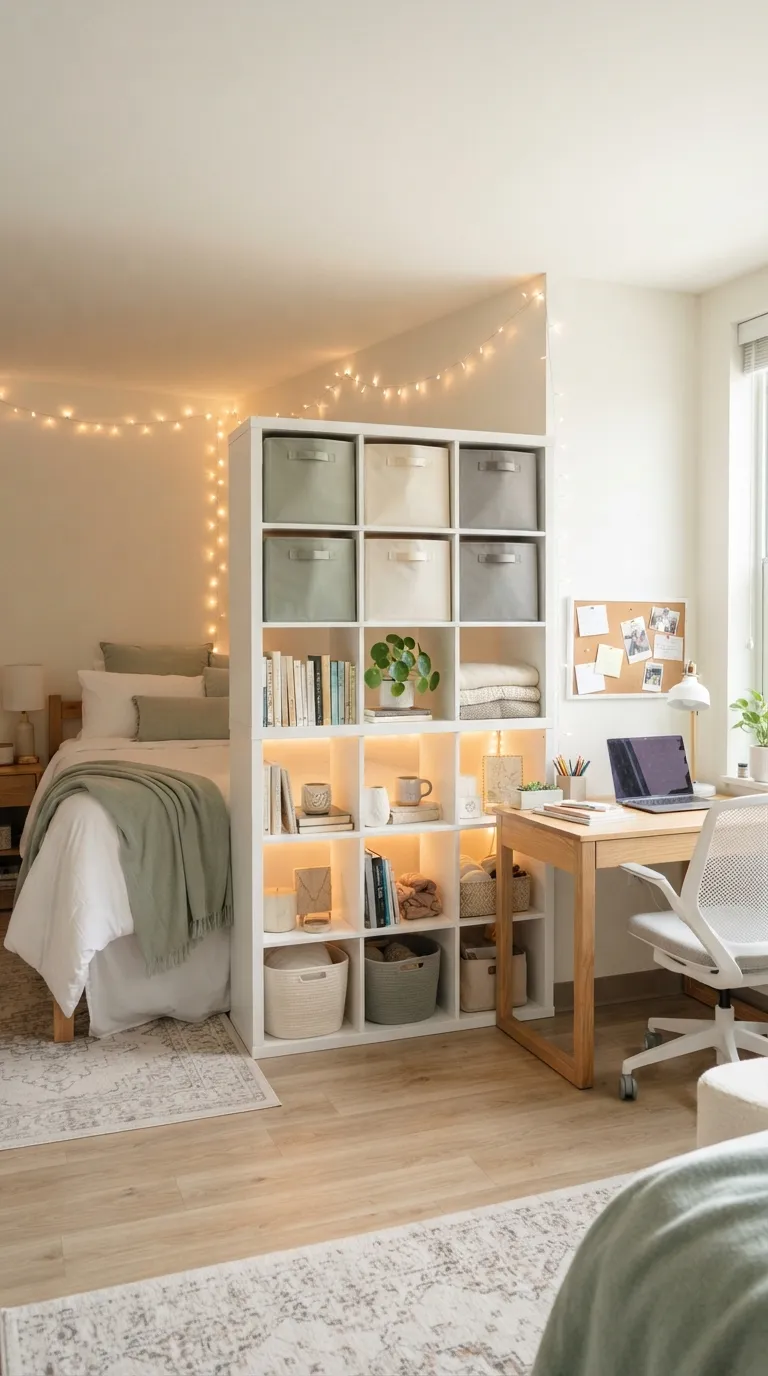
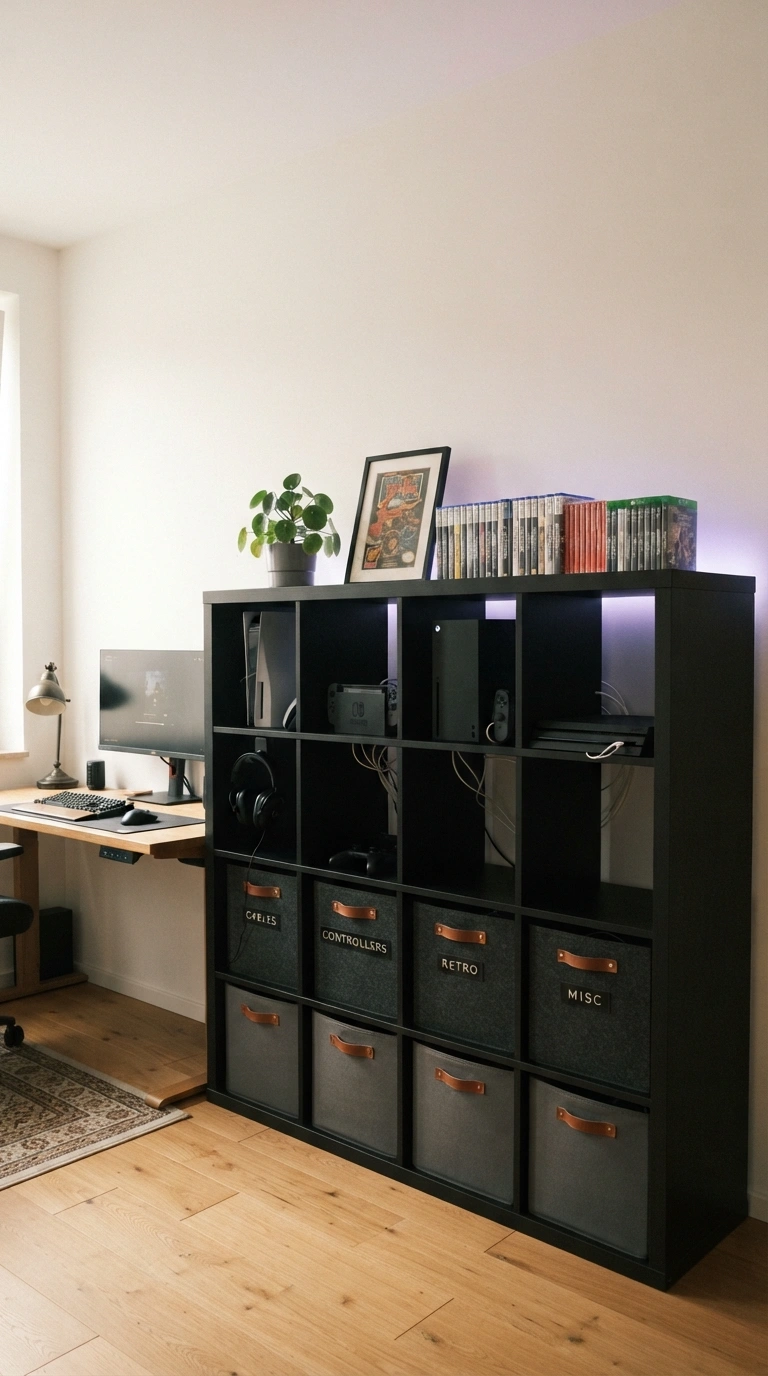
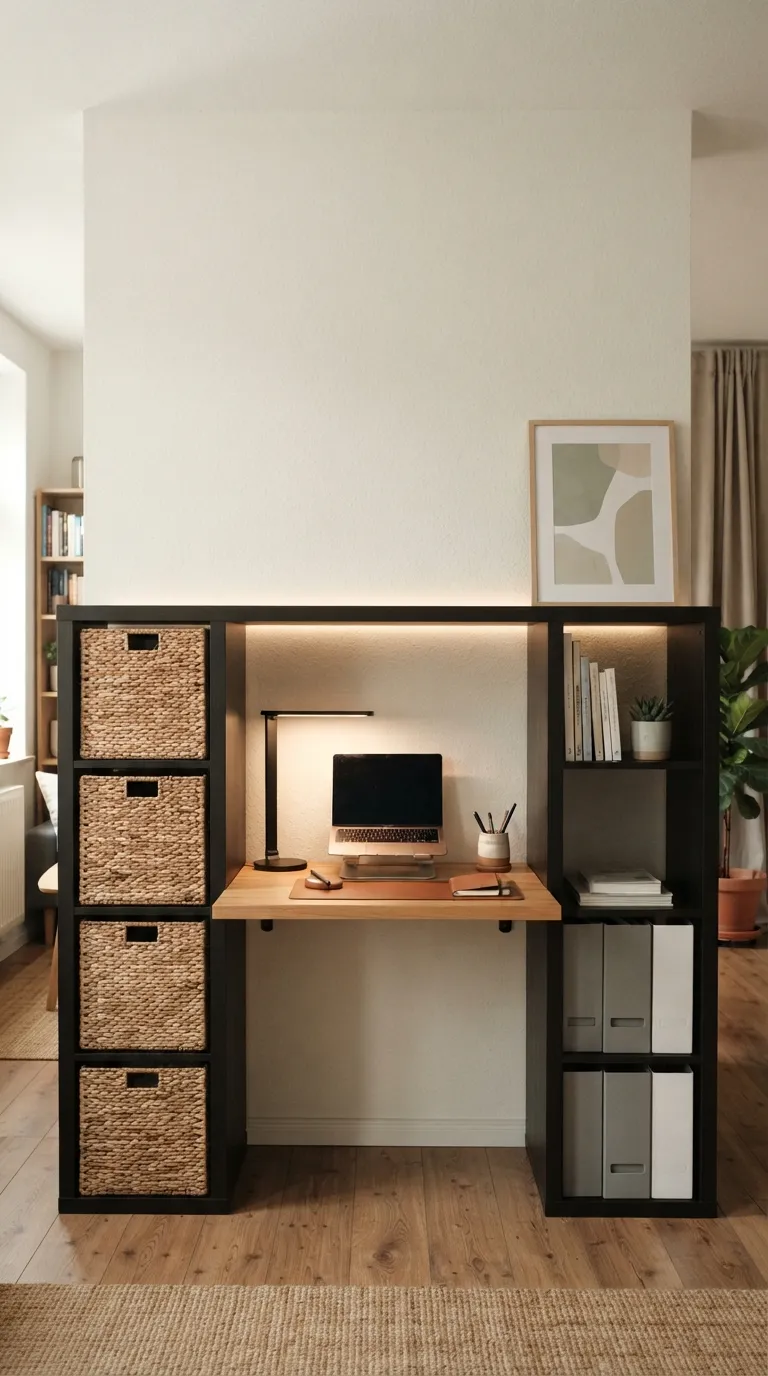
Why Grandmillennial Style Works So Well
Grandmillennial design pulls from the maximalist, heirloom-heavy interiors of the 1980s and softens them for a modern eye chintz florals and brass hardware sit next to clean-lined furniture instead of wall-to-wall pattern. The palette leans into warm ivory, dusty rose, and hunter green, paired with rattan, ticking stripe cotton, and aged brass.
It’s having a real moment right now as a reaction to sterile minimalism; people want rooms that feel collected, not curated. It works in small spaces too, as long as you edit the collectibles and let the Kallax’s grid do the organizing for you.
| Element | Traditional Charm | Modern Ease |
|---|---|---|
| Philosophy | Heirloom pieces, layered pattern | Clean grid, breathing room |
| Materials | Brass, rattan, ticking stripe | Painted MDF, glass, linen |
| Color palette | Dusty rose, hunter green | Warm ivory, soft black |
11 Grandmillennial Kallax Styling Ideas
1. Give the Frame a Painted Finish That Reads Vintage, Not Flat-Pack
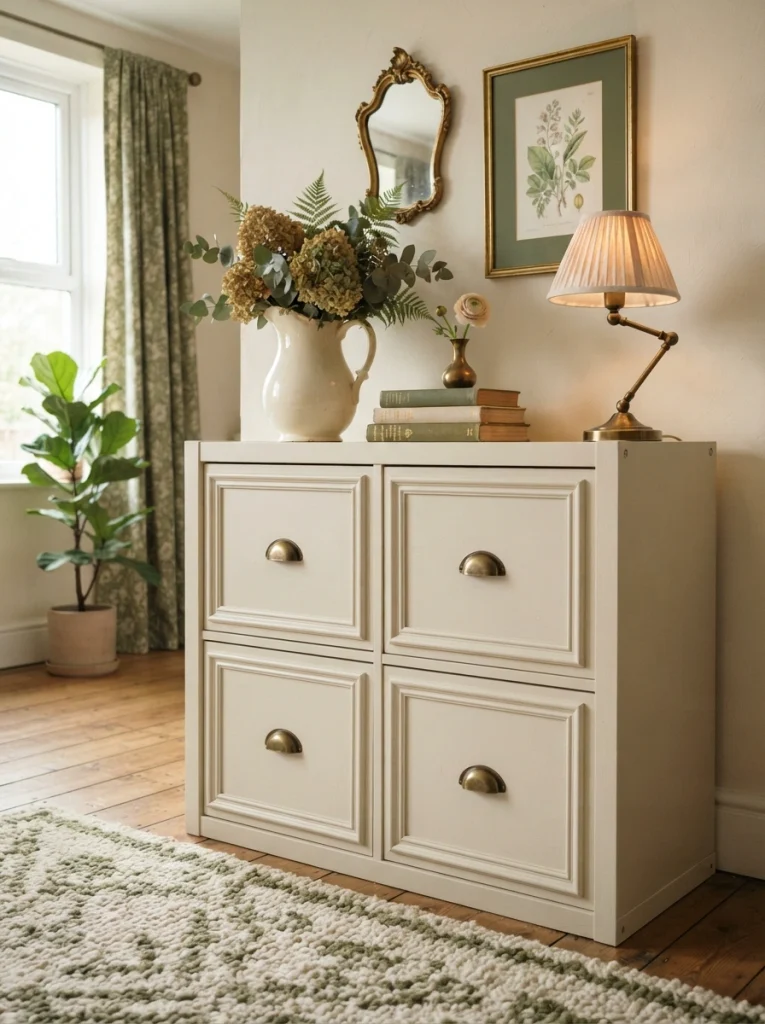
What it looks like: Sanded, primed, and dressed up with applied trim, the boxy frame stops reading as storage and starts reading as furniture someone’s grandmother might have paid for grounded, worn-in.
Why it works: Grandmillennial style leans on visual weight through applied detail. Picture-frame molding creates shadow lines that mimic real antique joinery, a trick pulled straight from genuine sideboards, and it changes how light moves across the surface.
How to copy it: Prime the laminate with a bonding primer, then apply thin MDF trim strips in a rectangle pattern on each door-sized section before painting the whole unit one warm shade.
Best for: Renters and first-time painters who want a dramatic before-and-after without buying new furniture.
Pro Tip: Skip painter’s tape on the trim seams a thin bead of paintable caulk hides the gap and makes the molding look original to the piece.
Shop This Look
| Product |
|---|
| Bonding primer for laminate furniture |
| Adhesive MDF trim molding strips |
| Angled sash paintbrush |
| Antique brass cup pulls |
| Clear furniture wax for a soft sheen |
If you want more base-treatment options before committing to paint, our broader Kallax styling roundup covers a dozen other finishes.
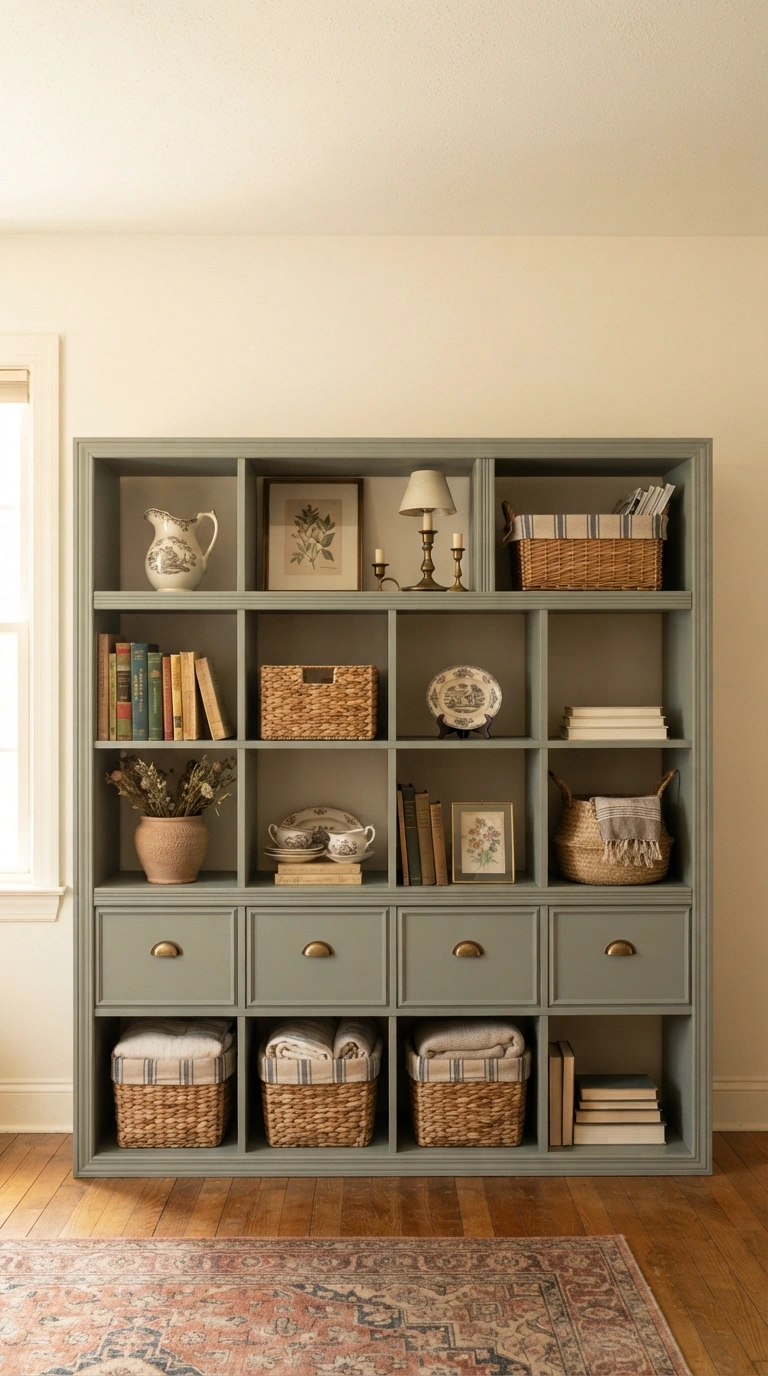
2. Choose a Dusty, Time-Worn Color Instead of Stark White
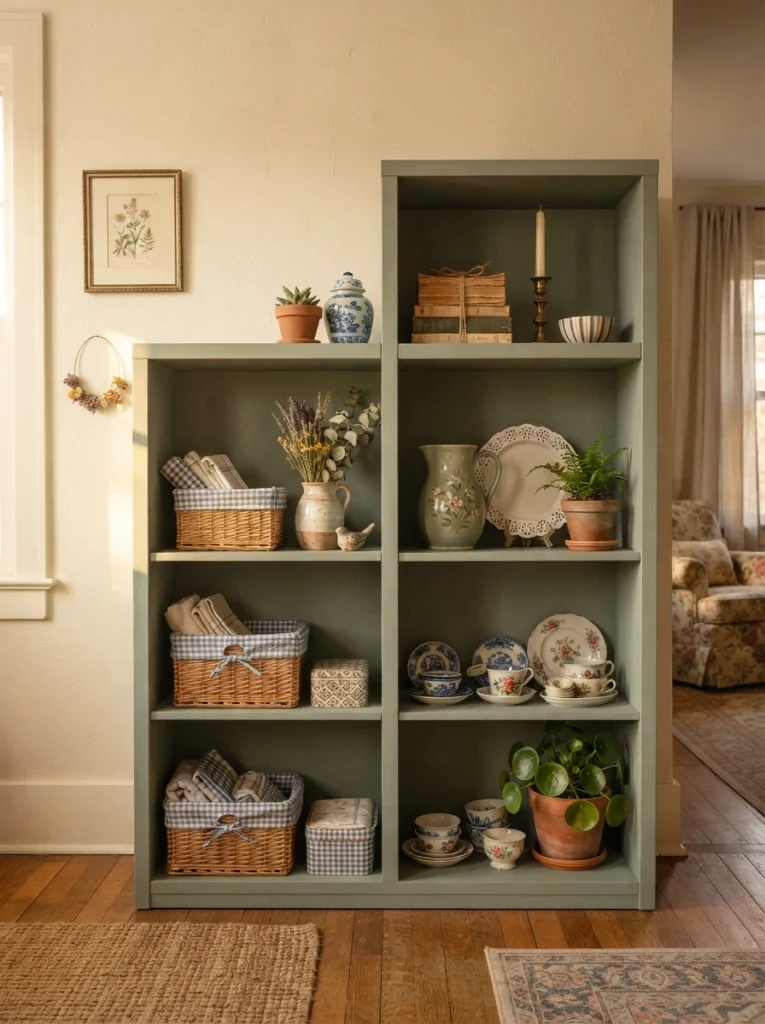
What it looks like: Painted in a chalky, slightly greyed-down hue sage, dusty rose, faded hunter green the unit reads as a piece with actual history instead of a big-box purchase.
Why it works: Grandmillennial palettes avoid pure white and pure black because both read as modern and cool. A desaturated color absorbs light instead of bouncing it, which is exactly the softening effect this style depends on.
How to copy it: Test a chalk-style paint with a greyed undertone and apply two thin coats with a mini foam roller so brush marks stay invisible rather than adding texture you didn’t ask for.
Best for: Decorators who already own patterned textiles or wallpaper and need the shelf to recede instead of compete.
Quick Win: Can’t commit to a full repaint? Do just the interior back panels in the accent color and leave the frame as-is same softness, half the work.
For more on this exact palette, our grandmillennial living room tour leans even further into dusty, faded tones.
3. Add Fluted or Beadboard Panels to the Back
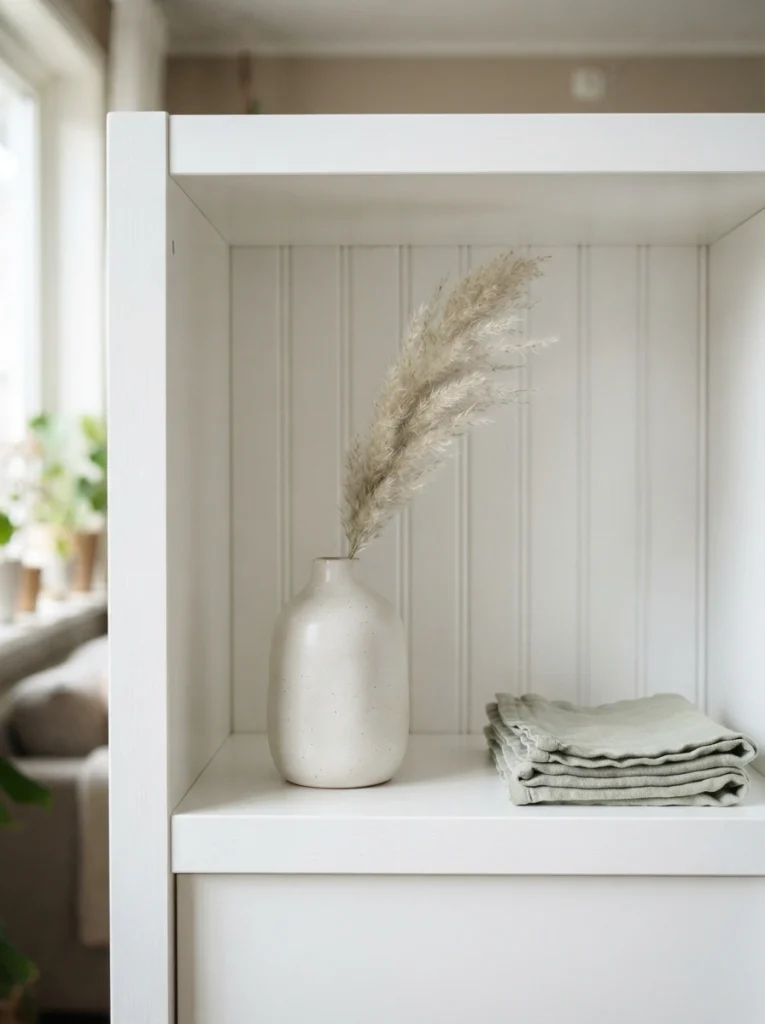
What it looks like: Instead of flat particleboard staring back at you, each cube gets a grooved, textured backdrop raw where the rest of the piece is smooth.
Why it works: Texture layering is the backbone of grandmillennial styling. A fluted or beadboard back panel adds shadow and depth behind whatever you display, so even an empty cube looks finished rather than hollow.
How to copy it: Cut thin beadboard paneling to fit each cube’s back interior dimension, paint it before installing, and attach with a light bead of construction adhesive rather than nails that could split the panel.
Best for: DIYers comfortable with basic cuts who want a built-in look without hiring a carpenter.
Warning: Don’t skip pre-drilling pilot holes if you add any hardware to the new panel particleboard splits easily, and a cracked back panel is much harder to hide than a bare one.
The next one is easy to pass over and it costs almost nothing.
4. Style the Cubbies Like a Curated Collection, Not Storage
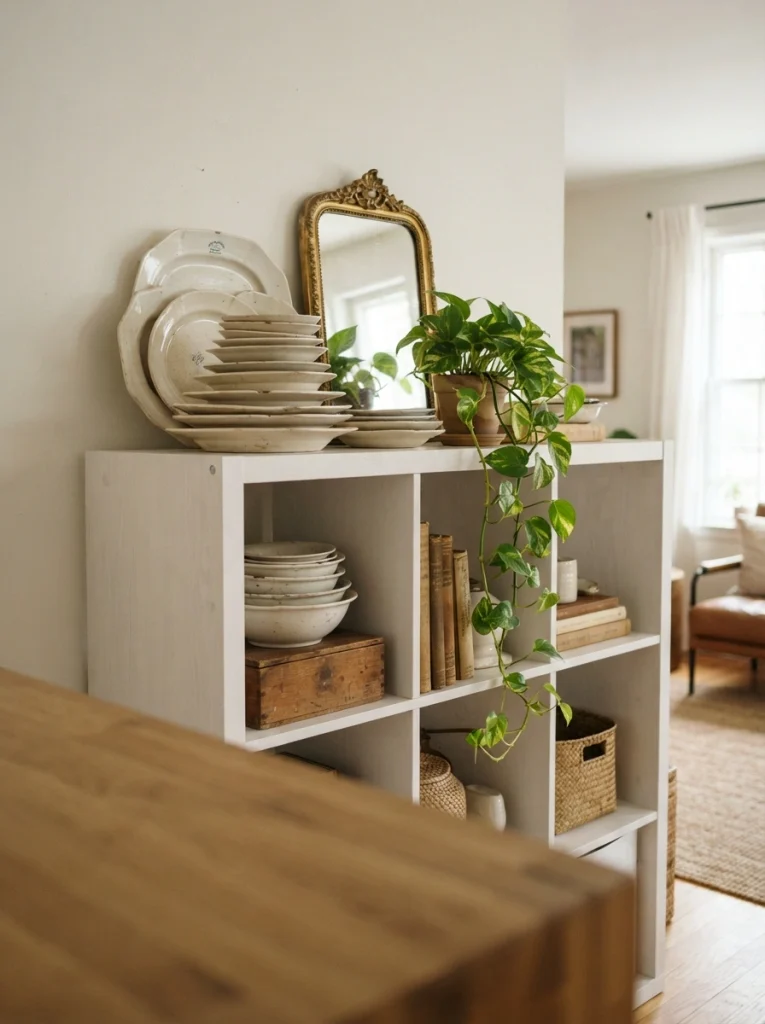
What it looks like: Each cube holds one small vignette instead of a jumble a stack of plates here, a single framed print there so the whole unit reads like a display case someone actually curated over years.
Why it works: Negative space is doing the heavy lifting. Grandmillennial collections look intentional because they leave breathing room around objects instead of packing every inch, which is the difference between “curated” and “cluttered.”
How to copy it: Fill roughly two-thirds of each cube and leave one-third empty, then repeat a single material brass, ironstone, or rattan across at least three cubes so the eye reads it as a set.
Best for: Maximalists who need a rule to stop themselves from overfilling every shelf.
Styling Note: Odd numbers of objects (three plates, not two) photograph and read better than even groupings it’s a small trick stylists use constantly.
Our Kallax bookshelf styling guide has more on balancing books against decor objects if this cube ends up holding both.
5. Light It Like an Heirloom Cabinet
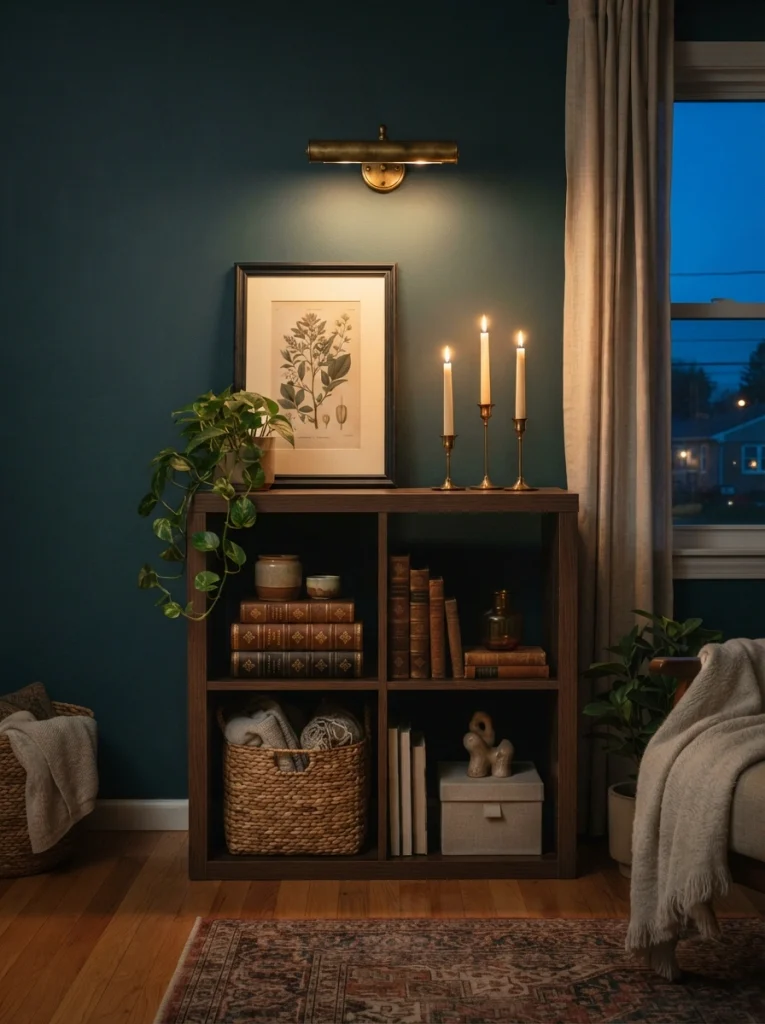
What it looks like: A slim brass picture light mounted above the unit throws a warm pool of light down across the top row, the way real cabinet lighting does in older homes.
Why it works: Light direction changes perceived value more than almost any other single choice. Overhead ceiling light flattens everything; a low, warm light source creates shadow and highlight that reads as considered rather than accidental.
How to copy it: Mount a battery-operated or plug-in brass picture light along the top edge of the unit, angled slightly downward, and swap any bulb for a warm 2700K temperature rather than daylight white.
Best for: Renters who can’t run new wiring but still want a designed, gallery-lit look.
Important: Most stick-on picture lights are too dim to matter past three feet check the lumen rating before buying, not just the style of the fixture.
6. Group Everything in Symmetrical Pairs
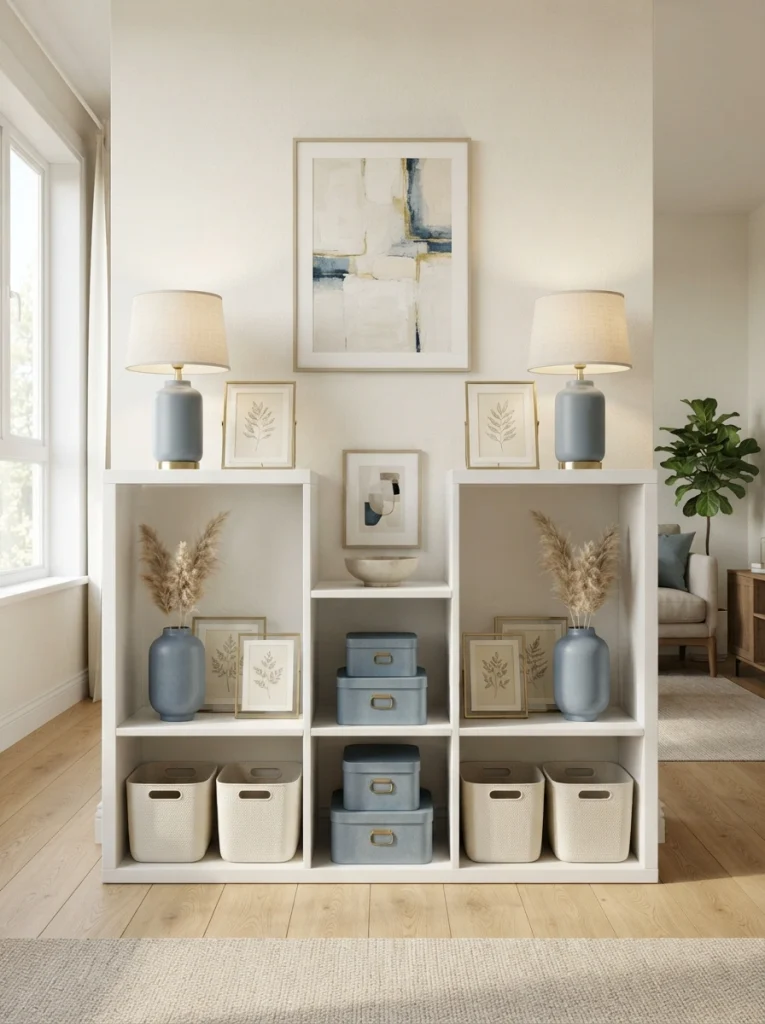
What it looks like: Objects appear in matching pairs on either side of a center point two lamps, two vases, two framed prints the way a formal china cabinet or console table is traditionally dressed.
Why it works: Symmetry reads as calm and traditional, which balances out the visual noise from patterned textiles and collected objects elsewhere in the room. It’s the one design principle grandmillennial rooms almost never break.
How to copy it: Pick a center cube as your anchor point, then mirror every object type outward from it same lamp on both far ends, same vase shape one row in using this sequence:
✅ Symmetrical Styling Checklist:
- [ ] Choose your center cube and mark it as the visual anchor
- [ ] Place your tallest matched pair (lamps or vases) on the two outer ends
- [ ] Fill the cubes between the anchor and the pairs with books or baskets, matched in height
- [ ] Step back six feet and check that both sides feel equally weighted, not identical object-for-object
Best for: Formal living and dining spaces where the Kallax stands in for a proper sideboard.
Shop This Look
| Product |
|---|
| Matching ceramic table lamps |
| Pair of scalloped-edge ceramic vases |
| Matching botanical framed prints |
| Woven storage baskets in a matched set |
| Brass bookends |
For a fuller take on this exact symmetrical, sideboard-style layout, see our elegant dining room ideas.
This one is all about the material that anchors the style.
7. Paint the Trim a Contrasting Shade for Built-In Depth
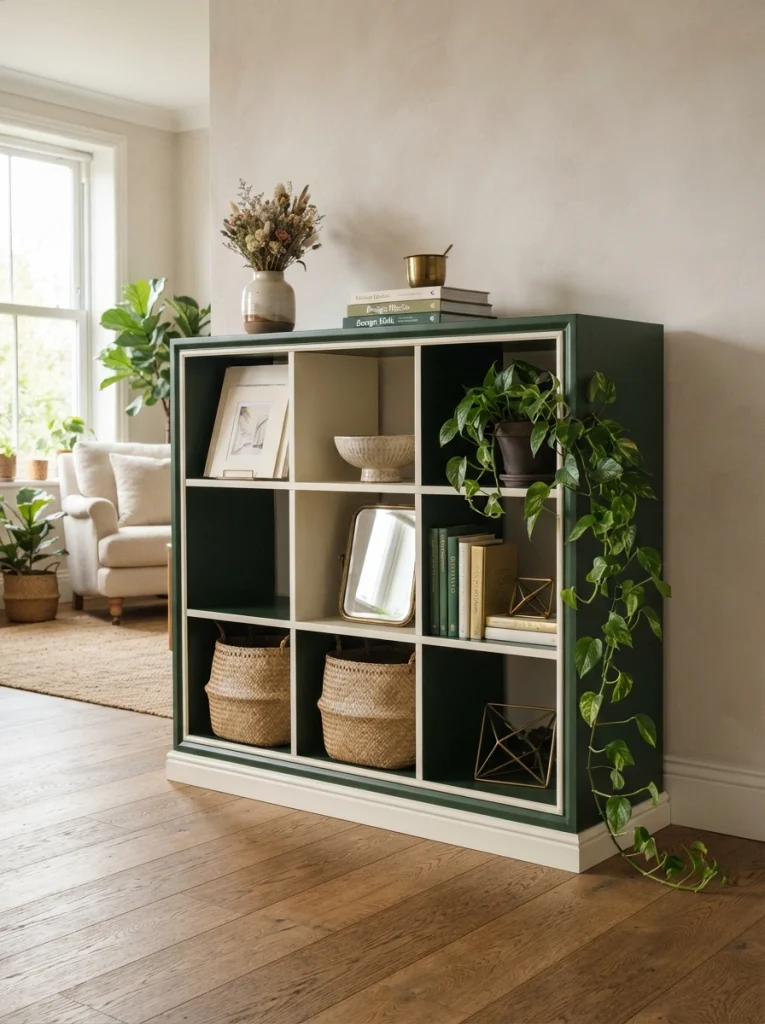
What it looks like: The main frame goes dark and rich while the applied trim stays a lighter cream, so the molding pattern pops instead of disappearing into a single flat color.
Why it works: Contrast makes applied detail legible from across a room. A single-color paint job hides all that trim work you added in idea one; splitting the palette lets the eye register the built-in look.
How to copy it: Paint the flat frame surfaces first in your darker shade, let it fully cure, then hand-paint just the raised trim lines in the lighter color using a small angled brush for control.
Best for: Anyone who already added molding and feels like it’s reading as flat rather than dimensional.
Budget Version: A sample-size pot of contrast paint and a $6 artist’s brush is all this takes you don’t need a full quart for trim lines this thin.
8. Swap the Bins for Wicker and Brass
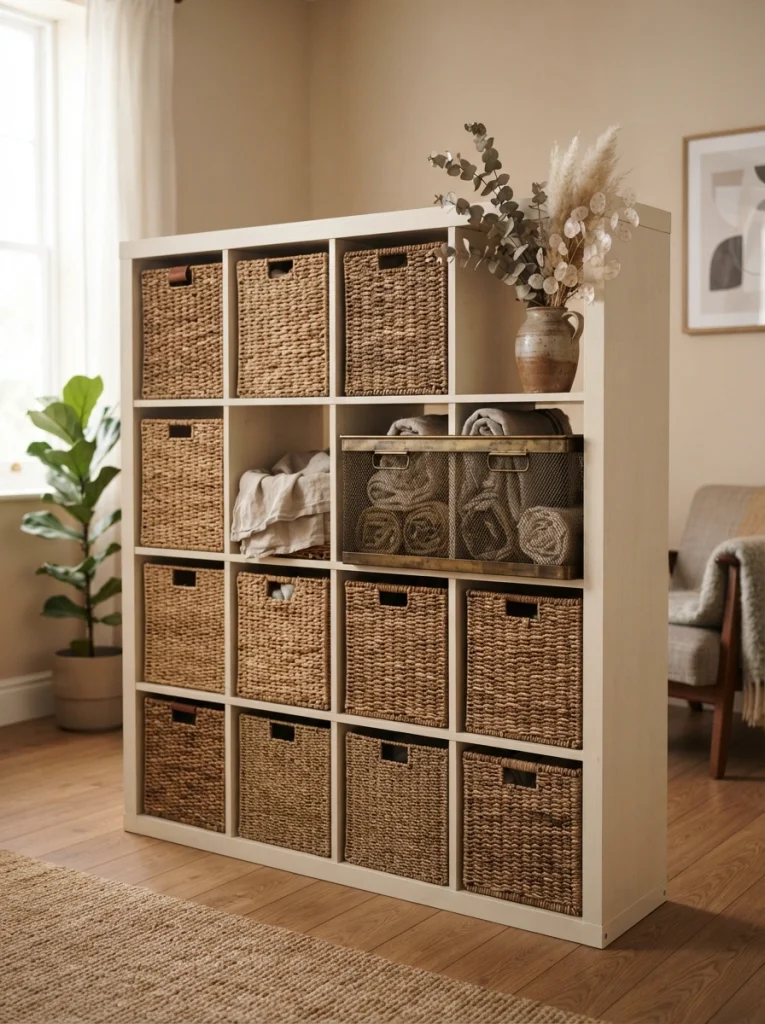
What it looks like: Plastic or fabric storage bins get replaced with woven rattan baskets and the occasional brass mesh bin, softening every hard edge in the unit at once.
Why it works: Material contrast against the painted frame is what keeps this look from feeling flat. Woven natural fiber next to smooth painted MDF creates the layered texture grandmillennial rooms are built on.
How to copy it: Measure your cube opening (typically 13 by 13 inches for a standard Kallax) before buying, and mix at least two basket textures smooth rattan and a coarser seagrass rather than matching everything.
Best for: Anyone tired of the sleek, uniform bin look that reads more office than heirloom.
Pro Tip: Line rougher baskets with a scrap of ticking stripe fabric if they’re catching on delicate items it also adds a pattern layer for free.
Shop This Look
| Product |
|---|
| Woven rattan storage baskets, cube size |
| Brass mesh wire storage bin |
| Seagrass baskets with leather handles |
| Ticking stripe fabric liners |
| Small brass basket labels |
More natural-material swaps like this one are in our boho Kallax styling guide, which leans into the same woven textures from a different angle.
9. Layer Books Spine-In for an Old-Library Look

What it looks like: Instead of colorful spines facing out, books get turned backward so their aged page edges show a quiet, almost monochrome texture that reads more library than bookstore.
Why it works: Removing the visual noise of book spines lets texture and tone carry the shelf instead of color. It’s a trick real prop stylists use because faded page edges photograph as warm and neutral no matter what’s printed inside.
How to copy it: Turn one full cube’s worth of books spine-in, stack a few horizontally on top as a small pedestal, and set one object a magnifying glass, a small bust, a shell on that stack.
Best for: Anyone whose book collection has mismatched, too-colorful spines fighting the rest of the palette.
Small-Space Tip: In a tight room, spine-in books also visually quiet the whole wall down, making the space feel less busy without removing a single item.
My Views:
Here’s something most guides won’t tell you: grandmillennial styling falls apart fastest not from too few objects, but from too many colors of ceramic in one cube. In real client rooms, capping each cube at two glaze colors say, ivory and celadon kept a cluttered-looking Kallax from reading as messy, even at eleven objects deep.
10. Raise It on Turned Legs to Fake a Real Console
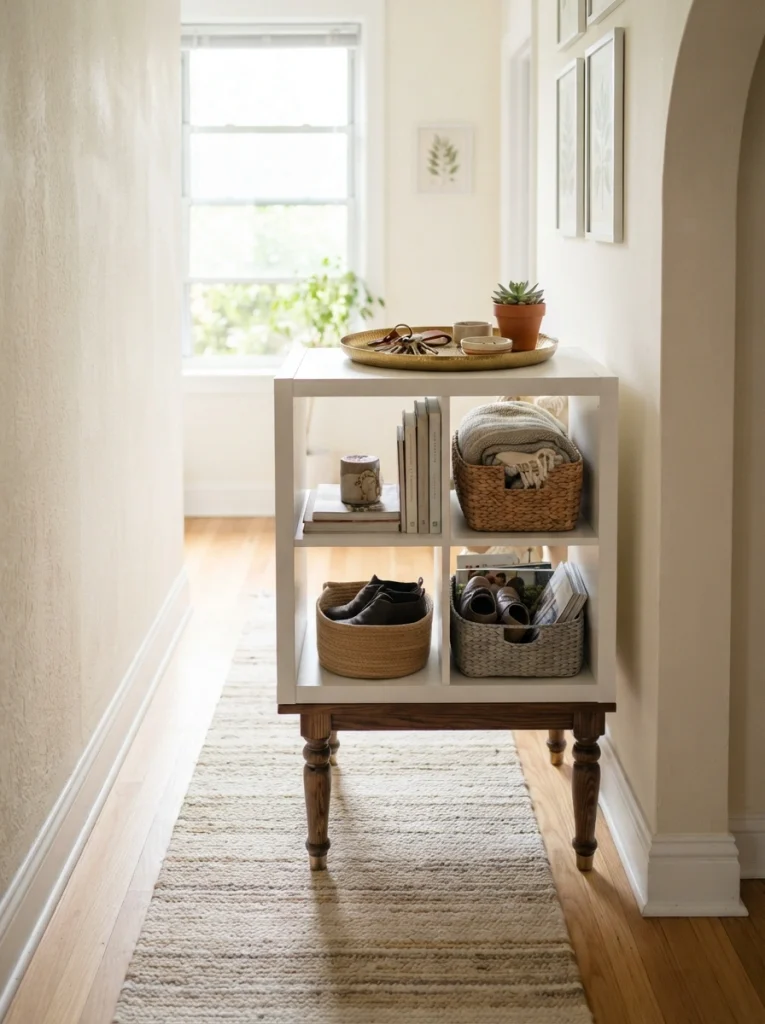
What it looks like: Lifted a few inches off the floor on turned wooden legs, the unit suddenly has a visible gap beneath it the single detail that separates real furniture from a stacked storage cube.
Why it works: Floor-level furniture reads as heavy and utilitarian; anything raised on legs reads as considered and finished. That small gap also bounces light underneath, making the whole piece feel lighter in a narrow or small room.
How to copy it: Attach a set of screw-in furniture legs (2 to 4 inches tall) to the factory-drilled corner holes on the unit’s base, checking that your floor is level before final tightening.
Best for: Small entryways or hallways where floor-hugging furniture makes the space feel more cramped.
Important: Standard Kallax units aren’t pre-threaded for legs the way real furniture is you’ll likely need leg plates or T-nuts, not just screws directly into particleboard.
Shop This Look
| Product |
|---|
| Screw-in turned furniture legs, 3-inch |
| Furniture leg mounting plates |
| Woven hallway runner rug |
| Small brass entryway tray |
| Furniture floor protectors |
If floor space is the real constraint, our under-stairs Kallax storage ideas tackle a few more tight-footprint tricks.
Here’s a detail that’s easy to skip and worth a second look.
11. Finish the Base With a Pleated Fabric Skirt
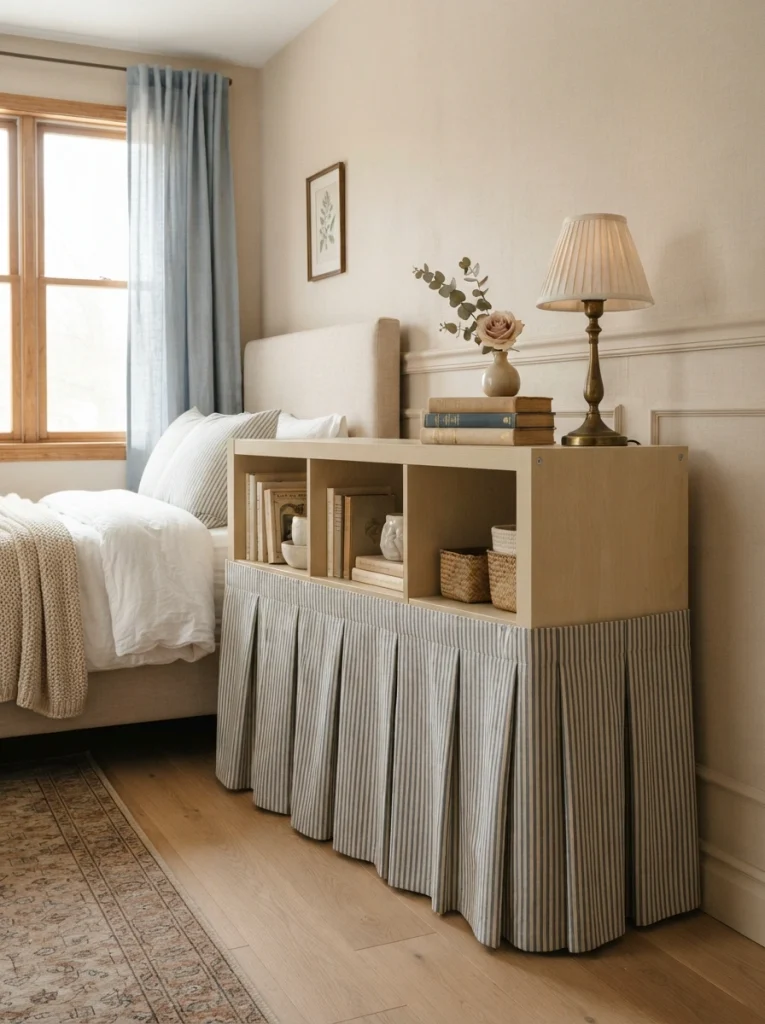
What it looks like: A box-pleated fabric skirt attached around the base hides the legs entirely and gives the whole piece a soft, dressed silhouette more like an upholstered dressing table than a shelving unit.
Why it works: This is the most transformative move on the list because it hides the one part of the Kallax that always reads as flat-pack the plain bottom edge and replaces it with fabric, which no laminate furniture piece can convincingly fake.
How to copy it: Measure the base perimeter, box-pleat a cotton ticking stripe or gingham fabric to that length plus extra for pleats, and attach it with heavy-duty hook-and-loop tape along the top edge so it stays removable for washing.
Best for: Bedrooms or nurseries where a softer, less boxy silhouette matters more than easy wipe-down surfaces.
Mistake to Avoid: Skipping the extra pleat allowance is the most common error here flat, unpleated fabric skirts look like a slipcover accident, not an intentional design choice.
Our Kallax TV console ideas show a similar statement-piece treatment if this base ends up anchoring a media wall instead.
How to Start Your Grandmillennial Transformation
What I’ve found with real spaces is that paint always comes first. Choose your dusty, time-worn wall or frame color before buying a single accessory it’s the one decision every other choice gets measured against, and repainting later means restyling everything on top of it too.
The most common mistake beginners make is over-decorating every single cube at once. Grandmillennial style depends on negative space between objects; fill every inch and it reads as cluttered instead of collected. Fix it by styling one cube fully, stepping back, and repeating only what actually looks intentional.
Three items under $50 that make an immediate difference: a set of antique brass cup pulls to swap onto the frame, a single ironstone pitcher from a secondhand shop for instant patina, and a yard of ticking stripe fabric to line one basket or drape one shelf edge.
A weekend covers the painted frame and hardware swap for around $40 to $80 in supplies. A full transformation trim, legs, fabric skirt, and styling objects realistically takes two to three weekends and runs $150 to $400 depending on how much you thrift versus buy new.
Ready to Create Your Dream Grandmillennial Kallax?
Between the dusty paint colors, the woven baskets, and the symmetrical styling tricks, there’s a version of this list that fits almost any room in the house. Nobody needs to tackle all eleven ideas in one weekend pick the one that solves your biggest complaint about the unit right now and build from there.
Tonight, that might just mean swapping the hardware for brass cup pulls while the paint idea sits in the back of your mind. The whole point of grandmillennial style is that a room should feel lived-in and gathered over time, not finished in a single trip to the store. Save this one so you’ve got the full list handy when you’re ready to tackle the next idea.
You Might Also Like
- 9 Vintage-Inspired IKEA Kallax Hacks for a Cottagecore Bedroom
- 12 Grandmillennial Living Room Ideas Beyond the Kallax
- 7 Places to Thrift Ironstone and Brass for a Grandmillennial Home on a Budget