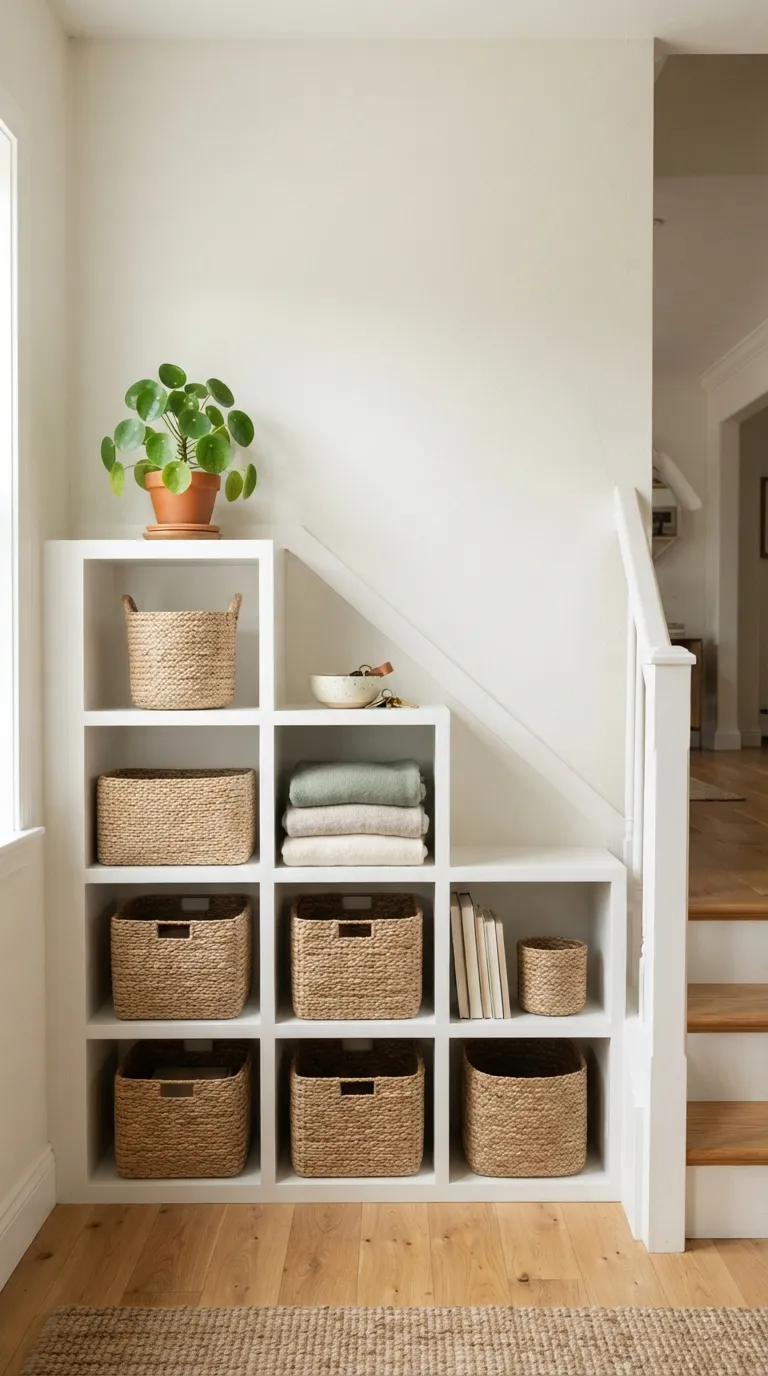
10 IKEA Kallax Under-Stairs Storage Ideas for Awkward Nooks
That triangular dead zone under the staircase doesn’t have to stay a dumping ground for stray shoes and forgotten boxes a few IKEA Kallax units, configured right, turn it into real storage. This guide walks through 10 Kallax-based ideas built specifically for the odd angles and shrinking depth of an under-stairs nook.
Done right, that corner stops feeling like an apology and starts pulling its weight shoes have a home, the entry breathes a little easier, and nobody’s stepping over anything on the way out the door. It’s the kind of fix that takes a weekend, not a renovation budget. Here’s where to start.
Quick Navigation
- Why IKEA Kallax Under-Stairs Storage Makes Such a Difference
- Stagger Kallax Units to Trace the Stair Line
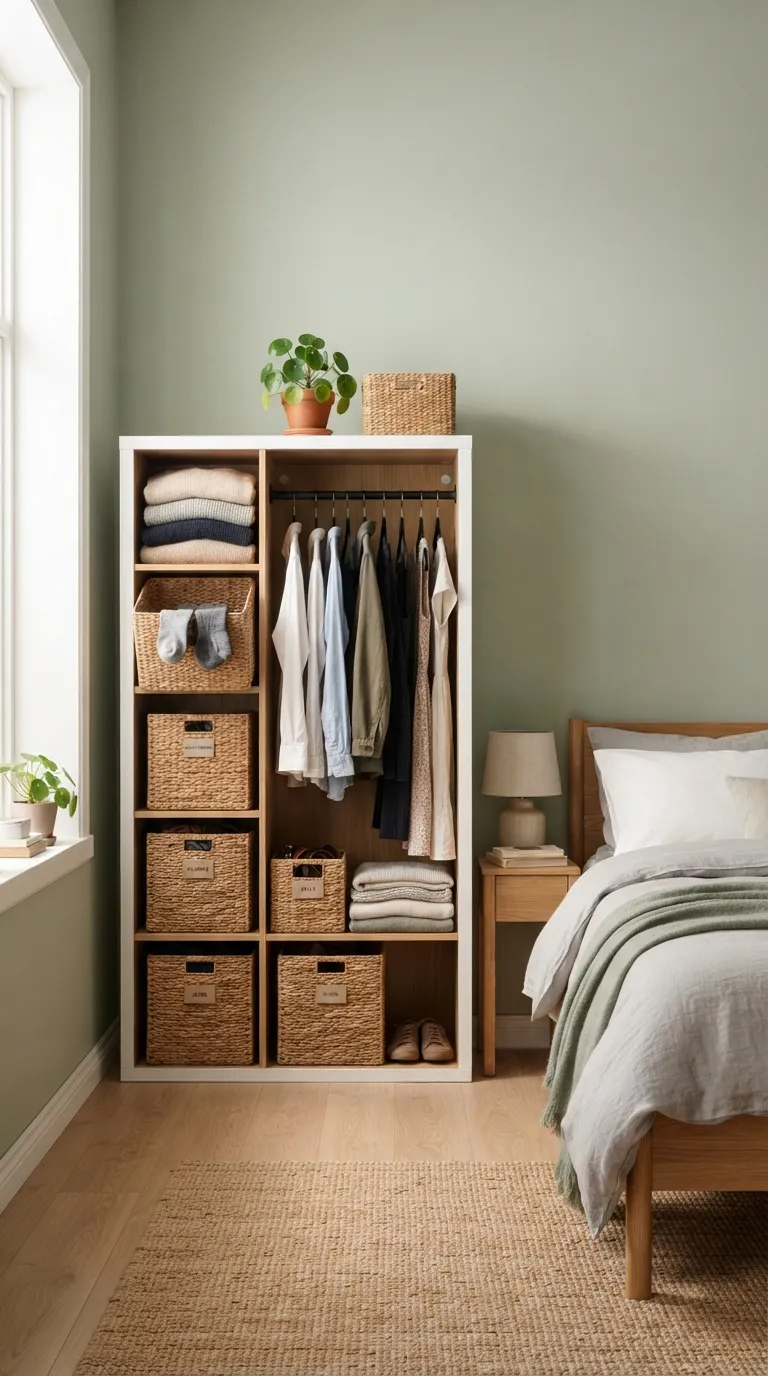
- Turn the Tallest Section Into a Bench Seat
- Add Scribe Trim So the Units Read as Built-In
- Paint the Units to Match the Stair Risers
- Swap to the Slimmer Kallax Line for the Shallowest End
- Mix Closed Boxes With Open Cubbies
- Run LED Strips Along the Cubby Backs
- Pair a Rolling Drawer Unit With Kallax for Entry Storage
- Use a Contrast Color Inside the Cubbies Only
- Add Door Inserts to Create a Kids’ Cubby Zone
- How to Start Your IKEA Kallax Under-Stairs Storage Transformation
- Ready to Create Your Dream IKEA Kallax Under-Stairs Storage Nook?
Why IKEA Kallax Under-Stairs Storage Makes Such a Difference
Under-stairs storage exists because builders leave a triangle of dead space too awkward for standard furniture full-depth dressers don’t fit, and custom carpentry runs $2,000 and up. The Kallax system works here because its modular cubes come in enough sizes to stack, stagger, or turn sideways to trace the slope above.
Entryway storage searches spike every fall, and small-footprint fixes outsell full renovations by a wide margin. In a genuinely tight nook, tackle the tallest section first that’s where a standard-height unit needs zero modification.
| Best starting point | Measure the triangle in 6-inch increments from the tall wall to where it meets the floor |
| Biggest impact area | The tallest end, where a full-height unit fits with no cutting |
| Budget to start | $150–$400 for two to three units plus inserts |
| Time to complete | A weekend for assembly and anchoring |
Most under-stairs projects fail not from a bad layout but a skipped measurement that’s the mistake worth avoiding first.
1. Stagger Kallax Units to Trace the Stair Line
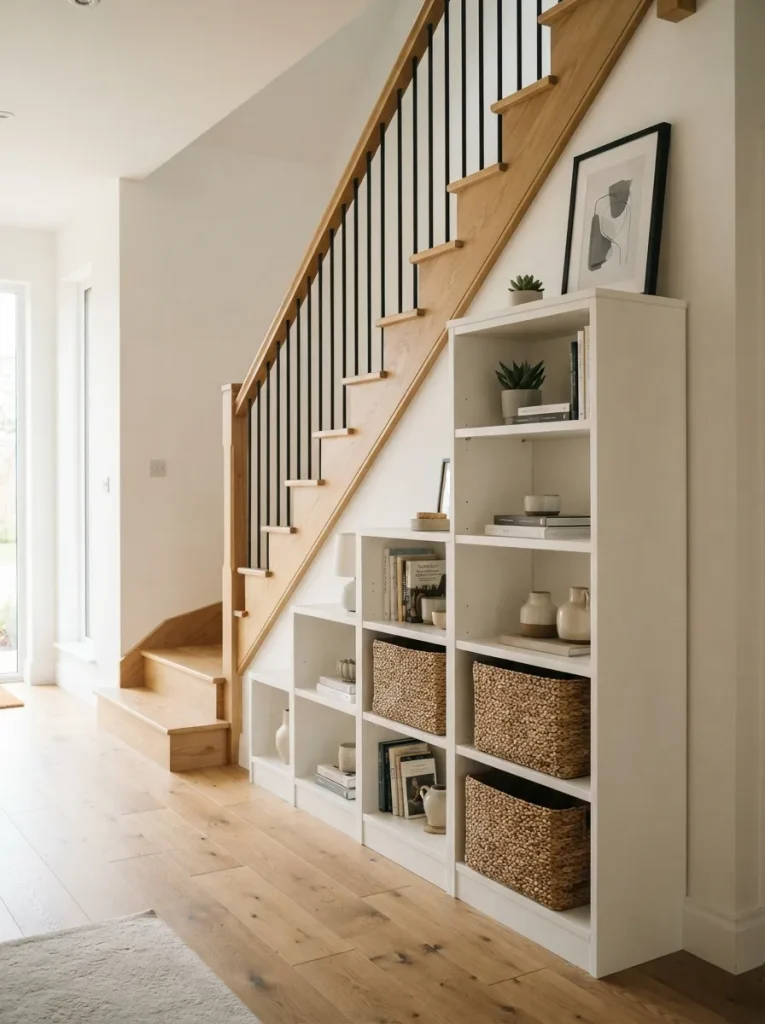
What it looks like: A run of shelving that steps down in height, following the stair line instead of fighting it.
Why it works: Staggering avoids wasted air above the shortest section a design principle of matching proportion to available space and the stepped silhouette reads intentional rather than crammed in.
How to copy it: Measure from the tall wall in 6-inch increments to find where the slope drops below shelf height, then buy separate smaller units sized to each step rather than one long run.
Best for: Homeowners with a long, gradually sloping stair wall and a reasonably deep triangle. For more ways to configure the same modular units, these Kallax styling ideas are worth a look.
Warning: The costliest mistake here is bolting a tall section directly to the angled stair stringer instead of the vertical back wall the fasteners have nothing solid to bite into, and the unit works loose within months. Anchor every tier to wall studs, never the slope itself.
Shop This Look
| Product |
|---|
| Kallax-style 4×4 cube shelving unit |
| Kallax-style 2×2 cube shelving unit |
| Heavy-duty anti-tip wall anchor kit |
| L-bracket shelf anchors |
Next up is the shortcut that makes a whole wall of storage disappear into the paint.
2. Turn the Tallest Section Into a Bench Seat
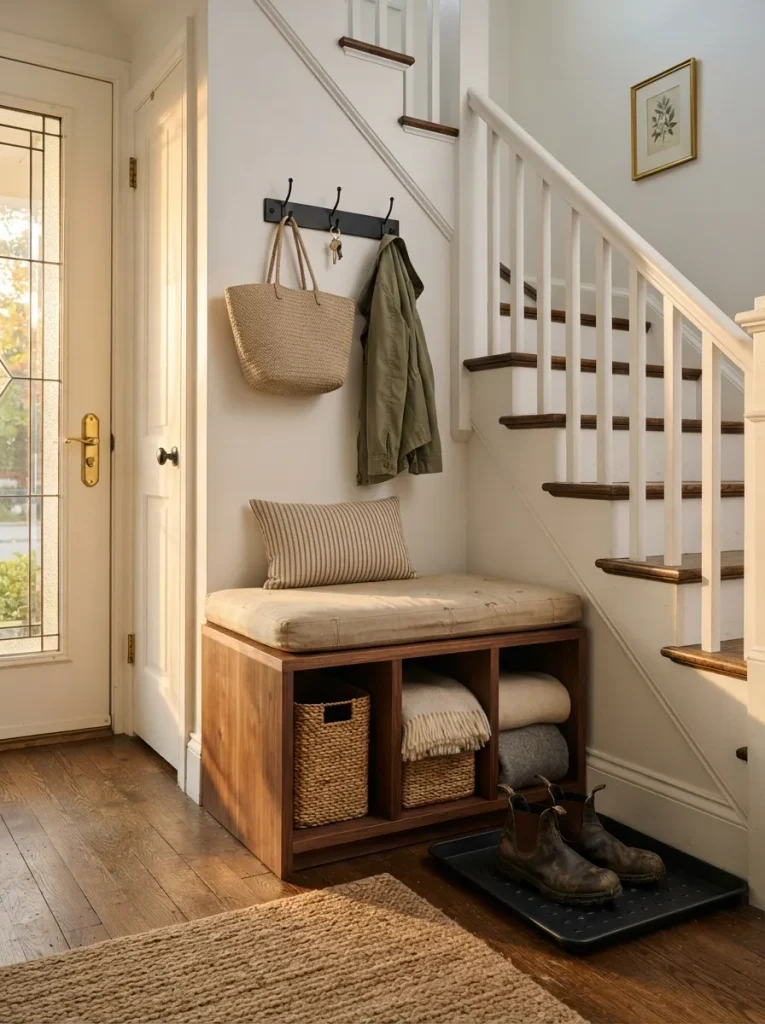
What it looks like: A low bench with a fabric-topped cushion sitting flush against the wall, storage tucked below.
Why it works: A piece doing two jobs at once reduces visual clutter furniture that pulls double duty registers as less stuff, even when it’s storing the same amount.
How to copy it: Lay a horizontal shelf unit on its side, secure it to the back wall with anti-tip brackets, then top it with a foam cushion cut to size and wrapped in a washable canvas cover.
Best for: Entryways where people actually sit down to put on shoes for more entry-specific layouts, see these Kallax entryway ideas.
Small-Space Tip: If the ceiling slope cuts in fast, drop to a narrower two-cube-wide unit instead of a four-wide one you lose a couple of cubbies but keep full headroom to sit comfortably.
3. Add Scribe Trim So the Units Read as Built-In
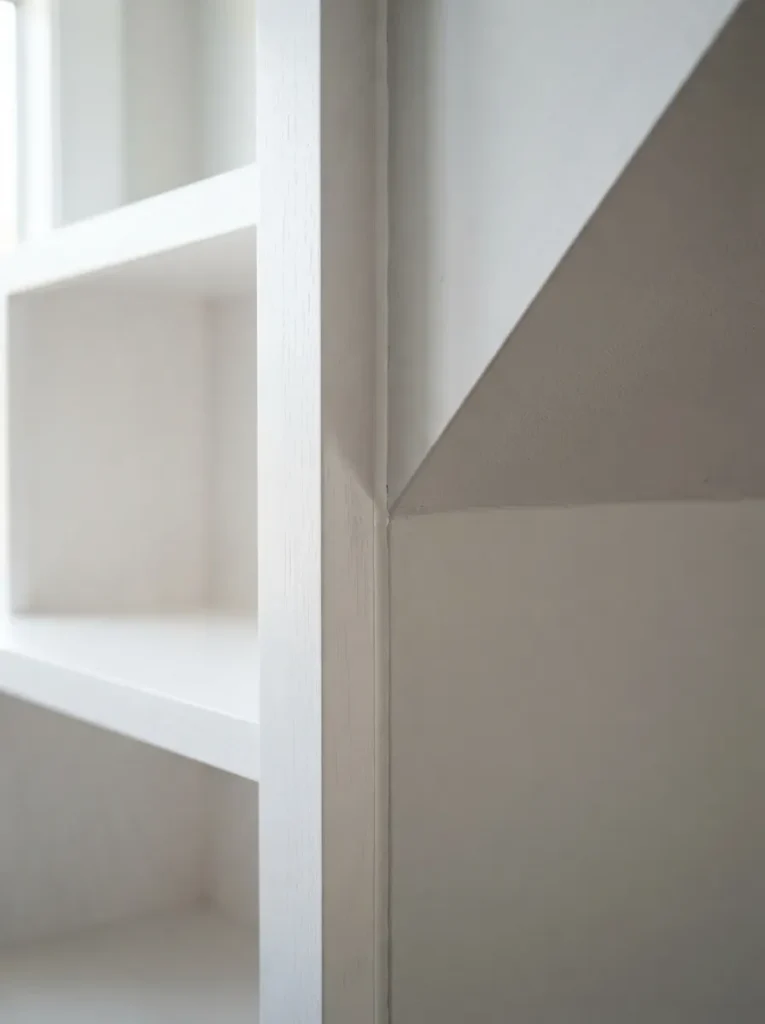
What it looks like: A seamless join where the shelf meets the sloped wall, with no visible gap or shadow line.
Why it works: Removing that shadow gap creates a continuous sightline, which is the difference between furniture that reads as flat-pack and one that reads as built-in carpentry.
How to copy it: Cut a paintable trim strip to match the wall’s angle with a bevel cut, caulk the seam where it meets the unit, then paint the trim to match.
Best for: Renters who want a built-in look without permanent construction trim like this comes off cleanly later. If drilling into walls isn’t an option at all, these no-drill Kallax hacks cover other workarounds.
Pro Tip: Cut the trim strip about an eighth-inch long and shave it down on-site with a block plane. Pre-cutting to the exact angle almost always leaves a visible gap once the unit settles.
4. Paint the Units to Match the Stair Risers
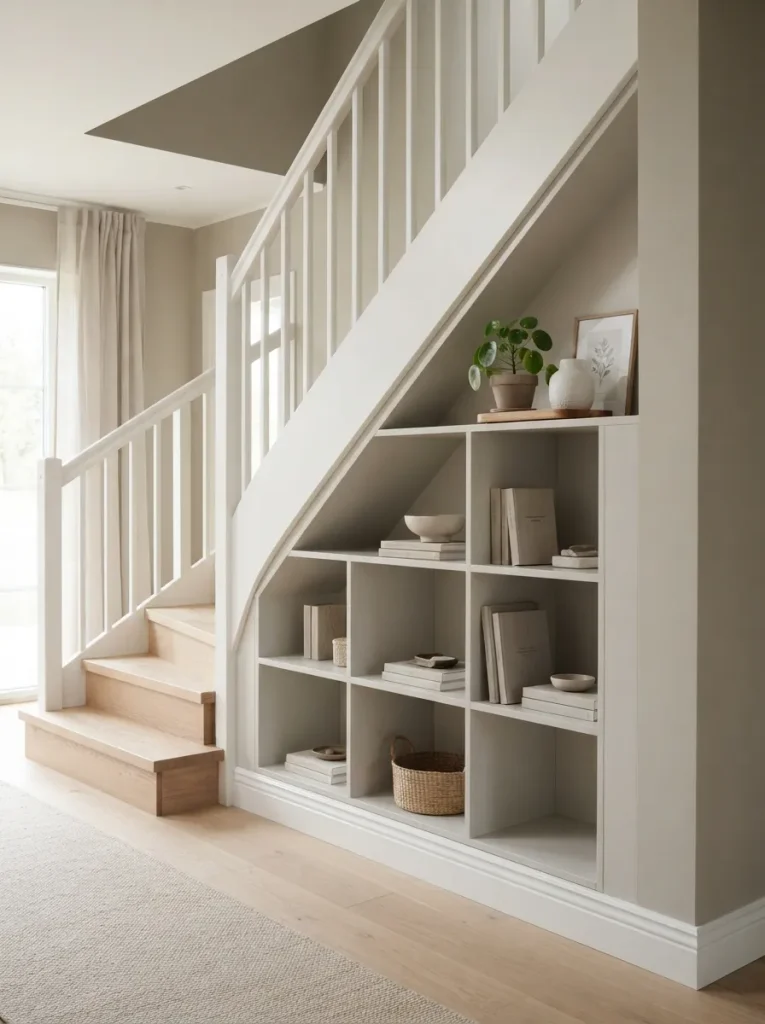
What it looks like: A wall of storage nearly disappearing into the surrounding trim color.
Why it works: Color continuity reduces visual mass a large object painted to match its surroundings reads as architecture, not as a piece of furniture someone dragged in.
How to copy it: Sand the laminate finish lightly with 220-grit sandpaper, prime with a bonding primer made for melamine surfaces, then finish in the exact paint used on the stair risers or trim.
Best for: Anyone with light-painted stair trim already in place to match against. This pairs well with the pared-back palettes in these Scandinavian Kallax styling ideas.
Budget Version: Skip the sand-and-prime step entirely by buying the unfinished birch-veneer version of the unit it takes paint directly, saving both time and the cost of a bonding primer.
5. Swap to the Slimmer Kallax Line for the Shallowest End
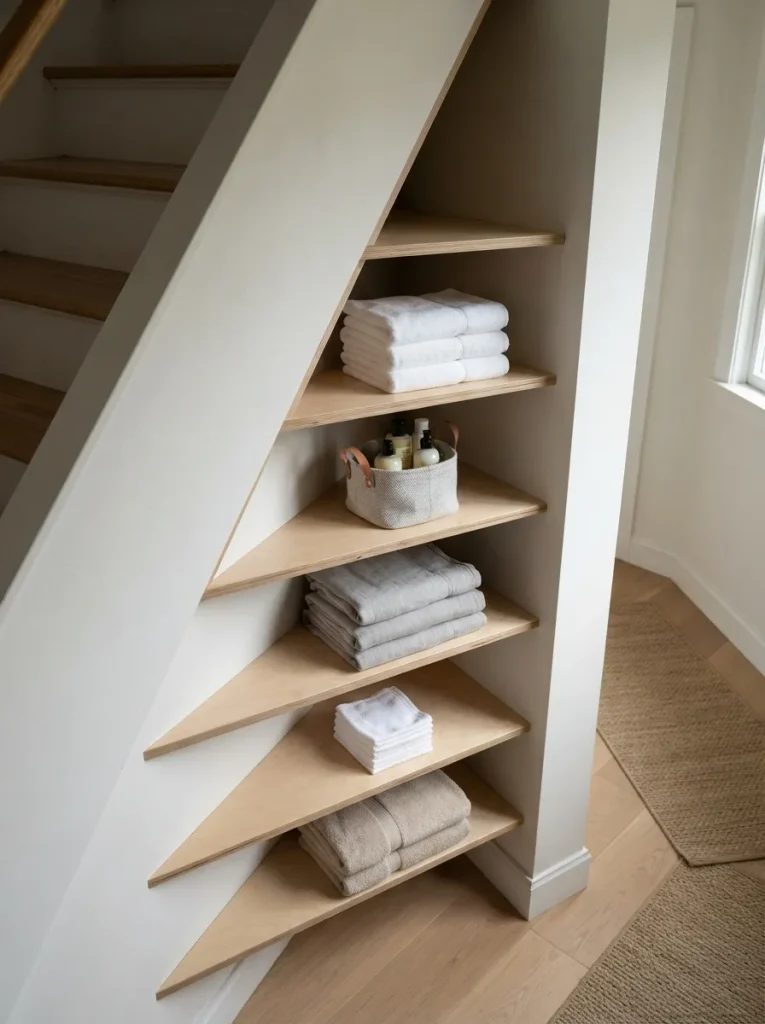
What it looks like: A slim run of shelving fitted exactly where the ceiling drops steepest.
Why it works: Matching shelf depth to available depth is basic scale-matching a standard-depth unit wastes the whole shallow zone by simply not fitting.
How to copy it: Measure the shallowest point of the triangle first, and if it comes in under 13 inches, use the slimmer-depth shelf line there instead of the standard cube unit.
Best for: Nooks where the staircase comes down steeply and the triangle closes fast. The same depth problem shows up in these Kallax dorm room ideas for tight footprints.
Important: Most people assume every unit in the line shares the same depth it doesn’t. The slim shelf inserts run several inches shallower, and confusing the two before ordering is the single most common return reason for this project.
6. Mix Closed Boxes With Open Cubbies
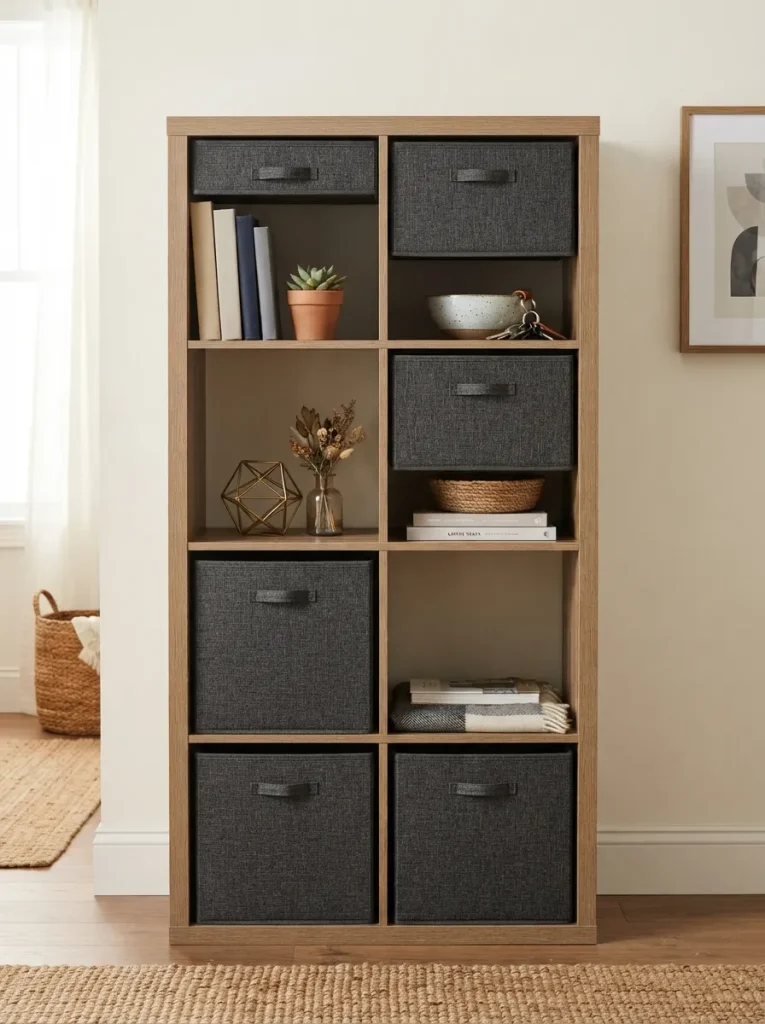
What it looks like: An alternating rhythm of covered bins and bare open squares.
Why it works: A wall of entirely open cubbies reads chaotic no matter how tidy the contents closed boxes on roughly half the cubes give the eye a place to rest, a basic visual-rest principle.
How to copy it: Fill every other cube with a fabric or woven insert box, and leave the remaining cubes open for items you actually want visible, like a bowl for keys.
Best for: Households with kids’ gear, sports equipment, or other visually busy items to hide. For more on balancing open and closed storage, see these Kallax bookshelf styling ideas.
Styling Note: Keep every closed box in the same color family mixing black, tan, and gray bins in one run undoes the calming effect the alternating pattern is meant to create.
The next idea solves the one problem every under-stairs nook shares: it’s usually the darkest corner in the house.
7. Run LED Strips Along the Cubby Backs
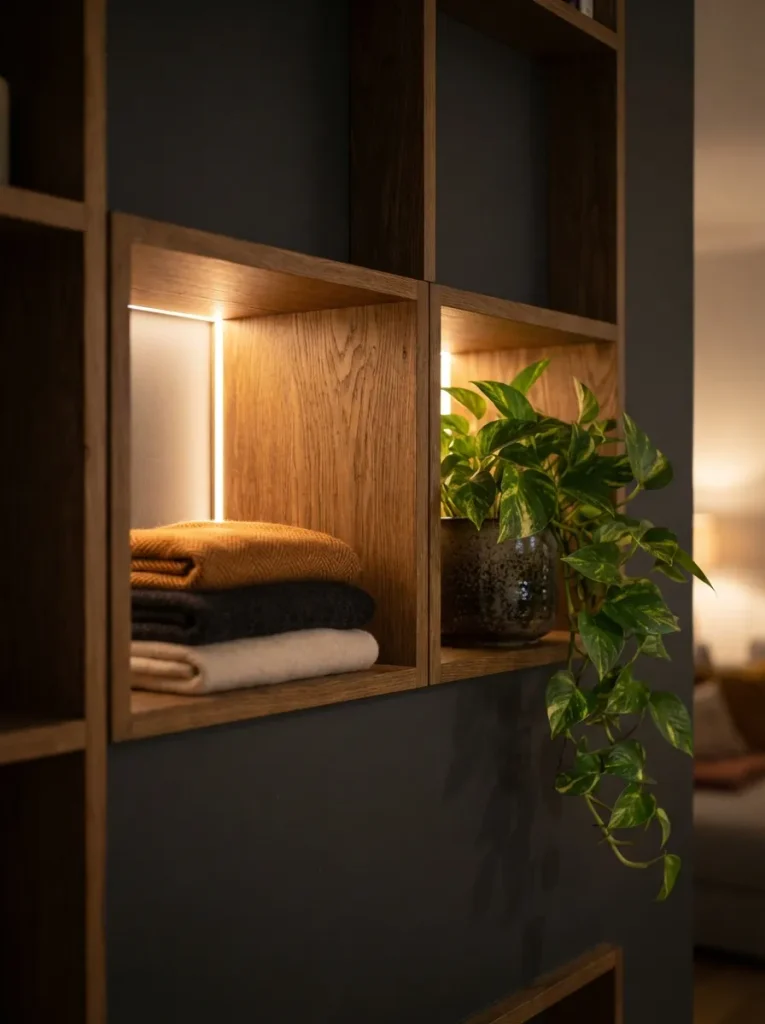
What it looks like: A soft glow lining the back of each open cube, warming up an otherwise dim corner.
Why it works: Under-stairs nooks sit far from windows, and this is basic light behavior at work backlighting each cube adds depth and makes contents visible without a single ceiling fixture.
How to copy it: Run a battery or plug-in LED strip along the back interior edge of each open cube, angled to wash light forward rather than glare into the room, at a warm 2700K temperature.
Best for: Nooks with no nearby outlet or overhead light source. For a moodier take on the same glow, browse these black moody Kallax styling ideas.
Pro Tip: A battery-powered strip with a built-in motion sensor solves this without hiring an electrician mount the sensor at the front lip of the top cube, right where a hand naturally passes reaching in.
Shop This Look
| Product |
|---|
| Battery-powered LED strip lights with motion sensor |
| Warm white 2700K LED tape |
| Adhesive cable clips |
8. Pair a Rolling Drawer Unit With Kallax for Entry Storage
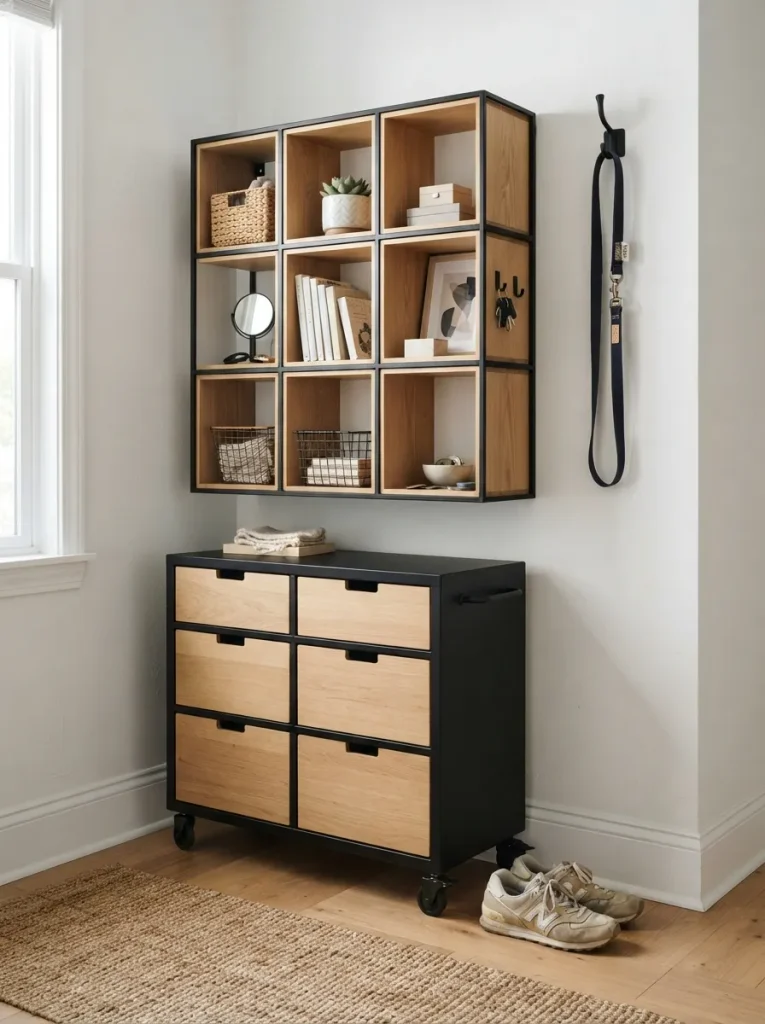
What it looks like: Shelving up top, a low rolling unit underneath that pulls out for shoes and boots.
Why it works: This is functional zoning splitting the nook into a fixed upper zone and a mobile lower zone keeps the hardest-to-reach floor-level area from turning into a dead spot nobody uses.
How to copy it: Mount the wall units starting about 12 inches off the floor, then slide a low rolling storage cart into the gap underneath for daily-use items.
Best for: Main entry nooks handling shoes, leashes, and bags every single day more setups like this are in these Kallax entryway ideas.
✅ Before You Install Checklist:
- [ ] Measure floor-to-ceiling height at the shortest point where the rolling unit needs to clear
- [ ] Confirm the cart’s height leaves at least 2 inches of clearance under the mounted shelving
- [ ] Anchor the wall units to studs before sliding the cart into place
- [ ] Test the roll-out path with the cart fully loaded, not empty
Shop This Look
| Product |
|---|
| Low rolling storage cart with drawers |
| Kallax-style 2×2 wall-mounted unit |
| Stud finder and wall anchor kit |
9. Use a Contrast Color Inside the Cubbies Only
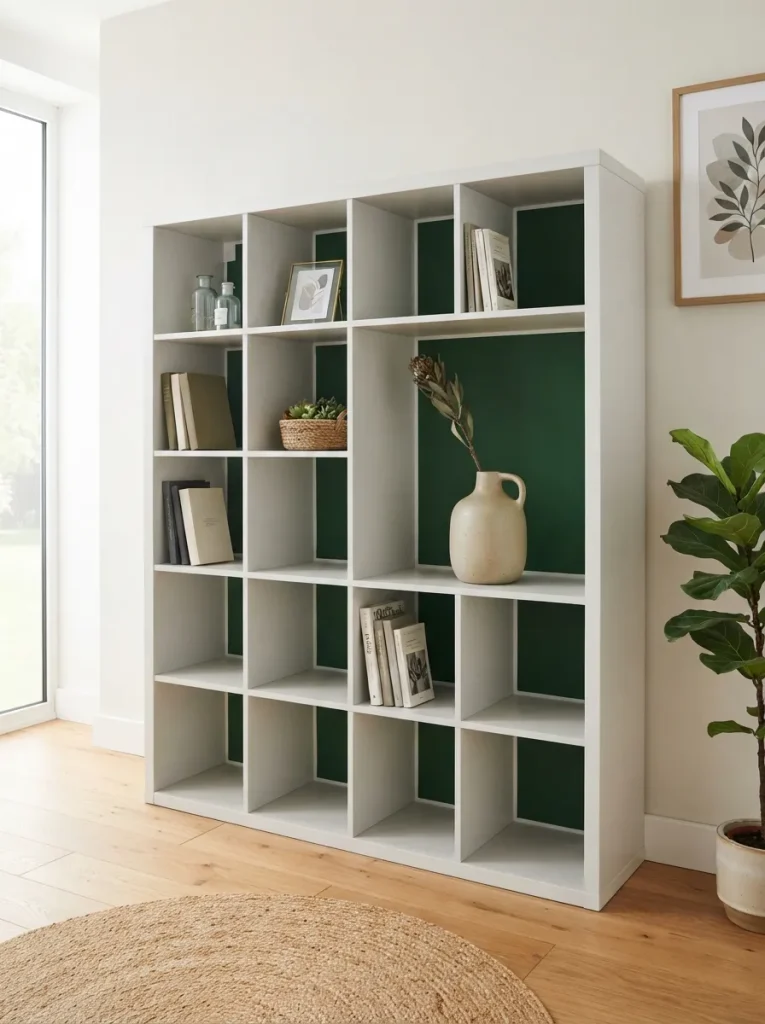
What it looks like: Plain white cubes on the outside, a punch of color visible only when you look inside.
Why it works: Painting just the interior back panel adds contrast and depth each cube reads as a small shadow box instead of a flat square, without repainting the whole piece.
How to copy it: Remove the back panel of each cube if it detaches, paint it a saturated tone like deep clay or forest green, and reinstall or mask off the surrounding frame and paint it in place if the panel is fixed.
Best for: Anyone wanting personality in the nook without committing to a bold color on the whole wall. For bolder color pairings, see these boho Kallax styling ideas.
Quick Win: No time to remove panels? Line the back of each cube with a sheet of colored contact paper instead it peels off clean if you change your mind later.
One more idea, and it’s the one most people wish they’d thought of before buying the first unit.
My Views
Here’s something most guides won’t tell you: the biggest regret I hear about under-stairs builds isn’t the color or the layout it’s forgetting to check baseboard height before ordering. A standard unit sits flush to the floor, but most homes run a 3- to 5-inch baseboard along that back wall, which pushes the whole thing forward and eats into knee clearance you were counting on. Measure past the baseboard, not just the wall, before buying a single unit.
10. Add Door Inserts to Create a Kids’ Cubby Zone
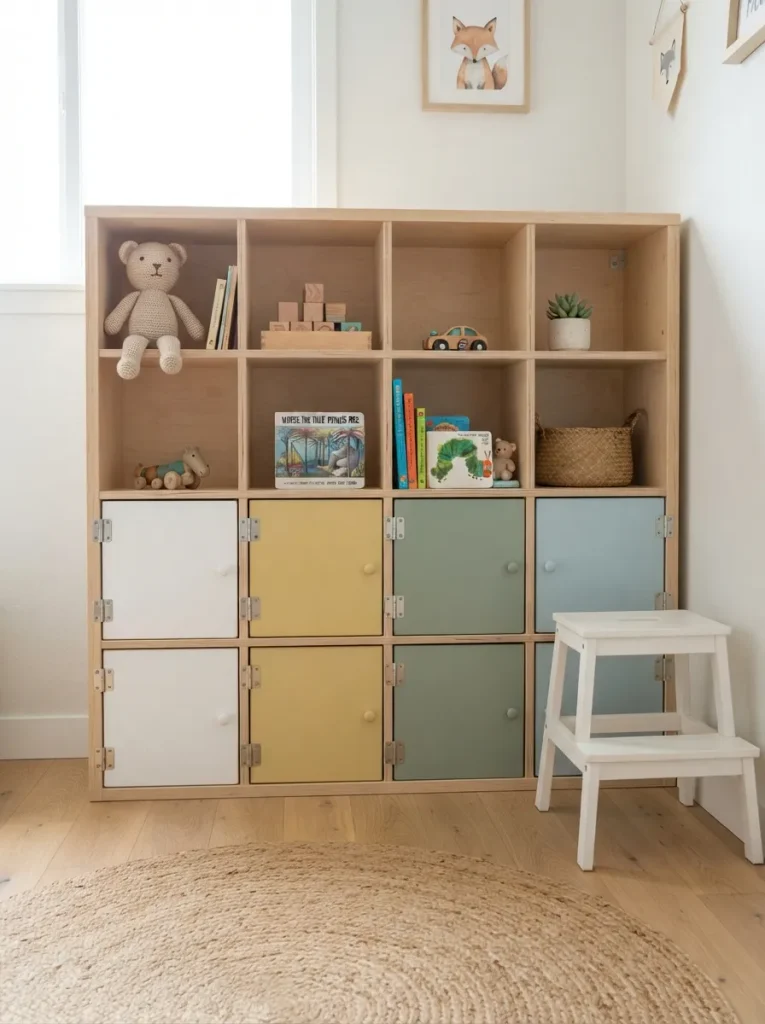
What it looks like: A lower row of cubbies with small hinged doors instead of open squares, open shelving above.
Why it works: Door inserts on only the bottom row hide the mess kids generate daily while keeping the upper display cubes open a material choice that uses the frame’s own hinge-ready edge instead of adding hardware.
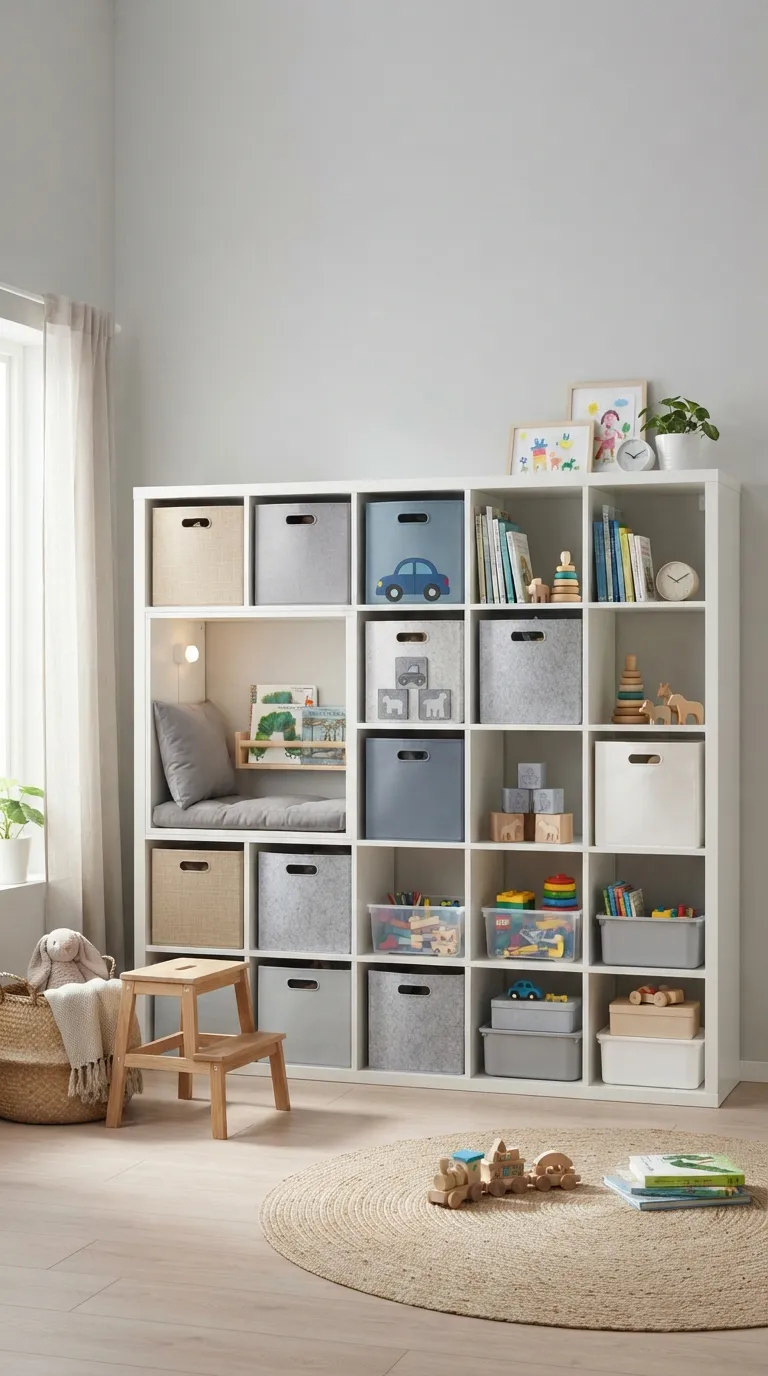
How to copy it: Fit door inserts on only the bottom two rows within a child’s reach, leaving the top rows open for items that need to stay out of small hands.
Best for: Families needing a durable, low-mess zone kids can use unsupervised. For a full room built around this idea, see these Kallax playroom ideas.
Mistake to Avoid: Don’t put doors on the entire unit a full wall of closed cabinets in a dim under-stairs nook reads like a hallway closet, not a design feature. Leave at least the top third open.
How to Start Your IKEA Kallax Under-Stairs Storage Transformation
In practice, the tallest section against the back wall is the one move that anchors the whole build start there before touching the sloped end. Mount a single full-height unit flush to the studs, level it, and every other piece lines up against that fixed point instead of guessing angles as you go.
The most common fixable error is ordering standard-depth units for the entire run without measuring the shallow end first a full-depth unit simply won’t fit where the ceiling drops below about 13 inches, and it either gets returned or wedged in crooked. Measure the tightest point of the triangle before ordering anything.
A motion-sensor LED puck light for the deepest cube, a pair of canvas storage bins in a matching neutral, and a roll of paintable scribe trim to close the gap at the angled wall all three run under $50 combined and change how finished the whole nook looks.
A single-wall build with two or three units, mounted and filled, is realistic in a weekend for around $150 to $400 depending on unit count. Adding trim, paint, or lighting stretches that to a long weekend and pushes the budget toward $500 for a fully built-in look.
Ready to Create Your Dream IKEA Kallax Under-Stairs Storage Nook?
Ten Kallax-based ideas in, and the range here color-matched paint jobs, staggered layouts, hidden lighting, a bench you can actually sit on proves this awkward triangle can do more than collect stray shoes. None of it needs to happen at once; picking one wall section and getting it right beats half-finishing the whole nook.
Today, grab a tape measure and check the shallowest point of your triangle before ordering a single unit it decides which of these ten ideas is even possible. Get it right and the payoff isn’t just storage, it’s an entry that finally feels handled instead of apologized for every time someone visits. Save whichever idea matches your stair shape now, before the “I’ll remember it” moment turns into another six months of shoes piled on the bottom step.
You Might Also Like
- 12 Small Entryway Organization Ideas That Actually Work
- 8 IKEA Hacks for Tiny Bathroom Storage
- 15 Mudroom Storage Ideas for Every Budget