12 Craft Night Ideas for Moms Who Need a Night Off
A craft night is just permission one hour, one project, zero interruptions, carved out of a week that usually belongs to everyone but you. This list rounds up 12 craft night ideas built specifically for moms who need a night off, from five-minute wins to small setups worth keeping around.
There’s a particular kind of quiet that shows up once the kids are down and the only sound is scissors or a paintbrush against paper. Your hands get busy, your brain finally stops running the household spreadsheet, and for a little while the only deadline is whatever you decide it is. Some of these ideas take ten minutes. Others turn into a real hobby. Pick the one that matches the energy you have tonight not the one you wish you had.
Jump To
- Why Craft Night Makes Such a Difference
- 12 Craft Night Ideas Worth Making Time For
- How to Start Your Craft Night Routine
- Ready to Claim Your Craft Night?
Why Craft Night Makes Such a Difference
Craft night isn’t new it’s just self-care wearing a hobby’s clothes, and for busy moms that reframe matters. It works because it’s tactile: soy wax, embroidery floss, air-dry clay, and resin force your hands to slow down even when your brain won’t.
It fills the gap between screen time and actual rest, without a babysitter or a calendar invite. It works in small spaces, too a kitchen table and one storage bin is enough. Start with one project before building anything bigger.
| Best starting point | A $15–20 project you can finish in one sitting |
| Biggest impact area | A dedicated bin or tray that keeps supplies contained |
| Budget to start | $15–$40 for most first projects |
| Time to complete | 30 minutes to 2 hours per project |
12 Craft Night Ideas Worth Making Time For
These three take almost no setup and cost less than a dinner out — start here if tonight is the only night you’ve got.
1. String-Light Backdrop for Instant Craft Night Ambiance
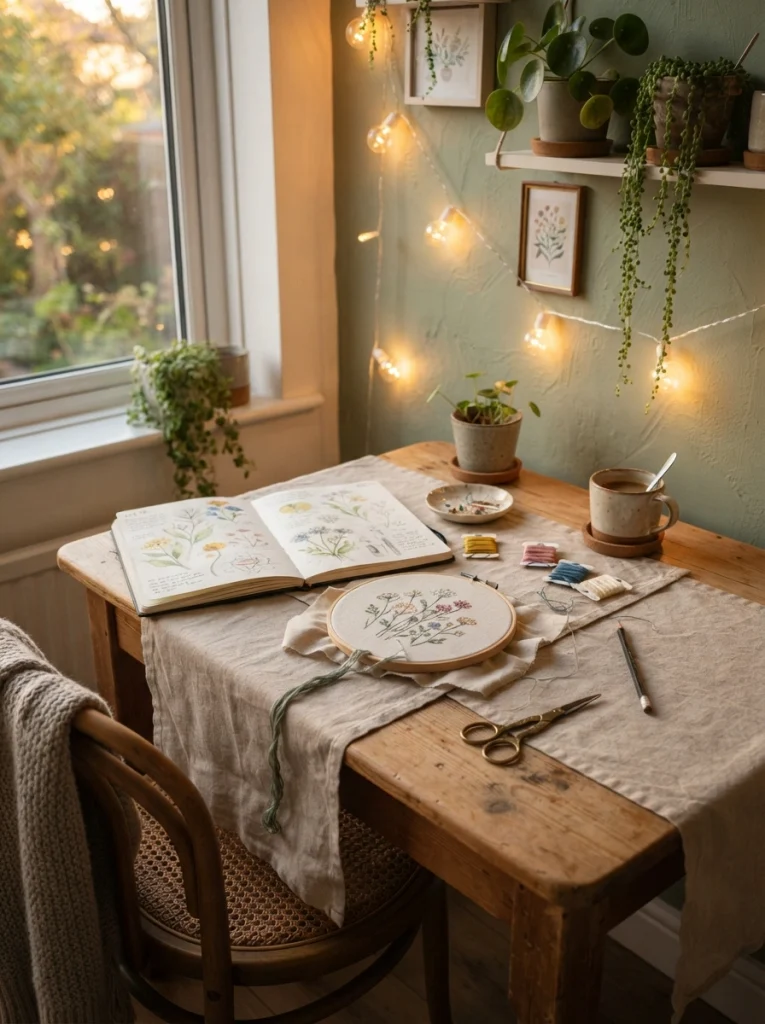
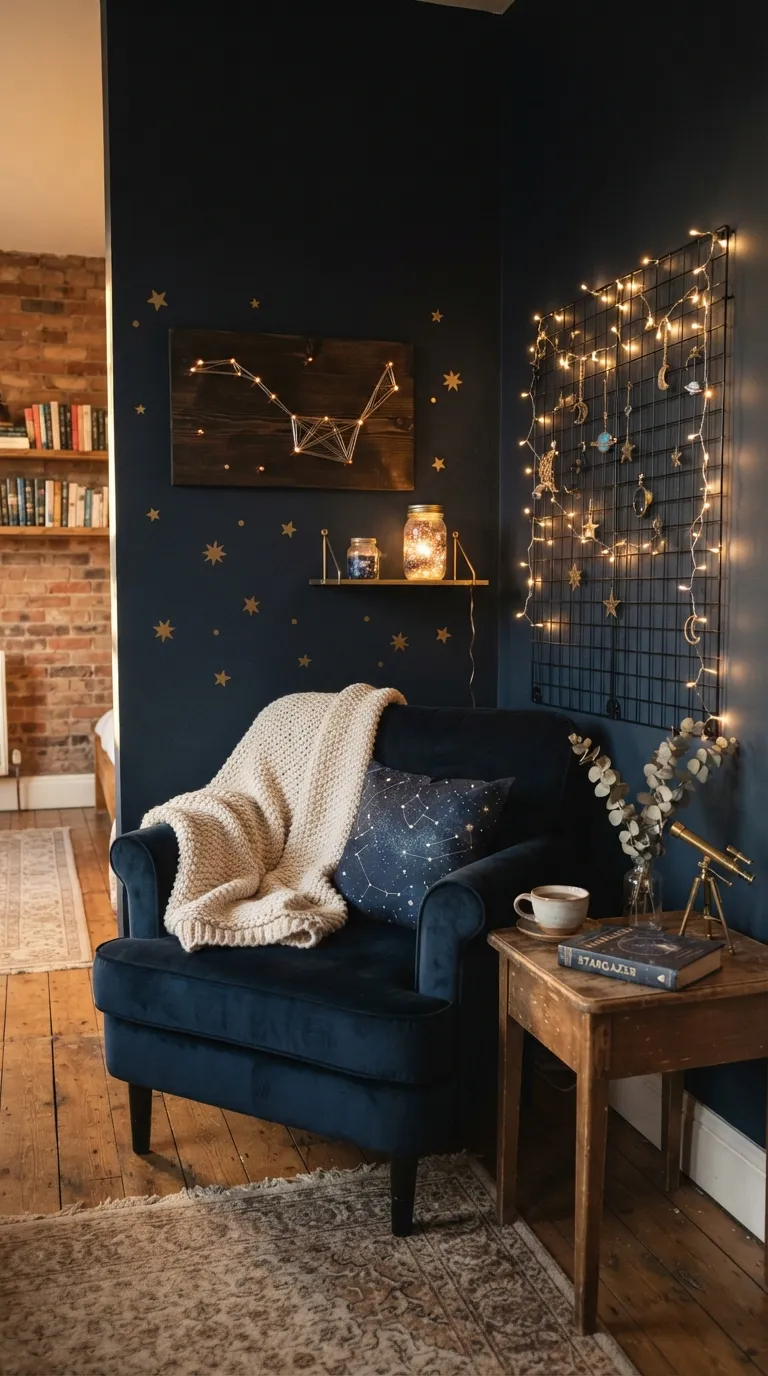
What it looks like: Warm, low, and a little glowy nothing overhead, nothing clinical.
Why it works: Overhead lighting keeps your brain in task mode, while low warm light signals rest the same reason restaurants dim the lights at night. Swapping one light source changes the whole feel of the same table in under five minutes.
How to copy it: Clip a battery-powered warm-white string light (2700K, not daylight white) along a shelf, mirror, or chair back near your spot. Skip anything labeled “cool white” — it reads more like an exam room than a night off. Turn off the main overhead light and work by string light plus one small task lamp. If you want to build a full evening around it, our creative craft night themes roundup has more mood ideas beyond lighting.
Best for: Moms who only have 20 minutes and want the space to feel different immediately, no rearranging required.
Pro Tip: Battery-powered lights with a built-in timer are worth the extra few dollars set it once and it turns off on its own if you fall asleep mid-project.
What You’ll Need
| Product |
|---|
| Battery-operated warm white string lights (2700K) |
| Small clip-on task lamp |
| Linen table runner |
| Timer-function LED candles |
| Compact lidded storage tray |
2. Pressed Flower Frame Art
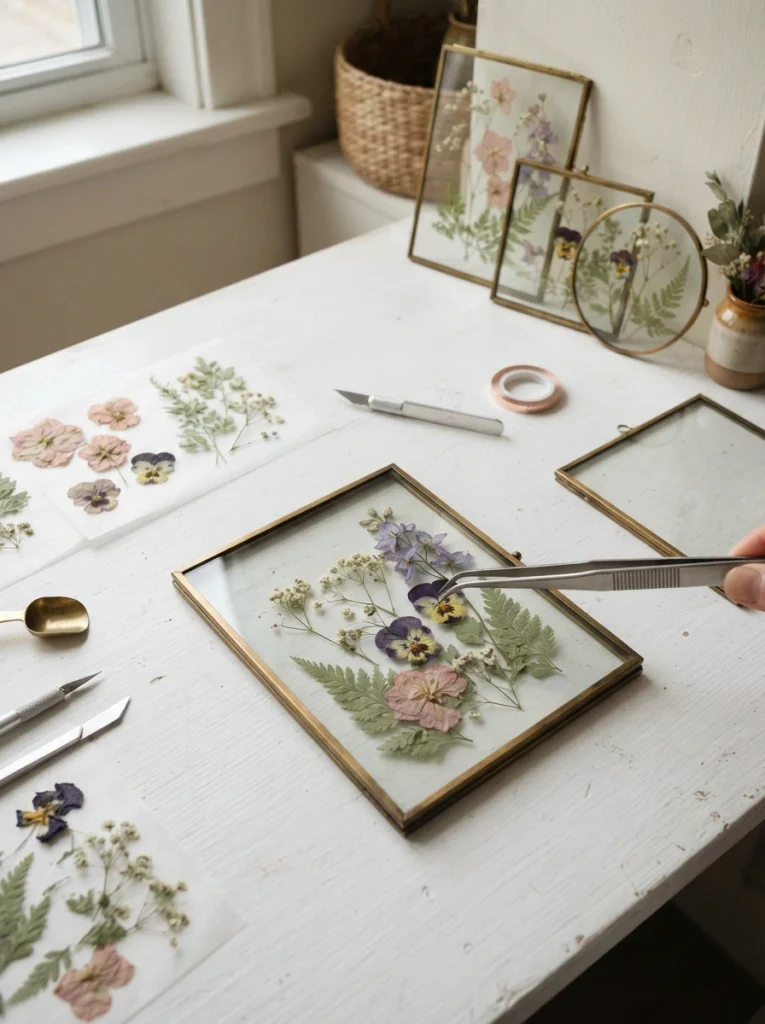
What it looks like: Flat, delicate, and slower than it sounds more patience than skill.
Why it works: Pressing relies on negative space and restraint, not talent three well-placed stems read as intentional, while ten crowded ones read as clutter. The technique does the design work for you.
How to copy it: Press flowers between wax paper inside a heavy book for 1–2 weeks, or use a microwave flower press for same-night results. Arrange 3–5 pressed stems on cardstock, add a dot of craft glue, and close inside a thin glass or acrylic frame. Leave visible white space around the arrangement instead of filling the frame edge to edge.
Best for: Moms who want a finished, giftable piece from a single quiet evening.
Budget Version: Skip the flower press entirely heavy books you already own and a week of patience get the same result for free.
3. Seed Bead Jewelry Bar
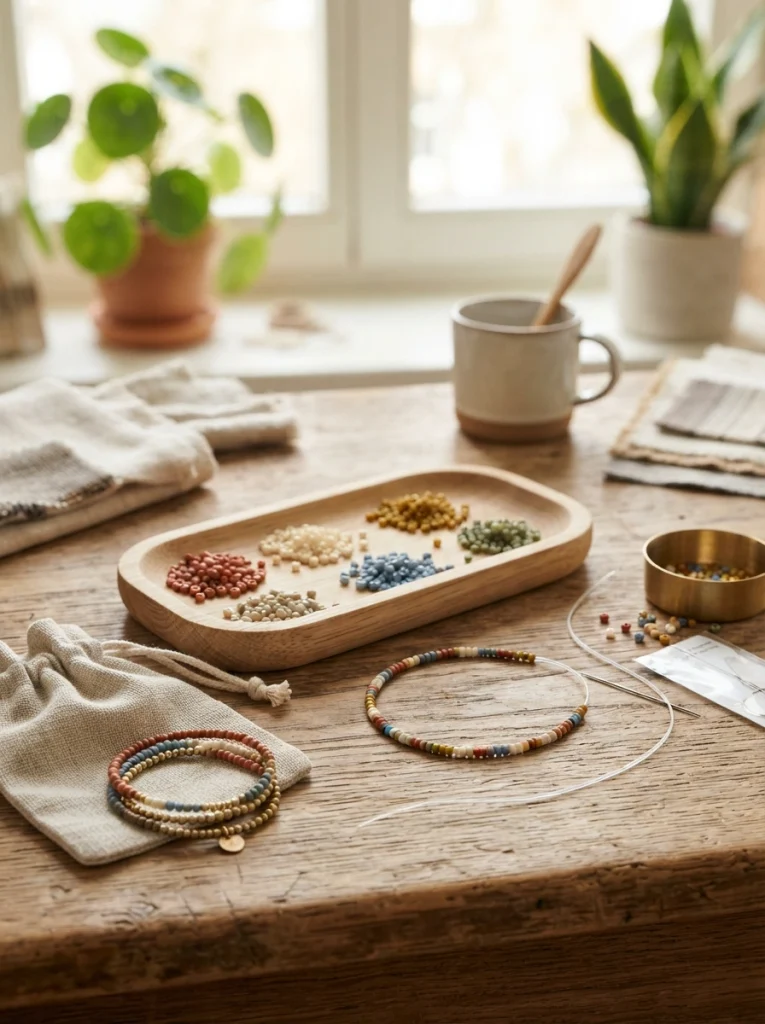
What it looks like: Small, colorful, and repetitive in the good way the kind of task your hands can do while your mind wanders.
Why it works: Repetitive fine-motor tasks are calming; the rhythm of stringing beads one at a time works almost like a fidget tool, which is exactly why it holds attention without demanding much decision-making.
How to copy it: Sort seed beads by color into a shallow tray first this alone saves half your working time. String onto stretch cord in a repeating 3-color pattern rather than random order, since patterns read as designed even to beginners. Knot twice and add a dab of clear glue to the knot.
Best for: Moms who want something they can pick up and put down in five-minute bursts.
Important: Stretch cord thins with wear size bracelets slightly snug, since they loosen within the first few weeks of stretching.
What You’ll Need
| Product |
|---|
| Seed bead variety pack |
| Stretch beading cord |
| Shallow bead-sorting tray |
| Fine beading needle |
| Clear jewelry glue |
For more no-pressure projects worth giving away, handmade gift ideas has plenty that pair well with a beading habit.
Up next: the material choice that quietly turns a plain mug into something you’d buy in a store.
4. Paint-Your-Own Ceramic Mug Night
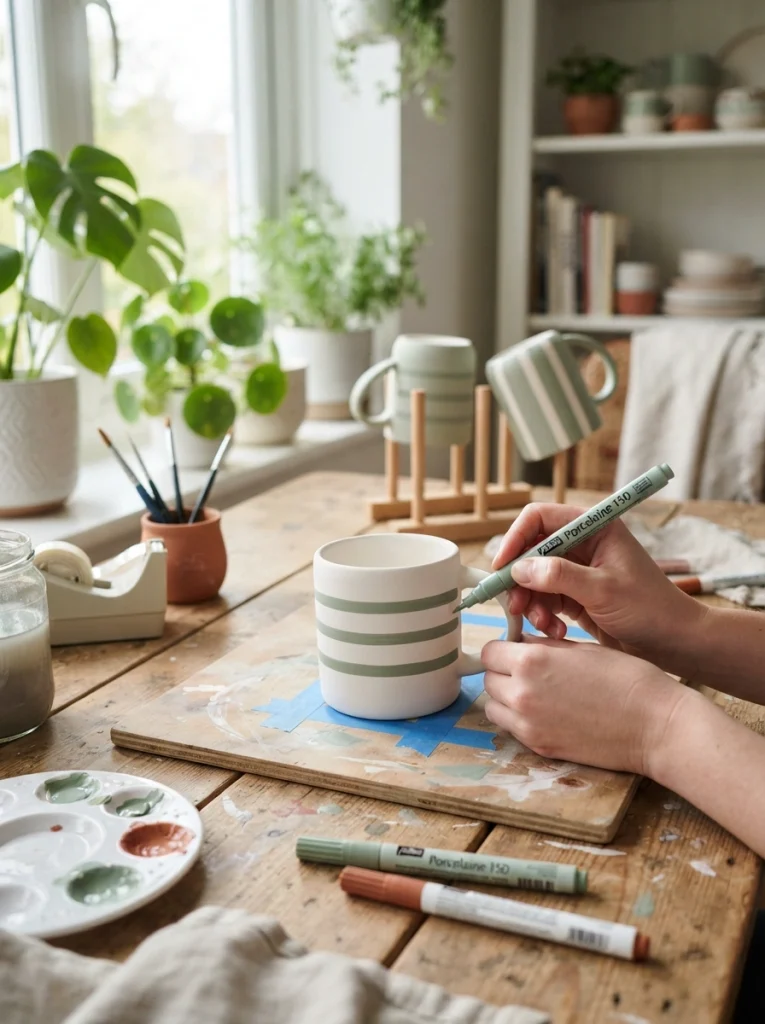
What it looks like: Clean and a little imperfect hand-painted, not printed, and better for it.
Why it works: Limiting yourself to one or two colors and a repeating simple shape stripes, dots, a single line is what separates a mug that looks handmade-on-purpose from one that looks like a craft-night accident.
How to copy it: Use porcelain paint pens rather than acrylic paint, since they’re food-safe once cured and need no sealant. Apply painter’s tape as a straight guideline before freehand painting inside it, then peel before the paint sets. Bake according to the pen’s instructions to cure usually 30 minutes at 350°F.
Best for: Moms who want a project that doubles as a gift or a nicer coffee mug.
Quick Win: One mug, one paint pen, one stripe that’s a complete project, not a half-finished one.
5. Punch Needle Wall Hanging
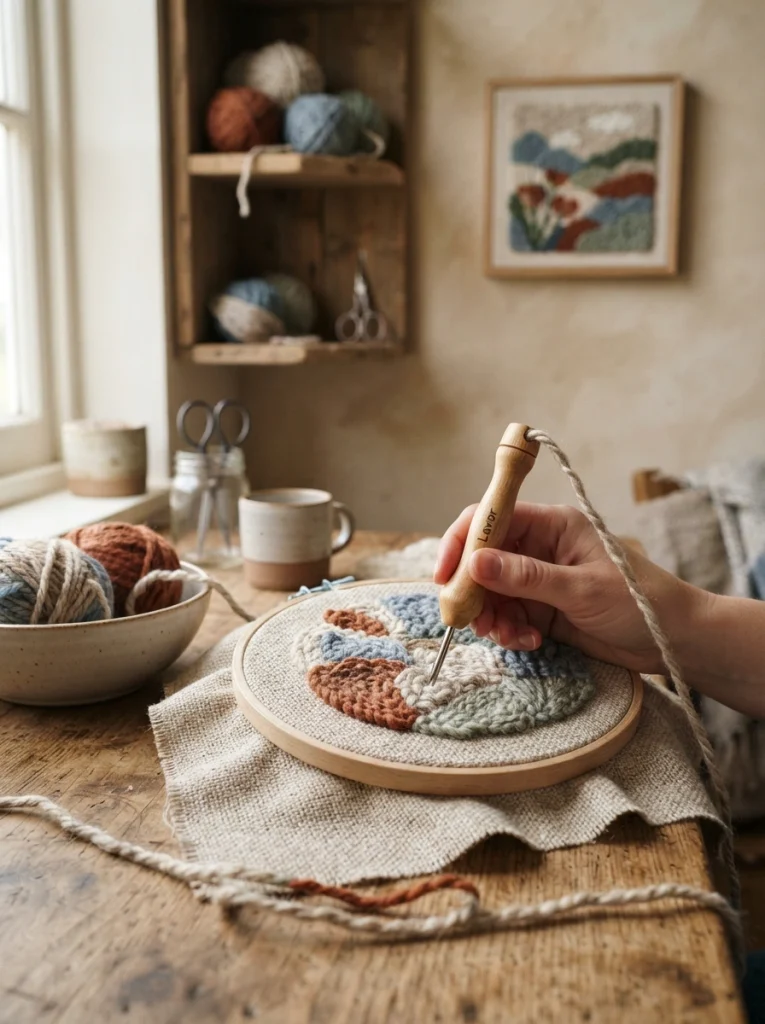
What it looks like: Soft, textured, and slightly shaggy closer to a tiny rug than a stitched picture.
Why it works: The technique builds visual weight through texture instead of color, so even a single-tone piece looks finished because the surface itself is doing the work.
How to copy it: Stretch monk’s cloth tight in an embroidery hoop before starting loose fabric is the single biggest cause of uneven loops. Thread the punch needle with wool yarn and work in small sections, always punching from the fabric’s front side. Trim stray loops flush with small embroidery scissors once the piece is finished.
Best for: Moms who like visible progress and want a piece worth actually hanging up.
Mistake to Avoid: Skipping the hoop-tension step is the most common reason first attempts look sloppy re-tighten the fabric every few rows, not just at the start.
Looking for more textured wall pieces in the same spirit, crochet wall hangings is worth a look.
6. Macramé Plant Hanger
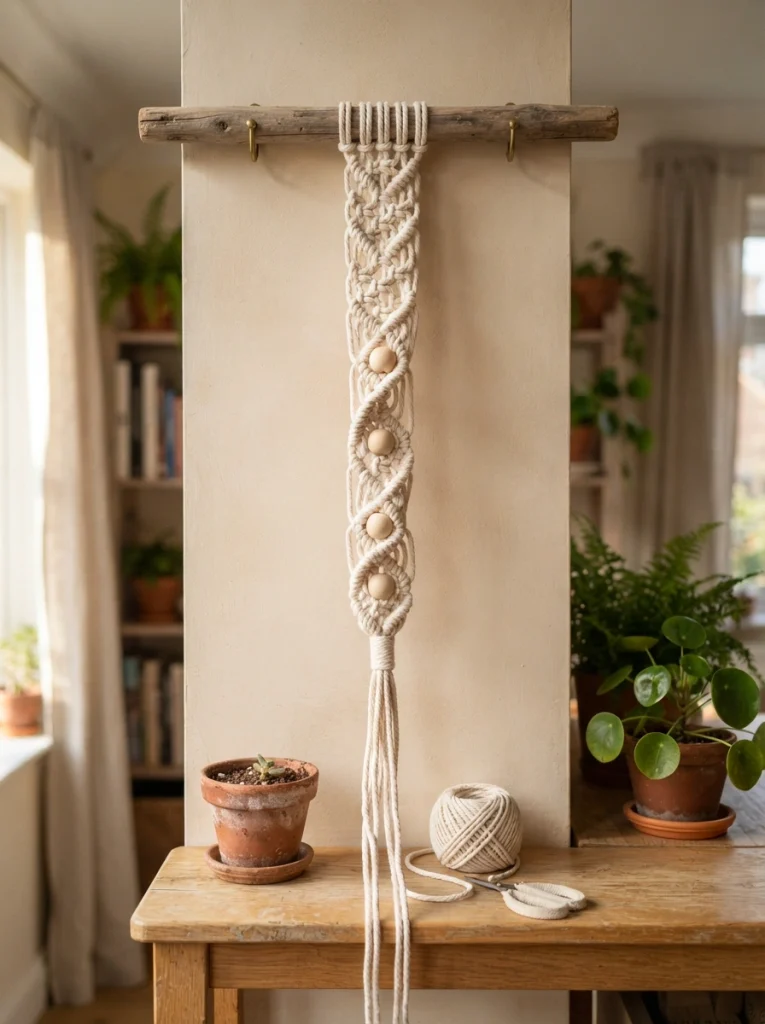
What it looks like: Rope-like and rhythmic a repeating knot pattern that builds length as you go.
Why it works: Macramé is really just one knot repeated in sequence, so the “skill” is muscle memory, not talent which makes it one of the few crafts that gets noticeably easier by the second attempt.
How to copy it: Start with four 6-foot cotton cords folded in half and mounted on a wooden ring. Practice the square knot on scrap cord first five minutes of practice saves an unraveled first attempt. Work in a spiral or diagonal repeat rather than mixing knot types, since one pattern reads as intentional.
Best for: Moms who want a finished piece they’ll use, not just display.
Pro Tip: Wet the cord slightly before your first knot it grips better and untwists less while you’re still learning tension.
Pair it with a planter from our modern succulent planter ideas roundup for a finished corner in one evening.
This next one surprised even experienced crafters the first time they tried it it’s less about color and more about the mold you choose.
7. Resin Coasters in Ocean-Inspired Hues
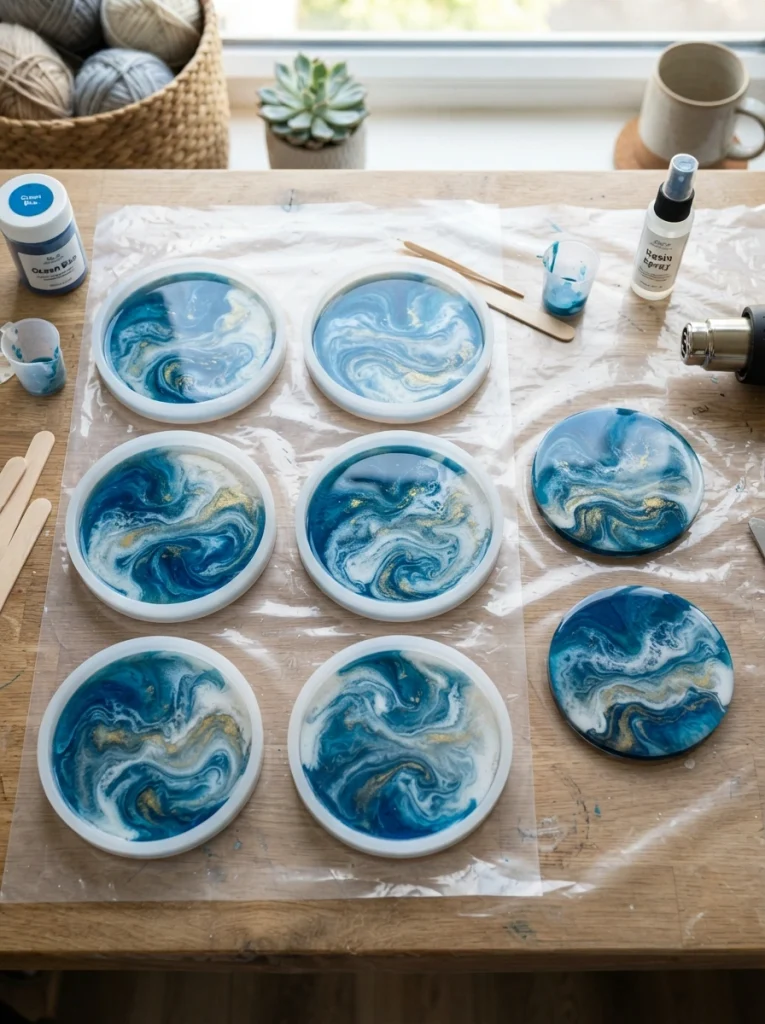
What it looks like: Glossy and marbled, like a tiny frozen wave in a four-inch circle.
Why it works: Resin’s shine does most of the visual work on its own, so even a simple two-color swirl looks intentional and finished, unlike most crafts where a beginner’s flaws show clearly.
How to copy it: Mix resin and hardener at the exact ratio on the label this is the one step where eyeballing it ruins the whole batch. Add two mica powder colors in small drops rather than stirring them fully in, then drag a toothpick through for a marbled swirl. Pop air bubbles with a lighter held a few inches above the surface, and let cure undisturbed for 24 hours.
Best for: Moms who like a dramatic before-and-after in one sitting, even with an overnight wait.
Styling Note: Two colors max looks intentional; three or more usually reads muddy once cured.
8. Warm Task-Lamp Corner for Detail Work
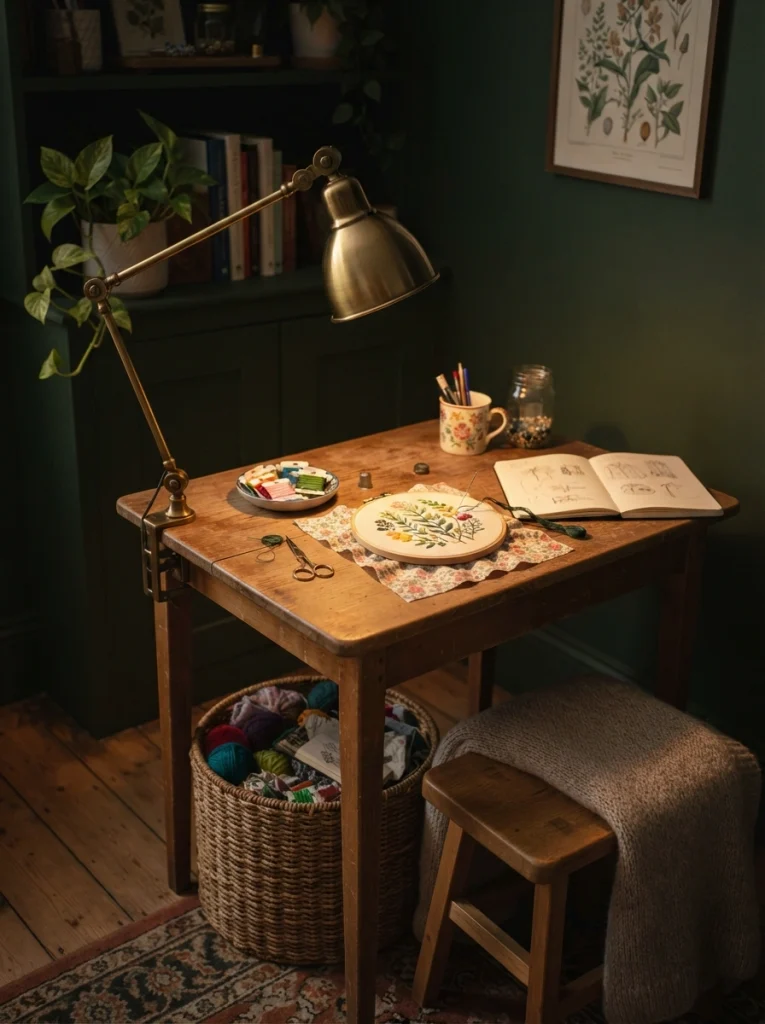
What it looks like: A single warm pool of light aimed exactly where your hands are working.
Why it works: Detail crafts like embroidery, beading, or punch needle strain your eyes under ambient light alone a dedicated task lamp reduces squinting and headaches, which is the real reason most people quit fine handwork early.
How to copy it: Choose an adjustable-arm lamp with a warm bulb (2700–3000K) rather than daylight white, and position it above and slightly in front of your working hand to avoid shadowing your own work. Clamp-mount styles free up table space better than a heavy base.
Best for: Moms doing detail work beading, embroidery, punch needle more than once a month.
Small-Space Tip: A clamp-on lamp takes up zero table footprint, which matters if your “craft corner” is really just one end of the dining table.
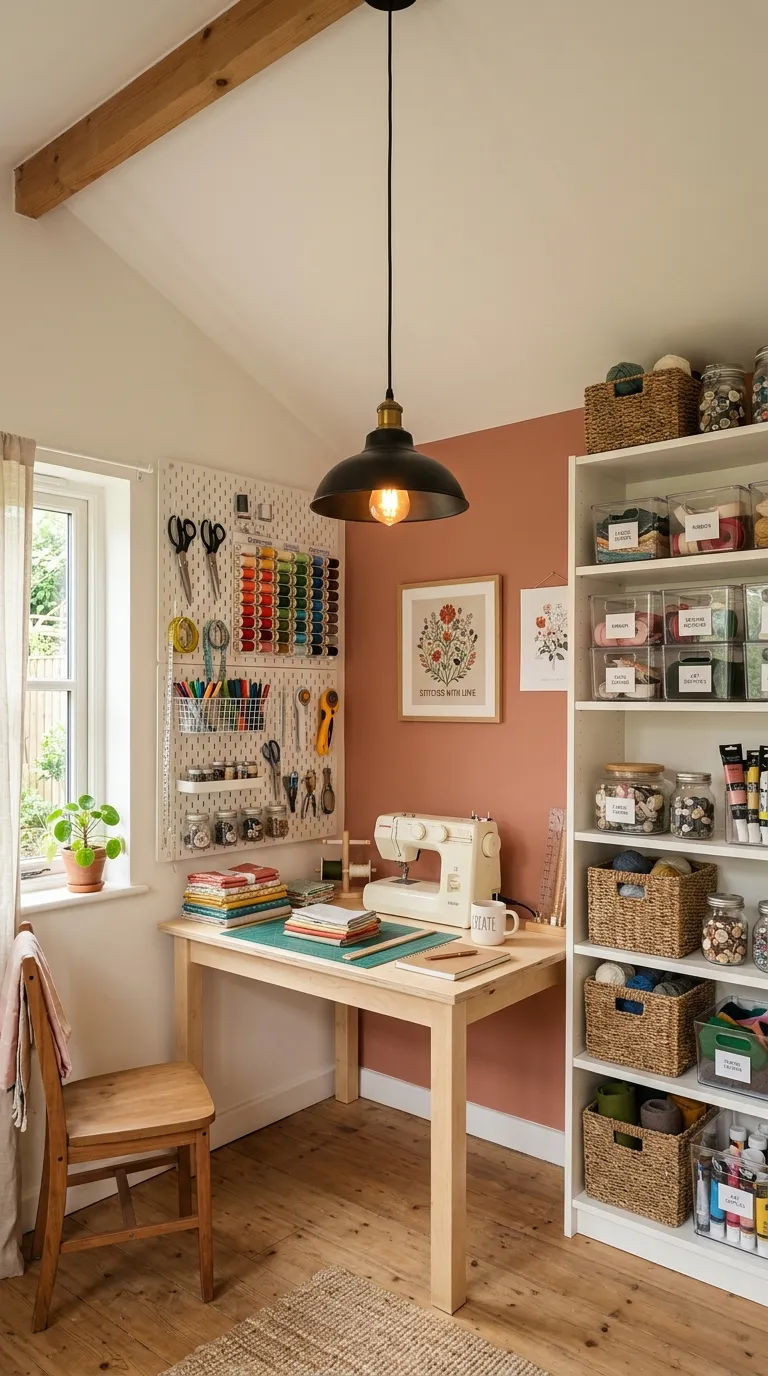
If your whole setup lives in a closet or nook, small she-shed craft room ideas has more compact layouts worth stealing.
9. Pour-Your-Own Soy Candles
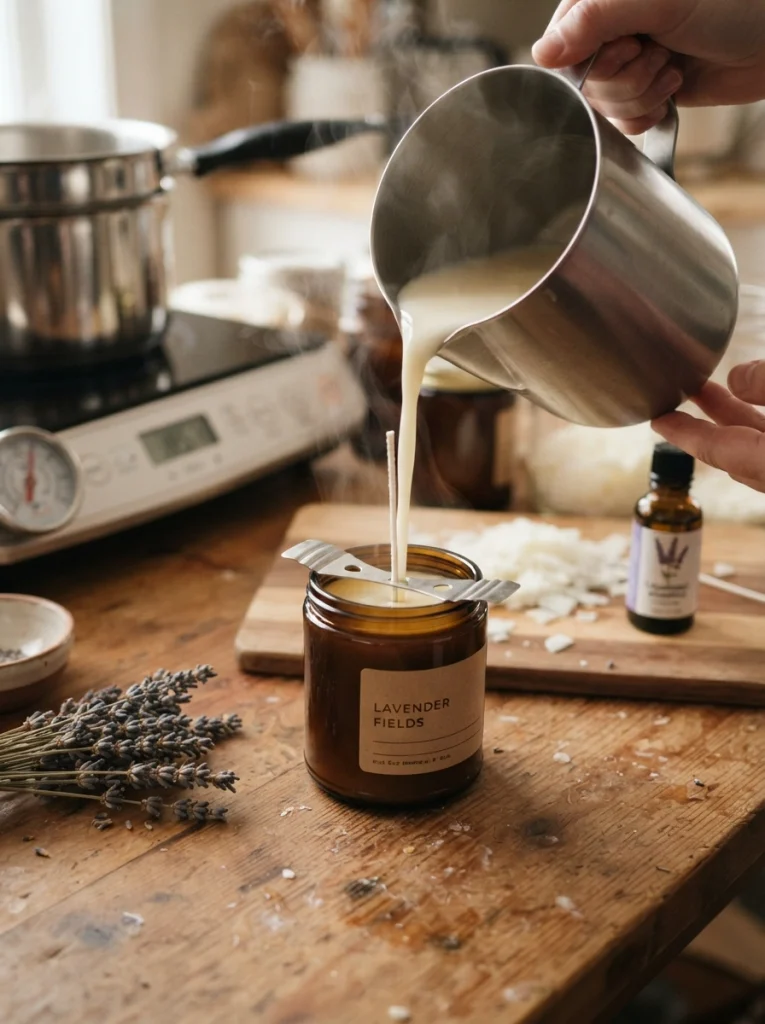
What it looks like: Simple and a little industrial in process, cozy in the finished product.
Why it works: Watching wax go from solid to liquid to solid again gives the project a clear beginning, middle, and end in one sitting a rare thing in crafting, and part of why candle pouring feels so satisfying even for total beginners.
How to copy it: Melt soy wax flakes in a double boiler to 185°F, then let it cool to 135°F before adding fragrance oil adding it too hot burns off the scent. Center the wick with a clip or clothespin across the jar rim before pouring, and pour slowly to avoid trapping air bubbles.
Best for: Moms who want a finished product with a real function light it the same night once it’s set.
Warning: Melted wax and fragrance oil above 185°F can smoke or scorch keep a thermometer in the pot at all times and never leave it unattended on the stove.
What You’ll Need
| Product |
|---|
| Soy wax flakes |
| Candle wicks with metal base |
| Wick centering tool |
| Fragrance oil |
| Heat-safe glass jars |
Mason jars work well for this see mason jar crafts for more ways to use the ones you already have.
This next idea rarely gets much attention and it costs almost nothing to try before committing to it.
10. Rolling Craft Cart That Tucks Away
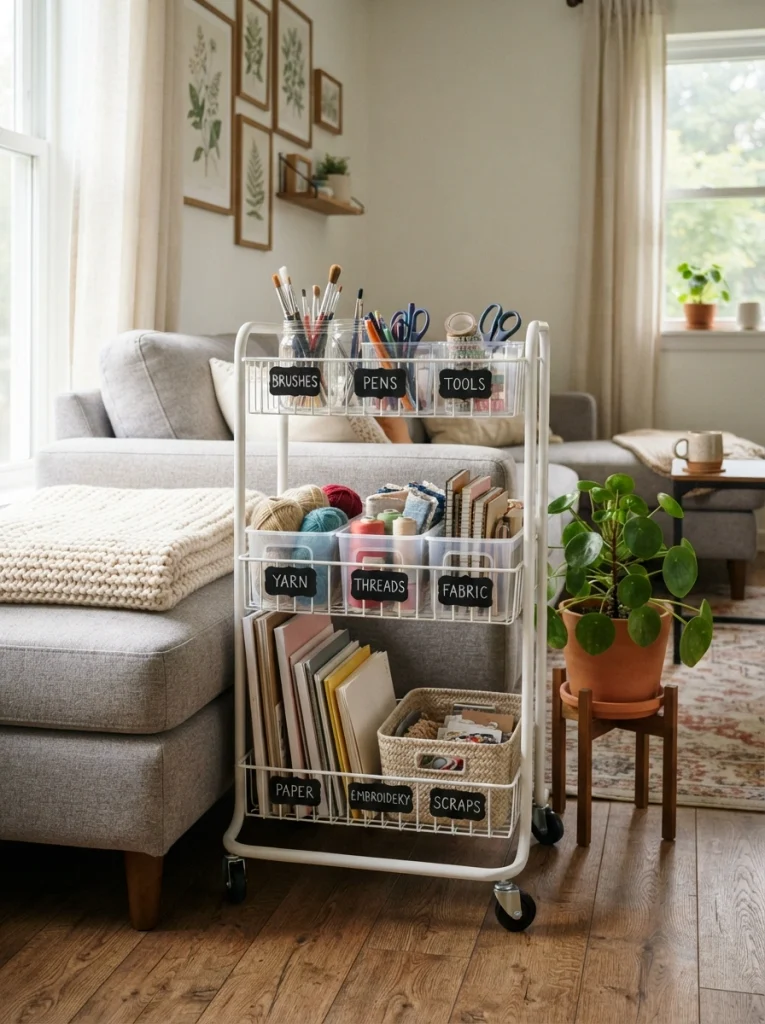
What it looks like: Compact and mobile everything for tonight’s project on one small cart you can wheel wherever the quiet is.
Why it works: A rolling cart solves the real reason craft nights stop happening: setup and cleanup take longer than the craft itself. Keeping supplies pre-organized removes that friction entirely.
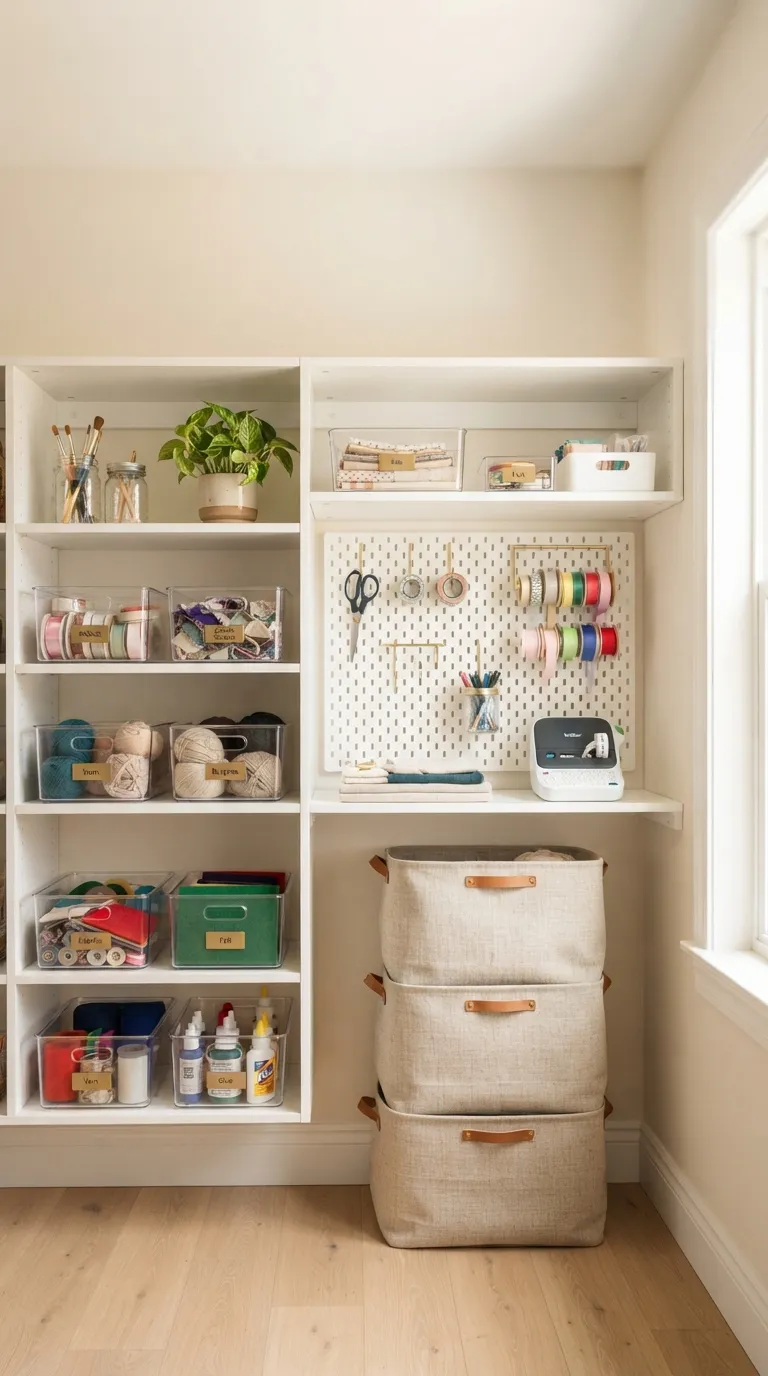
How to copy it: Choose a narrow three-tier cart no wider than 12–14 inches so it fits in a closet or beside furniture. Assign one tier per project type one for fiber crafts, one for paint and glue, one for finished pieces drying instead of mixing everything together. Store it wherever it’s out of the main walkway but still visible enough that you’ll actually reach for it.
Best for: Moms juggling more than one active project who don’t have a dedicated room.
Budget Version: A basic wire three-tier cart runs under $30 and does the same job as a pricier version the organization matters more than the finish.
What You’ll Need
| Product |
|---|
| Narrow three-tier rolling cart |
| Clear labeled storage bins |
| Small drying rack |
| Cord organizer for lights or tools |
Craft supplies pile up fast craft closet ideas has more ways to keep a cart like this from turning into clutter.
My Views:
Here’s something most guides won’t tell you: the projects that get finished are never the ones with the most steps saved on a Pinterest board they’re the ones where every supply was already within arm’s reach. In real craft nights I’ve seen, a $40 kit bought on impulse sits untouched for months, while a $12 bead tray kept on the same shelf gets used weekly. Proximity beats ambition almost every time. If a project needs you to dig through three closets to start, it’s already lost to next Tuesday’s exhaustion.
11. Closet-Corner Craft Nook
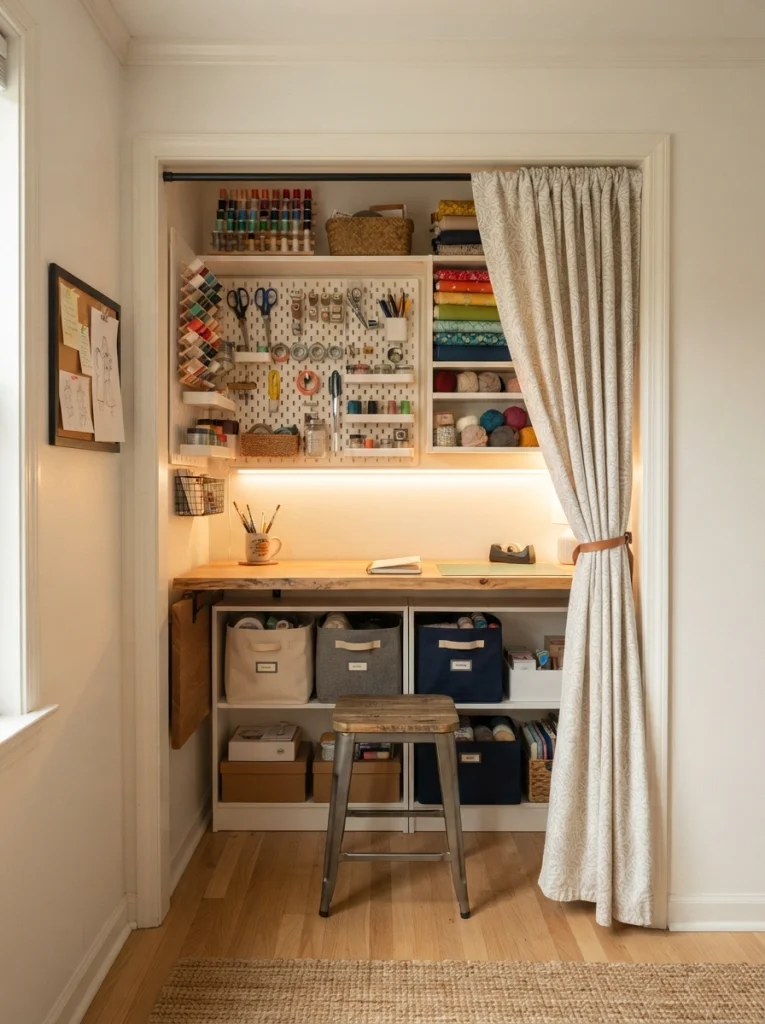
What it looks like: A closet that stopped being a closet narrow, contained, and entirely dedicated to one thing.
Why it works: A closed door does more for follow-through than any organizing system closing a curtain on an unfinished project removes it from view entirely, instead of leaving half-done supplies as a guilt-inducing centerpiece on the dining table.
How to copy it: Clear a reach-in closet down to bare shelves and remove the doors if they swing into a tight space, replacing them with a simple curtain rod and panel. Add a narrow fold-down or wall-mounted shelf as a work surface, and a battery LED strip under the top shelf for light. Mount a small pegboard on one side wall for tools you reach for often.
Best for: Moms who want a real dedicated space without giving up a whole room.
Craft Nook Setup Checklist:
- [ ] Empty the closet completely and remove wire shelving if present
- [ ] Measure the opening before buying a curtain rod or fold-down shelf
- [ ] Install battery LED strip lighting under the top shelf
- [ ] Mount a narrow work surface at seated height
- [ ] Add labeled bins for active vs. finished projects
What You’ll Need
| Product |
|---|
| Wall-mounted fold-down shelf |
| Battery LED light strip |
| Tension curtain rod and panel |
| Small pegboard organizer |
A closet like this pulls double duty fast closet organization ideas has more on keeping it from creeping back into general storage.
12. Fold-Down Wall Craft Table
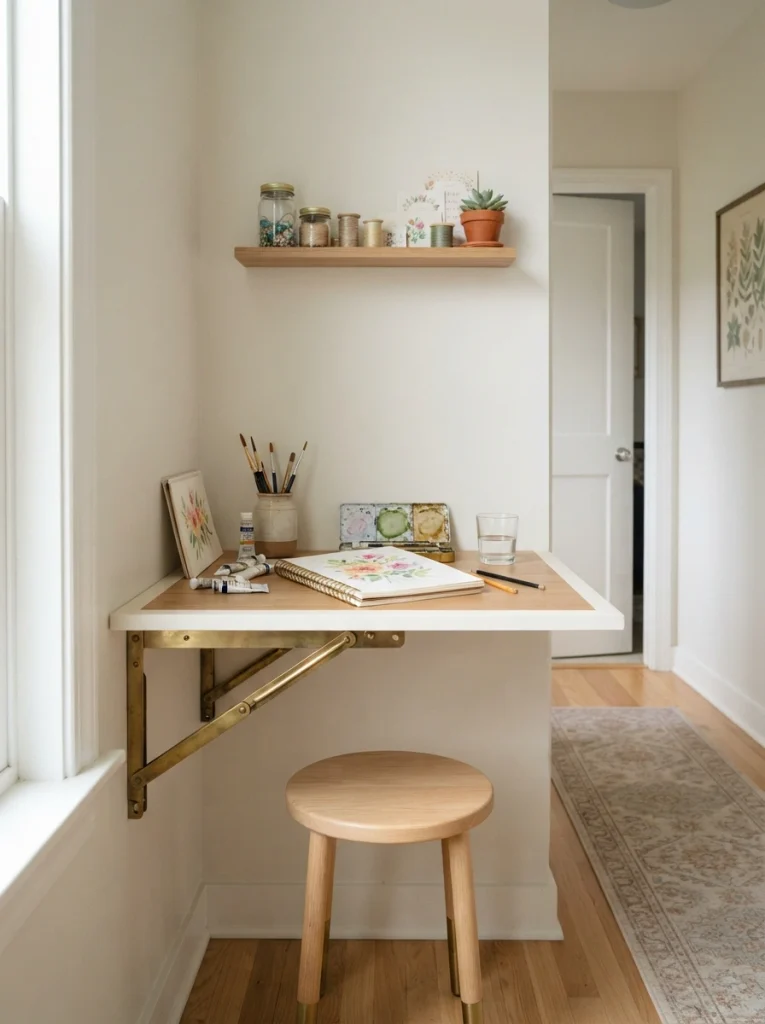
What it looks like: A flat panel on the wall until it isn’t then it’s a full work surface with nothing standing in the way when you’re done.
Why it works: In a home with no spare room, a table that disappears when it’s not in use solves the actual constraint not lack of interest, but lack of square footage that’s allowed to sit unused all day.
How to copy it: Mount a fold-down wall bracket table kit (widely available with brass or black hardware) into wall studs, not drywall alone, since even light craft use puts real downward pressure on the hinge. Add one narrow shelf above it for daily supplies, keeping the table itself completely clear when folded.
Best for: Moms in apartments, rentals, or shared rooms with no space to spare.
Quick Win: Even without full installation, a tension-mounted narrow shelf with a flip-up leaf gives most of the same function for a weekend project.
For more solutions built around limited square footage, dorm room ideas that make small rooms bigger is worth a browse.
How to Start Your Craft Night Routine
What I’ve found with real routines: the first move isn’t buying supplies, it’s picking one single project and blocking one specific night on the calendar before anything else. A $15–20 kit with everything included removes the decision paralysis that kills most craft nights before they start.
The most common fixable mistake is buying supplies for five projects at once, out of excitement, and finishing none of them. It breaks the whole thing because half-started projects pile up as clutter and guilt instead of relaxation fix it by finishing (or donating) one project before starting the next.
Three specific items under $50 that create immediate impact: a battery-operated warm white string light set (around $14), a beginner punch needle starter kit with hoop and yarn included (around $22), and a three-pack of clear labeled storage bins to contain whatever’s currently in progress (around $16).
A single project realistically takes 30 minutes to 2 hours depending on the craft. A proper dedicated corner cart, lighting, and a small shelf is a weekend project that runs $50–$150 total. A full closet-nook conversion is closer to a free Saturday and $80–$200, depending on what’s already on hand.
Ready to Claim Your Craft Night?
Between the quick wins like pressed flowers and bead bracelets, the textured projects like punch needle and macramé, and the small-space setups like the closet nook and fold-down table, there’s a version of craft night that fits whatever week you’re having. None of it needs to happen all at once one project, done well, beats a half-finished supply stash every time.
Tonight, the smallest possible action is picking just one idea from this list and setting out its supplies before bed, so tomorrow night has no excuse left. There’s something about finishing a small, tangible thing with your own hands that a scrolling break just can’t replicate it’s quieter, and it stays finished. Save this list now, so the next time you need a night off, the decision is already made for you.
Keep Exploring
- 15 Girls Night Craft Ideas That Feel Like a Mini Retreat
- 10 Small-Space Craft Room Ideas for Renters and Apartment Moms
- 8 Budget Craft Night Snacks and Mocktails to Pair With Any Project
Featured Image Prompt (Stage 3)
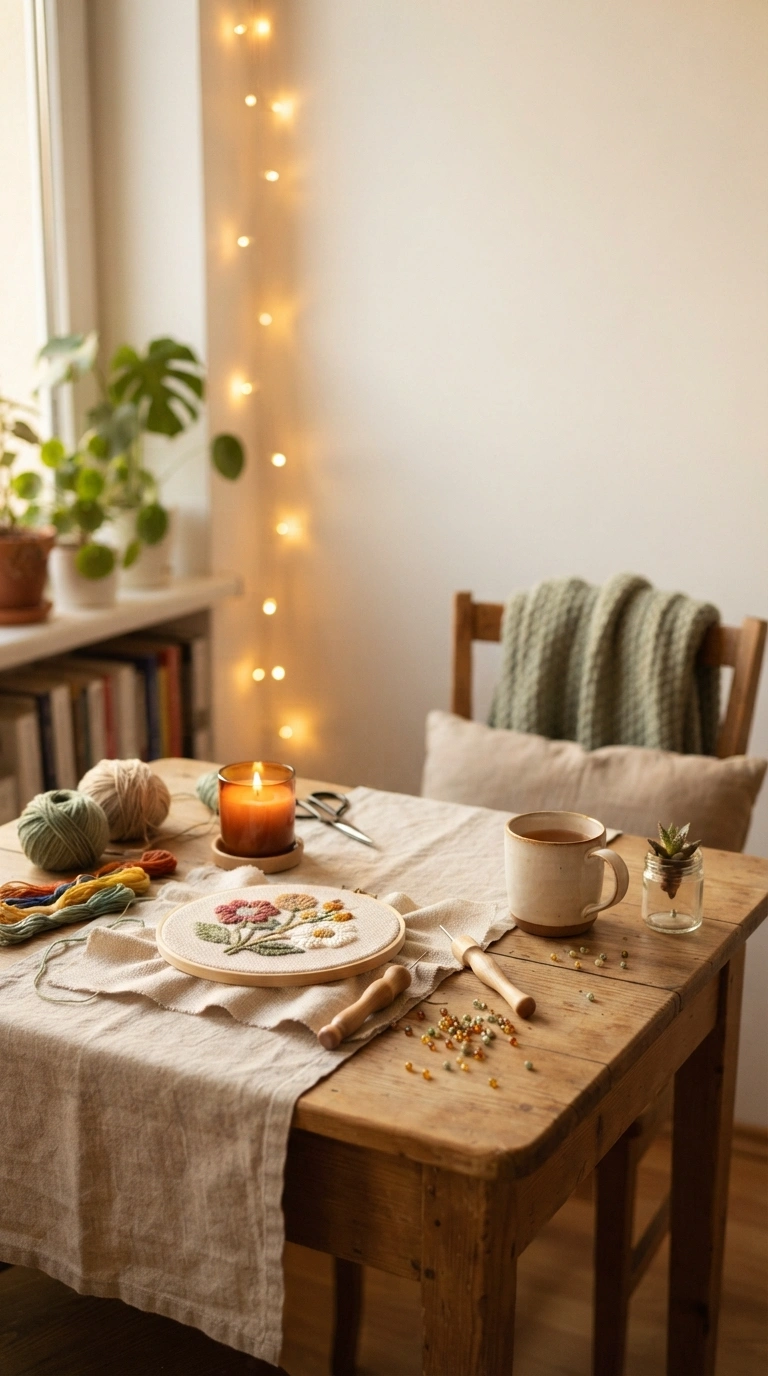
A photorealistic, ultra-detailed lifestyle interior photograph of a small kitchen table set up for a solo craft night — warm string lights glowing softly in the background, a half-finished punch needle project and a few seed beads scattered in the foreground, a lit candle nearby. Lighting: warm golden hour light mixed with soft string-light glow, generous open negative space in the upper third of the frame for text overlay. Camera angle: 45-degree angle, medium-wide. Mood: cozy, quiet, unhurried. Key details: linen table runner, natural wood tones, soft shadows. Decor accents: ceramic mug, small potted plant, folded blanket on a nearby chair. Color palette: warm white, amber, sage green, natural wood. Style tags: photorealistic, 8K resolution, lifestyle interior photography, Pinterest vertical 2:3 ratio, no people, no text, no watermark, magazine quality.