12 Book Themed Craft Night Ideas Worth Hosting Twice
A book-themed craft night is exactly what it sounds like friends, a bottle of wine, and a stack of old paperbacks turned into something you’d want on a shelf. Here are 12 ideas that turn book lovers into makers, from five-minute bookmarks to a full literary lounge corner.
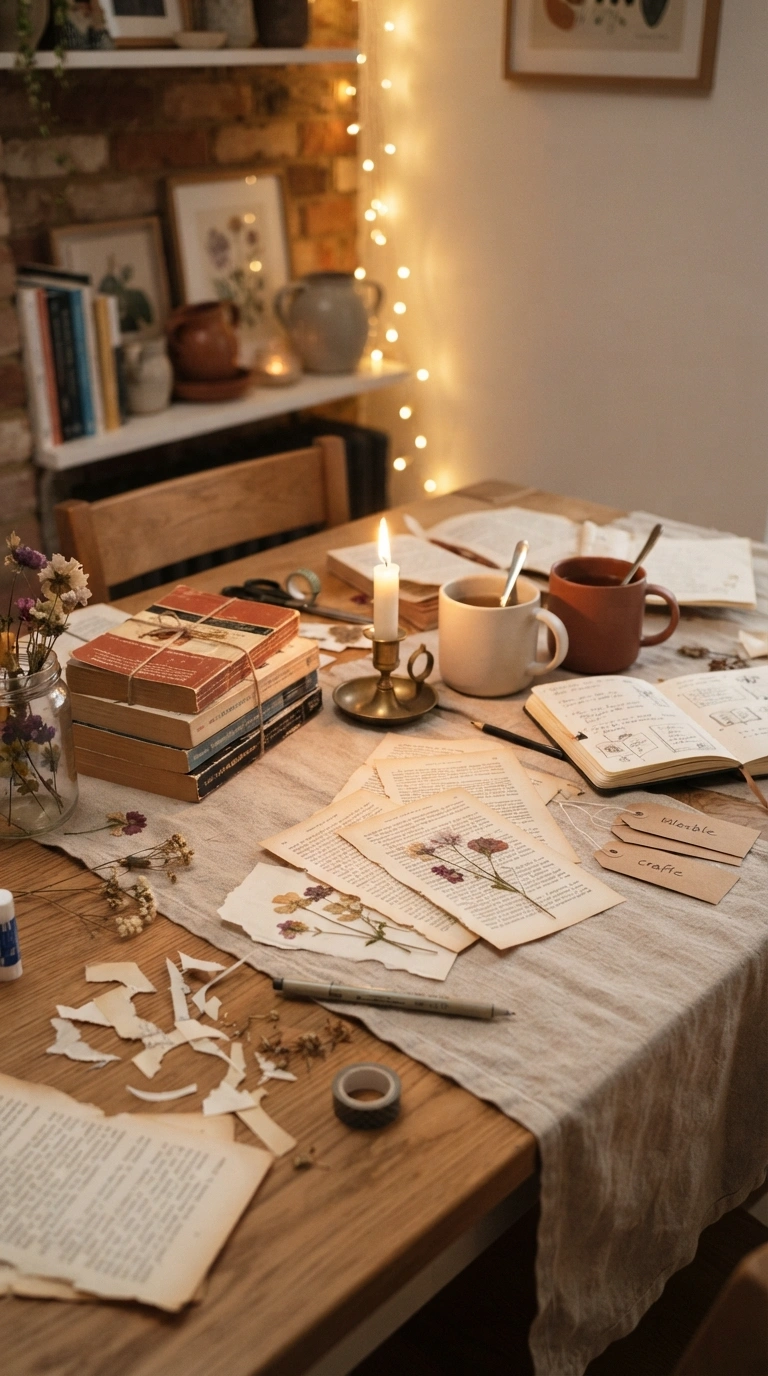
There’s something specific about the smell of old paper and warm lamp light that makes a craft table feel less like a project and more like an evening out. Nobody needs a garage full of supplies to pull this off. Pick three or four ideas, not twelve, and you’ll host a night people remember.
Jump To
- Rainbow Bookshelf Place Cards
- Pressed-Flower Bookmark Station
- Book Page Flower Wreaths
- Literary Café Lighting Station
- Vintage Book Stack Centerpiece
- Book Spine Quote Banner
- Signature Bookish Drink Bar
- Cozy Reading Corner Lounge Setup
- Mini Book Nook Diorama Building
- Warm Reading Lamp Swap Station
- Book Page Confetti Table Runner
- Small-Space Fold-Flat Craft Table Setup
Why Book-Themed Craft Night Makes Such a Difference
Book-themed craft nights work because they solve the “what do we actually do” problem that kills most casual get-togethers everyone leaves with something made, not just a plate of dip. The best supplies are cheap and specific: thrifted paperbacks nobody wants, kraft paper and twine, mod podge, dollar-store frames, warm-white string lights instead of overhead fixtures.
It’s having a moment right now because secondhand bookstores and cottagecore styling made “old books as décor” feel intentional instead of dated. It works fine in small apartments, too prioritize one clear work surface over cramming in six craft stations.
| Best starting point | A box of $1 thrifted paperbacks and a glue gun |
| Biggest impact area | The main table — set it before guests arrive |
| Budget to start | $40–$70 for 6–8 guests |
| Time to complete | 2–3 hours, including setup |
12 Craft Night Ideas Everyone Will Actually Finish
1. Rainbow Bookshelf Place Cards (Your Fastest Win)
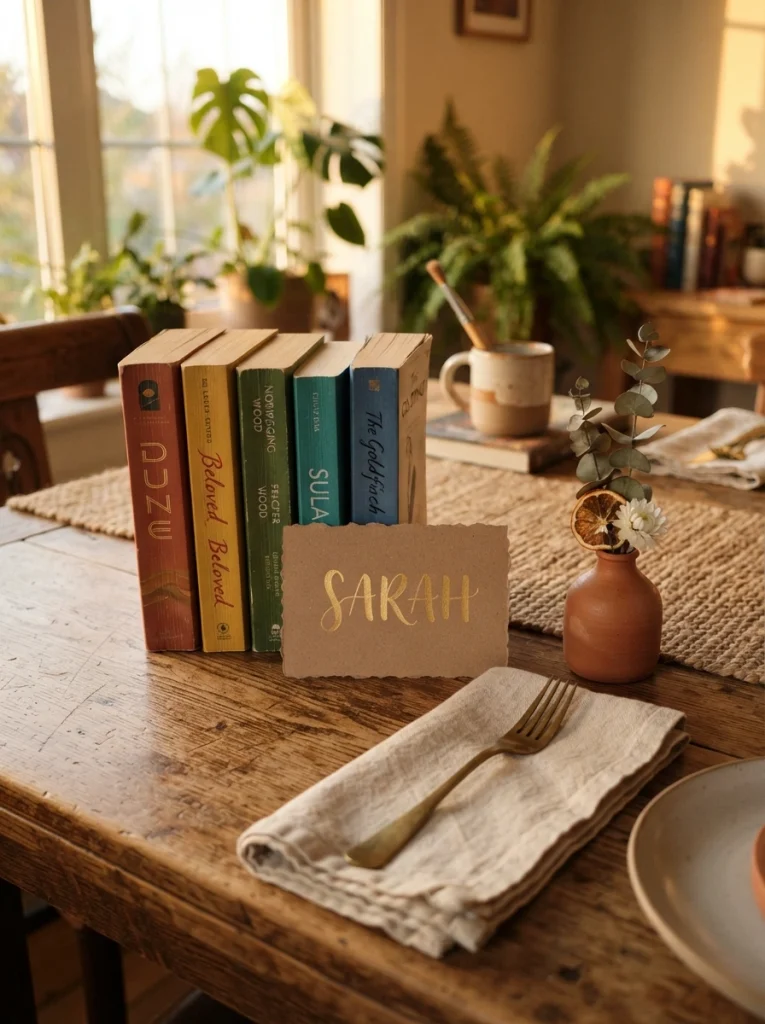
What it looks like: Cheerful and orderly a color-graded row of book spines doing double duty as a seating chart.
Why it works: Color blocking gives the eye a resting point, and grouping books by spine color instead of genre builds a rainbow gradient without anyone touching a paintbrush. You get the visual weight of a centerpiece with none of the setup time.
How to copy it: Sort ten to twelve thrifted paperbacks by spine color, stack two or three per place setting, and slide a kraft paper name card between the covers. Skip anything with a torn dust jacket it throws off the gradient.
Best for: Hosts with fifteen minutes before guests arrive and a decent thrift-store haul already sitting in a box.
Quick Win: Don’t have enough colorful spines? Wrap plain paperbacks in coordinating scrapbook paper it takes about ninety seconds per book and nobody will know the difference.
What You’ll Need
| Product |
|---|
| Assorted secondhand paperback books |
| Kraft paper place cards |
| Gold metallic paint pen |
| Brass place card holders |
| Small terracotta bud vases |
2. Pressed-Flower Bookmark Station
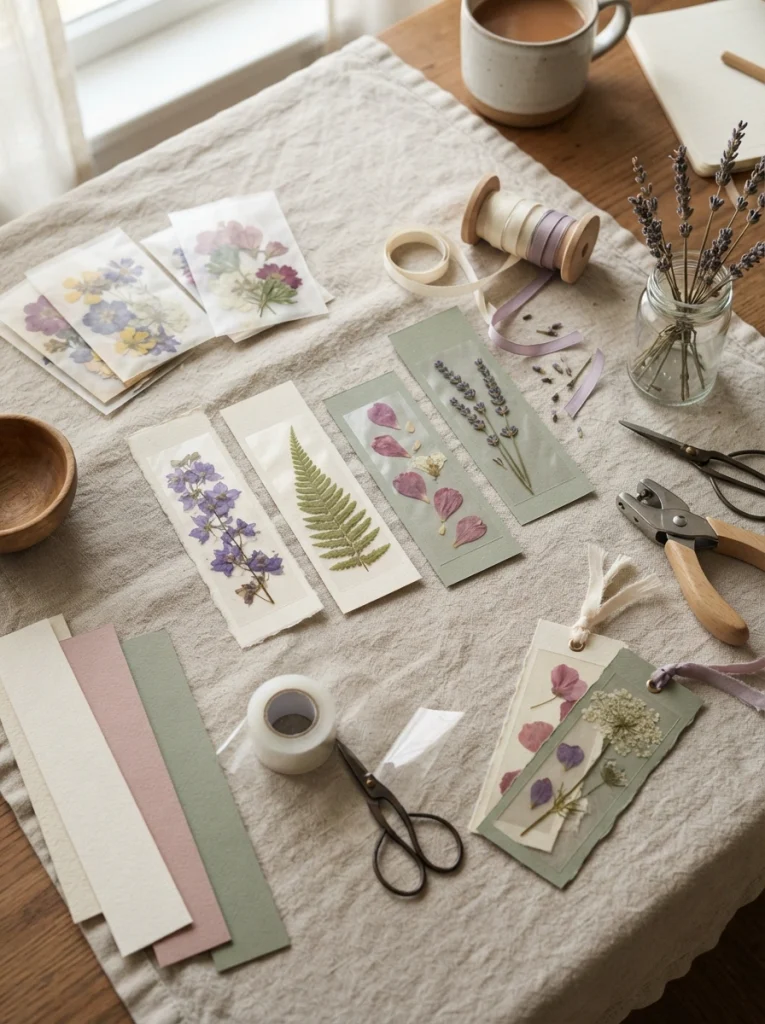
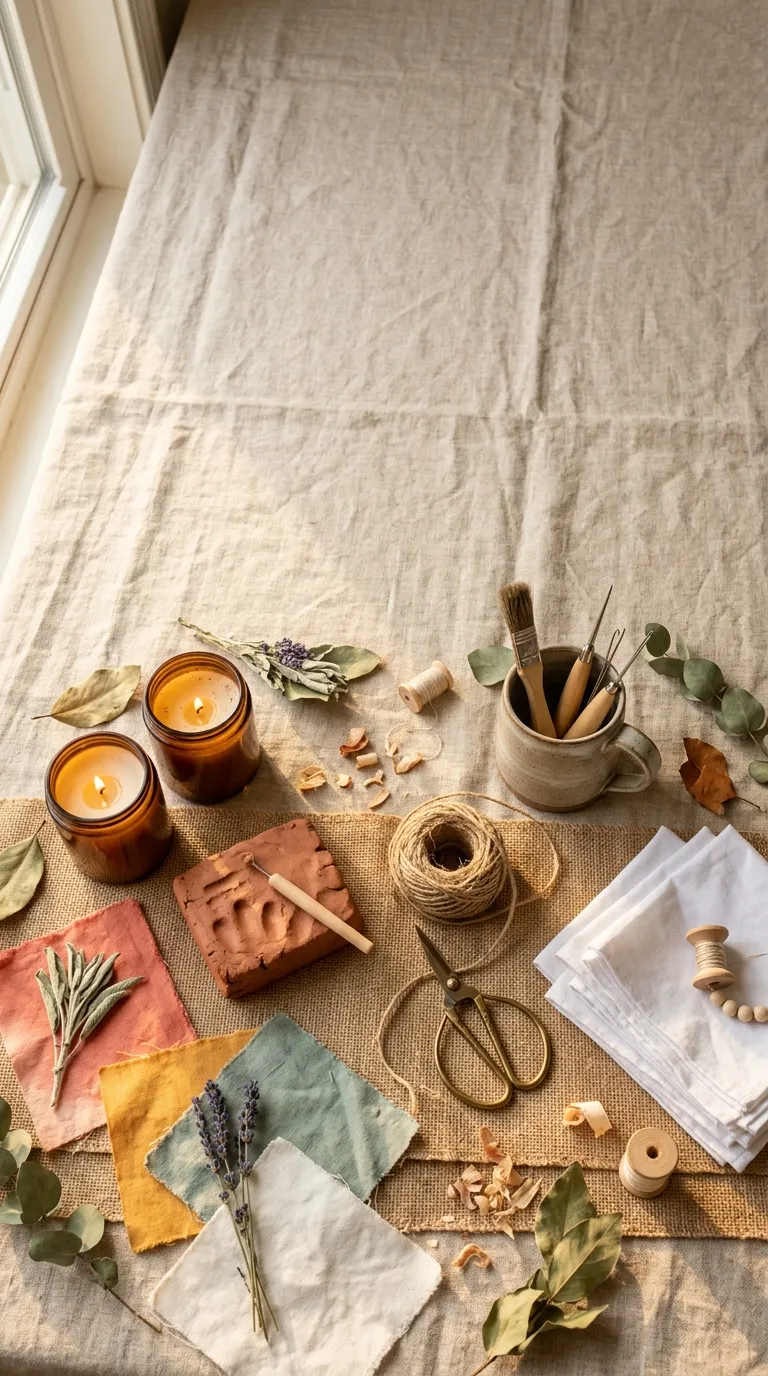
What it looks like: Quiet and tactile a corner of the table dedicated entirely to flattened petals and strips of cardstock.
Why it works: This station isolates a single repetitive motion press, layer, seal which is exactly what makes a craft feel doable to guests who don’t consider themselves “the crafty one.” It leans on the same layer-and-seal logic behind most beginner paper craft projects, so nobody needs prior experience.
How to copy it: Cut cardstock into 2×6-inch strips, arrange pressed flowers or leaves in a single layer, and seal with clear contact paper trimmed close to the edge. Punch a hole at the top and thread narrow ribbon through it.
Best for: Book clubs and readers who’ll use the finished project instead of shelving it.
Pro Tip: Press flowers for at least 48 hours before the party anything fresher will still hold moisture and fog up under the contact paper.
3. Book Page Flower Wreaths
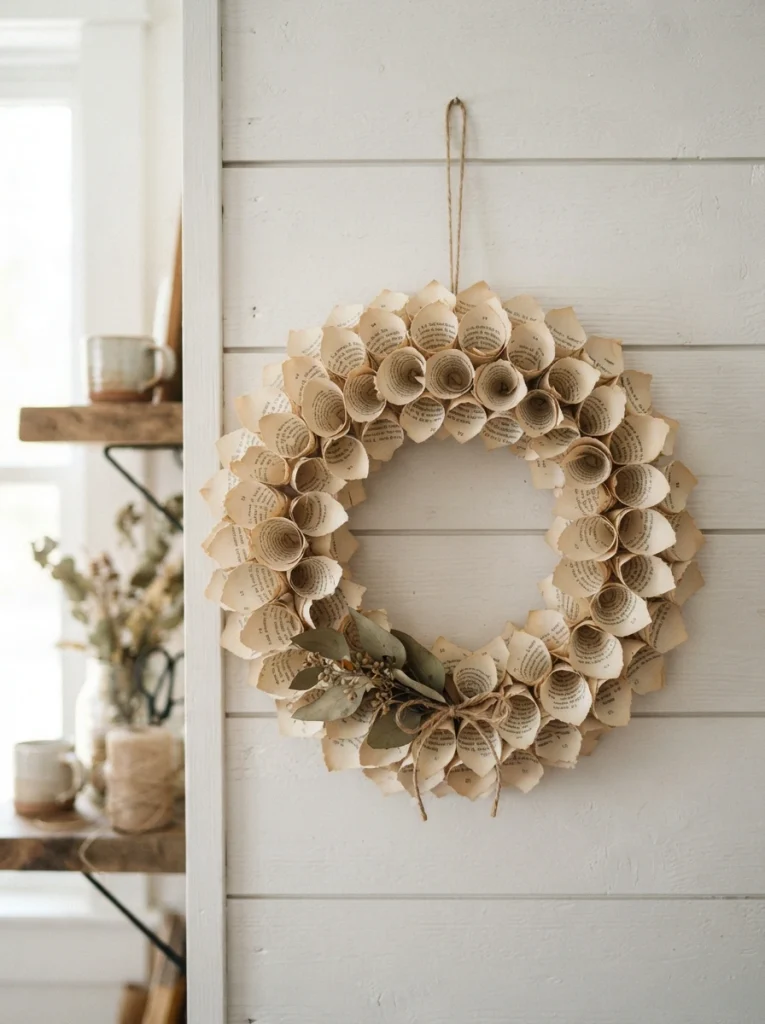
What it looks like: Soft and papery a wreath built entirely from folded book page petals, no green in sight.
Why it works: Repetition and texture layering carry this one. Dozens of small, folded paper petals build visual weight the way real flowers would, but on a wire frame instead of floral foam uneven folds help, since identical petals read as artificial.
How to copy it: Tear pages from a damaged paperback, fold each into a loose petal shape, and hot-glue them in overlapping rows around a 6-inch wire wreath form, working from the outer edge in. It’s close to the fold-and-layer method in our book page crafts guide, if guests want a reference mid-project.
Best for: Guests who like a slower, meditative craft and don’t mind sticky fingers.
Budget Version: A damaged $1 thrift-store paperback and a $3 wire wreath form from the dollar store covers one full wreath skip floral wire and use hot glue instead.
What You’ll Need
| Product |
|---|
| Damaged secondhand paperback for pages |
| 6-inch wire wreath form |
| Mini hot glue gun and glue sticks |
| Craft scissors |
| Ribbon for hanging |
Up next: the lighting swap that changes how the whole table photographs.
4. Literary Café Lighting Station
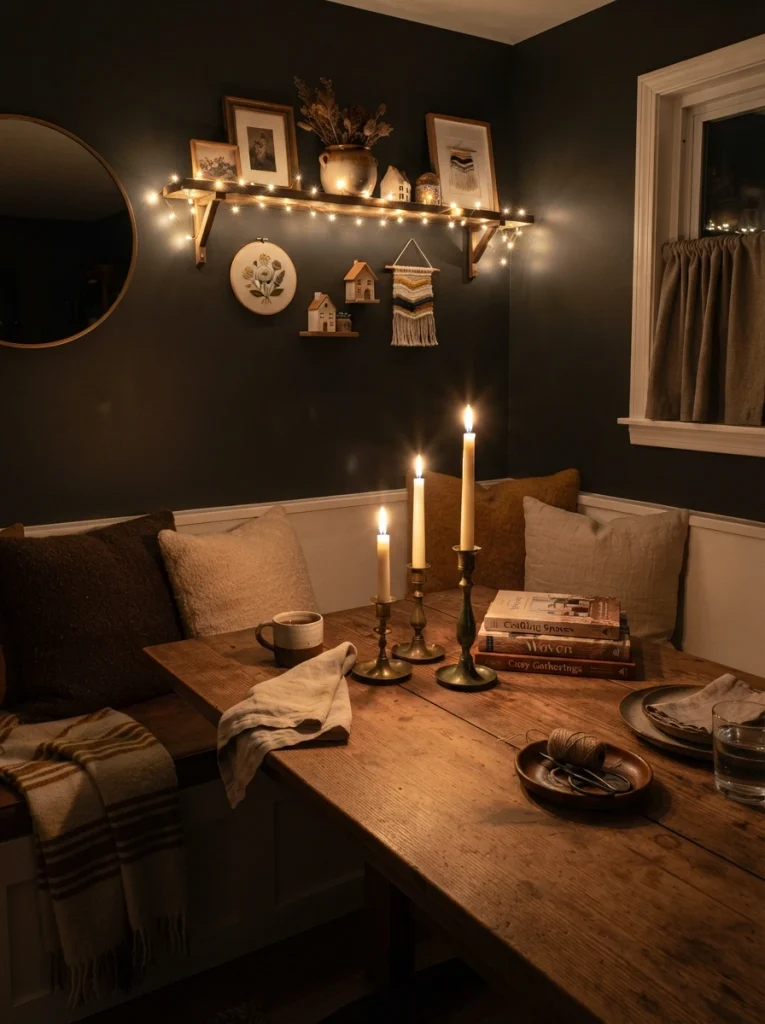
What it looks like: Warm and low string lights and a few real candles standing in for the harsh overhead light most dining rooms default to.
Why it works: Light temperature does more work than décor here. Swapping cool overhead bulbs for warm 2700K string lights and candlelight drops the color temperature enough that skin tones, book covers, and photos all read warmer it’s the fastest mood change available for zero dollars in new decorations.
How to copy it: Turn off overhead lighting entirely, run warm-white string lights along a shelf or mantel, and add three to five taper or pillar candles at varying heights down the center of the table.
Best for: Hosts who want the room to photograph well without buying a single new decoration.
Styling Note: Group candles in odd numbers three or five and vary the heights. Even numbers and matched heights read as a store display, not a table someone actually set.
5. Vintage Book Stack Centerpiece
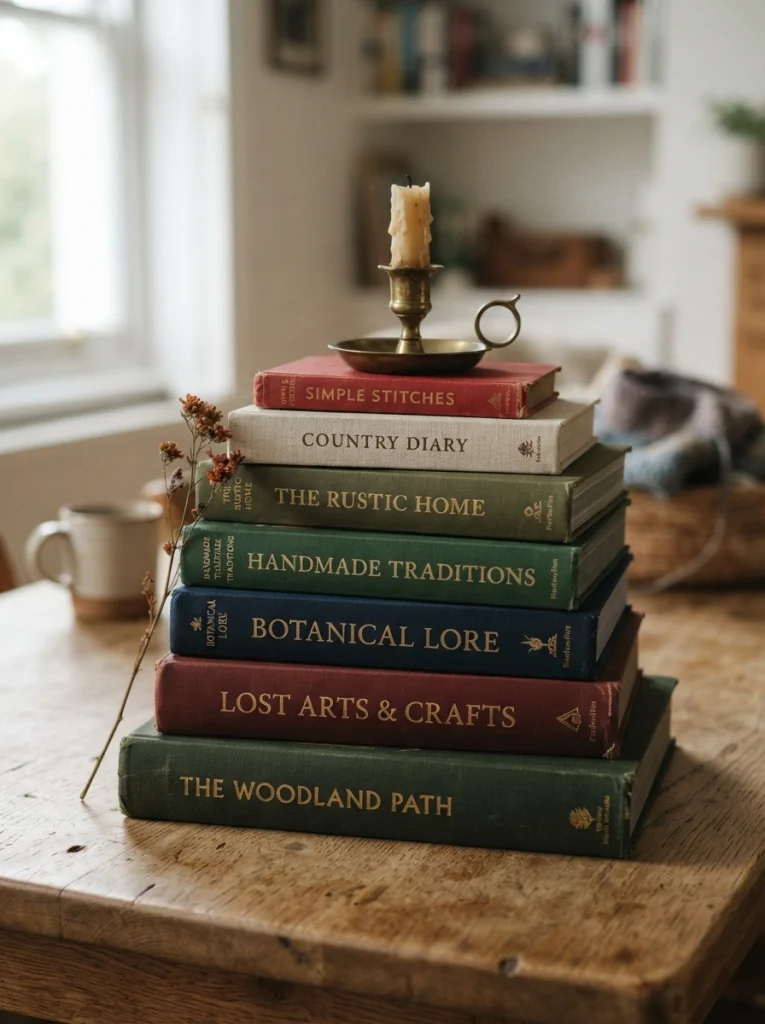
What it looks like: Grounded and a little lopsided on purpose a leaning tower of hardcovers doing the job a vase usually would.
Why it works: This uses visual weight and asymmetry instead of symmetry to anchor the table one tall stack pulls the eye more effectively than several small, evenly spaced objects. It borrows the same layered, lived-in feel covered in our vintage grandma-house styling piece.
How to copy it: Stack five to seven hardcover books by height, largest on the bottom, and set a single object a small brass candlestick or bud vase on top rather than beside the stack.
Best for: Tables that need one strong focal point instead of scattered decorations.
Warning: Don’t use borrowed or valuable books for this hot wax, spilled wine, and glued embellishments will ruin covers permanently. Keep a “sacrifice pile” of thrift-store hardcovers set aside just for décor.
6. Book Spine Quote Banner
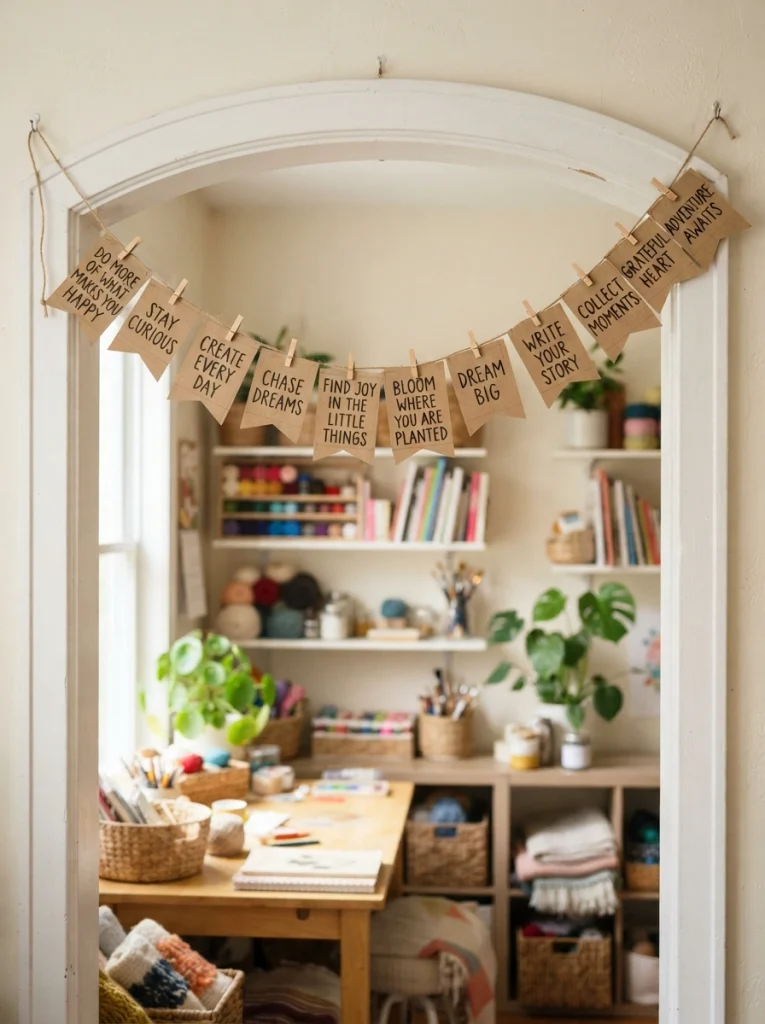
What it looks like: Handwritten and a little uneven a garland of book-shaped paper flags, each carrying a single line from a favorite title.
Why it works: Typography and negative space do the heavy lifting one short phrase per flag, with generous white space around the lettering, keeps the banner legible from across the room instead of turning into clutter.
How to copy it: Cut kraft paper into 4×5-inch rectangles, hand-letter one short quote per flag using a black paint pen, and string them along twine using a hole punch and a simple loop knot.
Best for: Hosts who want a reusable decoration, not a one-night craft.
Mistake to Avoid: Skipping a pencil sketch before inking. Guests consistently run out of room mid-word when they go straight to paint pen a light pencil guide first prevents the crowded, cramped lettering that’s the most common complaint with this project.
The next idea is the one that turns craft night into an actual cocktail hour.
7. Signature Bookish Drink Bar
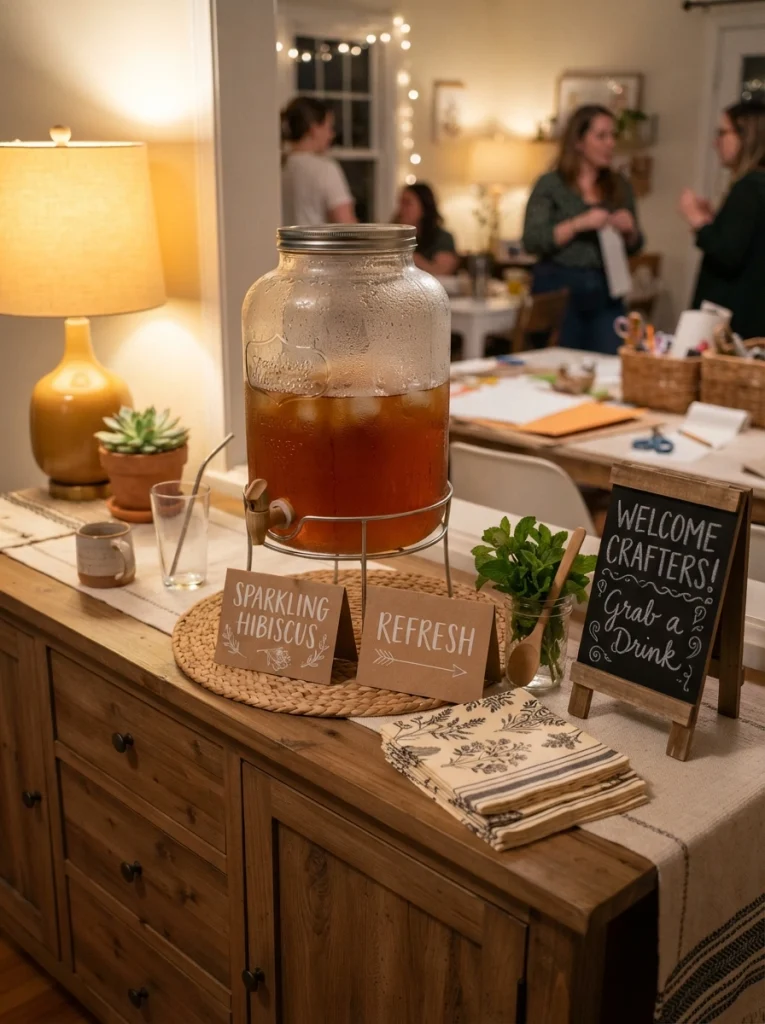
What it looks like: Playful and a little literary a small drink station where every option is named after a book or author instead of labeled “red” or “white.”
Why it works: Naming, not just presentation, is the design principle here a hand-lettered sign renaming a mocktail “The Gatsby” adds personality without requiring any actual craft skill from the host.
How to copy it: Pick three drinks one cocktail, one mocktail, one basic soft drink and rename each after a book title or character that loosely fits the flavor. Letter the names on small kraft paper tent cards.
Best for: Hosts who want one easy, high-impact detail without adding another craft station.
Important: Most hosts assume this needs custom syrups or specialty liquor it doesn’t. Store-bought sparkling juice renamed “The Secret Garden” gets the same reaction as a $12 craft cocktail.
What You’ll Need
| Product |
|---|
| Kraft paper tent cards |
| Black fine-tip paint pen |
| Small drink dispenser or beverage tub |
| Cocktail napkins |
| Mini chalkboard drink sign |
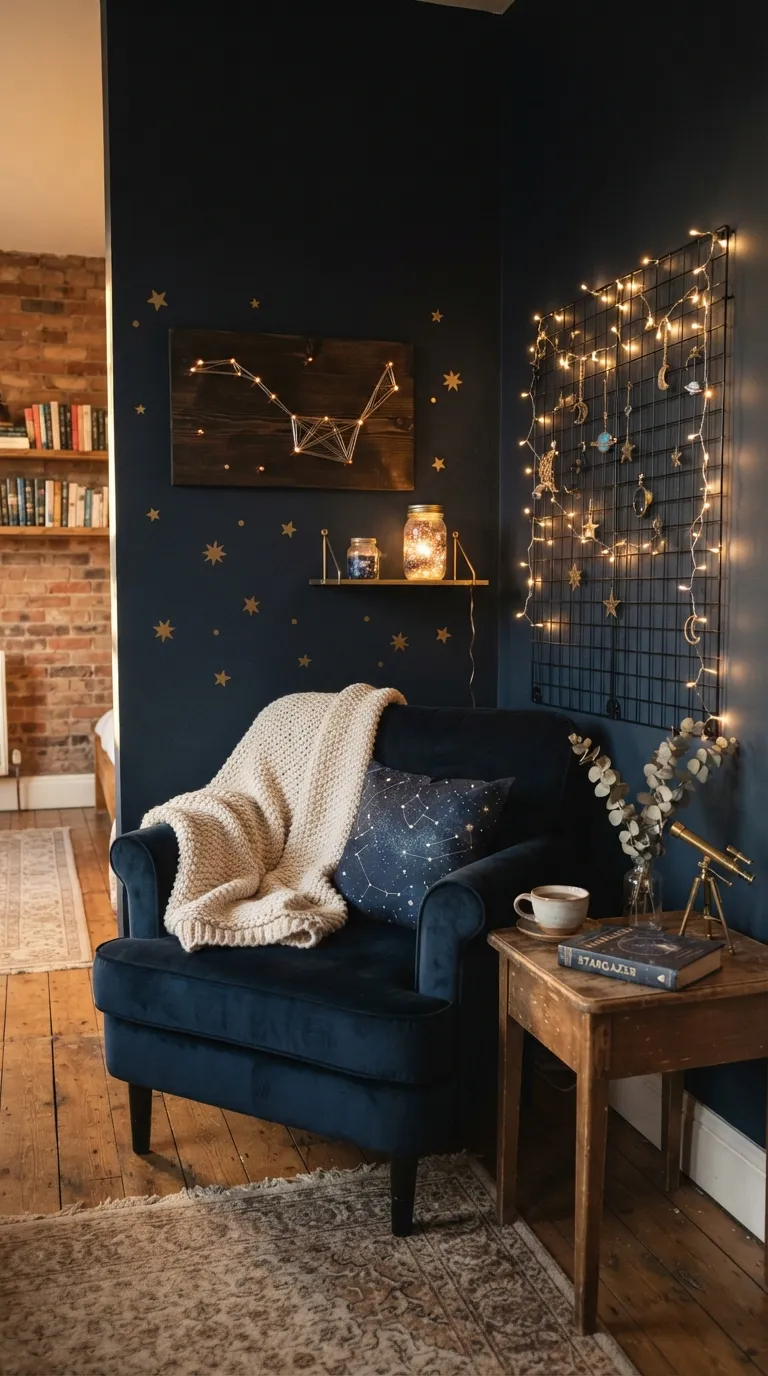
8. Cozy Reading Corner Lounge Setup
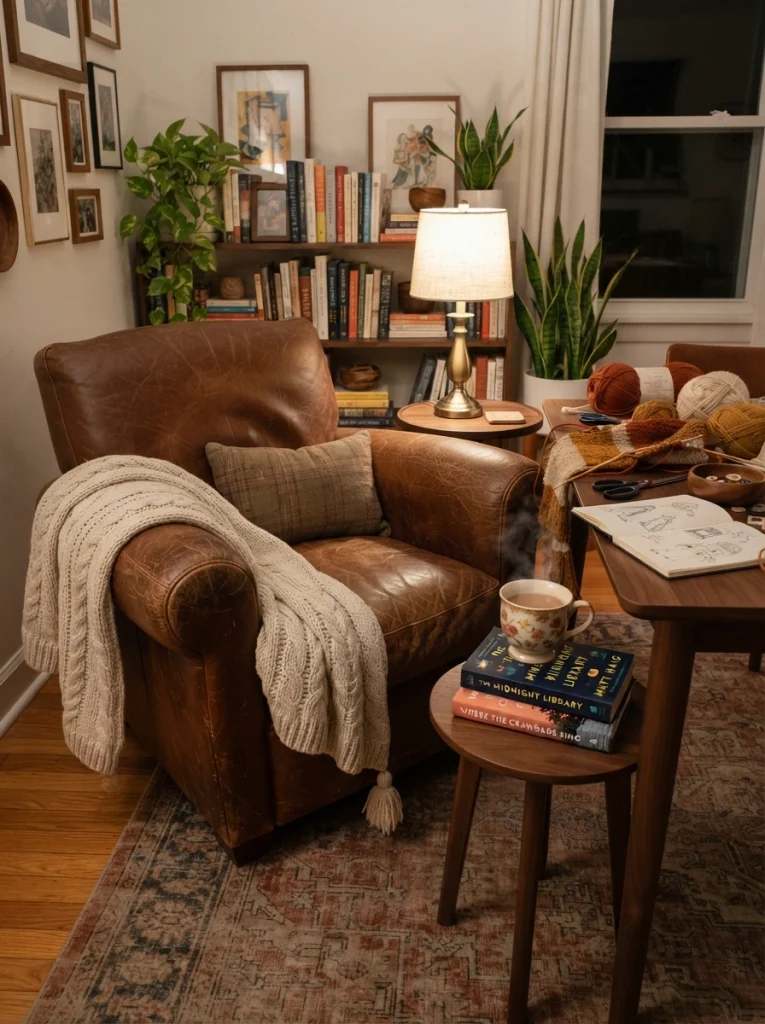
What it looks like: Slouchy and inviting a single armchair or floor cushion cluster set slightly apart from the main craft table.
Why it works: Not every guest wants to craft the entire night, and giving them a designated lounge spot instead of an empty chair at the work table prevents the “am I supposed to be doing this” feeling that kills momentum for everyone else.
How to copy it: Pull one armchair or a stack of floor cushions a few feet from the main table, add a small side table for a drink, and stock it with two or three of the books guests are crafting from.
Best for: Mixed groups where not everyone is equally into hands-on crafting.
Quick Win: No spare armchair? A cleared corner with two floor cushions and a thrifted throw blanket does the same job in under five minutes.
9. Mini Book Nook Diorama Building
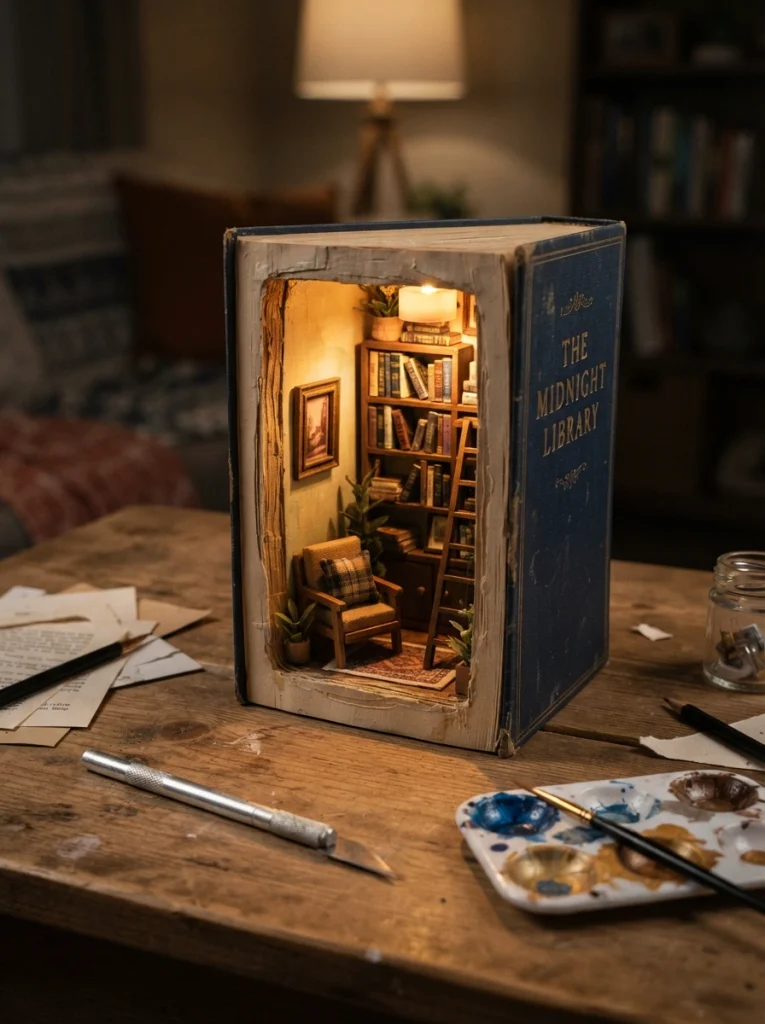
What it looks like: Miniature and absorbing a tiny shelf-insert scene built between the pages of a hollowed hardcover, lit by a single LED tea light.
Why it works: This is the most involved project on the list, and it earns that complexity through sequential steps rather than skill each stage is simple on its own, but the layering is what makes the final scene look finished instead of crafty.
How to copy it: Hollow a thick hardcover to create a shelf-shaped cavity, paint the interior walls before assembling any furniture pieces, then add miniature shelving and a warm LED tea light last, once the glue has fully cured.
Best for: Guests who want one focused, longer project instead of hopping between stations.
✅ Diorama Building Order:
- [ ] Hollow the book cavity and let any glued edges dry fully
- [ ] Paint interior walls and let them cure before adding pieces
- [ ] Glue miniature shelving and furniture pieces into place
- [ ] Add a battery LED tea light last, once everything else is dry
What You’ll Need
| Product |
|---|
| Thick hardcover book for hollowing |
| Craft knife and cutting mat |
| Miniature dollhouse furniture pieces |
| Acrylic craft paint set |
| Battery-powered LED tea light |
Three ideas left, starting with the lighting swap most hosts skip entirely.
My Views:
In my experience, the diorama station is the one people underestimate budget at least 45 minutes for it alone, not the 15 minutes most invite templates suggest, or someone’s book nook gets abandoned half-hollowed on the table. I’ve also noticed hardcovers thinner than an inch and a half rarely have enough spine depth to hide the LED wiring cleanly grab the fattest, plainest hardcover in the donation box instead of the prettiest one.
10. Warm Reading Lamp Swap Station
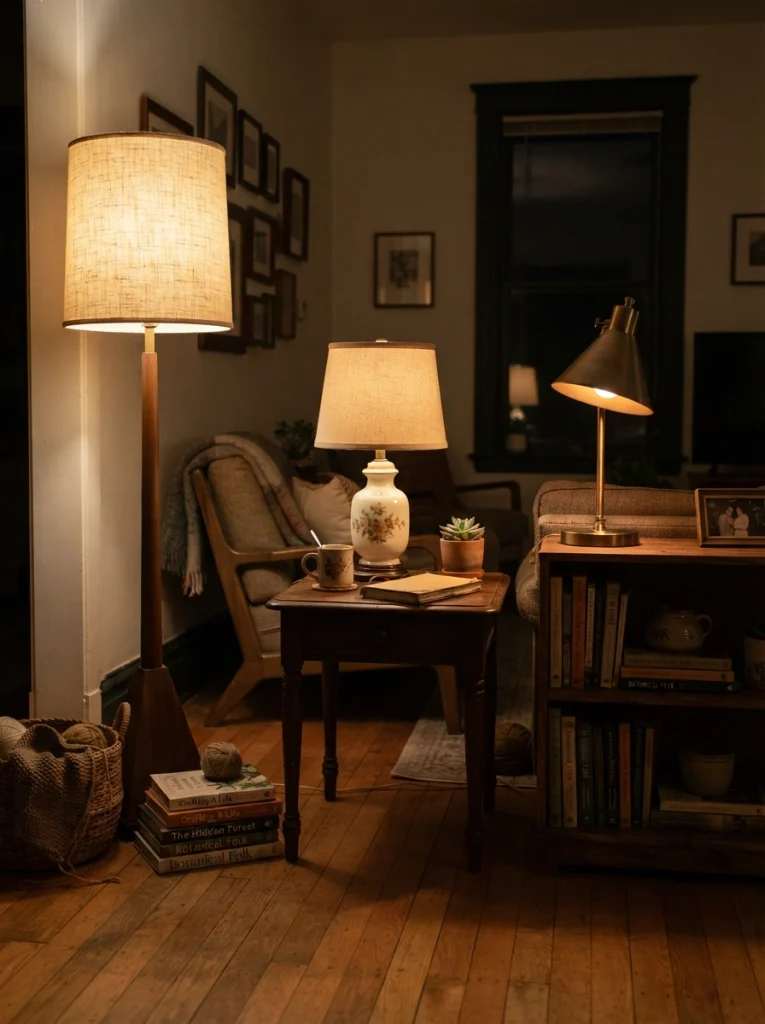
What it looks like: Soft-focus and a little nostalgic a cluster of secondhand lamps with mismatched shades, each swapped to a warm bulb.
Why it works: Layered lighting beats a single overhead source every time several small warm-toned lamps at different heights around the room create depth that one bright ceiling fixture can’t replicate, no matter how good the fixture is.
How to copy it: Borrow or thrift two to three small lamps, fit each with a warm 2700K bulb, and place them at varying heights one on a side table, one on the floor, one on a bookshelf.
Best for: Renters who can’t change built-in lighting and need a workaround.
Styling Note: Mismatched lampshades read as intentional when the bulb color matches across all of them inconsistency in shape is fine, inconsistency in light temperature isn’t.
11. Book Page Confetti Table Runner
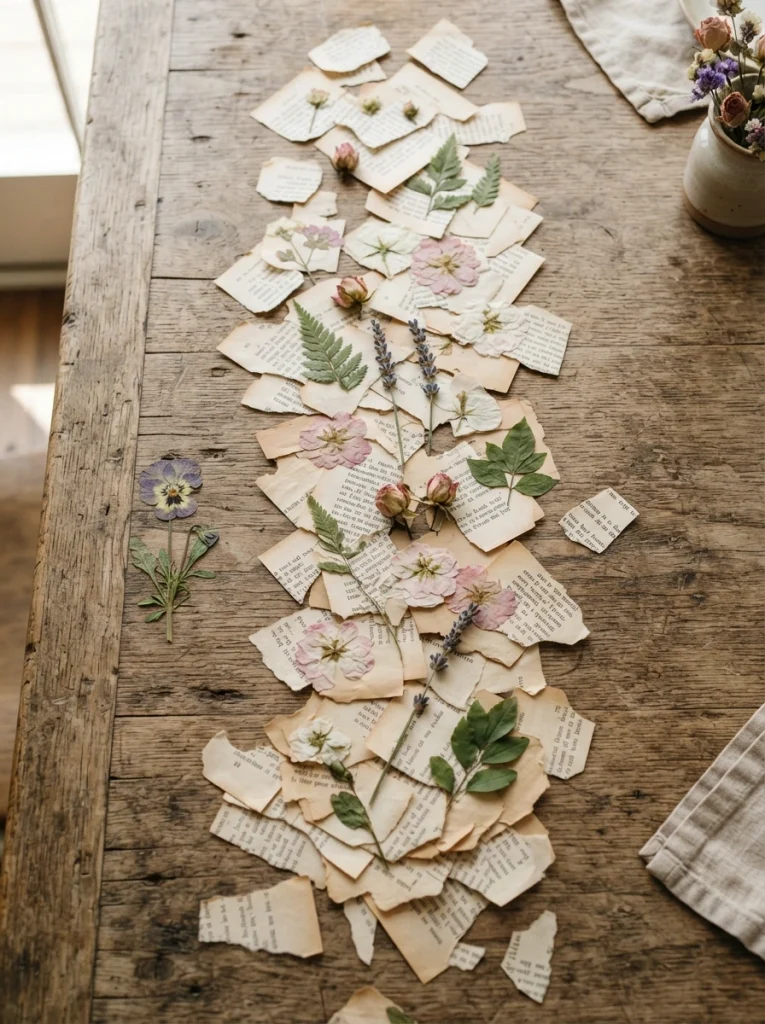
What it looks like: Textured and layered a loose scatter of torn book page confetti running down the center of the table like a runner.
Why it works: Texture layering replaces color here since the palette stays entirely neutral — cream, tan, and faded ink so the visual interest comes from paper weight and tear pattern instead of contrasting hues.
How to copy it: Tear, don’t cut, pages from a damaged paperback into irregular 2-to-4-inch pieces, and scatter them loosely down the table’s centerline rather than in a neat line. Add a few whole pressed flowers on top for contrast.
Best for: Minimalist hosts who want texture without adding another object to the table.
Pro Tip: Tearing against the grain of the paper, perpendicular to the text lines, gives rougher, more organic edges than tearing with the grain a small detail that reads as intentional instead of lazy.
12. Small-Space Fold-Flat Craft Table Setup
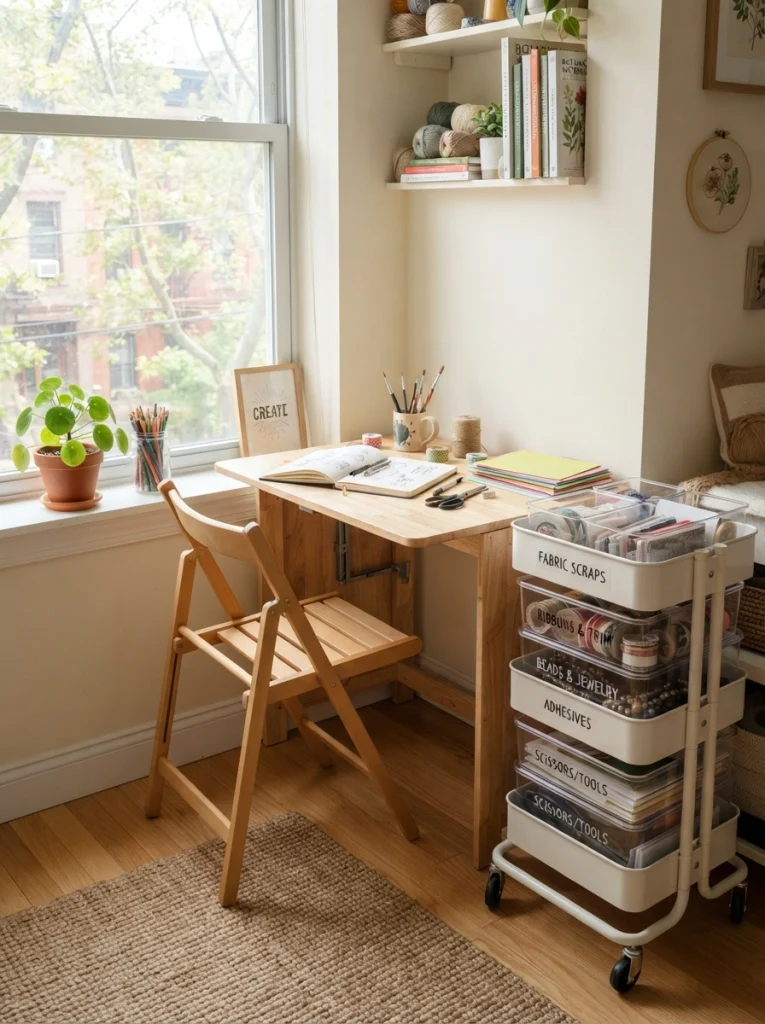
What it looks like: Compact and mobile a single folding table doing the job of a full craft room, wheeled against a wall the moment the night ends.
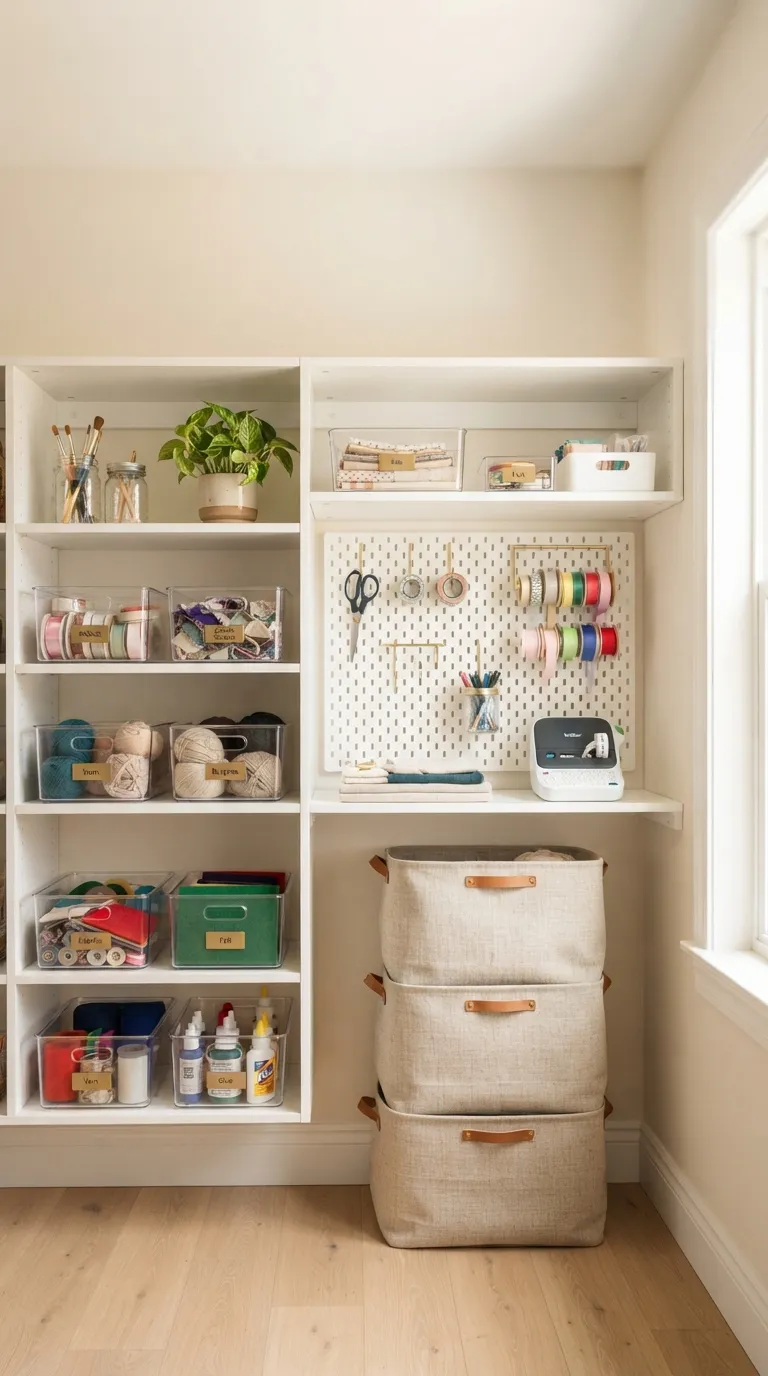
Why it works: Scale and negative space matter more than square footage one properly sized folding table with real elbow room per guest works better than a bigger table crammed into a tight apartment, since the goal is workspace, not square inches. If storage between craft nights is the real constraint, our craft closet organization ideas cover fold-flat storage for exactly this setup.
How to copy it: Use a 6-foot folding table for up to six guests, budget at least 24 inches of table width per person, and store supplies in a single rolling cart that tucks under a bed or into a closet between uses.
Best for: Apartment hosts without a dedicated craft or dining room.
What You’ll Need
| Product |
|---|
| 6-foot folding craft table |
| Rolling storage cart |
| Kraft paper table runner |
| Zippered pouches for small supplies |
| Stackable storage bins |
How to Start Your Book-Themed Craft Night
What I’ve found with real craft nights is that lighting comes first, not last. Set up the warm string lights and candles before anything else it changes the mood of the whole room before a single craft begins, and it’s the one detail guests notice without being able to say why.
In practice, the most common mistake is running more than three craft stations for under eight guests. It splits the group too thin, creates a bottleneck at the one glue gun everyone shares, and leaves at least one station sitting empty. Cap it at two or three stations, and let a quick, low-effort idea like the place cards fill any downtime.
Three items under $50 that create immediate impact: a stack of ten secondhand paperbacks for book-page crafts and centerpieces, usually under $12 at a used bookstore; a string of warm 2700K fairy lights, under $15; and a bulk pack of kraft paper tent cards for the drink bar and place cards, under $8.
Setup takes about an hour if the lighting and one station are prepped ahead of time. A full night including craft time runs two to three hours. Budget $40 to $70 total for six to eight guests, covering all twelve ideas described above.
Ready to Host Your Book-Themed Craft Night?
Between the color-sorted place cards, the folded paper wreaths, and the layered lighting swap, these twelve ideas cover a full evening not just one craft station. Nobody expects you to build all twelve for one night; three or four done well beats a table crowded with half-finished projects.
Tonight, the easiest place to start is pulling ten mismatched paperbacks out of storage or a thrift bag before you second-guess which ones are “good enough.” There’s something specific about a room lit by lamps instead of an overhead fixture, papered with old book pages, that makes people linger past when they meant to leave. Save this one before the next used book sale half these ideas depend on finding the right beat-up paperback at the right price.
You Might Also Like
- 12 Easy Book Page Crafts That Look Expensive
- 15 Craft Night Party Themes for Your Next Girls’ Night In
- 9 Cozy Reading Nook Ideas for Small Apartments