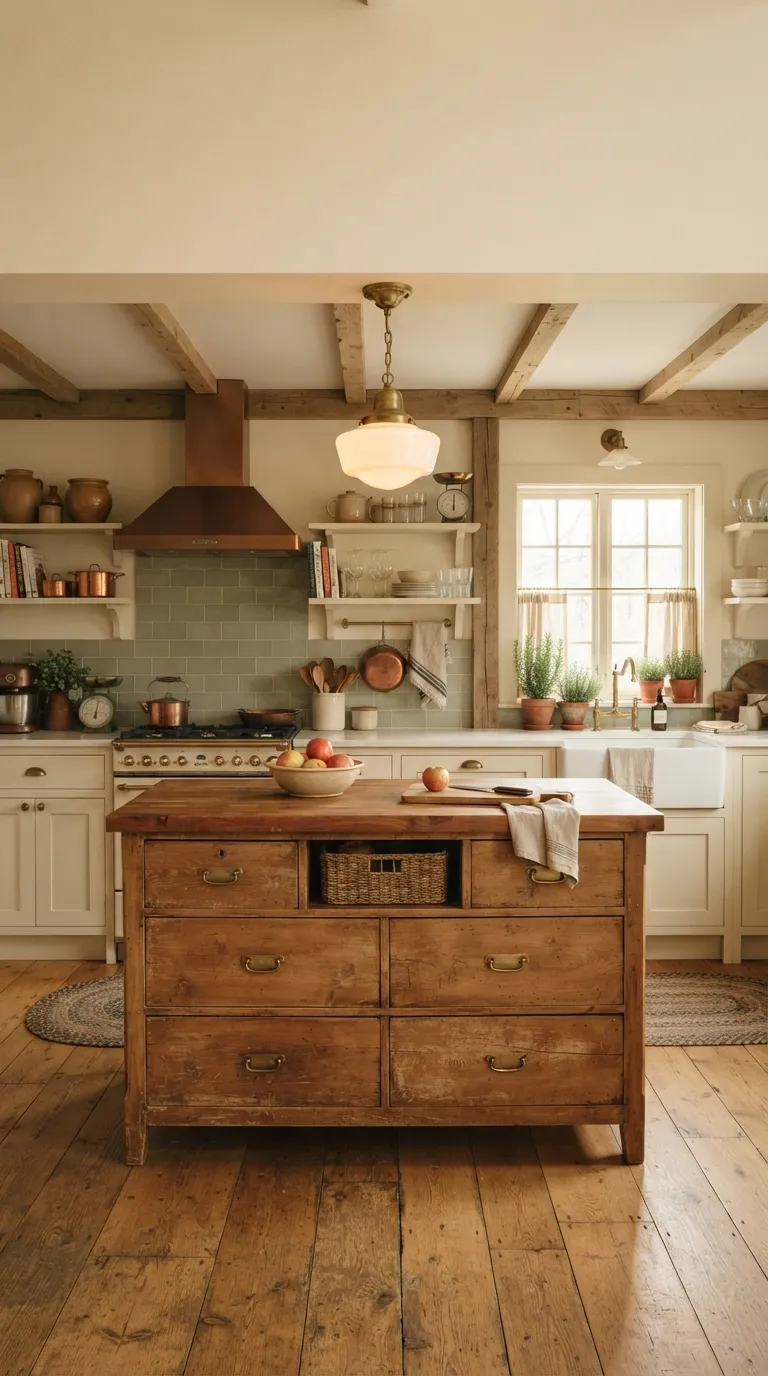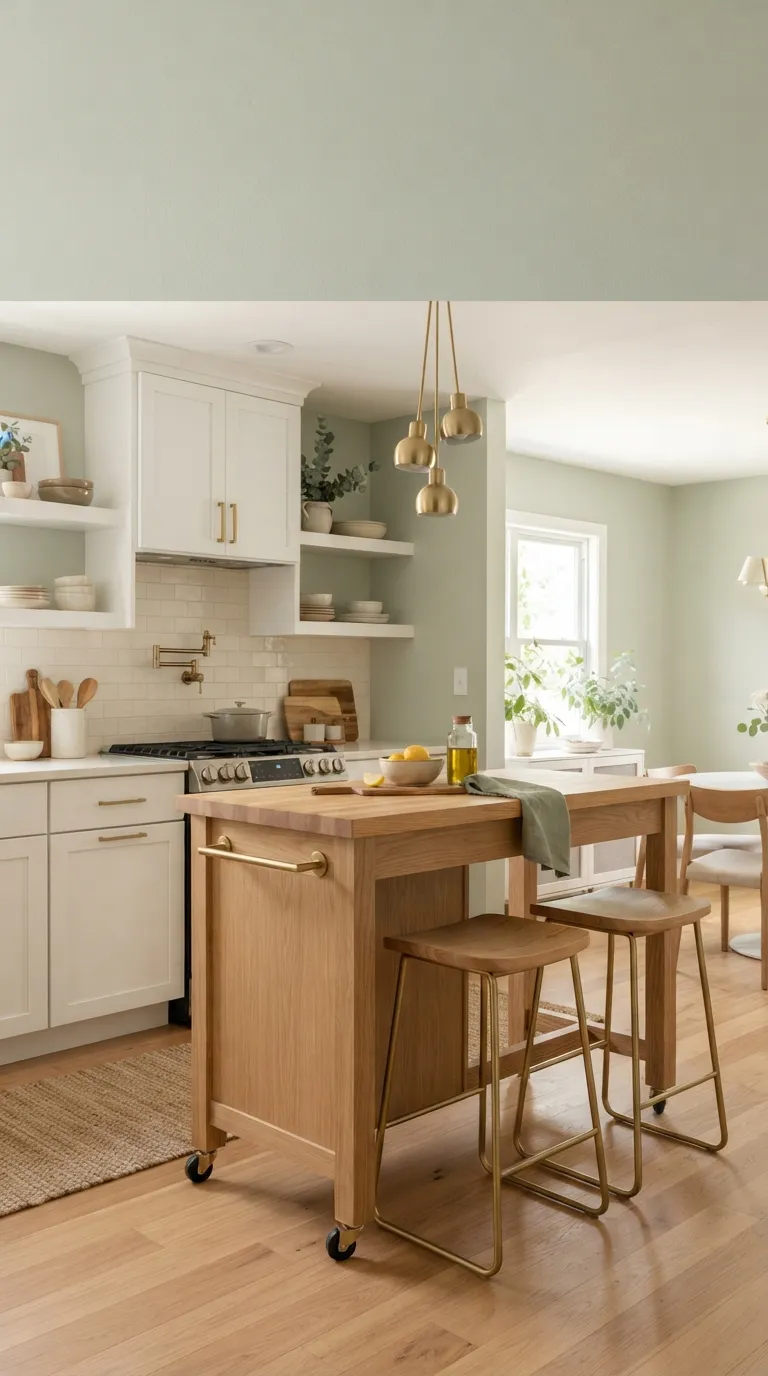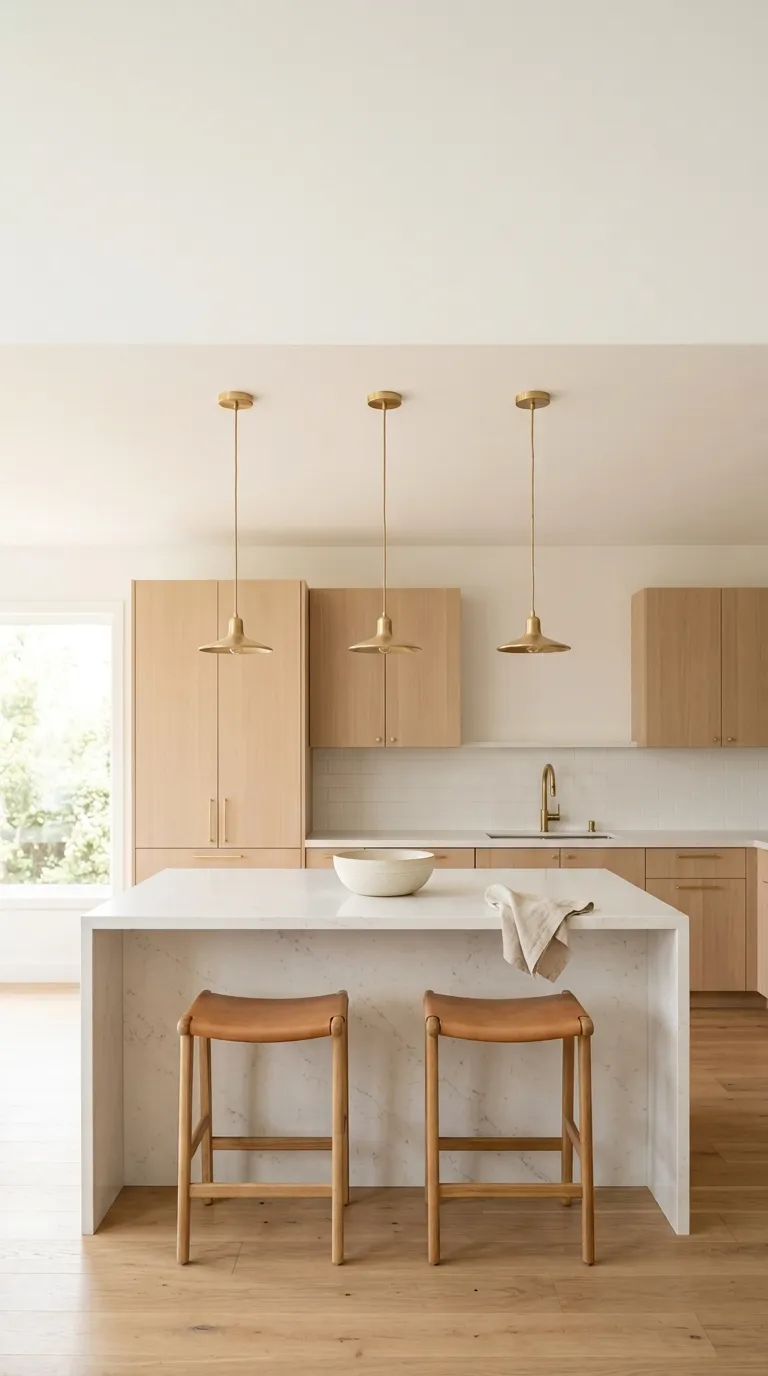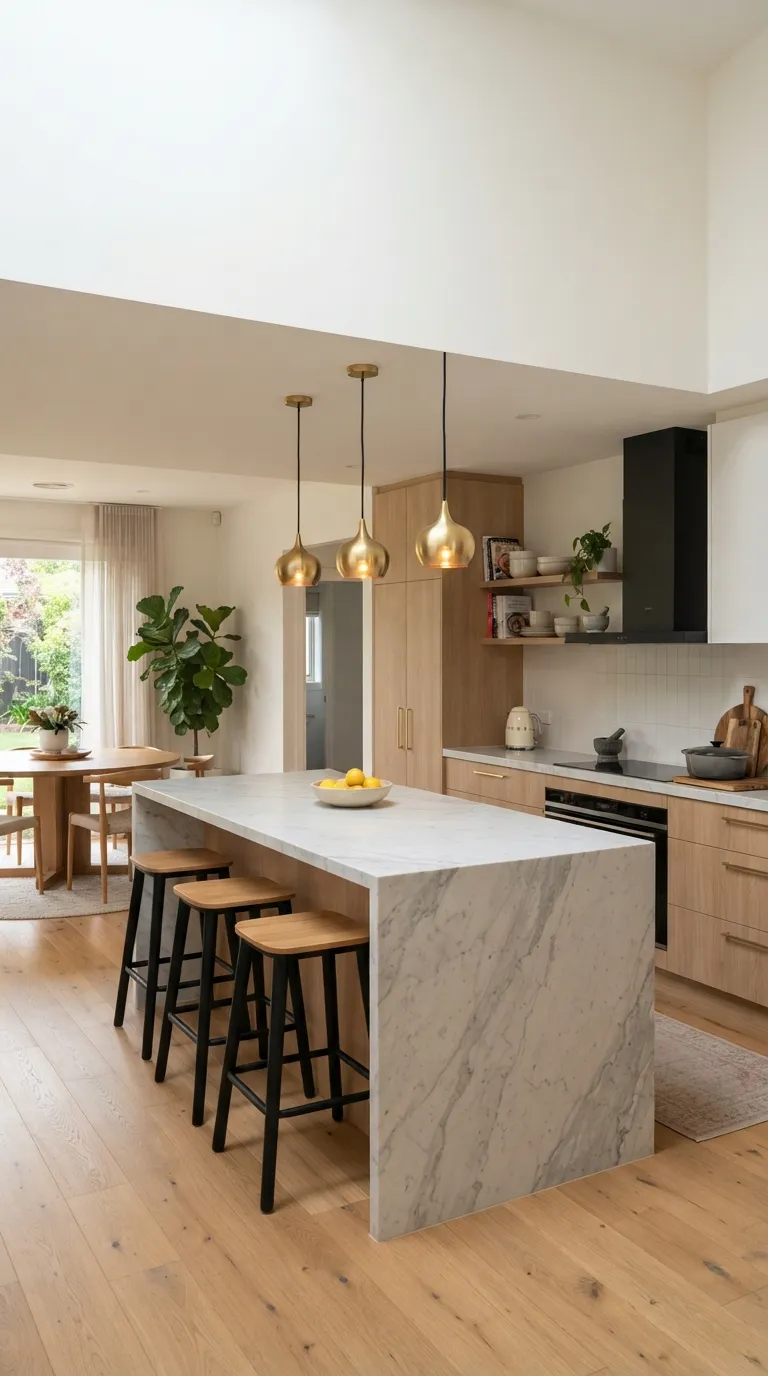
12 Kitchen Island Layouts for First-Time Homeowners Planning a Renovation
A kitchen island only works if the space around it works too the layout decides that, not the finish on the countertop. Here are 12 real kitchen island layouts, sized for the kitchens first-time homeowners inherit, not the 400-square-foot dream kitchens in the magazines.
Some fit a narrow galley kitchen with six feet to spare. Others need a full open-concept footprint to breathe. A good layout feels almost invisible you stop noticing the island and start noticing how easily you move around it. Pick the wrong one, and you’ll notice every day.
Quick Navigation
- Why Kitchen Island Layouts Make Such a Difference
- The Layouts, Starting With the Easiest Swaps
- How to Start Your Kitchen Island Layout Renovation
- Ready to Choose Your Layout?
Why Kitchen Island Layouts Make Such a Difference
Kitchen island layout planning is really just traffic planning for a room three people use at once the cook, the snack-grabber, and whoever’s headed for the fridge. Get the spacing wrong and an island turns from a selling point into the thing everyone complains about at dinner parties.
Good layouts share a few traits: clearance to open an oven door and walk past someone at once, a clear line between the working side and the seating side, and a size that matches the actual room, not the listing photos that inspired it. Finishes are reversible. A structural footprint mostly isn’t.
| Best starting point | Mark your island footprint on the floor with painter’s tape before ordering anything |
| Biggest impact area | Clearance space around the island — aim for at least 42 inches of walkway |
| Budget to start | Approximately $150–$600 for a mobile island; $3,000–$15,000+ for a built-in |
| Time to complete | A weekend for a mobile setup; 4–8 weeks for a full built-in renovation |
The Layouts, Starting With the Easiest Swaps
1. The No-Renovation Rolling Island
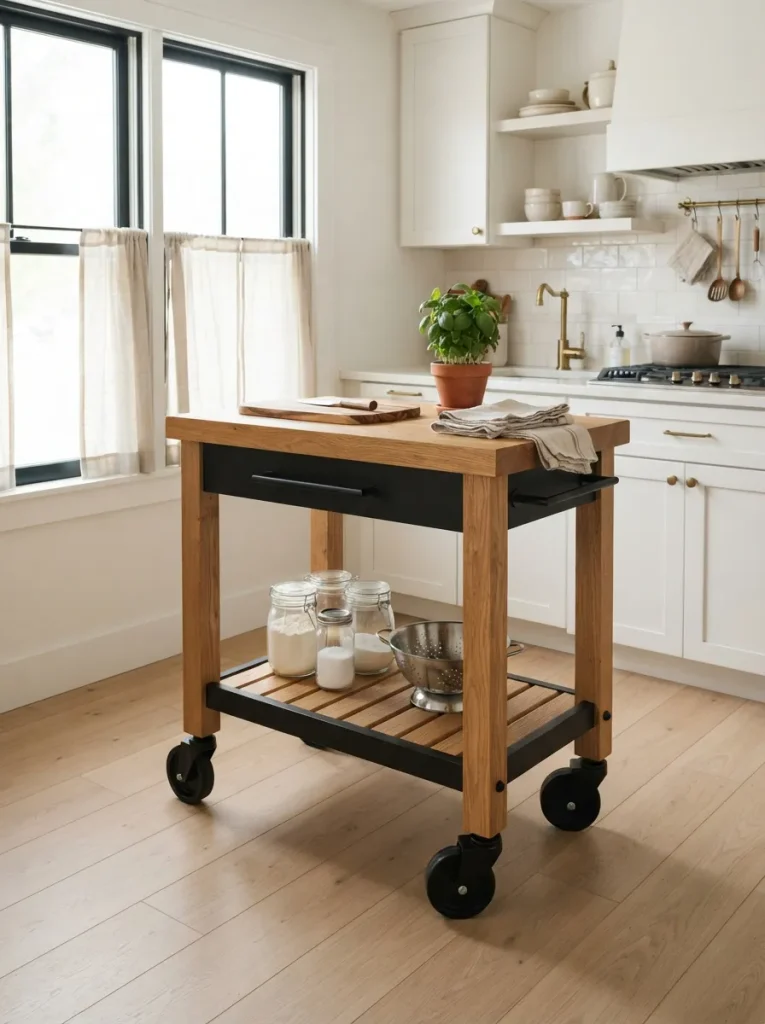
This one’s for first-time buyers who aren’t ready to commit to a permanent layout yet. A locking-wheel kitchen cart, sized around 24 by 36 inches, gives you the extra counter space and storage of an island without touching a single cabinet or wall.
Roll it to the center for prep, then push it back when you need the floor space a real advantage while the “right” footprint is still unclear, and a bridge if you’re weighing these small kitchen island ideas against a full built-in. The trick: measure your floor space at its narrowest point, then buy a cart at least 6 inches narrower on every side. Most people measure the cart, not the room.
Quick Win: A locking-wheel cart answers “do we even want an island” for under $600, with zero renovation risk either way.
2. The Corridor-Safe Single-Level Island
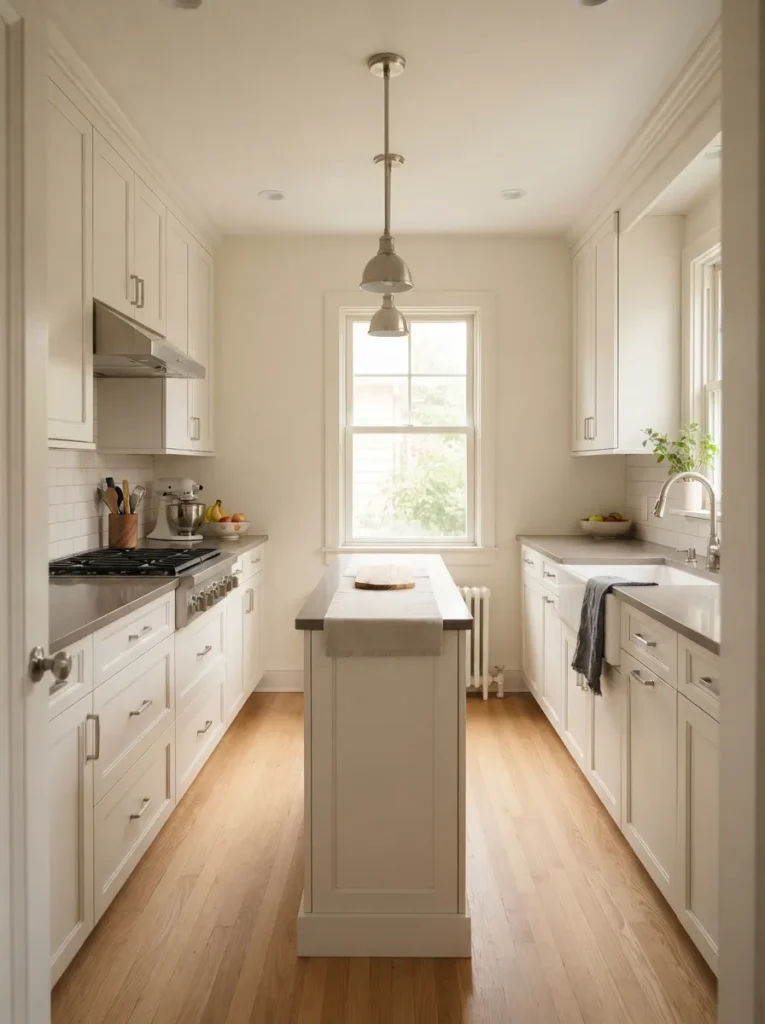
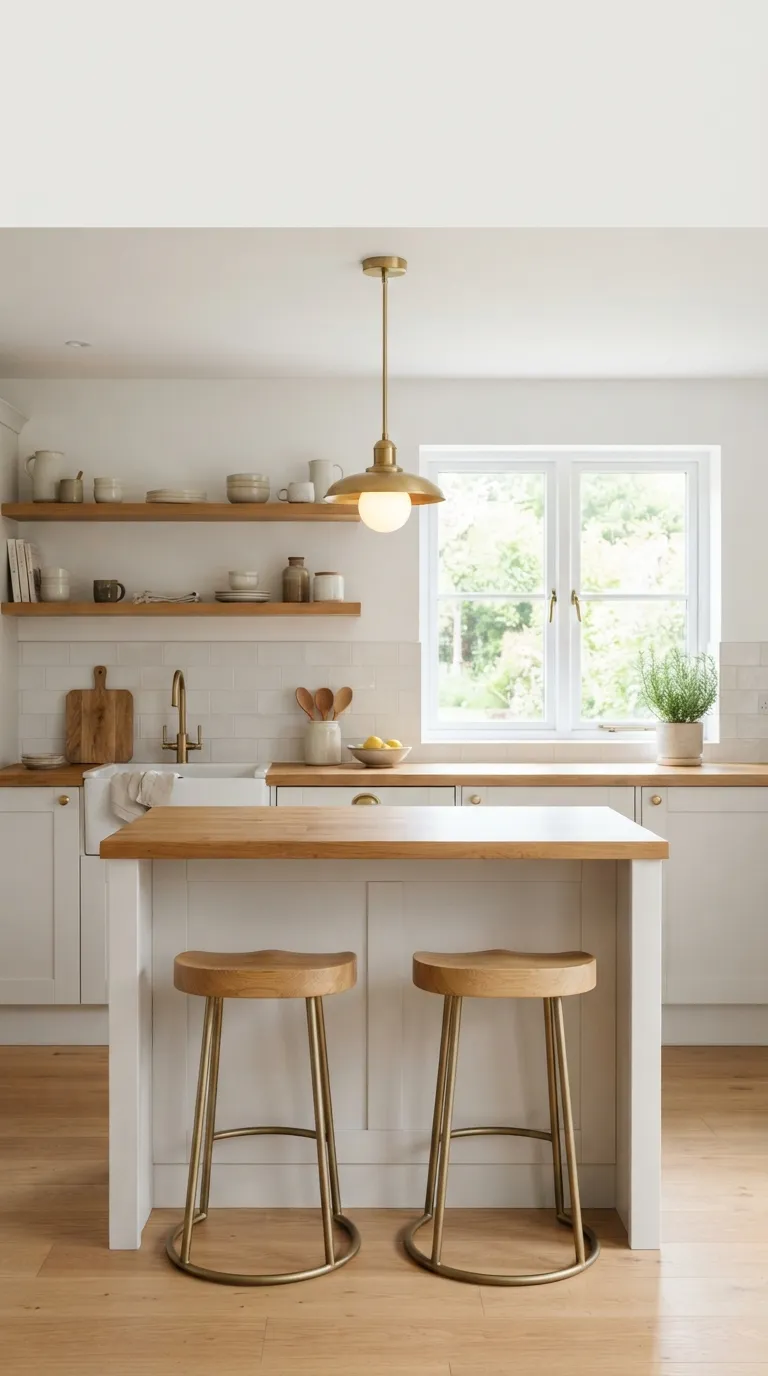
Measure before you fall in love with anything. A corridor-style kitchen can usually fit a slim single-level island only if there’s at least 10 feet of total width, leaving 42 inches of clear walkway on each side once it’s in.
Tighter than that, and the island becomes an obstacle instead of a workstation. The look stays simple on purpose: one counter height, no seating overhang, just enough surface for a cutting board. It suits households where the kitchen is a workspace first, not the social hub. Skip the overhang even if you’re tempted that extra 12 inches of depth is usually the difference between fitting and not.
Pro Tip: Forty-two inches is the minimum for one cook. Bump it to 48 inches if two people regularly cook together.
3. The L-Shaped Perimeter with a Perpendicular Island
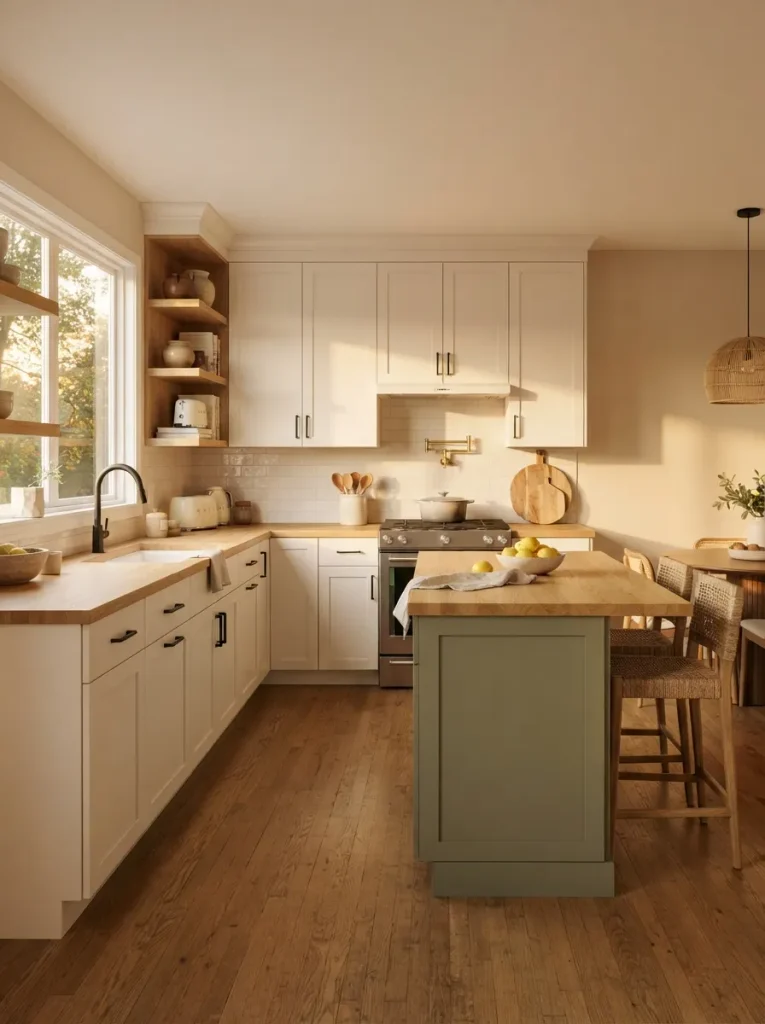
Picture the cabinetry running along two walls in an L, with the island perpendicular to the shorter leg it closes the kitchen into a defined work zone instead of leaving it open on all sides.
That closure creates a natural work triangle between sink, stove, and island without the cost of a full third wall of cabinetry, and it suits kitchens that already have an L-shaped footprint, since you’re working with existing plumbing instead of relocating it.
One detail most first-time renovators miss: orient the island’s long side parallel to the shorter run, or the walkway ends up narrower on the side you use most.
Budget Version: Test this layout with a butcher-block cart set perpendicular to your counter before committing to built-in cabinetry.
Next up: the layout for kitchens that don’t play by right angles chimney breasts, bay windows, and the other quirks a standard floor plan never accounts for.
4. The Angled Island for Awkward Floor Plans
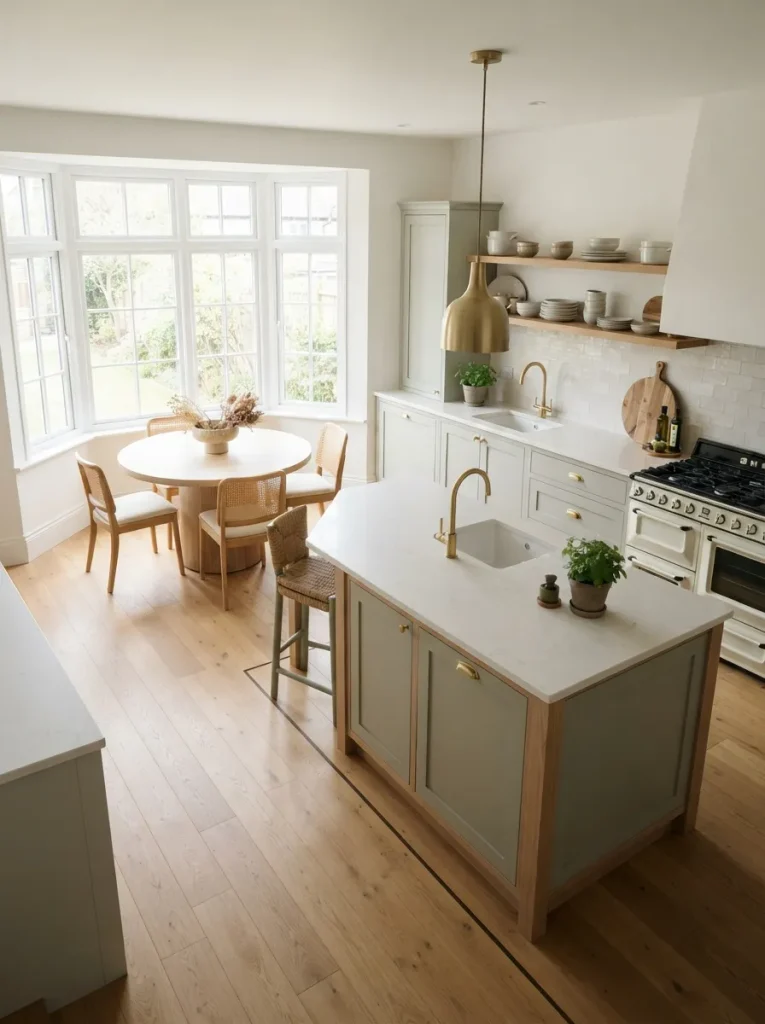
Most layout guides assume a rectangular room, and most first-time-homeowner kitchens aren’t one. A bay window, a chimney breast, an old support post, or a diagonal wall from a past addition can make a standard island layout waste more floor space than it saves.
Angling the island 15 to 30 degrees off the cabinet line, so its long edge runs parallel to whatever’s forcing the issue, usually reclaims several square feet of walkway on either side.
It reads as intentional rather than accidental as long as the angle matches an actual architectural feature, not a random guess and suits anyone renovating an older home that was clearly added onto or reshaped at some point.
Small-Space Tip: Angle toward an existing obstruction never against it or the layout reads like a mistake.
5. The Color-Zoned Island Base
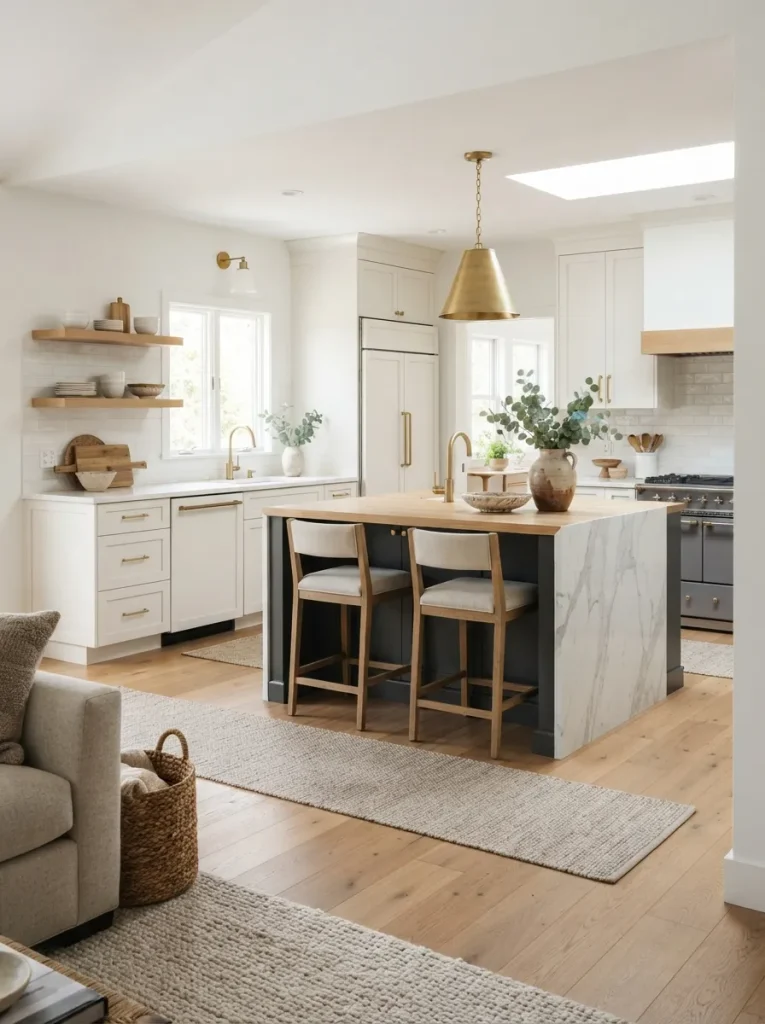
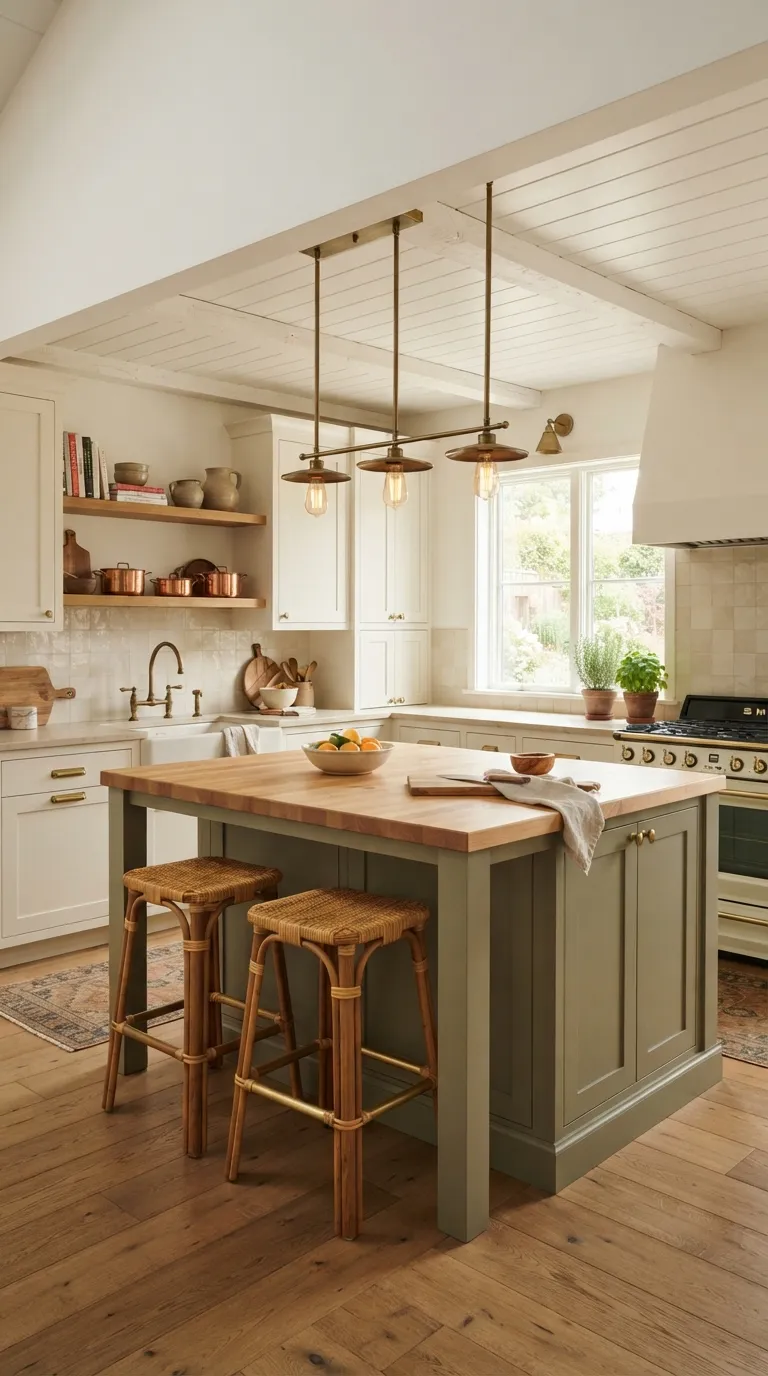
Visual weight is the principle here: an island color darker or more saturated than the surrounding perimeter pulls the eye toward the room’s center and makes the layout read clearly, even from across an open-concept space.
Navy, deep green, or warm charcoal against white or light oak is the common version, but the ratio matters more than the color most designers keep the contrast color to roughly a third of total cabinetry, so the kitchen still reads as one room. Suits homeowners who want the layout to visually announce itself.
Before ordering, these home color combinations for modern style homes are worth a look.
Important: A different island color doesn’t hurt resale the way people assume it only becomes an issue when the contrast fights the room’s other finishes.
6. The Pendant-Lit Island Zone
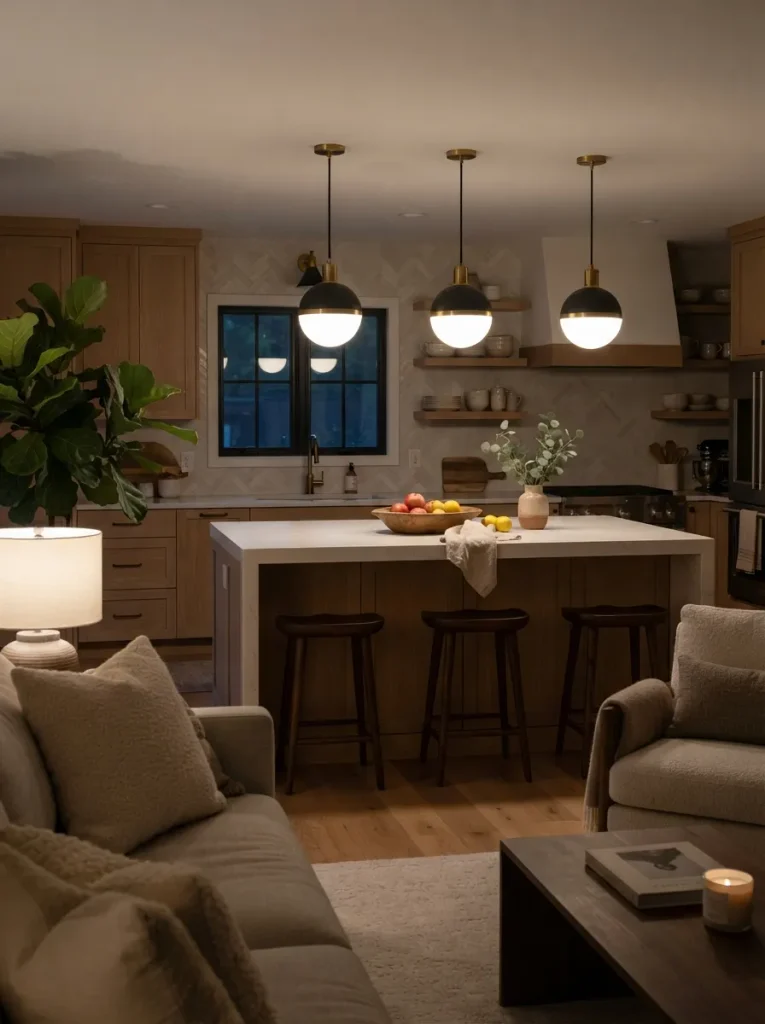
Three pendant lights, evenly spaced, hung low enough to warm the counter without blocking sightlines that’s the visual signature here, and it doubles as wayfinding.
Lighting positioned above the island tells anyone entering an open-concept space where the working zone starts, before they even notice the cabinetry.
The principle is light behavior: task lighting has to sit low enough to actually hit the counter, which is where well-planned kitchens often go wrong anyway. Worth prioritizing if your island sits in sightline from the front door or a connected living room. Skip it under 8-foot ceilings pendants read cramped instead of warm.
Pro Tip: Hang pendants 30–36 inches above the counter, roughly 24–30 inches apart.
Coming up: the seating layout that solves the height mismatch between a prep counter and a comfortable bar stool down to the exact counter heights that make it work.
7. The Two-Tier Island with Bar-Height Seating
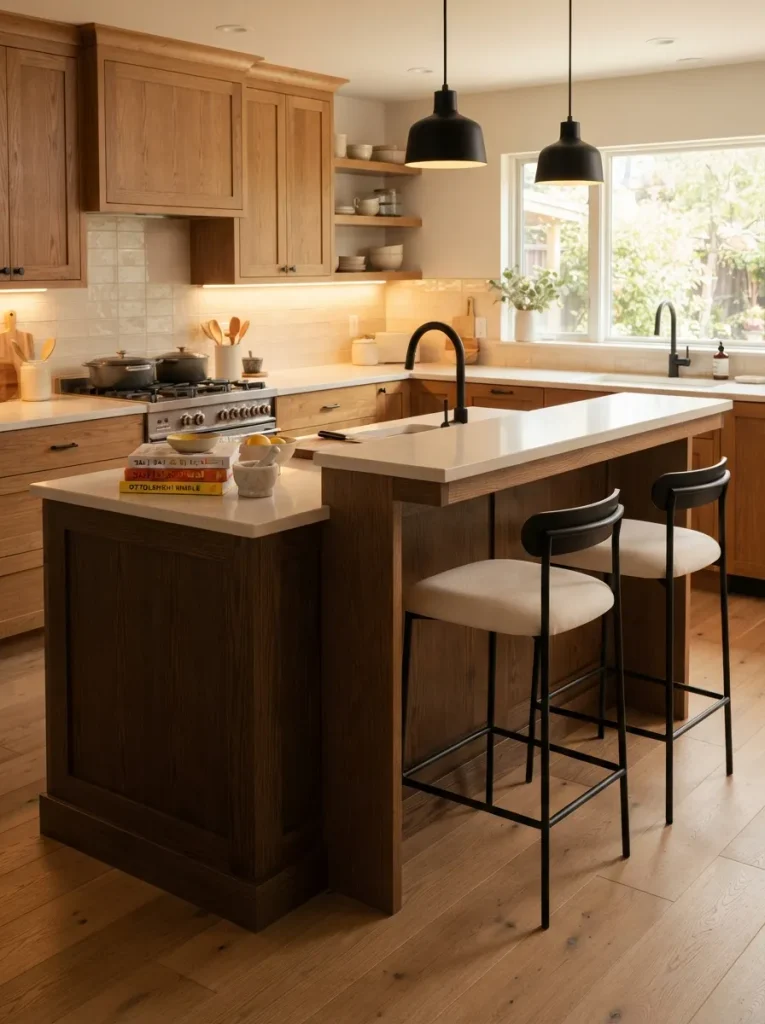
Split the island into two counter heights: a 36-inch standard prep side facing the cooking zone, and a 42-inch bar-height overhang facing the living or dining area, separated by a small step or material change.
The height difference does real work it keeps hot pans and knife work out of reach of anyone sitting at the bar side, which matters more than most first-time renovators expect once kids or guests are around while someone cooks.
The overhang needs at least 12 inches of depth for knee room. Built for households that use the kitchen as a hangout if nobody sits at your current counter, a single-level island serves you better for less.
Styling Note: Keep both counter surfaces in the same material a finish change on one island reads as a repair.
Shop This Look:
| Product |
|---|
| Upholstered counter-height bar stools |
| Bar-height counter overhang bracket support |
| Woven placemats for the seating side |
8. The Sightline-Planned Open-Concept Island
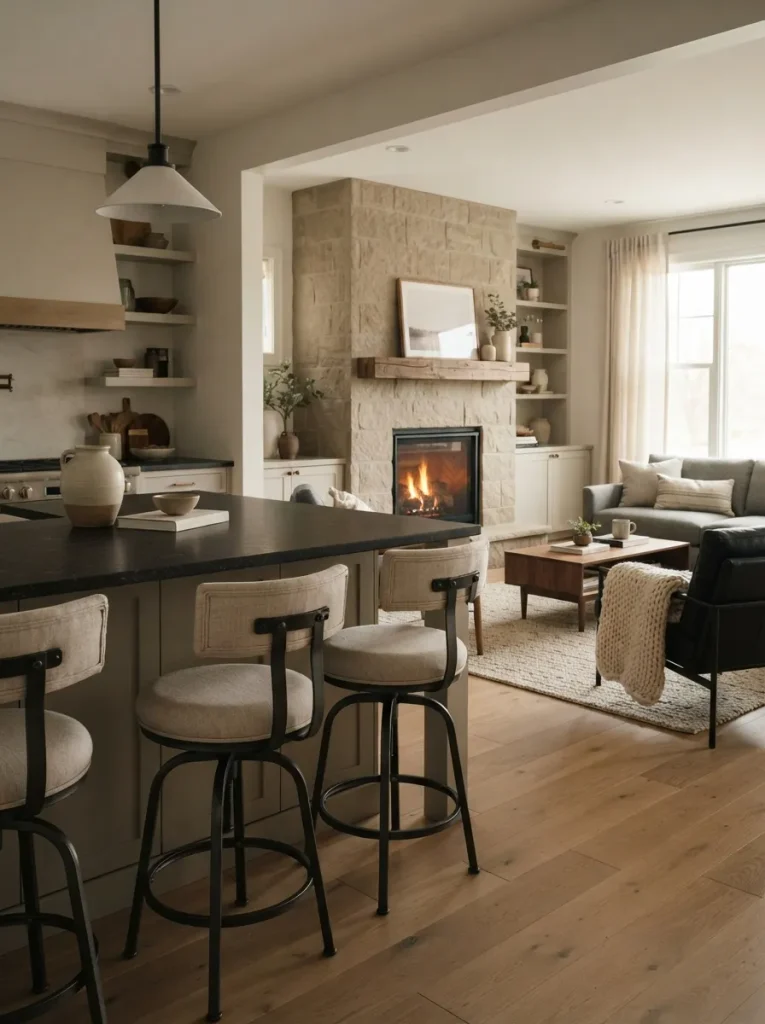
Anyone renovating a kitchen that opens into a living or dining area needs to think about which direction the seating faces the decision most guides skip entirely. Position the seating side toward the television, fireplace, or wherever conversation naturally happens, rather than defaulting to whichever side has more counter space.
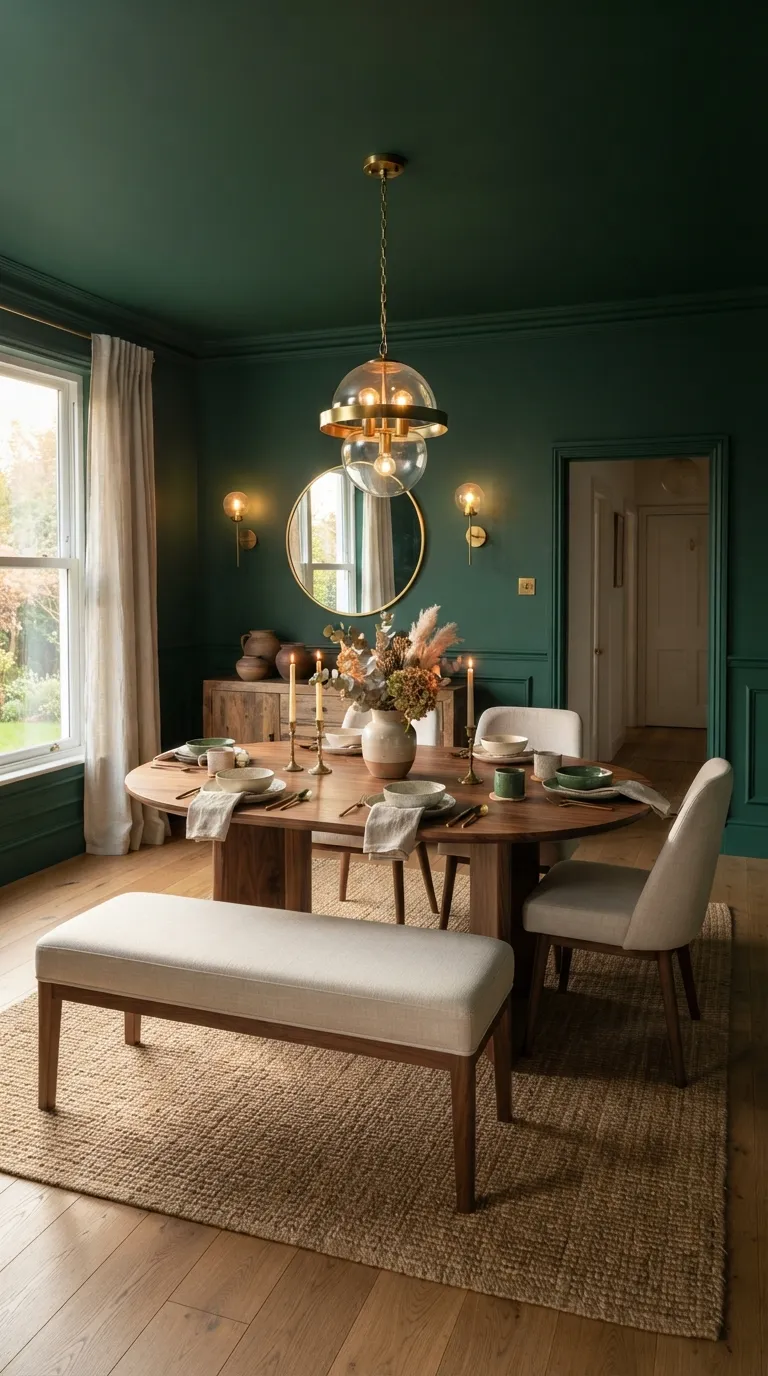
Swivel stools solve this more elegantly than fixed seating, letting someone face the cook during prep and turn toward the room once food’s served. It’s a small planning step, but it’s the difference between an island that feels part of the living space and a counter someone happened to put chairs at. Worth pairing with how the elegant dining room on the other side of that sightline is arranged.
Shop This Look:
| Product |
|---|
| Swivel counter stools |
| Slim console table for the living-room side |
| Table lamp to anchor the sightline |
9. The U-Shaped Kitchen with a Freestanding Center Island
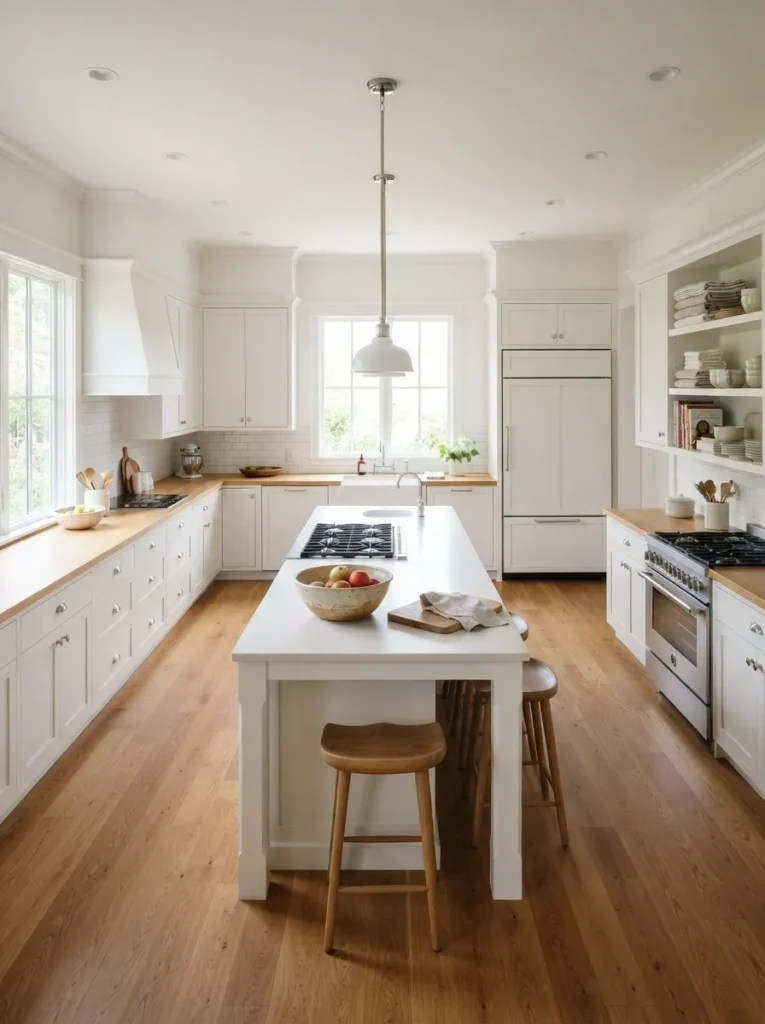
The work triangle between sink, stove, and refrigerator is shortest in a U-shaped layout, and a freestanding center island only helps if there’s enough room to walk a full loop around it.
It’s the layout with the highest functional ceiling three walls of cabinetry plus a center island gives the most continuous counter space here but it’s also the least forgiving of a small footprint. It suits a spacious kitchen, or an open plan where a wall was already removed.
Anyone renovating a galley kitchen should treat this as aspirational, not a retrofit. These kitchen island ideas for minimal style homes show how much can be pared back without losing function.
Important: Most designers won’t recommend adding an island to a U-shaped kitchen unless it’s at least 10 feet across at its narrowest point.
Next: the layout that turns a countertop into the kitchen’s main visual statement, and the one ordering mistake that ruins it.
10. The Waterfall-Edge Anchor Island
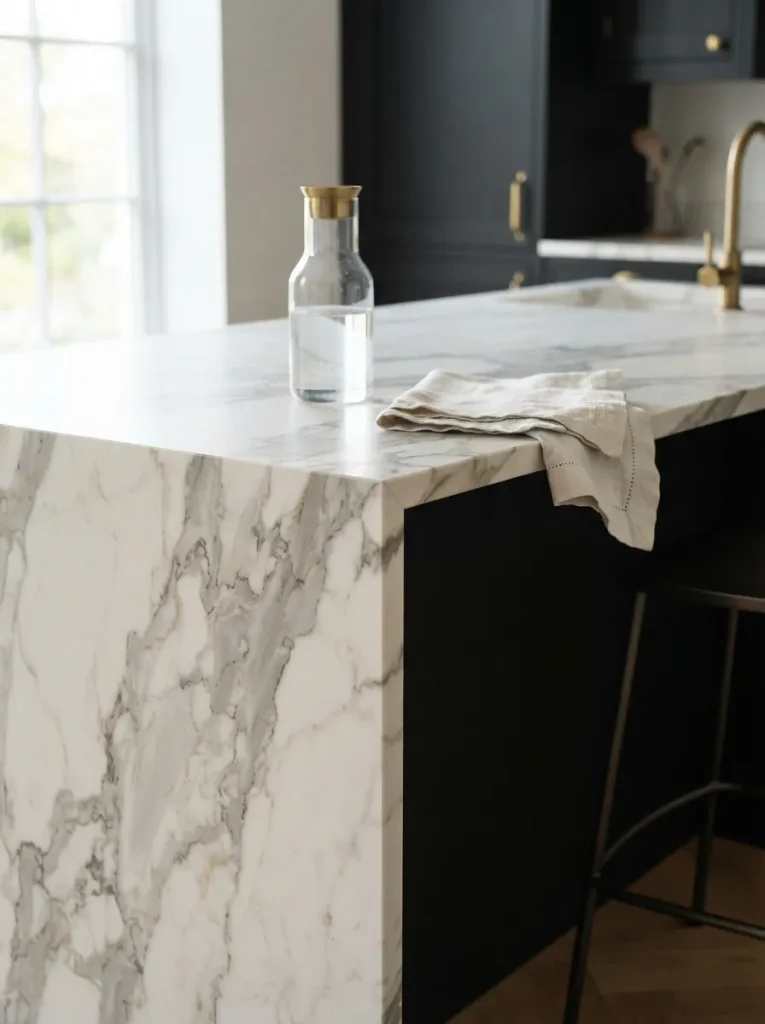
The countertop wraps continuously down both sides of the island to the floor, with no visible seam that line is what makes a waterfall-edge island read as the kitchen’s visual anchor, more than its size or color usually does.
It depends on the slab: quartz and porcelain both work, but the fabricator needs to bookmatch the grain across the vertical and horizontal surfaces, or the seam becomes obvious instead of invisible. Suits anyone treating the island as the kitchen’s single design statement these luxury waterfall quartz kitchen islands push the idea further.
Mistake to Avoid: Ordering without confirming the fabricator is bookmatching the grain direction is the most common regret here and it isn’t fixable after installation.
The counterintuitive part: the priciest layout on this list isn’t the biggest one. A waterfall-edge island can cost more than a full L-shaped layout with standard countertops, because continuous slab material is priced and cut differently than a normal countertop run you’re paying for one uninterrupted piece of stone, not the square footage. Most first-time renovators budget by island size instead of material and edge treatment, then get surprised at the quote.
11. The Peninsula-to-Island Conversion
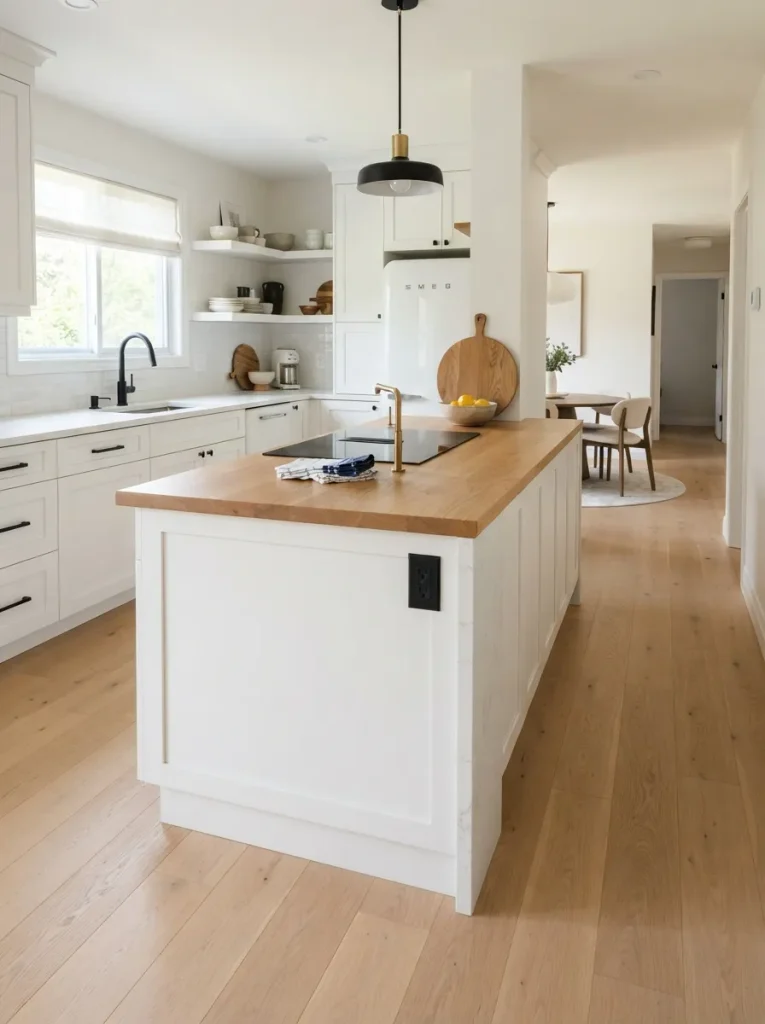
Most homeowners assume a peninsula is permanent, but the connecting cabinet run holding it to the perimeter is often just standard framing, not a structural necessity making this one of the more achievable “big” renovations here.
Once the wall question is settled, the change is straightforward: remove the connecting cabinetry, extend or replace the countertop, relocate any electrical the peninsula carried.
The result opens a walkway on a fourth side the peninsula never allowed. Worth pursuing first if your kitchen already has a peninsula and just needs the connection cut.
Warning: Peninsulas sometimes hide a load-bearing wall or support column inside that connecting cabinet run. Removing it without a structural assessment can mean an emergency support beam added mid-renovation a fix that regularly runs into the thousands and adds weeks to the timeline.
Before You Remove That Peninsula Wall:
- [ ] Confirm with a structural engineer whether the connecting wall or cabinet run is load-bearing
- [ ] Check for electrical, plumbing, or HVAC lines hidden inside it
- [ ] Pull the required permit before demolition begins
- [ ] Plan the island’s new electrical and lighting needs before drywall goes back down
Last up: the layout for kitchens with room to spare, where one island can’t do everything.
12. The Two-Island Layout for Large Kitchens
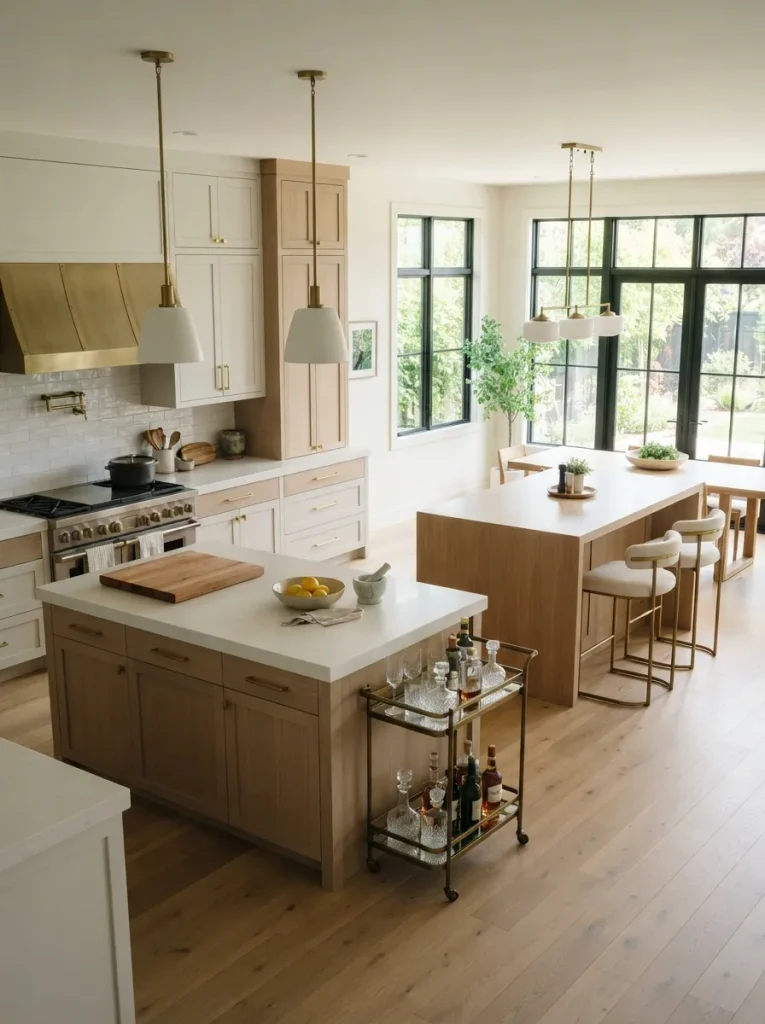
This layout is for kitchens with genuine square footage to spare generally 200 square feet or more where a single island can’t reasonably handle both prep work and entertaining. Splitting the space into a primary prep island near the stove and sink, and a secondary bar island closer to the dining area, keeps cooking mess out of view while guests are seated.
The two don’t need to match: a smaller, lower-profile piece on the entertaining side keeps the layout from feeling like two kitchens stitched together. The real requirement is spacing each island needs its own 42-inch clearance independently, which is why this rarely fits a kitchen under the footage above.
Budget Version: A second island doesn’t need to be a matching built-in. A bar cart or a vintage table at counter height gives you the second zone without doubling your plumbing and electrical costs.
Shop This Look:
| Product |
|---|
| Rolling bar cart |
| Compact counter-height accent table |
| Glassware storage tray for the cart |
How to Start Your Kitchen Island Layout Renovation
The right first move is almost always taping out the island’s footprint directly on your kitchen floor full size, actual location before ordering cabinetry, a countertop, or even a rolling cart. It’s the cheapest test in the whole renovation and catches sizing mistakes no floor plan app will.
The most common fixable mistake is sizing the island to the room on paper instead of the room in person a 6-foot island can look fine in a drawing and still leave 38 inches of walkway once the oven door is open. Walk the taped-out footprint for a few days before committing.
Three inexpensive items help: a digital laser measure, painter’s tape for marking the footprint, and adhesive furniture pads if you’re testing with an existing table first.
Layout planning takes a weekend with tape and a rolling cart, but a full built-in renovation realistically runs 4 to 8 weeks once permits, plumbing, and electrical are involved. Budget roughly $150–$600 for a mobile setup, or $3,000–$15,000+ for a built-in, depending on cabinetry, material, and whether plumbing needs to move.
Ready to Choose Your Layout?
Twelve layouts, one real question underneath all of them: how much space do you actually have, and how many people need to move through it at once? Some of these the rolling cart, the L-shaped corner add cost almost nothing to test before you commit. Others, like the peninsula conversion or the waterfall island, are bigger decisions worth sitting with.
It doesn’t have to happen all at once. Tape out one footprint today and live with it for a week before calling a contractor. A kitchen with room to move in changes how the whole house feels. Save the layouts that fit your space you’ll want them again once the tape measure is in hand.
You Might Also Like:
- 15 Kitchen Storage Ideas That Actually Use Every Inch
- 10 Open-Concept Living Room Layouts for New Homeowners
- 8 Small Kitchen Island Ideas for Tight Floor Plans