13 Repurposed Dresser-to-Kitchen-Island Ideas for Vintage Charm
A dresser makes a better kitchen island than half the built-in options at the showroom it already has drawers, a personality, and decades of wear that no distressing kit can fake. These are 13 ways to turn a secondhand dresser into a working island, with the structural changes, finishes, and styling calls that hold up in a kitchen.
Picture worn wood under warm pendant light, brass pulls catching the afternoon sun, a countertop that can take a hot pan. The best repurposed dresser islands don’t try to hide their past they lean into it, chipped corners and all. Vintage charm isn’t a paint color. It’s a piece that’s lived a little.
Jump To
- Why Vintage-Style Dresser Islands Work So Well
- The Ideas, Ready to Copy
- How to Start Your Vintage Kitchen Island Transformation
- Ready to Create Your Dream Vintage Kitchen Island?
Why Vintage-Style Dresser Islands Work So Well
Vintage charm in a kitchen comes from furniture that shows its age instead of hiding it turned legs, dovetail joints, brass hardware gone soft at the edges. A repurposed dresser island borrows that history and puts it to work, giving a kitchen a piece that looks collected rather than installed.
It holds up in small kitchens as easily as large ones, since most dressers run narrower than a standard cabinet run. Start with the piece itself: solid wood over veneer, drawers that still slide, a frame worth reinforcing.
Style at a Glance
| Element | Core Trait 1 | Core Trait 2 |
|---|---|---|
| Philosophy | Function over trend | Character over uniformity |
| Materials | Solid wood, brass, stone remnants | Butcher block, zinc, reclaimed hardware |
| Color palette | Soft chalk neutrals | Deep patina tones |
The Ideas, Ready to Copy
1. The Chalk-Paint Patina Finish
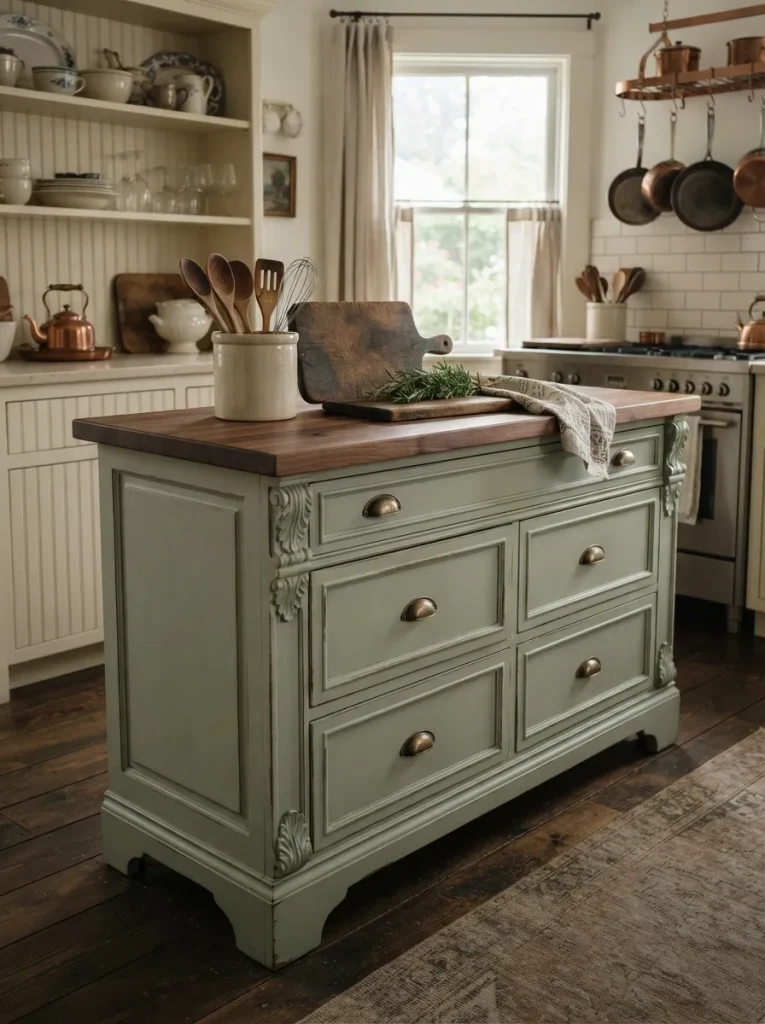
Soft, chalky color with a shadow of dark wax settled into every groove and carved detail that’s the look that makes a painted dresser read as inherited rather than DIY’d. Chalk paint grips old finishes without stripping or sanding first, which matters on a piece you don’t want to sand through veneer on.
The trick that separates a flat paint job from real patina: apply dark wax only into carvings, hardware recesses, and edges after the chalk paint cures, then buff the flat surfaces clean so the color reads deepest exactly where age would naturally collect. Two coats of chalk paint is usually enough; thinned coats dry faster and show less brush texture than one heavy one. This works best on dressers with some carved or routed detail flat slab fronts have nowhere for the wax to pool, so the patina effect falls flat.
Pro Tip: Test the dark wax on the underside of a drawer front first some pigmented waxes go on darker than they look in the can and are hard to lift once they’ve set into open-grain wood.
2. A Vintage Hardware Swap That Changes the Whole Piece
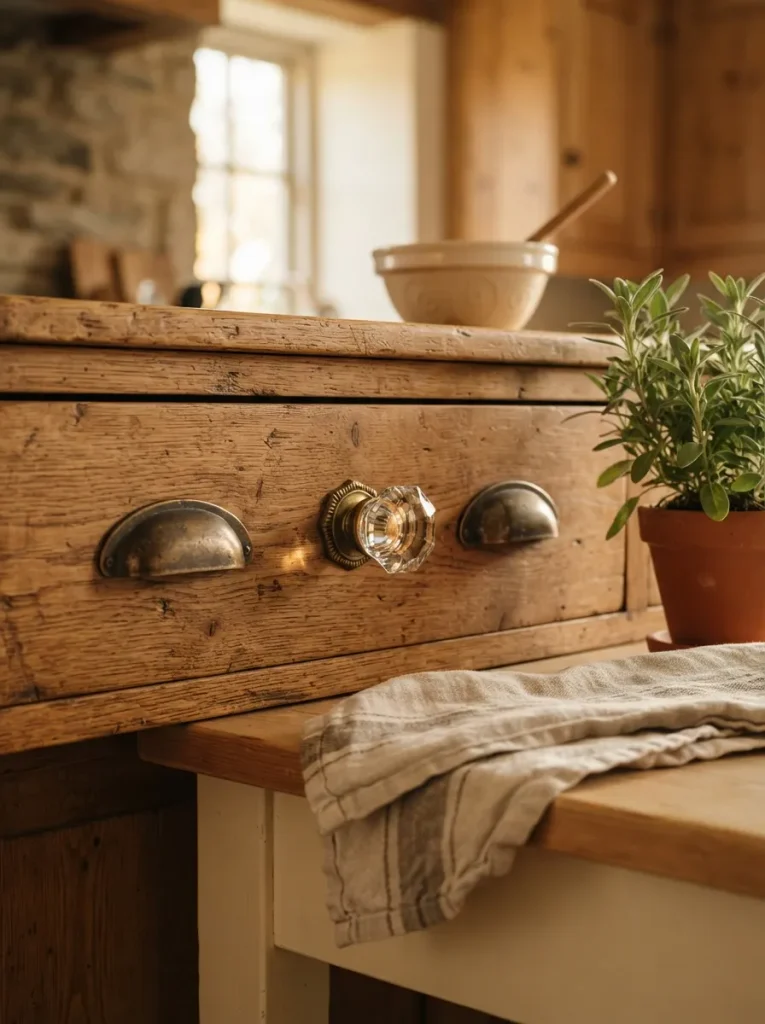
Original dresser hardware rarely survives the move to a kitchen it’s usually the wrong finish for the room, or worn thin from decades of use. Swapping it is the single cheapest change that reads as intentional rather than salvaged.
Bin pulls suit deeper, wider drawers and read more utilitarian; faceted glass knobs suit smaller drawers and catch light in a way stamped metal never does. Measure the existing hole spacing before ordering replacements many vintage dressers use non-standard spacing, and a pull that doesn’t match the original holes means filling and redrilling the wood, which shows on painted finishes especially.
Mixing two hardware styles across one piece, one for drawers and one for doors, tends to look more collected than matching everything exactly.
Styling Note: Mismatched hardware finishes brass on one section, blackened iron on another reads more like inherited furniture than a full matching set does.
Shop This Look
| Product |
|---|
| Faceted glass cabinet knobs |
| Aged brass bin pulls |
| Blackened iron cup pulls |
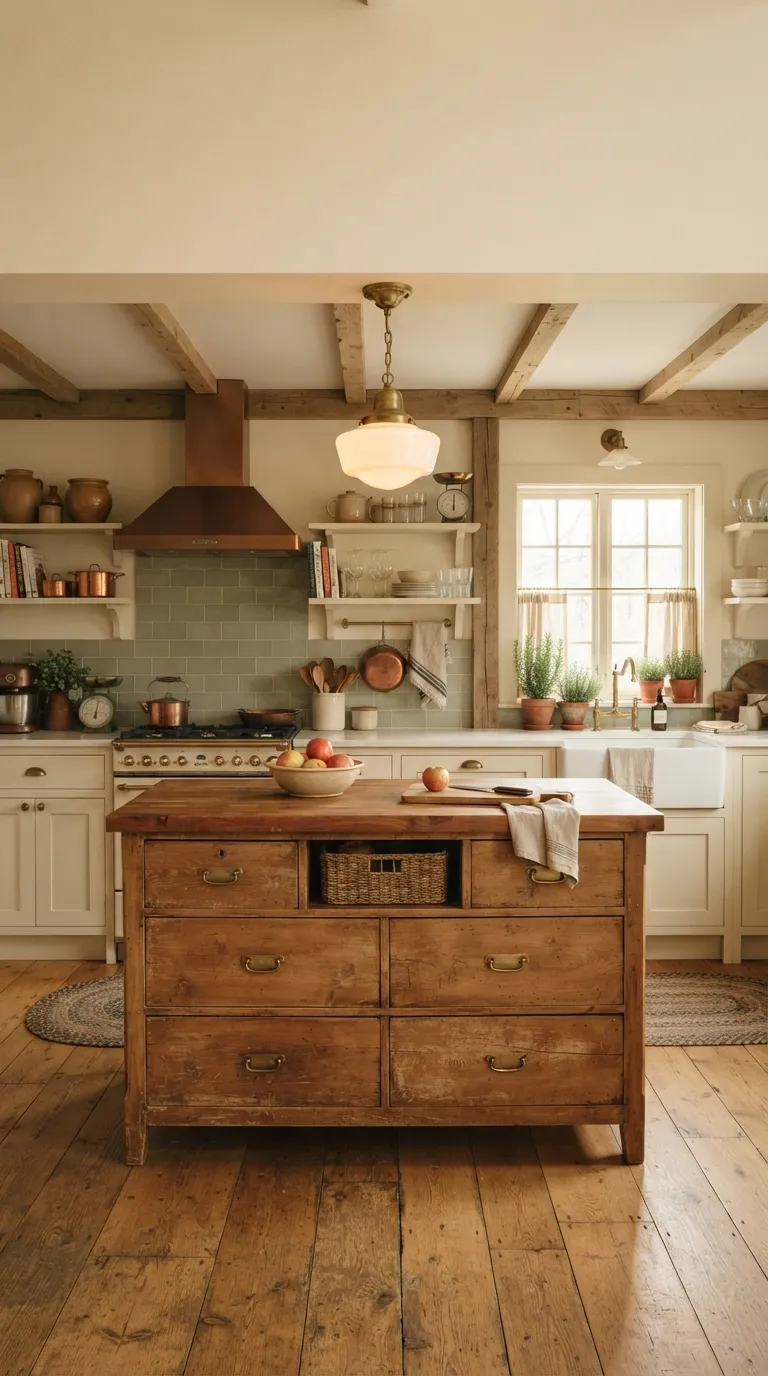
3. Solid Butcher Block on Top of the Original Frame
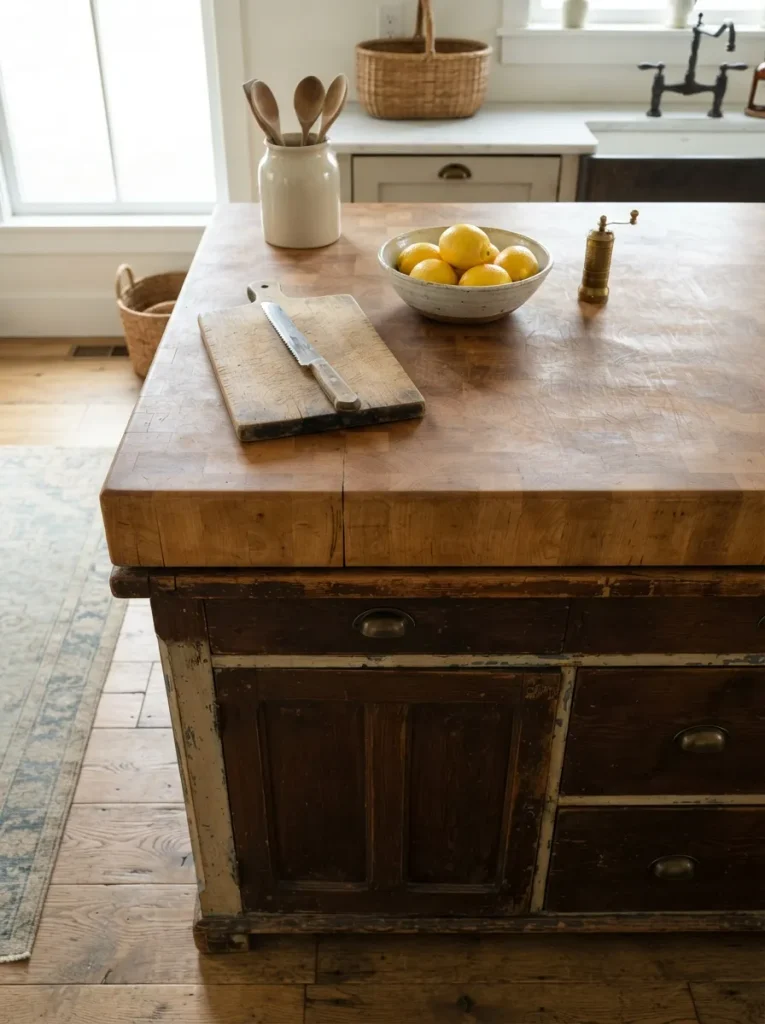
Start by removing the original dresser top if it’s veneer or damaged a solid butcher block slab needs a flat, structurally sound base to mount to, not a top that’s already delaminating. Cut the block to overhang the frame by about an inch on the front and sides, enough to catch drips without looking oversized.
Mount from underneath with corner braces screwed into the original frame rails, never through the visible top, and leave a small gap at each screw hole so the wood can expand and contract with humidity without cracking the block. A 1.5 to 2-inch-thick block reads as substantial without needing a mitered edge to fake the thickness. Finish before mounting, not after a food-safe finish sinks in better on an unattached slab than one you’re working around drawers to coat.
✅ Butcher Block Mounting Checklist:
- [ ] Remove or reinforce the original top
- [ ] Cut block to overhang the frame by about 1 inch
- [ ] Finish the block fully before mounting
- [ ] Attach with corner braces from underneath, leaving expansion gaps
Shop This Look
| Product |
|---|
| Unfinished maple butcher block slab |
| Stainless steel mounting corner braces |
| Wood edge banding trim |
Next up: the lighting choice that decides whether this whole piece reads as a kitchen fixture or a leftover dresser with a bulb over it.
4. A Single Schoolhouse Pendant Overhead
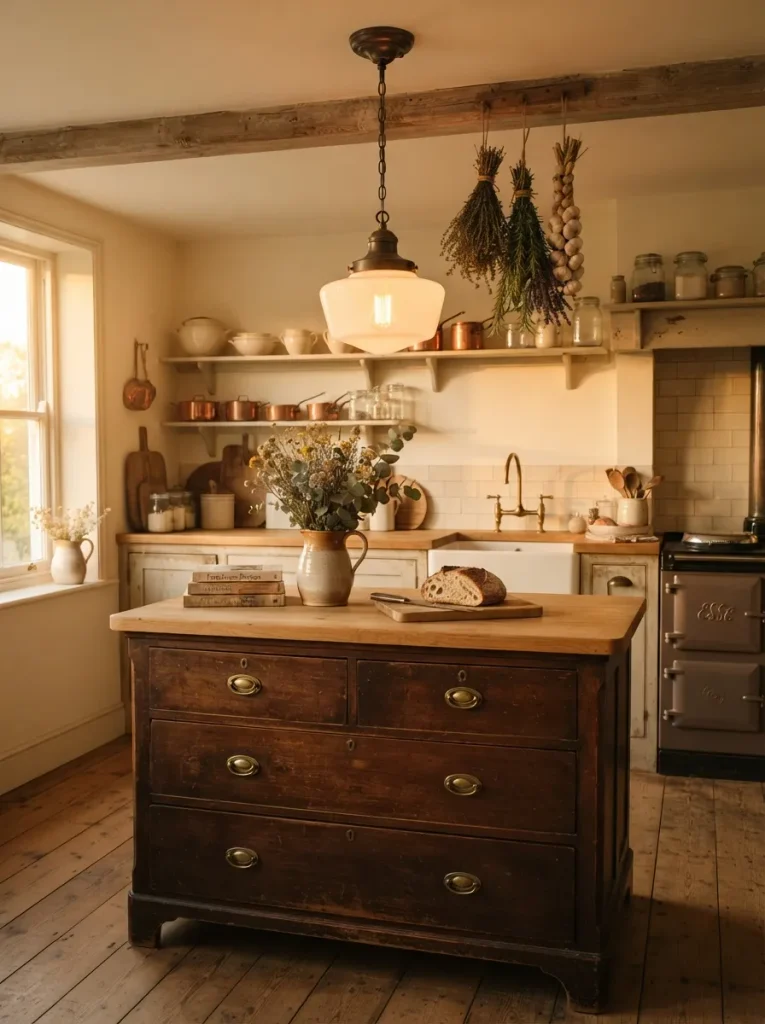
One pendant, centered over the island, does more for the vintage-kitchen feeling than any amount of hardware or paint. Hang it low 28 to 32 inches above the island surface is the standard range for a fixture over a working counter, low enough to feel intentional but high enough to clear a standing cook.
A milk-glass or amber-glass shade softens the light instead of casting a hard pool, which matters more on a piece meant to look aged than it does on a modern island. Skip a multi-light fixture over a single dresser island; the scale usually overwhelms a piece this size, and one well-placed pendant almost always reads as more considered than three.
Important: Most people mount the pendant’s canopy dead-center over the island’s footprint rather than over the actual prep zone center it over where the work happens, not just the furniture’s midpoint.
Shop This Look
| Product |
|---|
| Milk-glass schoolhouse pendant light |
| Bronze ceiling canopy kit |
| Adjustable pendant hanging cord |
5. Raising the Frame to True Counter Height
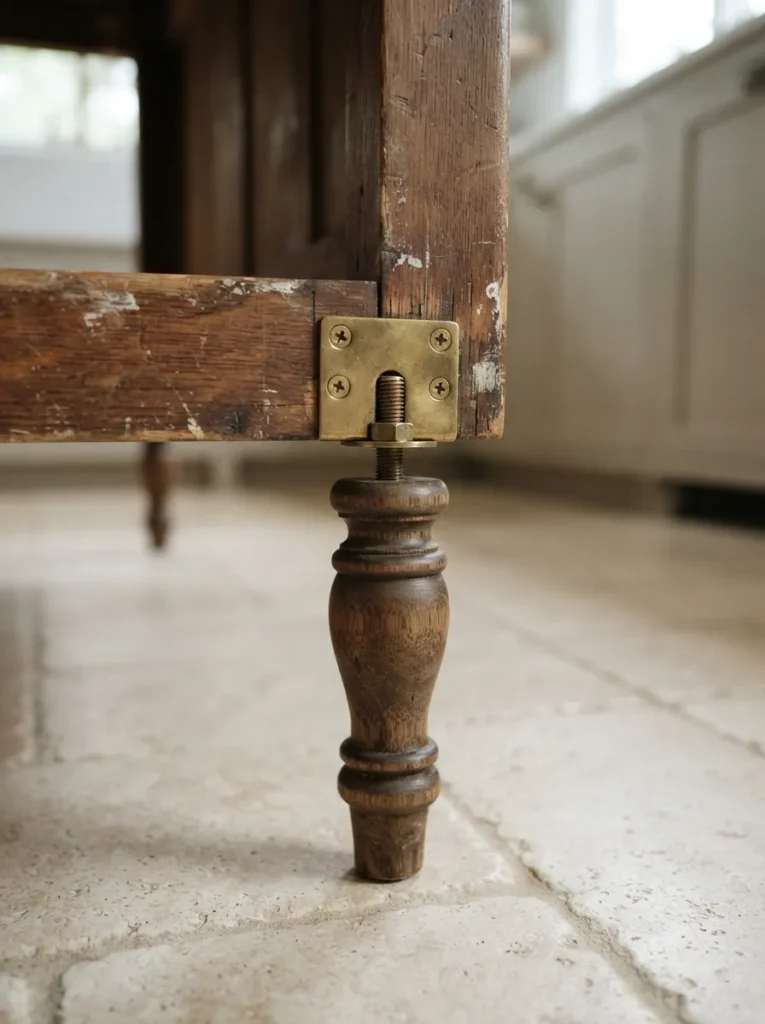
Most secondhand dressers sit around 30 to 32 inches tall comfortable for folding laundry, too short for a kitchen counter, where standard counter height runs 34 to 36 inches. Rather than shopping for a taller dresser, add turned wood legs or furniture risers under the existing base to close that gap; a 4 to 6 inch lift usually gets a 30-inch dresser into counter range.
Mount new legs into the original leg blocks or corner posts where the frame is already reinforced, not into the thin drawer rails, which will split under repeated weight. This is also the moment to check the frame can carry whatever top you’re planning a butcher block or stone slab adds real weight, and a frame that wobbled fine as a bedroom dresser can flex under that load if the corners aren’t braced first.
Warning: Skipping the corner bracing before adding height and a heavier top is the single most common failure point a dresser island that wobbles under normal counter use usually traces back to legs mounted into unreinforced drawer rails.
6. Two-Tone Paint: Dark Base, Lighter Drawers
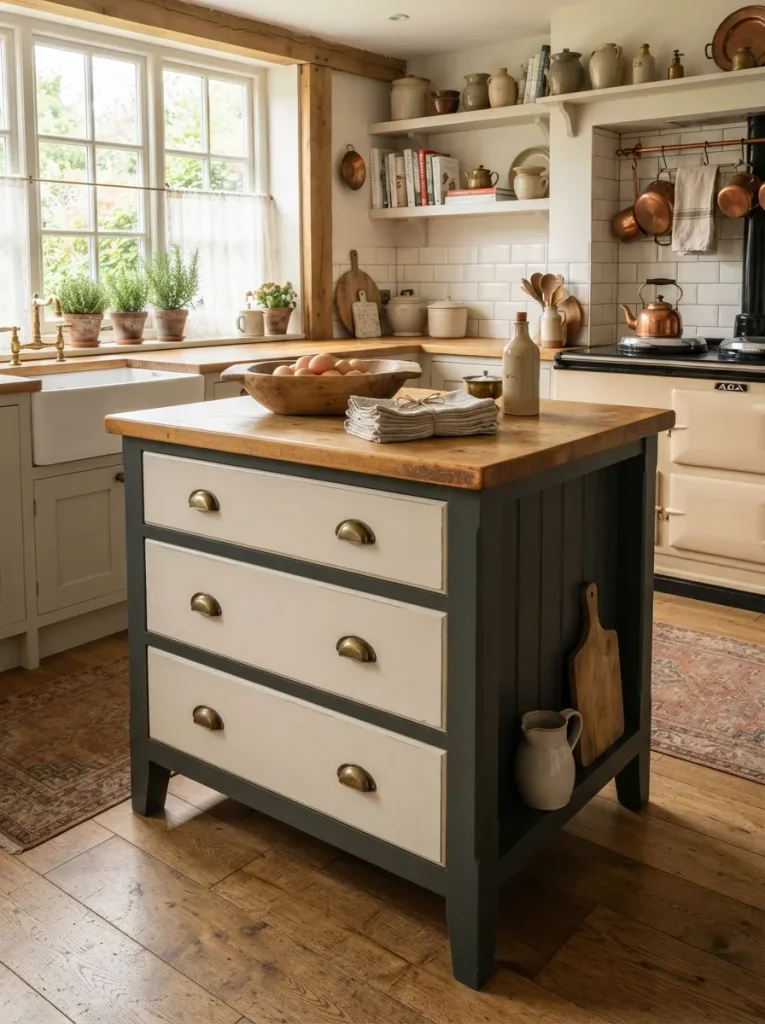
Painting the frame one shade darker than the drawer fronts breaks up a dresser’s flat silhouette and makes the piece read less like a bedroom leftover. Deep green, navy, or charcoal on the case with a cream or off-white on the drawers is the combination that shows up most in kitchens built this way, since the darker base grounds the piece against cabinetry while the lighter drawers keep it from reading heavy.
Paint the frame first and let it cure fully before taping off for the drawer color painter’s tape pulled too soon lifts fresh paint at the edges, and that’s the line everyone’s eye goes to first on a two-tone piece.
Budget Version: A quart of each color covers most dresser-sized pieces with two coats no need to buy gallons for a piece this size.
The next idea skips paint and hardware entirely it’s about what happens when you stop treating a drawer like a drawer.
7. Turning the Bottom Drawer Into Open Shelving
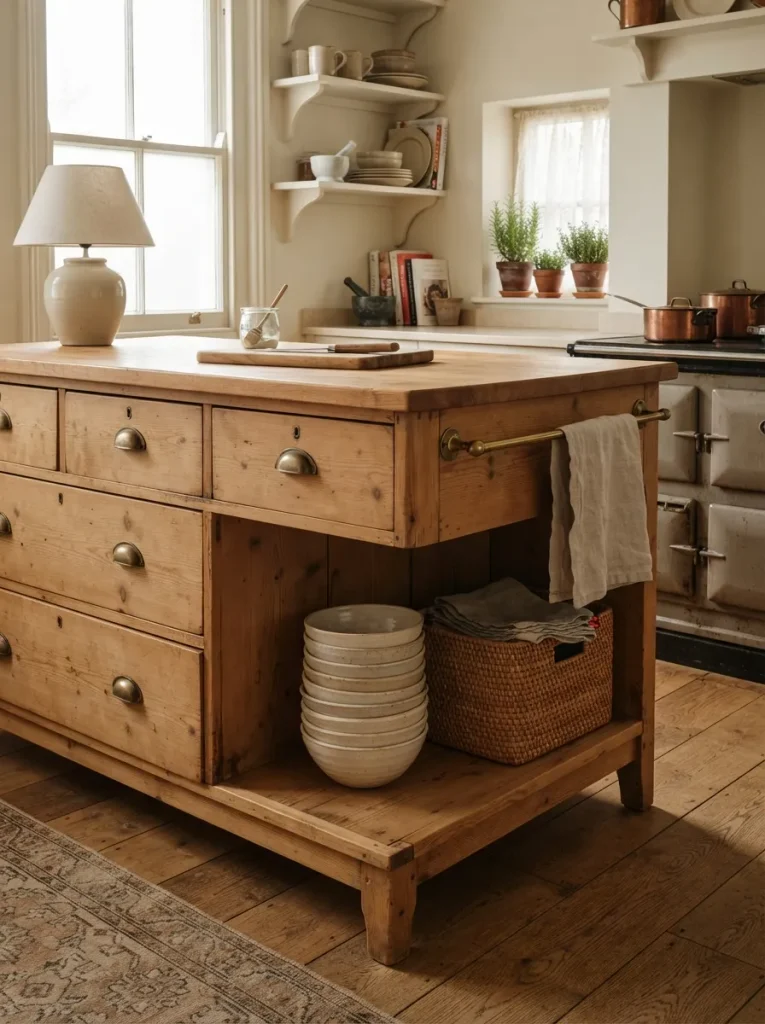
This one’s for anyone who wants storage they can actually see and reach without bending to dig through a drawer cookbooks, cutting boards, baskets of produce, anything used daily enough that closed storage just gets in the way.
Remove the bottom drawer’s box but leave its face on a hinge, or pull the face entirely and add a single fixed shelf where the drawer used to slide. Keep the shelf set back slightly from the front edge of the frame so baskets don’t catch on it when pulled in and out.
This works best on the bottom drawer specifically an open shelf at eye level shows every wobble in what’s stacked on it, while a lower one just reads as intentional, lived-in storage.
Pro Tip: Sand and finish the newly exposed shelf edge to match the drawer fronts an unfinished raw edge is the fastest way to make this read as a repair instead of a design choice.
8. A Marble or Stone Remnant Top
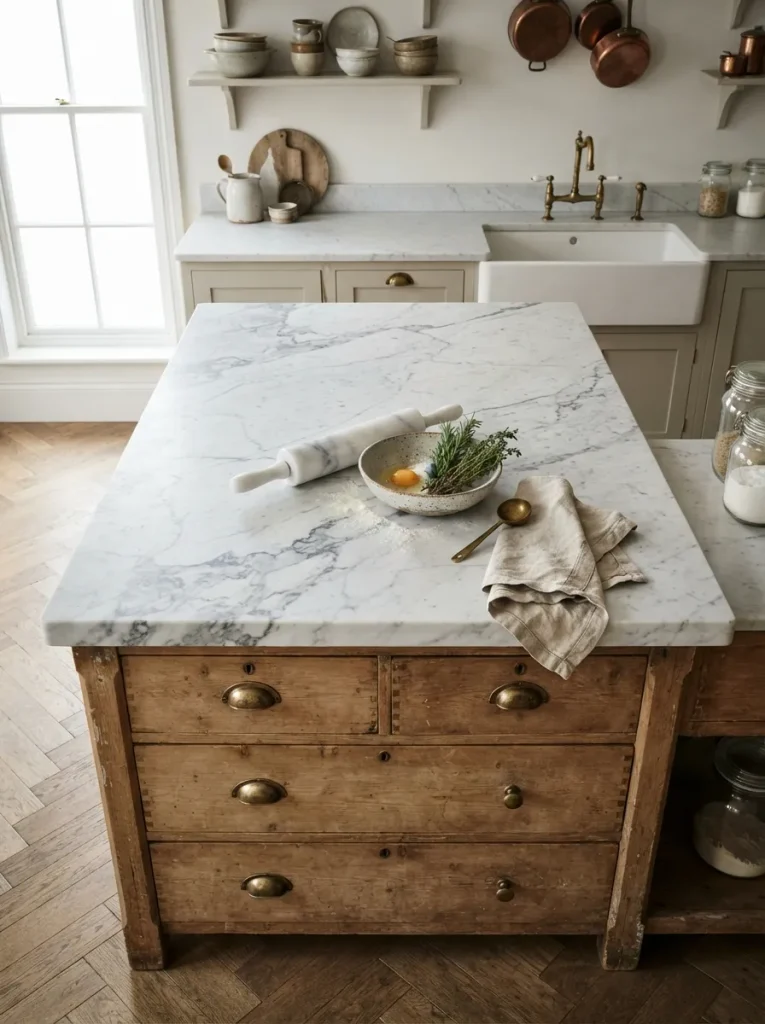
Stone remnants the leftover slab pieces from a countertop fabricator’s larger job are usually priced far below a full slab and are almost always the right size for a dresser-width island. Honed marble reads more vintage than polished; the matte surface hides the kind of etching that marble develops fast in a working kitchen, where polished stone shows every lemon and wine ring within weeks.
Fabricators can cut remnants to the exact footprint of a dresser top, including a small overhang, for a flat fee that’s worth paying rather than attempting the cut at home.
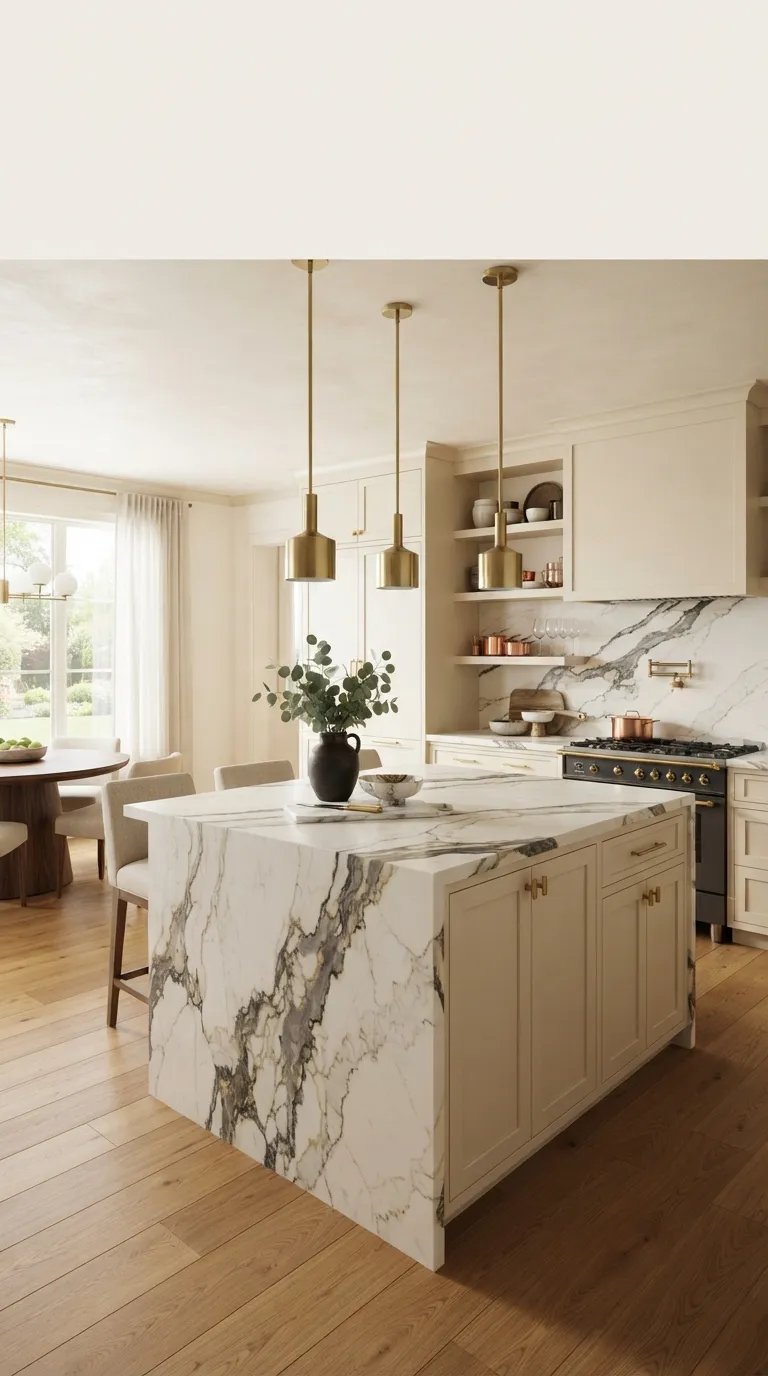
A marble top adds real weight to what’s usually a light frame, so this idea pairs naturally with reinforcing legs first. For a sense of how a stone top holds up at a larger scale, a luxury waterfall quartz island uses the same weight-and-support logic.
Important: Most people assume any dresser frame can carry a stone top a frame under about 40 inches wide with unreinforced corners usually needs additional bracing before it’s rated for that kind of static weight.
9. A Narrow Rolling Cart for Small Kitchens
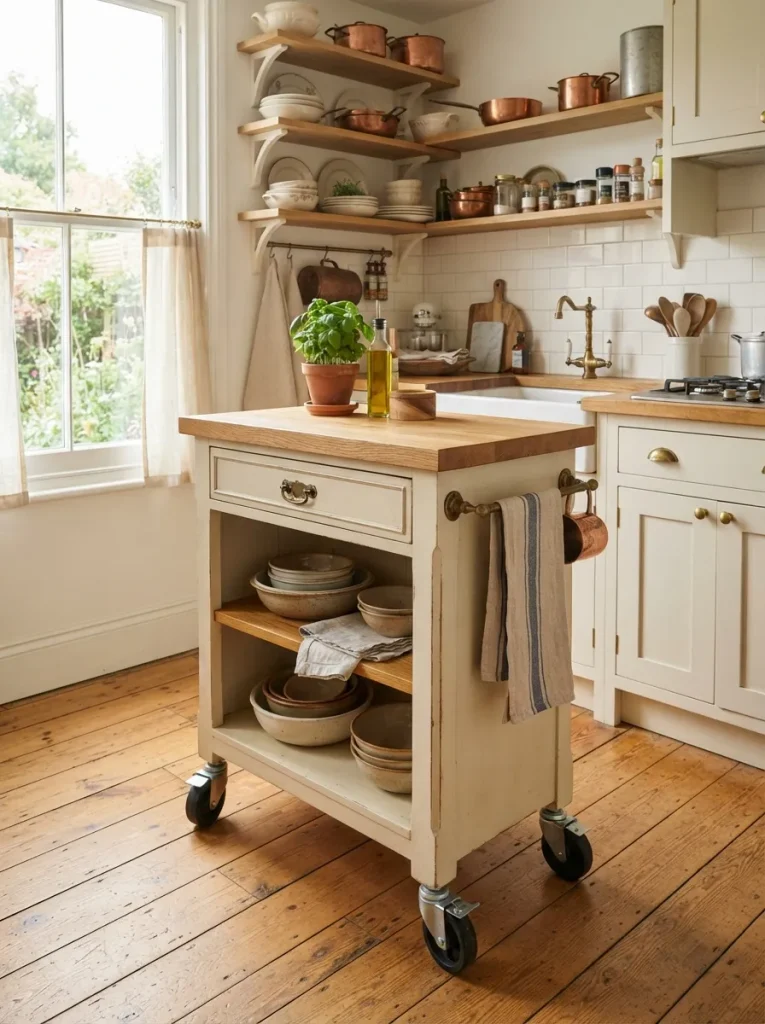
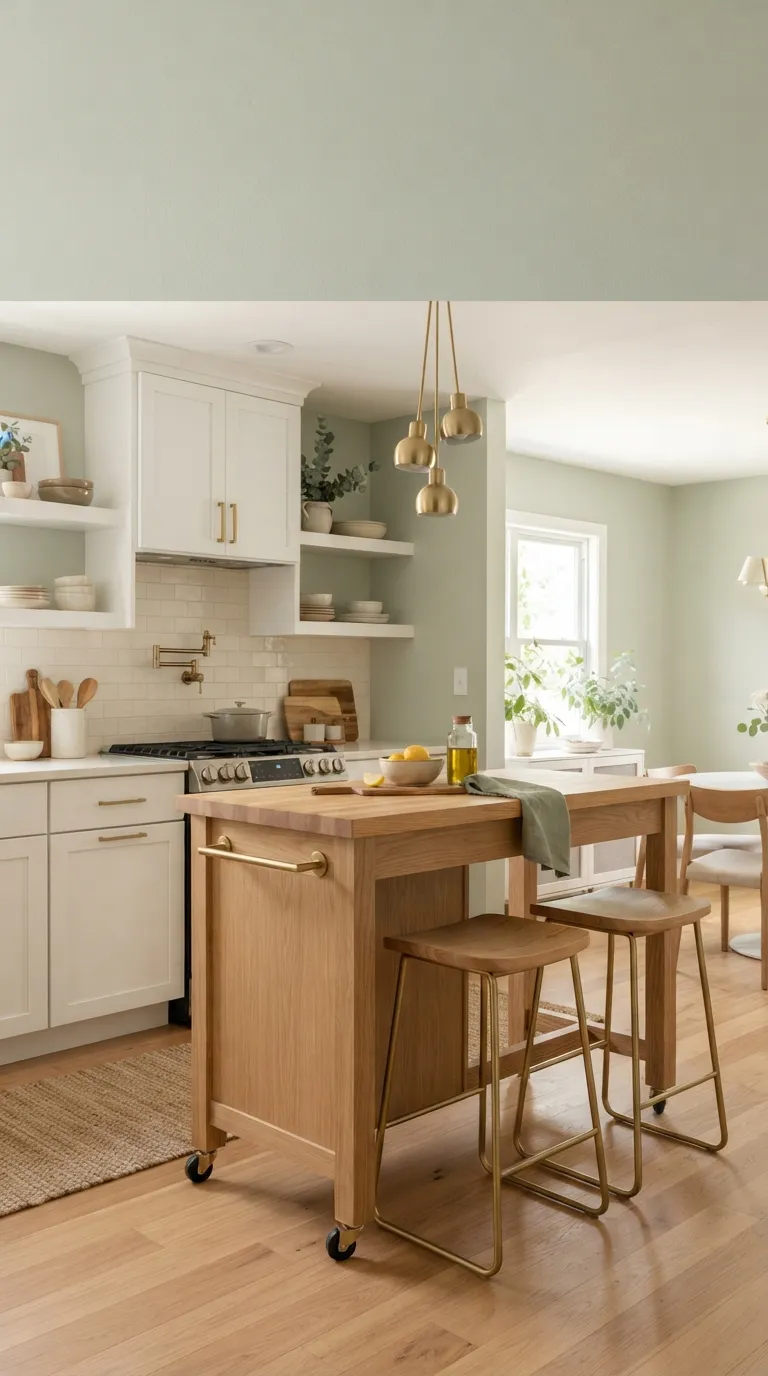
This is the version for a kitchen too small for a fixed island anyone renting, working with a galley layout, or just not ready to commit floor space permanently. A narrow dresser, one or two drawers wide, becomes a rolling cart instead of a stationary piece: add locking swivel casters instead of legs, and it can be pushed against a wall for cooking and pulled out for extra counter space or serving.
Locking casters matter more than wheel size here a cart that drifts while you’re chopping on it is worse than no cart at all. Add a towel bar or small rail to one side for a place to hang a towel, since a narrow piece like this usually loses a drawer’s worth of storage compared to a full-width island. For more layout options at this scale, small kitchen islands built from scratch face the same footprint constraints.
Quick Win: Locking casters rated for at least 300 pounds combined keep a loaded cart stable even with a stone or butcher block top added later.
Two ideas left before the layout question that decides where this whole piece goes but first, the lighting detail most people skip entirely.
10. Warm LED Light Along the Toe-Kick
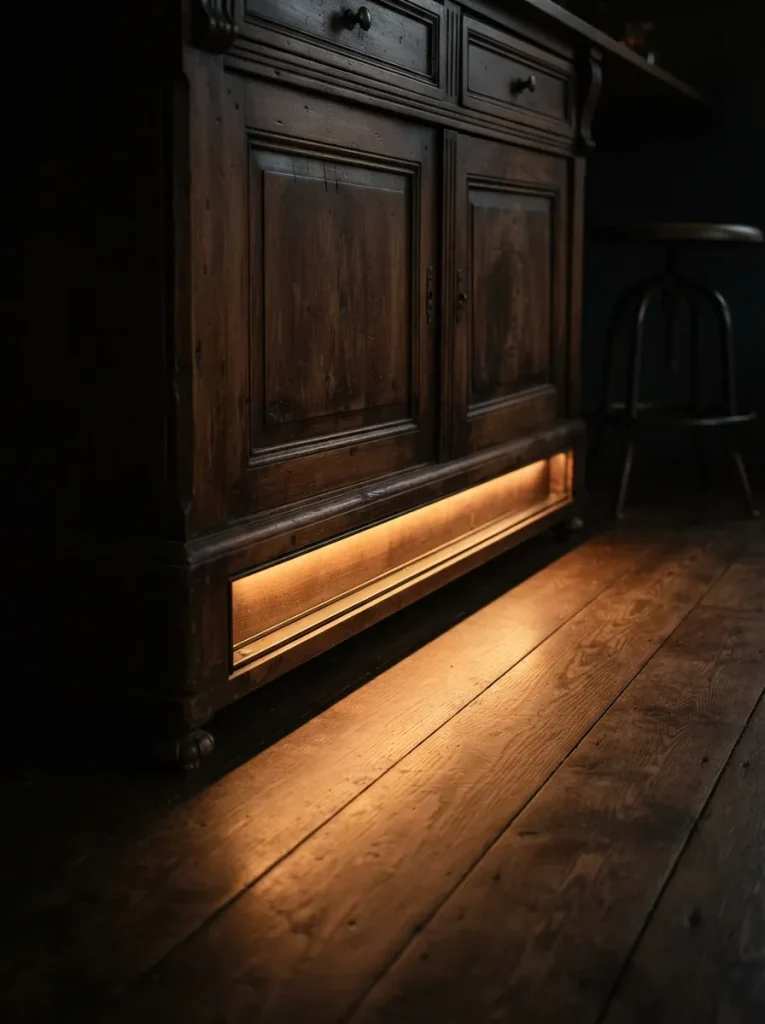
A warm LED strip tucked under the base of the island, hidden behind the toe-kick gap, does two things: it lights the floor for nighttime kitchen trips without flipping on overhead lights, and it makes a solid, heavy piece look like it’s floating slightly above the floor.
Battery-powered, motion-activated strips skip any wiring entirely, which matters on a piece that’s furniture first and fixture second. Stick to warm white, around 2700K, rather than daylight-toned LEDs cool white light under a vintage piece reads more like a display case than a kitchen island. Run the strip along the back and sides only, not the front-facing edge, so the light source itself stays out of view.
Pro Tip: Test the LED strip’s brightness at night before committing to placement what looks subtle in daylight can throw a surprisingly bright line across a dark floor.
Shop This Look
| Product |
|---|
| Warm-white battery-powered LED strip kit |
| Motion-sensor light switch |
| Adhesive cable clips |
11. A Drop-Leaf Extension for Extra Seating
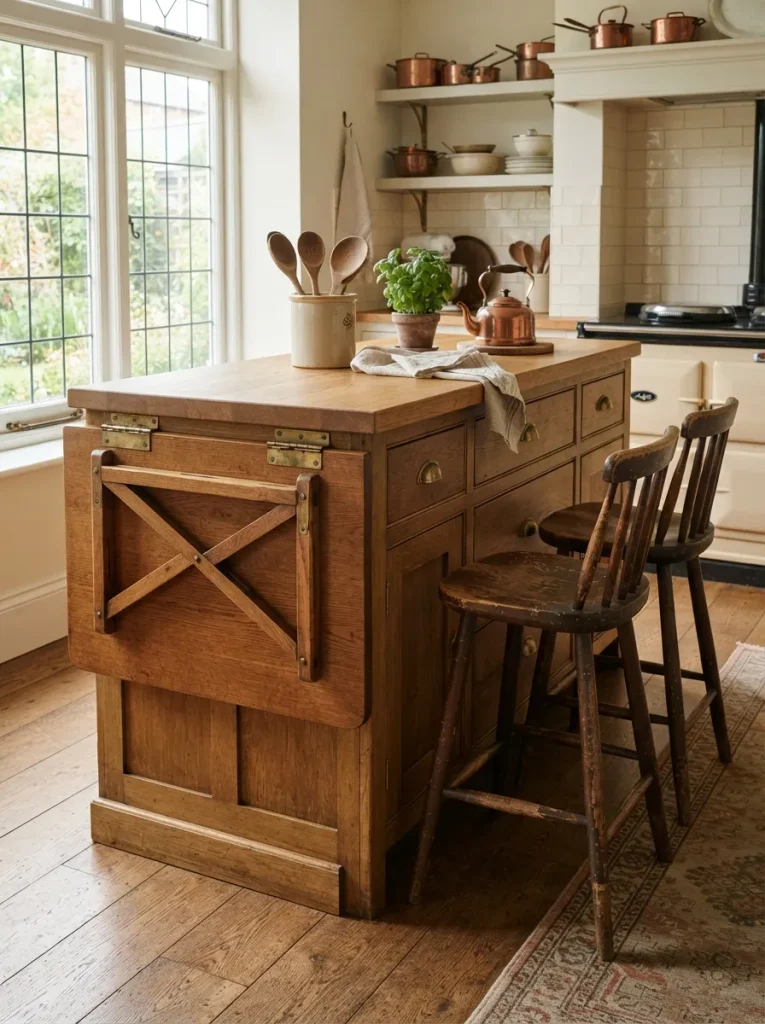
Attach a hinged leaf to one side of the dresser using a piano hinge along the full width, rather than two small hinges at the corners a full-length hinge distributes the weight of anyone leaning on the leaf instead of stressing two attachment points.
Pair it with a folding support bracket underneath, not just a swing-out leg, since a leg alone can catch a foot and buckle under sudden weight. Match the leaf’s wood tone and thickness to the original top as closely as possible; a mismatched leaf reads as an addition rather than part of the piece.
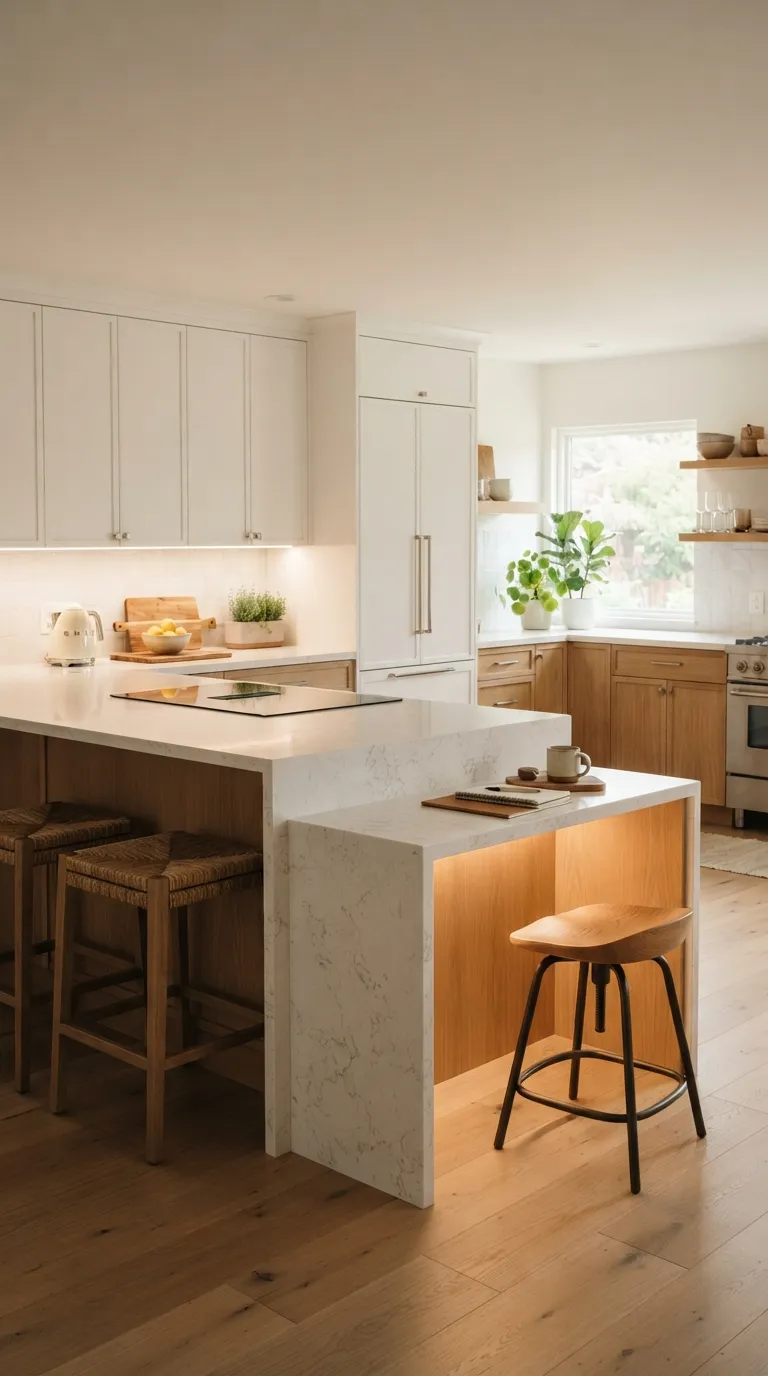
This turns a dresser too narrow for stools on its own into a spot for two people to sit, folding flat again when the space is needed for cooking instead.
Mistake to Avoid: A support leg without a locking hinge can fold up mid-use if it’s bumped always choose a bracket or leg with a positive lock, not just friction.
Observation
The counterintuitive part: the ugliest, most water-damaged dresser in a secondhand shop is often the better structural buy than the prettiest one. Water damage usually means swollen veneer or a ruined top both get replaced anyway once a butcher block or stone top goes on. A dresser with solid dovetailed drawer boxes and square, unwobbly corners under bad cosmetic damage is a stronger frame than a cosmetically perfect piece built with stapled particleboard drawer bottoms, which shows up more in mid-century and newer secondhand pieces than most shoppers expect.
12. Wrapping the Top in Zinc or Tin
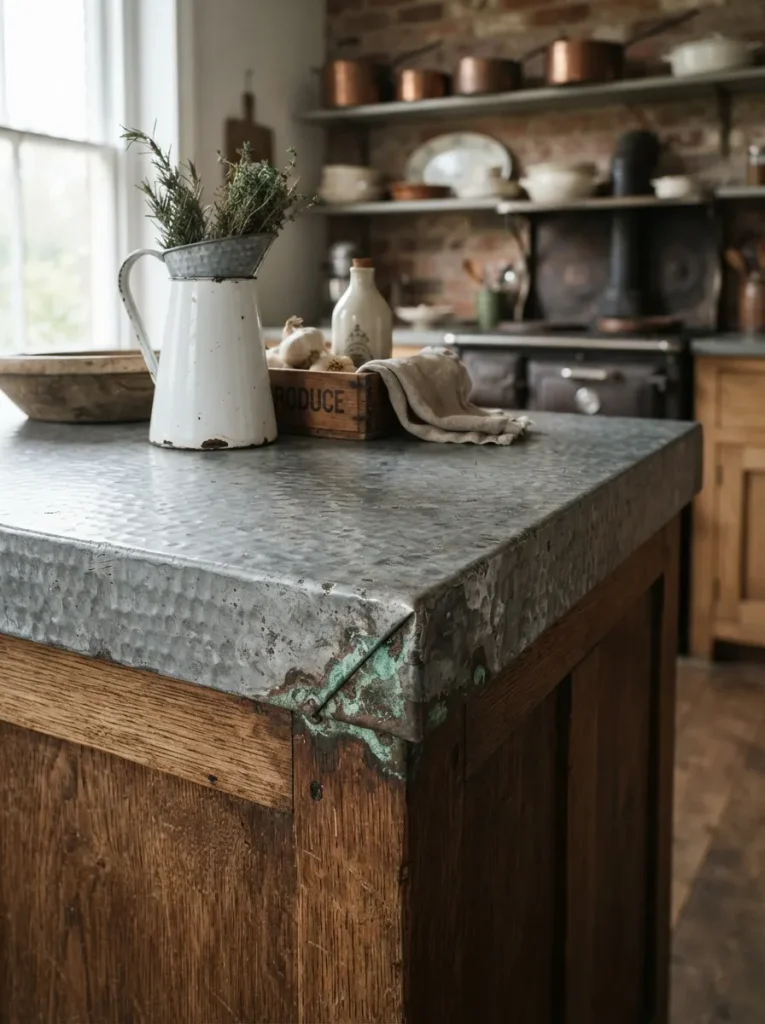
Zinc and tin both develop a soft, dulled patina fast, which is exactly what makes them read as vintage rather than industrial the moment they’re installed. A wrapped metal top means sheet metal folded and seamed over a wood substrate cut to the dresser’s exact dimensions, rather than a solid slab lighter than stone, and forgiving of a frame that couldn’t carry marble without reinforcement.
Zinc scratches and dents on purpose, essentially; small dings from daily use blend into the surface instead of standing out the way they would on stainless steel. Have the metal folded and seamed by a sheet metal shop rather than attempting mitered corners at home a clean seam at the corner is the difference between a professional wrap and a DIY one from three feet away.
Styling Note: Leave zinc unsealed if the goal is ongoing patina a sealed zinc top stays shinier and ages far more slowly than an open one.
Last idea: the layout decision that changes how this whole piece functions in the room, not just how it looks.
13. Freestanding Island vs. Wall-Backed Peninsula
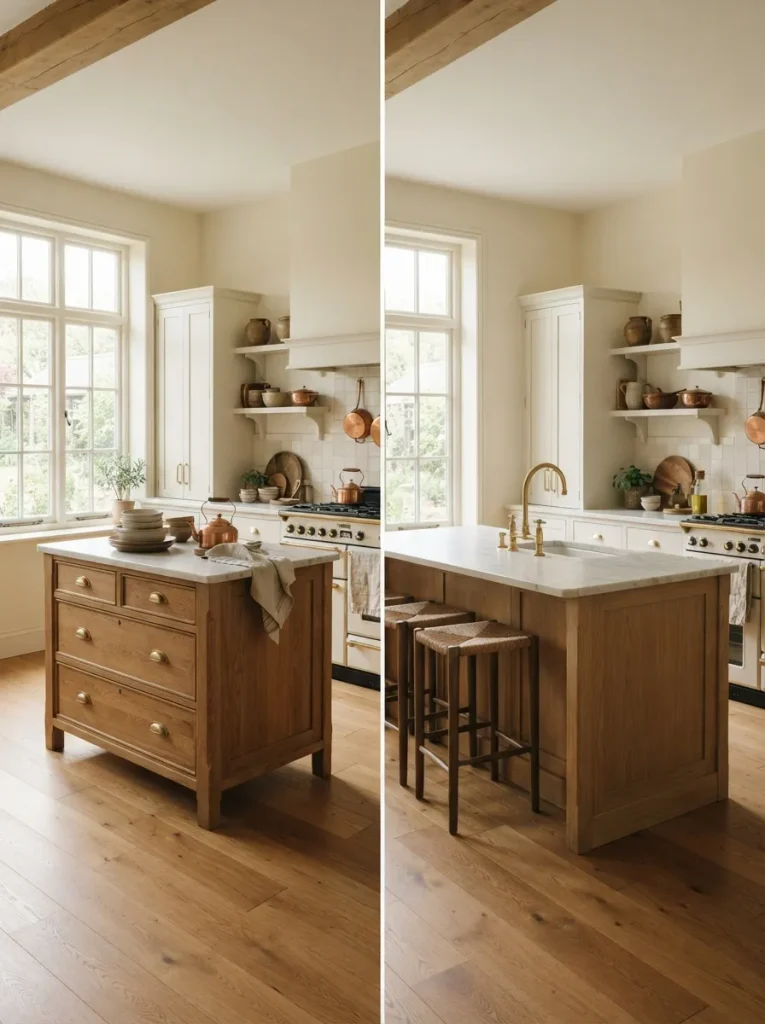
A dresser island doesn’t have to stand alone in the middle of the room to work pushing it against a wall or the end of an existing cabinet run turns it into a peninsula, and that single decision changes the clearance math for the whole kitchen.
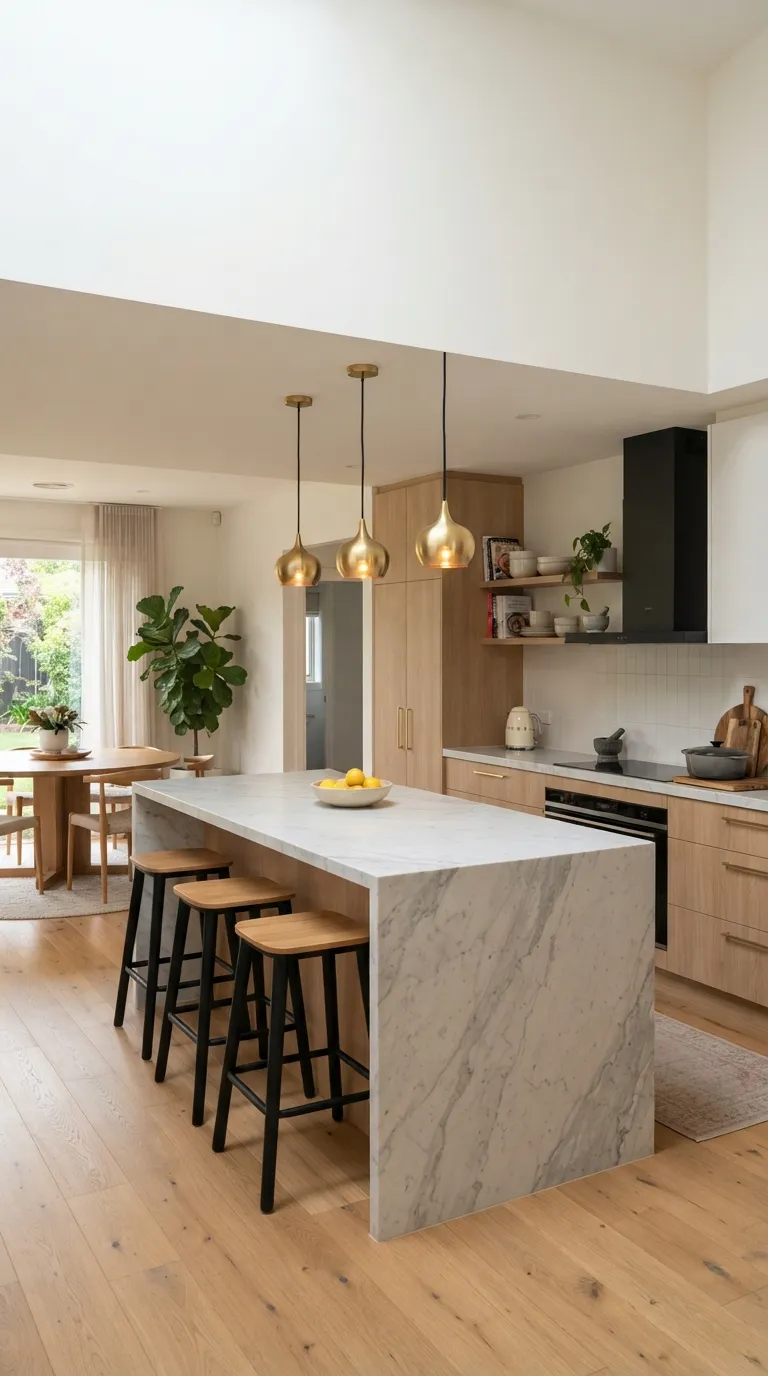
A freestanding island needs roughly 42 to 48 inches of clear walkway on every side for two people to pass comfortably; a wall-backed peninsula only needs that clearance on the open sides, which makes a repurposed dresser workable in kitchens too tight for a true island.
The tradeoff is access to the drawers a peninsula version loses whichever side faces the wall, so plan drawer use around that before committing to placement. For a closer look at how clearance and traffic flow shape kitchen island layouts more broadly, the same spacing rules apply whether the piece started as a dresser or not.
Pro Tip: Measure clearance with the drawers open, not just the closed footprint a dresser island loses several usable inches the moment someone’s mid-search in a drawer.
How to Start Your Vintage Kitchen Island Transformation
The right first move is almost always the frame itself, not the finish. Find a dresser with solid wood construction and square, tight corners a $40 dresser with a sound frame beats a $200 one with a cracked leg, since every idea here depends on that frame carrying more weight than it was built for.
The most common fixable error is skipping height and weight planning before picking a top. A stunning marble slab on an unreinforced 30-inch frame either sits too low to use comfortably or stresses joints that were never built for static stone weight fix it by settling on final height and top material before any paint or hardware decisions.
Three small items get a first attempt started without much risk: a sample-size pot of chalk paint, a set of oil-rubbed bronze cabinet knobs, and self-adhesive furniture felt pads to test placement before committing to a permanent spot.
A paint-and-hardware refresh is realistically a single weekend project, while a full structural conversion reinforced legs, a new top, wiring for lighting tends to run two to four weekends spread around drying and curing times. Budget starts around $150 to $300 for paint, hardware, and a modest top material, climbing toward $500 to $800 with stone or a professionally fabricated metal wrap.
Ready to Create Your Dream Vintage Kitchen Island?
Thirteen ideas, and no two of them solve the same problem color and patina work on a piece that just needs personality, while reinforced legs and a new top matter more on one that needs to function as a kitchen counter. None of this has to happen at once.
Swapping hardware and testing a paint sample this weekend is a completely valid starting point, even if the butcher block top waits until next month. Pick the one change that bothers you most every time you look at the piece, and start there.
The finished version should feel less like new furniture in a kitchen and more like something that’s simply always belonged there. Pin the ideas that fit your space now the ones that don’t will probably make more sense once the frame’s actually in the room.
Keep Exploring
- Small Kitchen Island Ideas for Tight Layouts
- Inside a Vintage Grandma House: Cozy Details Worth Stealing
- Kitchen Island Layouts That Actually Work for How You Cook