13 IKEA Kallax Coffee Bar Ideas for Small Kitchens That Don’t Eat Your Counter Space
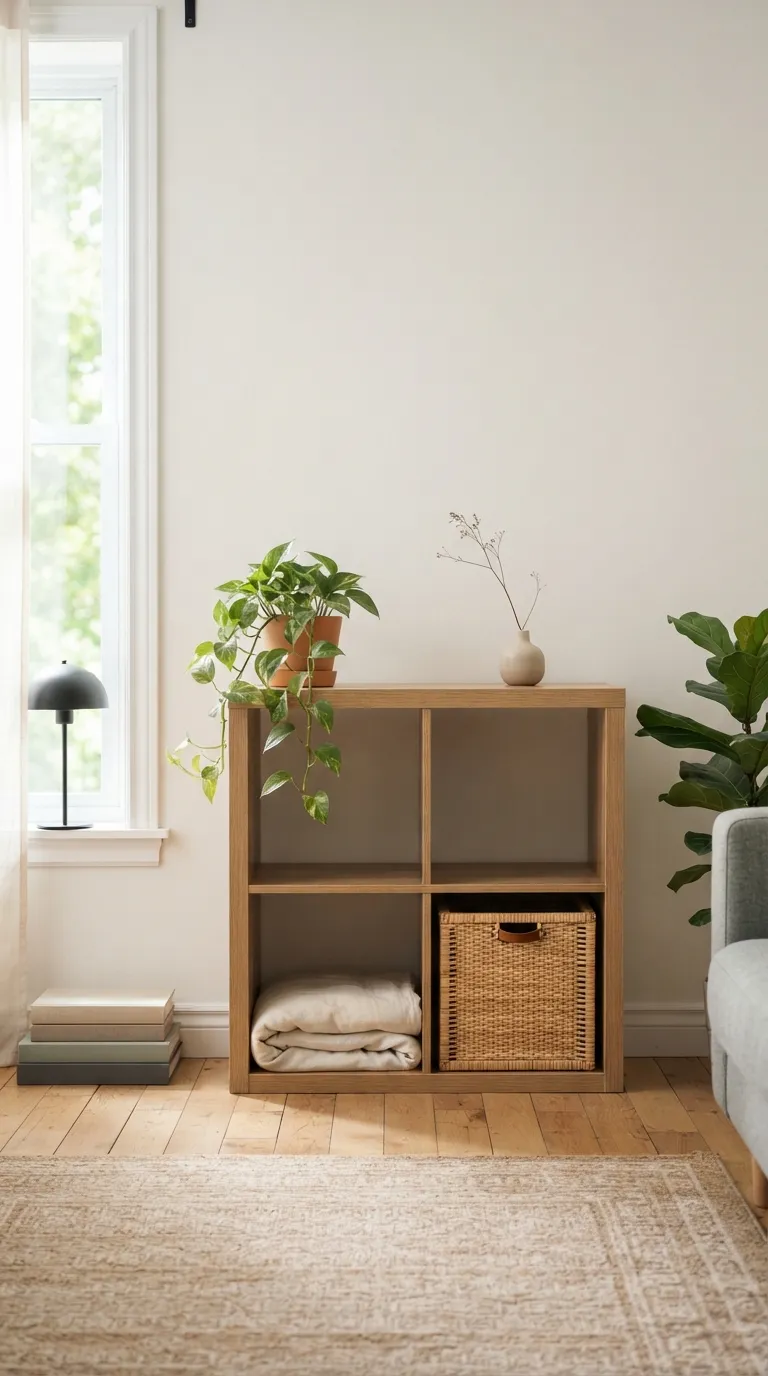
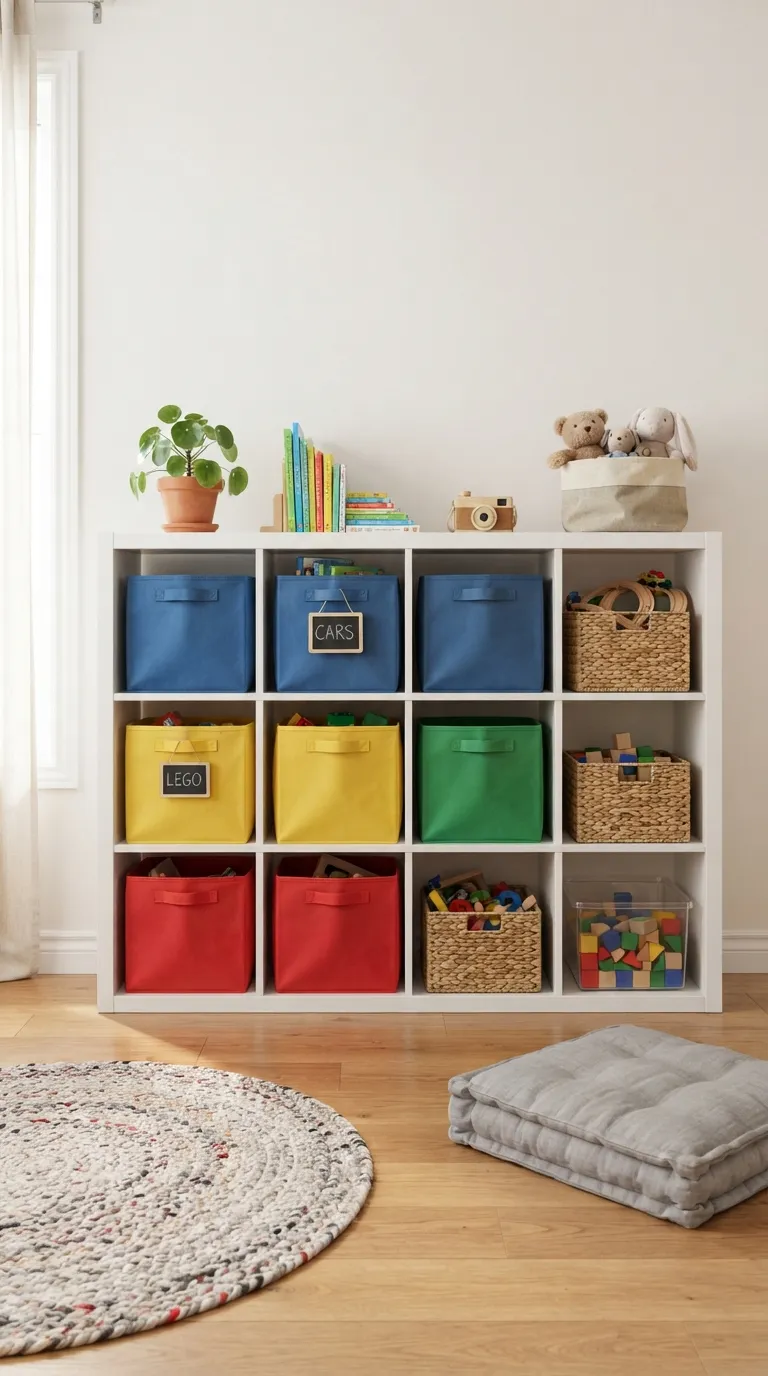
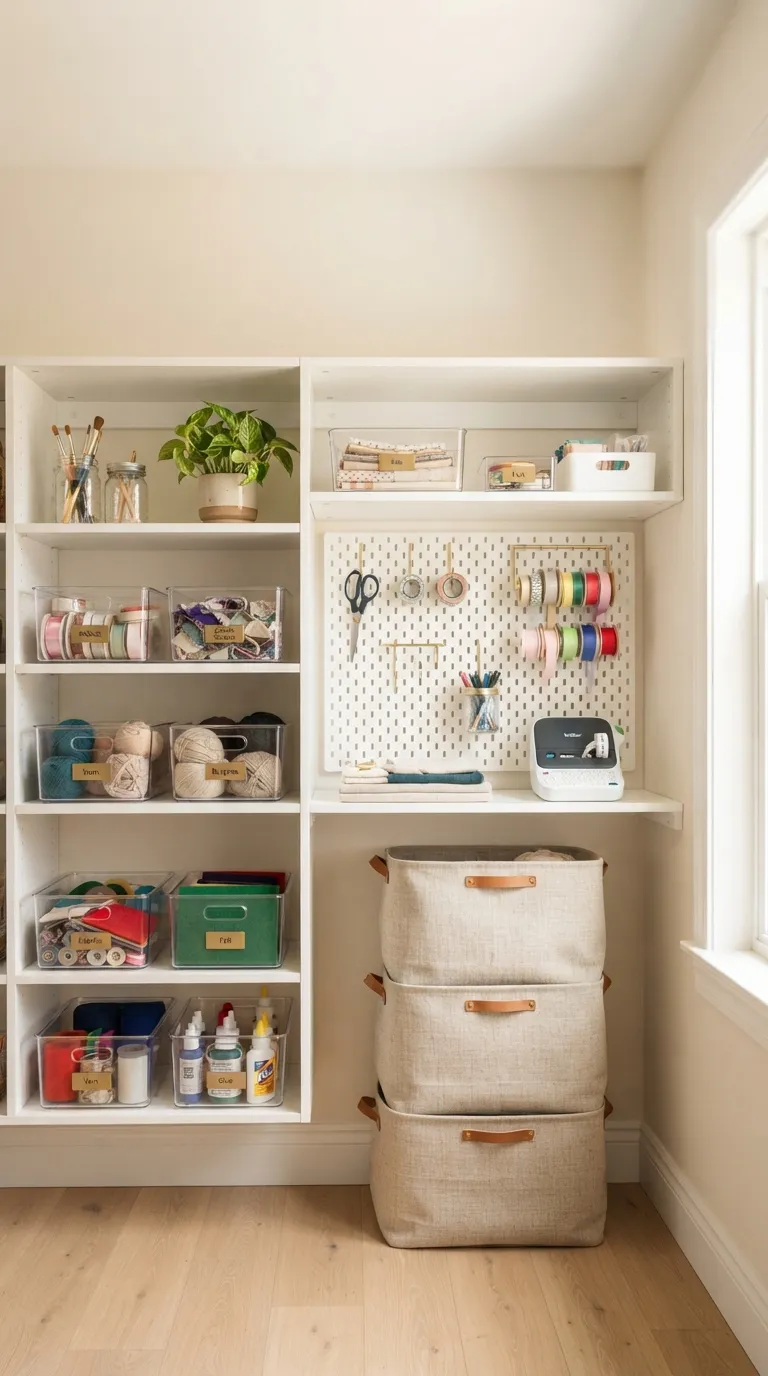
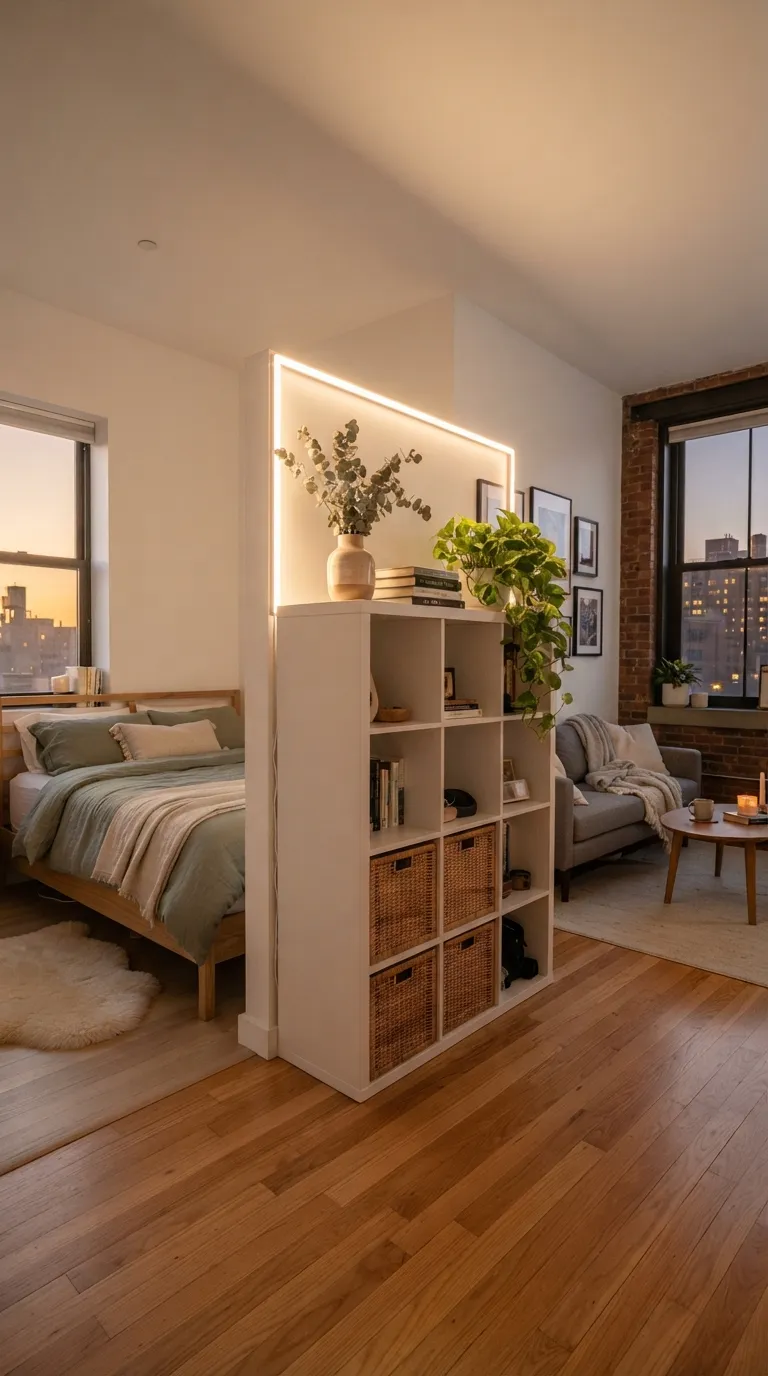
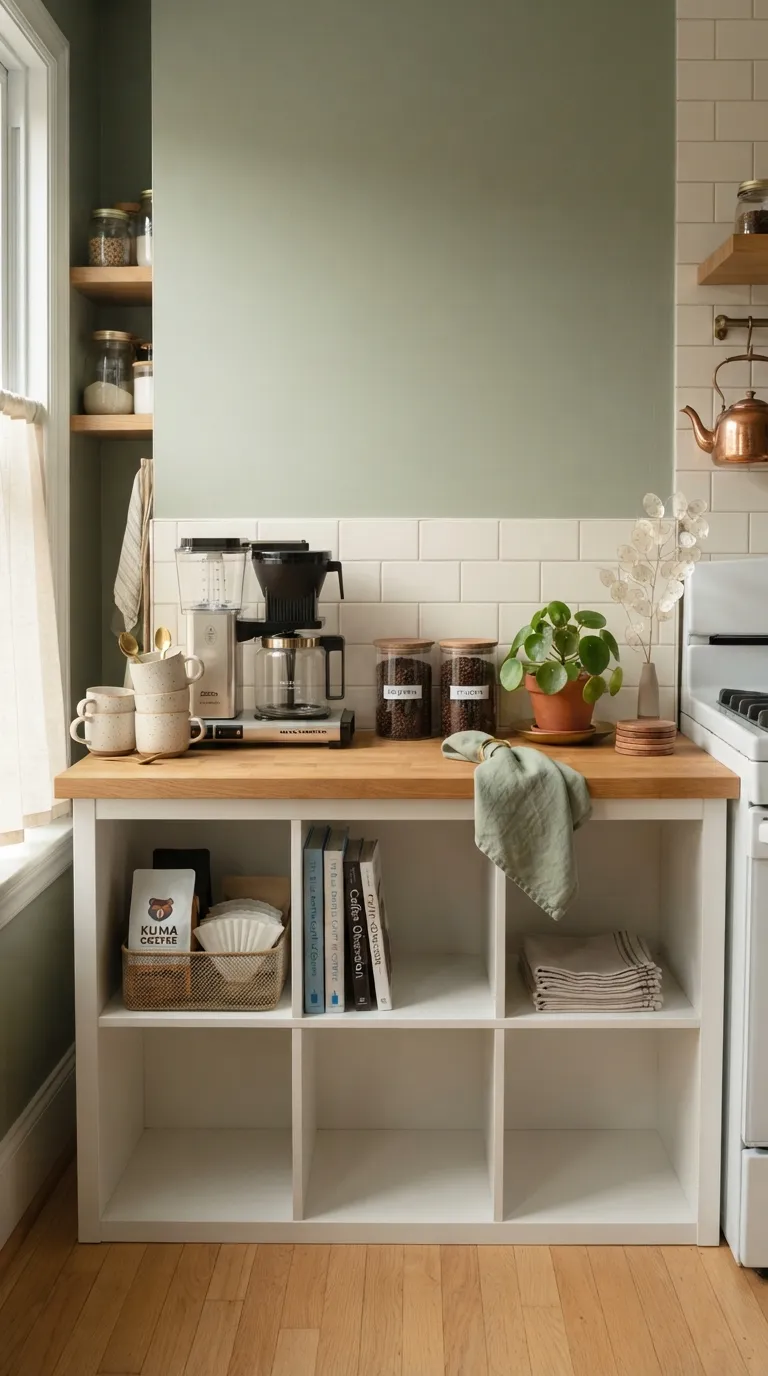
A Kallax coffee bar is really just a bookshelf doing a barista’s job cubbies holding mugs, a shelf holding your machine, and drawers absorbing all the pods and filters that used to live in a junk drawer. Here are 13 IKEA Kallax coffee bar ideas for small kitchens too tight for a dedicated coffee nook, without losing a single inch of counter space you can’t spare.
Morning coffee shouldn’t require moving four things just to reach the sugar. A well-planned setup means your hand finds the mug, the filter, and the spoon in the same three seconds every single day no searching, no clutter creeping onto the stove. That kind of quiet efficiency changes how a kitchen feels before you’ve even had your first sip. Small space, sorted.
Quick Navigation
- Why a Kallax Coffee Bar Makes Such a Difference in a Small Kitchen
- 13 IKEA Kallax Coffee Bar Ideas for Small Kitchens
- How to Start Your Kallax Coffee Bar Transformation
- Ready to Create Your Dream Coffee Corner?
Why a Kallax Coffee Bar Makes Such a Difference in a Small Kitchen
A Kallax coffee bar works by borrowing vertical space instead of demanding more floor space a 2×2 or 1×4 unit fits gaps as narrow as 15 inches, which no cabinet run manages. Stick to one finish family (white-stained oak, walnut veneer, or matte black) so it reads built-in, not borrowed from a dorm room. Small kitchens benefit most when the appliance and supplies sit within arm’s reach of each other. Before committing to a spot, check outlet placement everything else can move; the outlet can’t.
| Best starting point | A single 2×2 Kallax unit near an existing outlet |
| Biggest impact area | The cube directly above the machine (mug + filter access) |
| Budget to start | $90–$180 for the unit, inserts, and a few accessories |
| Time to complete | A weekend for the base setup; two if adding lighting or a custom top |
13 IKEA Kallax Coffee Bar Ideas for Small Kitchens
1. Turn a Single Kallax Row Into a Wall-Mounted Coffee Ledge
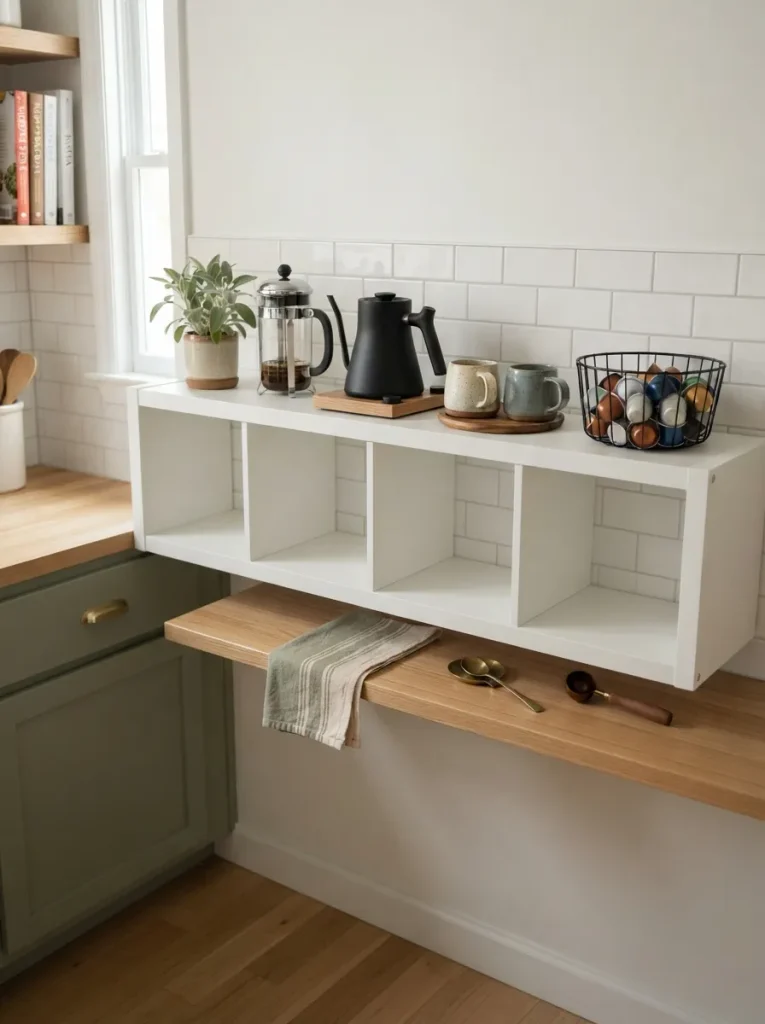
What it looks like: Mounted high and shallow, it reads more like a floating shelf than a bookcase.
Why it works: Wall-mounting a 1×4 unit removes the footprint problem entirely negative space opens up below it for a stool or a trash pull-out, and the eye reads the wall as less cluttered because nothing touches the floor.
How to copy it: Use a French cleat rated for at least 100 lbs, mount into studs (not drywall anchors alone), and keep the unit no more than 30 inches wide so it doesn’t visually take over a narrow wall. Position it so the bottom cube sits at standard counter height, 36 inches, for a seamless sightline.
Best for: Renters and small-kitchen owners who can’t spare a single inch of floor space.
Small-Space Tip: Leave the two end cubes empty an unbroken sightline through them makes the wall look wider than it is.
Shop This Look
| Product |
|---|
| Heavy-duty French cleat wall mounting kit |
| Compact drip coffee maker, under 8 inches wide |
| 4-piece stackable ceramic mug set |
| Wire pod storage basket |
| Wall-mount stud finder |
2. Line the Back Panel With Peel-and-Stick Beadboard for a Built-In Look
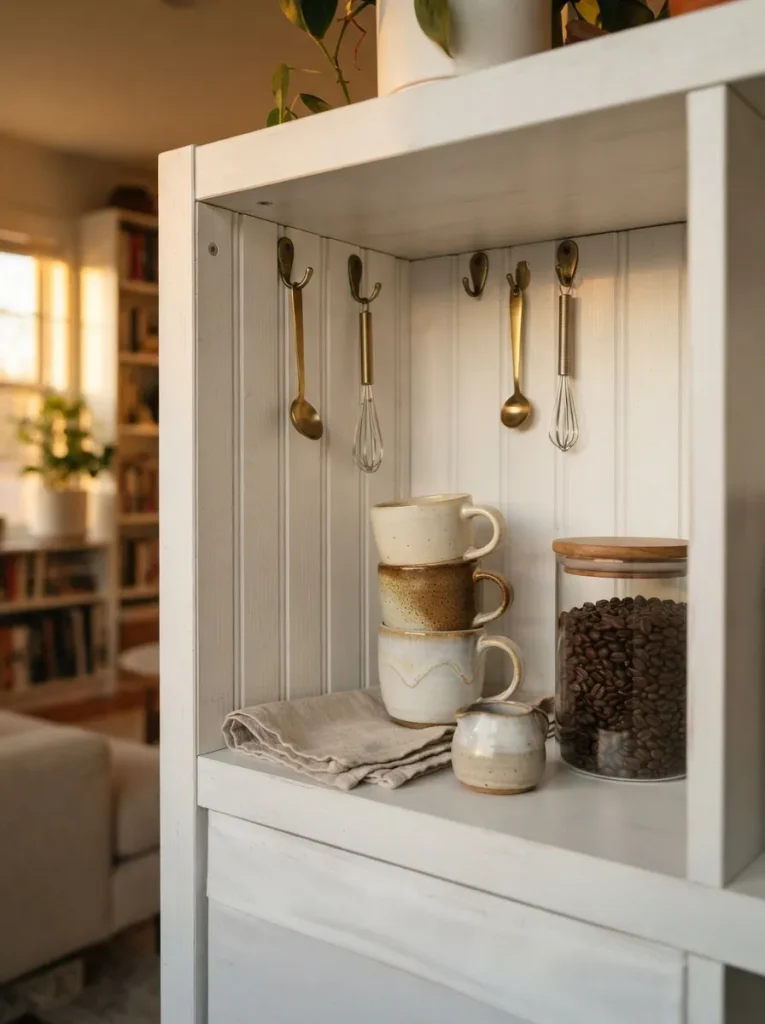
What it looks like: Grooved and painted, the cube backs stop looking like raw particleboard entirely.
Why it works: The exposed MDF backing on stock Kallax units is the biggest tell that it’s flat-pack furniture texture behind the open cubes creates depth and shadow lines a flat panel can’t fake.
How to copy it: Cut peel-and-stick beadboard sheets (sold in 4×8 ft rolls) to fit each cube’s interior back, about 13×13 inches, and press in place before loading shelves. This pairs well with other no-drill Kallax hacks if you’re renting and want the whole build reversible the panel itself costs under $25 for a full 2×2 unit.
Best for: Anyone tired of the “straight from the box” look without a full built-in budget.
Pro Tip: Press the panel in from the top down and smooth outward starting from a corner traps air bubbles you can’t fix once the adhesive grabs.
3. Use a 1×2 Kallax to Bridge an Awkward Corner Gap
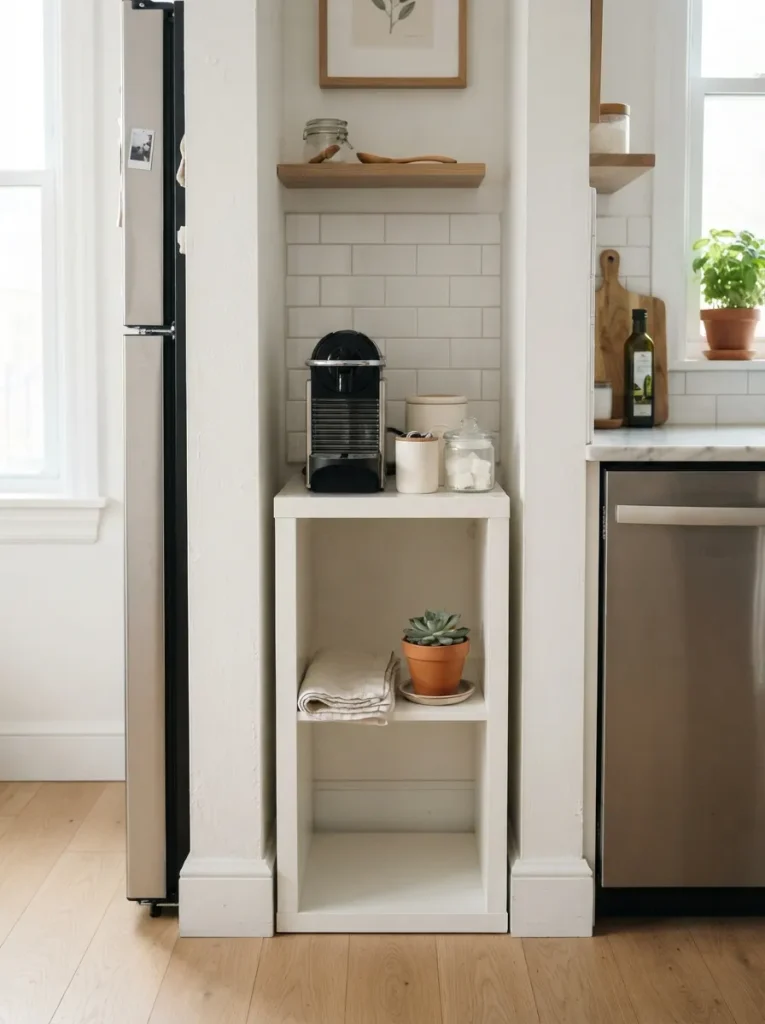
What it looks like: Two stacked cubes, barely wider than a cereal box, filling dead space no cabinet would ever use.
Why it works: Kitchen corners next to a fridge or pantry door are almost always wasted a 1×2 Kallax (roughly 15×30 inches) claims that sliver without blocking door swing or walkway clearance.
How to copy it: Measure the gap twice before buying; you need at least 15.75 inches of clear width and 3 inches of depth clearance from any door swing. For more layouts built around dead corners and tight footprints, this kind of tight-space Kallax storage thinking applies well beyond the kitchen.
Best for: Galley kitchens and apartments where every gap has to earn its keep.
Budget Version: A used 1×2 Kallax runs $20–$35 on secondhand marketplaces check the bottom panel for water damage before buying, since it’s the most common flaw.
Next up: the one styling swap that quietly makes the whole unit look expensive.
4. Mount a Pegboard Insert Inside One Cube for Mug Storage
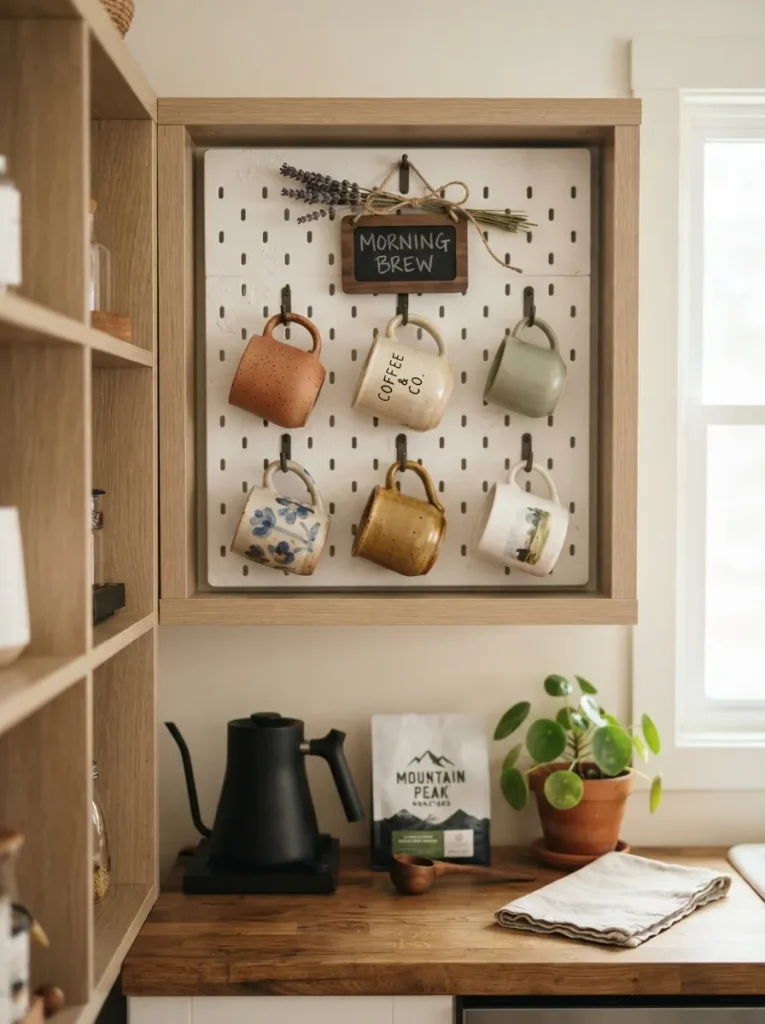
What it looks like: Mugs hang face-out instead of stacking, so nothing gets buried at the back.
Why it works: Vertical hanging storage uses the full depth of a cube that flat shelving wastes it also solves the real problem with mug cabinets, which is digging through a stack to find the one you actually want.
How to copy it: Cut a 1/4-inch pegboard sheet to 12.5×12.5 inches, prime and paint it to match the unit, then screw it into the cube’s side walls with 4 small L-brackets. Space peg hooks 3 inches apart so mug handles don’t collide the same logic shows up across our Kallax insert storage ideas if you want more insert variations.
Best for: Coffee and tea drinkers with more than 6 mugs and nowhere flat to put them.
Important: Most people assume Kallax cube interiors are a full 15 inches deep they’re actually closer to 13, so measure your pegboard and hooks against the real number, not the marketing spec.
5. Paint Just the Interior Backs in Espresso Brown for Depth
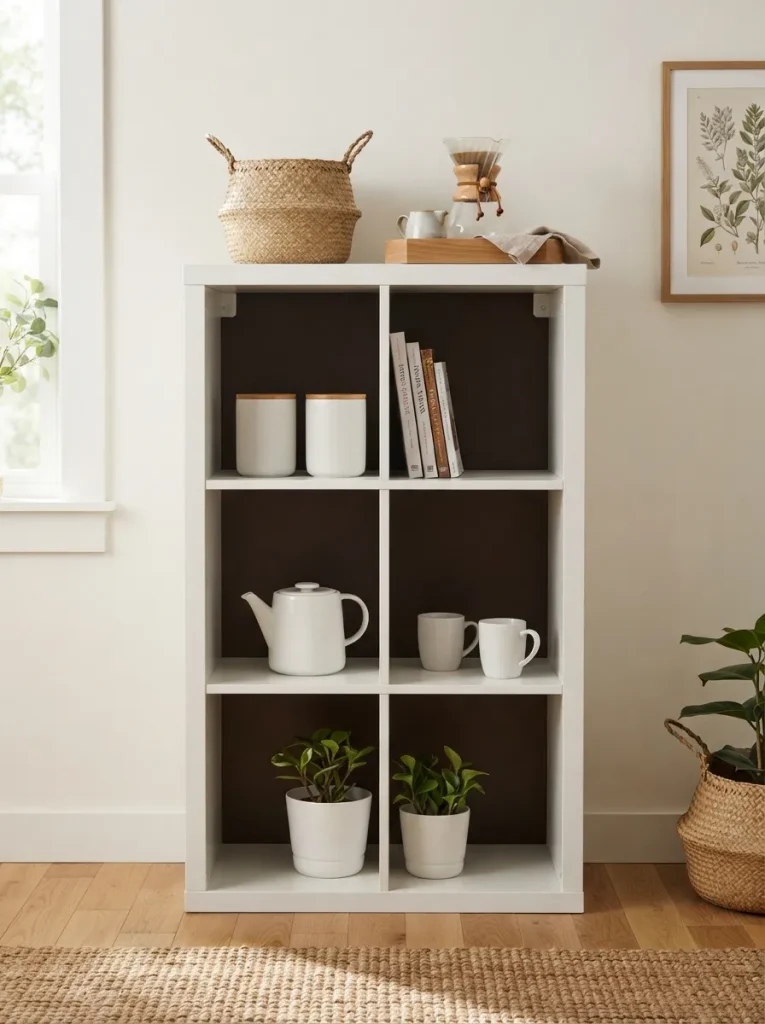
What it looks like: The white shell stays clean while the inside reads almost like a shadow box.
Why it works: Painting only the recessed back panel not the whole unit creates contrast without committing to a full color change, and it makes anything pale pop against the darker backdrop.
How to copy it: Use a satin-finish interior paint in an espresso brown, and tape off the side walls with painter’s tape so only the flat back gets two coats. Let it cure 48 hours before loading shelves painted MDF stays tacky longer than people expect.
Best for: Renters who want visual contrast without painting cabinets or walls.
Styling Note: Keep everything you store in a painted cube pale dark mugs on a dark backdrop disappear and defeat the whole point.
6. Add Locking Casters to Roll the Bar Out for Guests
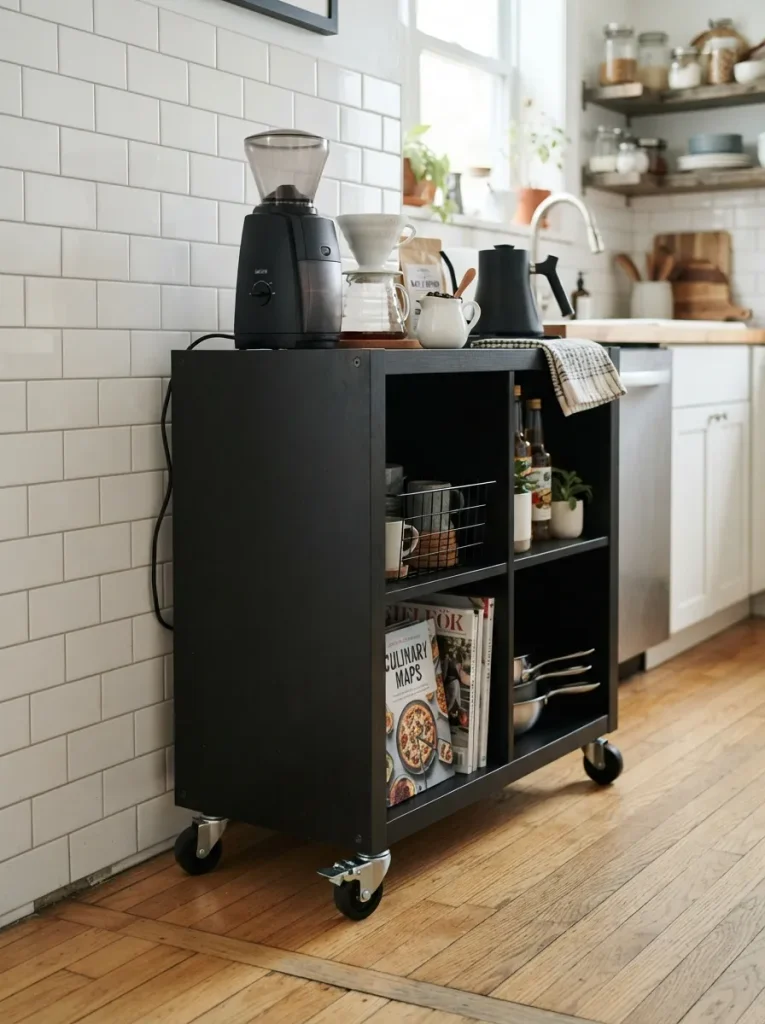
What it looks like: Parked flush against the wall daily, it pulls free in seconds when the kitchen fills up.
Why it works: A 2×2 Kallax on casters turns a fixed piece into a mobile one full wall-adjacent storage most days, open floor space the moment you need it, which matters most in kitchens under 100 square feet.
How to copy it: Choose casters rated for at least 220 lbs combined (a loaded 2×2 easily weighs 60–80 lbs), with at least two of the four locking. Screw mounting plates into the solid corner blocks, never the thin bottom panel alone, or the weight will eventually tear through.
Best for: Anyone who hosts occasionally and needs the kitchen to flex.
Warning: A loaded Kallax on casters becomes genuinely tip-prone the moment it’s unanchored if you have kids or pets in the kitchen, add a flexible wall strap that unclips for moving instead of skipping anchoring altogether.
The next idea solves the one problem every coffee corner eventually has: where the light goes.
7. Run a Battery LED Strip Under the Top Shelf
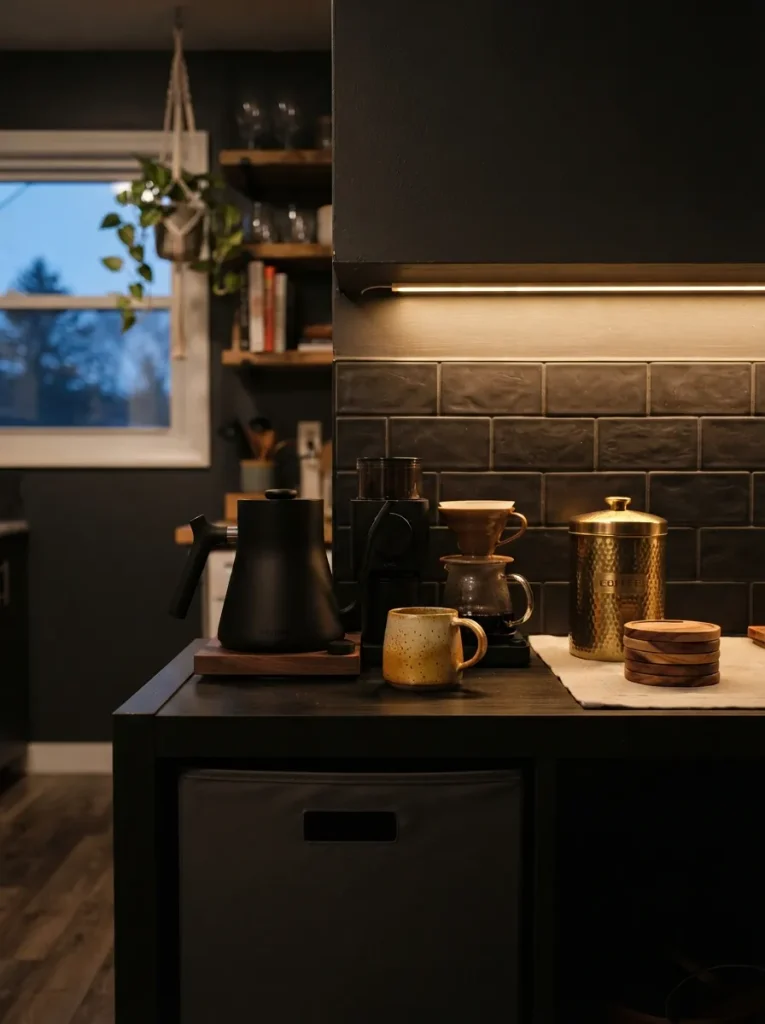
What it looks like: A warm strip of light spills across the top cube without a single visible cord.
Why it works: Task lighting solves the real functional gap in most Kallax setups overhead kitchen lighting rarely reaches straight down into a shelf unit, so the coffee station stays dim exactly where you need to read a water line or measure grounds.
How to copy it: Stick a battery-powered LED strip (motion-activated ones skip a switch entirely) to the underside of the cube directly above your machine, angled slightly forward so light hits the counter, not the wall. Choose 2700K–3000K bulbs anything bluer reads clinical in a kitchen.
Best for: Kitchens with poor overhead coverage or early-morning routines before sunrise.
Quick Win: Motion-sensor strips cost about $15 and need zero wiring press the strip on, and the light turns on the second a hand reaches for the machine.
8. Top It With a Butcher Block Slab for a Real Counter Feel
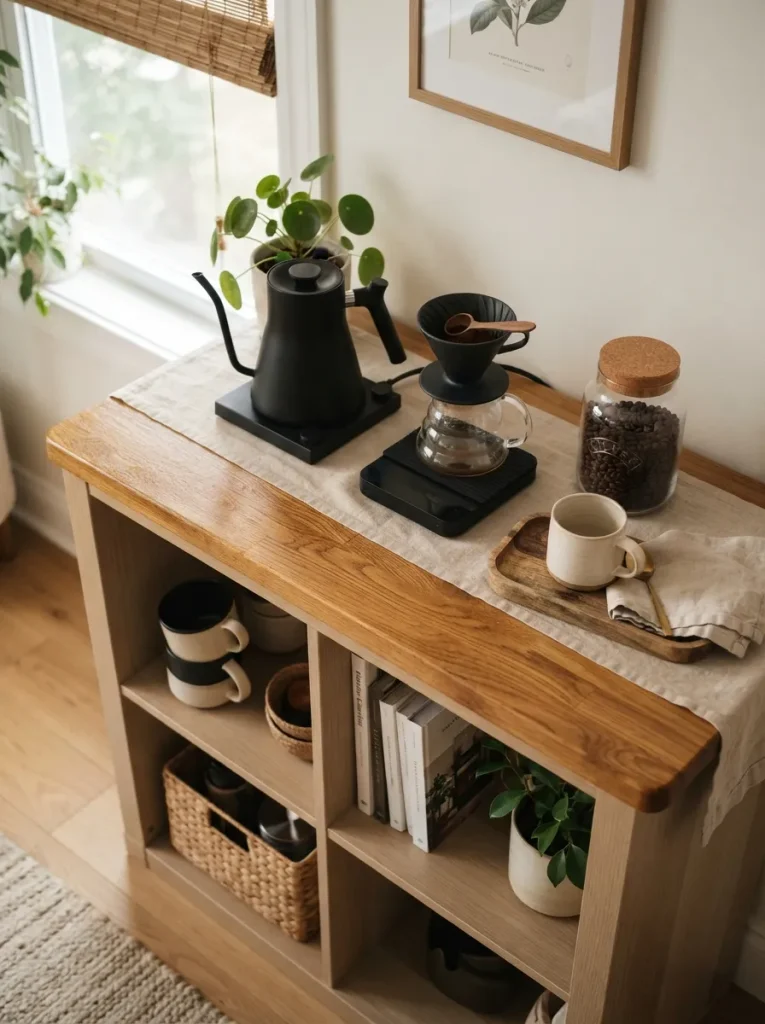
What it looks like: A slab of real wood on top turns a shelf into something you’d actually set a hot kettle on.
Why it works: Laminate Kallax tops scratch and stain within months of daily coffee spills a 1.5-inch butcher block cap adds real mass and a genuine work surface, and it visually grounds the piece so it reads as furniture, not storage. It’s the same reasoning behind solid surfaces in our minimalist kitchen island ideas, just scaled down.
How to copy it: Cut an unfinished oak or acacia butcher block slab to overhang the unit by 1 inch on all sides, seal it with food-safe mineral oil (not polyurethane, which yellows near heat), and attach with L-brackets from underneath so no screws show on top.
Best for: Anyone who wants the coffee station to double as real counter space.
Pro Tip: Re-oil the slab every 4–6 weeks near the kettle zone specifically that’s where heat and moisture dry the wood out fastest, well before the rest of the surface needs it.
Shop This Look
| Product |
|---|
| Unfinished oak butcher block slab, 24×13 inches |
| Food-safe mineral oil |
| Tabletop L-bracket mounting set |
| Fine-grit sanding block |
| Microfiber buffing cloth |
9. Use Fabric Bins for Pods and Filters, Not Just Baskets
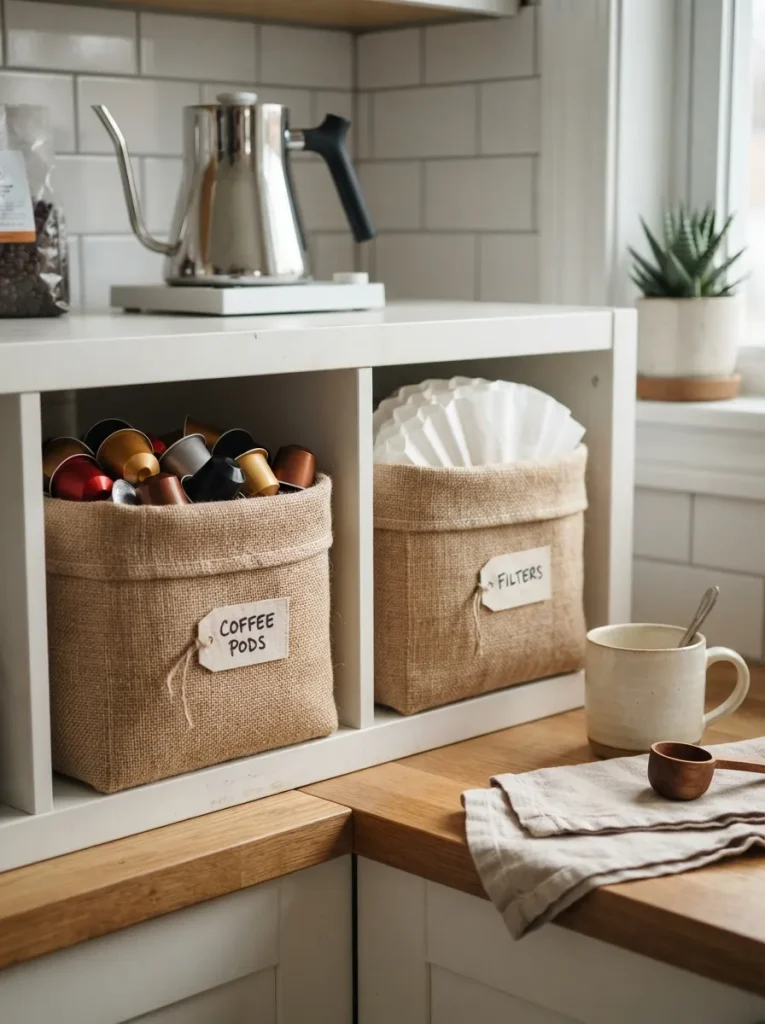
What it looks like: Soft-sided and slightly slouched, the bins soften an otherwise boxy grid of cubes.
Why it works: Rigid baskets waste depth because pods and filters are lightweight and irregular a fabric bin collapses to fit whatever’s inside, so a half-full bin doesn’t leave an awkward gap of empty air behind it.
How to copy it: Size bins to 13x13x13 inches exactly (smaller leaves gaps, larger won’t slide in flush), and pick a natural jute or cotton-linen blend over synthetic felt felt holds static and attracts loose coffee grounds. The same sizing rule applies across our Kallax closet conversion ideas if bin-fitting is a recurring headache in your build.
Best for: Anyone whose current coffee supplies are loose in a cabinet with no real system.
Mistake to Avoid: Buying bins before measuring the actual cube opening Kallax openings vary slightly by unit size, and a bin even half an inch too wide won’t seat flush.
Shop This Look
| Product |
|---|
| Jute fabric storage bins, 13x13x13 inch |
| Cotton-linen bin liner set |
| Small fabric label clips |
| Coffee pod organizer tray |
| Paper filter holder insert |
Up next: the color trick that makes a Kallax look custom-built for your cabinets.
My Views:
Here’s something most guides won’t tell you: the biggest coffee-bar failure I’ve seen in small kitchens isn’t the storage plan, it’s outlet placement decided after the furniture. A 2×2 Kallax positioned 18 inches from the nearest outlet means a cord runs across the top of the unit or down the side in full view no amount of styling hides a visible extension cord. Measure the outlet location first, then build the layout around it, not the other way around.
10. Match the Cube Fronts to Your Cabinet Color for a Built-In Blend
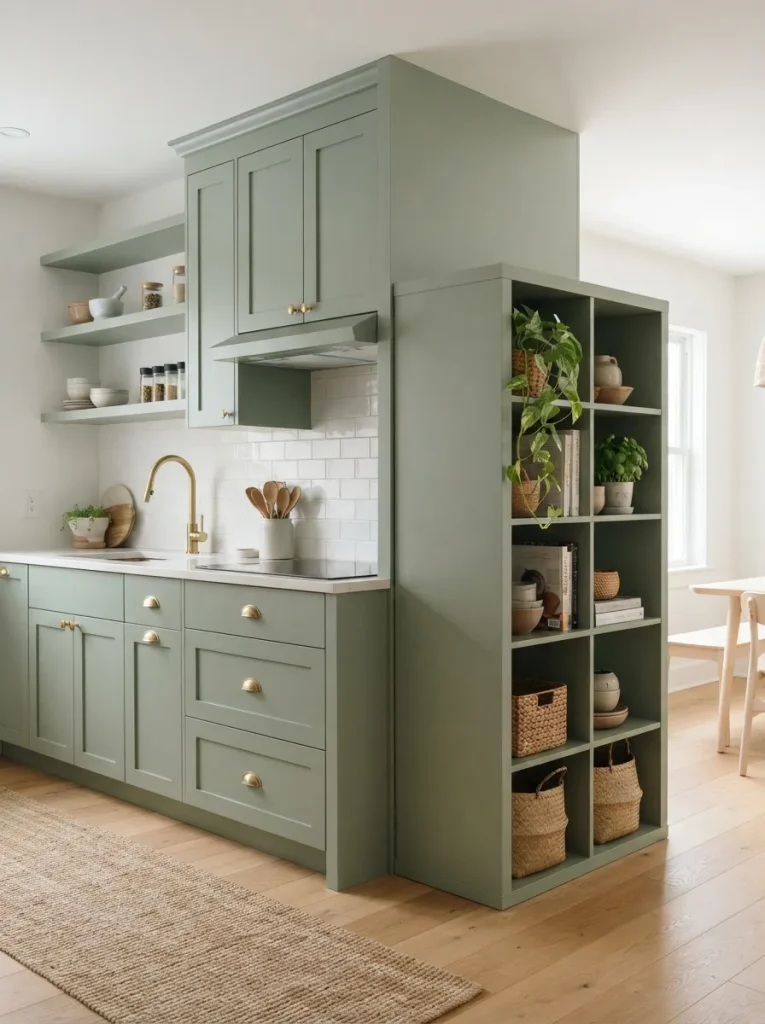
What it looks like: Pushed against the cabinet run, the seam between the two pieces nearly disappears.
Why it works: Color continuity does more visual work than matching materials a Kallax painted the exact cabinet shade reads as one continuous build even though it’s structurally a separate, freestanding piece.
How to copy it: Bring your cabinet’s actual paint code not just a swatch match to a hardware store and have them mix the identical formula in a furniture-grade enamel. Sand the laminate lightly with 220-grit paper first and prime with a bonding primer. For more pairings that read as one continuous build, our modern color combinations guide covers which shades blend versus clash.
Best for: Kitchens where the coffee bar sits directly against existing cabinetry.
Important: Laminate doesn’t hold paint the way wood does skipping the bonding primer is the single most common reason this hack fails within a season.
11. Add a Plug-In Sconce Above for Task Light Without an Outlet
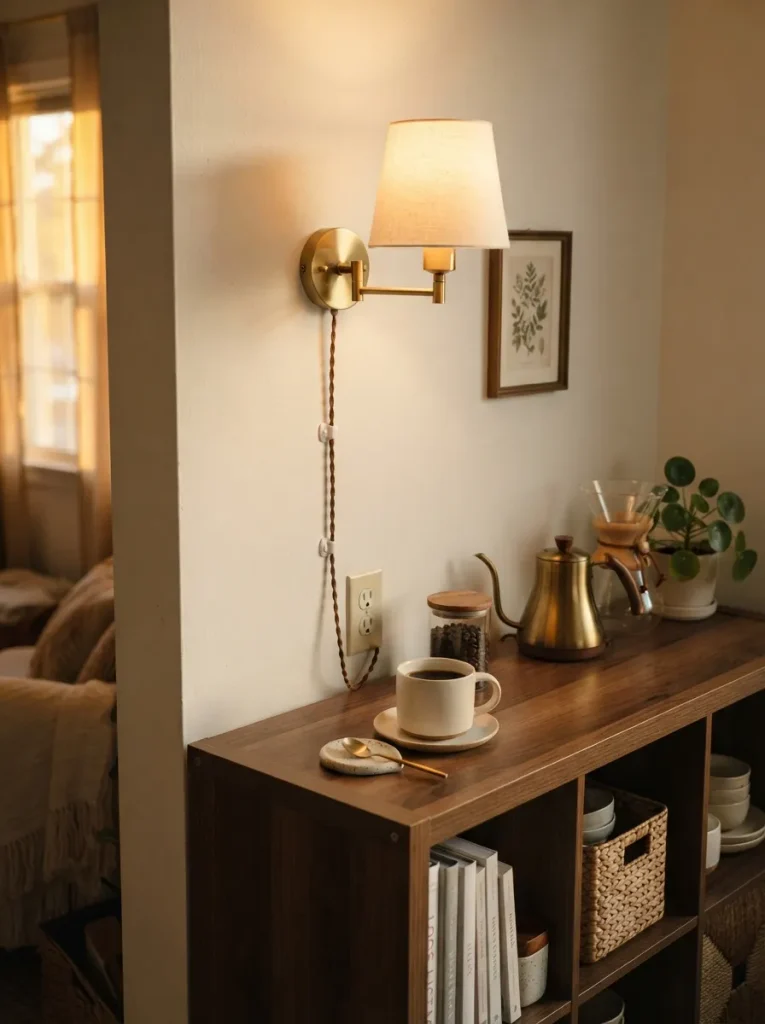
What it looks like: A single warm bulb sits just above eye level, throwing light exactly where hands are working.
Why it works: Plug-in sconces skip electrical work entirely, which matters most in rentals and small kitchens mounted at the right height, they solve the same shadow problem as under-shelf lighting but from a more flattering angle.
How to copy it: Mount the sconce backplate 14–16 inches above the top cube, run the cord down inside a paintable cord channel, and route it to the nearest outlet rather than draping it loose. A warm-toned 40-watt equivalent bulb keeps the light from feeling like an office fixture.
Best for: Renters who want ambient task light without touching wiring.
Budget Version: A basic plug-in sconce with a cord channel kit runs about $35–$45 total skip the channel and clip the cord instead to save another $10, though it won’t look quite as finished.
12. Stack Two 1×4 Units for a Full Floor-to-Counter Coffee Wall
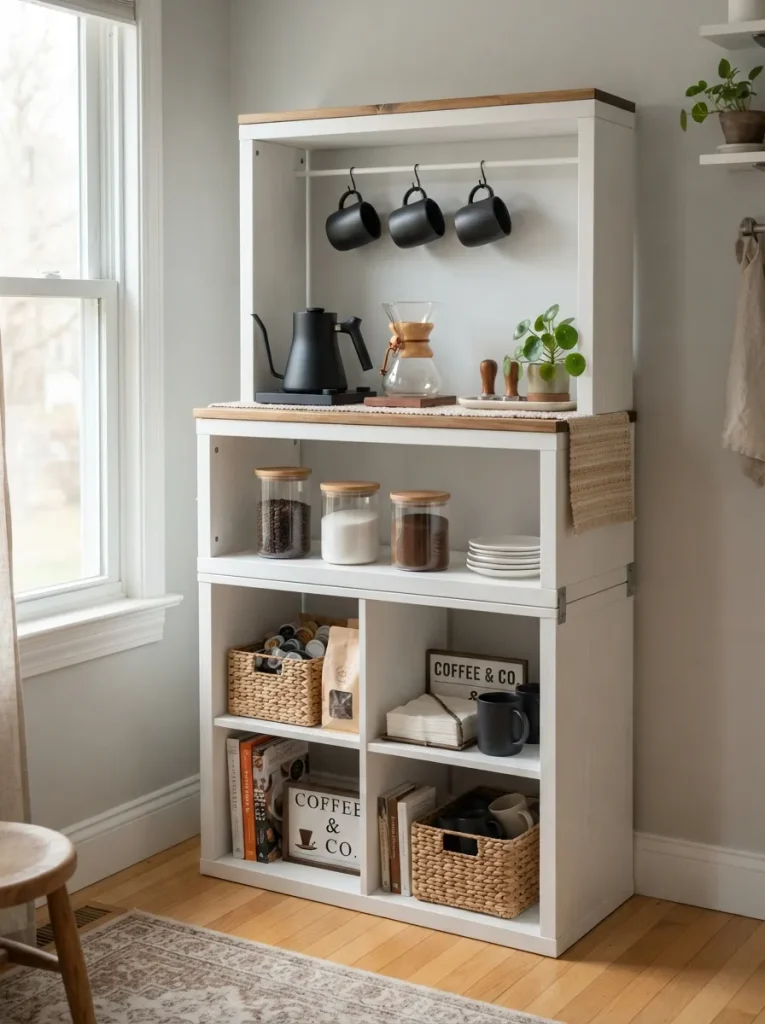
What it looks like: Eight cubes total, stacked two wide and four tall, filling a full wall section top to bottom.
Why it works: A single 1×4 tops out around 30 inches stacking two gets you a genuine floor-to-counter storage wall in the same footprint a single unit would use, which matters when floor space is the one thing a small kitchen can’t spare more of.
How to copy it: Follow the sequence below in order skipping steps is how stacked units end up unstable. It’s the same stacking logic behind our Kallax bookshelf styling ideas, just applied to a kitchen wall instead of a living room one.
Best for: Small kitchens that need serious storage volume but have almost no floor width to give.
✅ Before You Stack:
- [ ] Confirm the wall has at least one stud spanning the full width of both units
- [ ] Attach the bottom unit to the wall first, using the stud location
- [ ] Join the two units together with the connector kit or L-brackets before adding the top anchor
- [ ] Anchor the top unit to the wall separately never rely on the connection between units alone
- [ ] Load the bottom two rows first to keep the center of gravity low
Shop This Look
| Product |
|---|
| Kallax unit connector/stacking kit |
| Heavy-duty top-anchor wall strap |
| Stud finder with depth sensor |
| Stacking corner braces, 4-pack |
| Furniture-rated wall anchors |
One more idea left and it’s the easiest way to keep coffee and tea from tangling into one messy shelf.
13. Swap in Colored Kallax Inserts to Zone Coffee vs. Tea Supplies
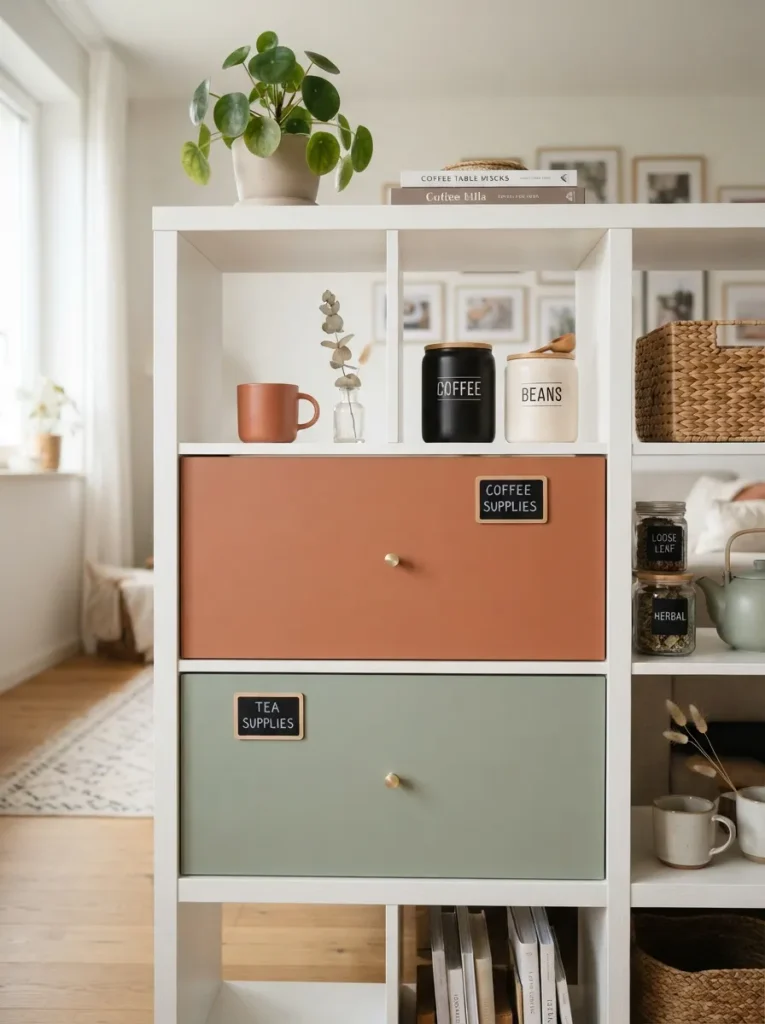
What it looks like: Two colors, two zones the shelf sorts itself before you even open a drawer.
Why it works: Color-coding by function, not just aesthetics, cuts down decision fatigue at 7 a.m. — a terracotta insert always means coffee, sage always means tea, so nobody in the house has to guess or dig. It’s a small extension of the same logic across our full Kallax styling ideas roundup.
How to copy it: Buy two Kallax insert drawers in different finishes, or paint stock white inserts with furniture enamel, and keep the color assignment consistent even as you restock consistency is what makes the zoning actually work over time.
Best for: Households where more than one person uses the coffee station and mix-ups happen often.
Pro Tip: Choose insert colors already in your kitchen’s palette terracotta and sage both read as “warm neutral” against most cabinet colors, so the zoning system doesn’t fight the rest of the room.
How to Start Your Kallax Coffee Bar Transformation
In practice, start with a single 2×2 Kallax unit positioned within 24 inches of an existing outlet not the prettiest spot necessarily, but the one that saves you from running a visible extension cord for the next five years. Everything else, paint, inserts, lighting, can be added later without touching the layout again.
The most common fixable mistake is buying a 4×4 unit because it looks impressive in the store, then realizing it eats an entire wall in a kitchen that’s 9 feet wide. Scale down before you scale up a 1×4 or 2×2 gives real storage without dominating a room that can’t absorb a piece that size.
Three items under $50 make an immediate difference: a matte white ceramic canister set for grounds ($22), a set of brass cup hooks for the interior back panel ($9), and a single stem of dried eucalyptus in a small bud vase to keep the top shelf from looking purely functional ($14).
A basic setup, unit, inserts, styling, takes a single weekend and runs $90 to $180 depending on finishes. Adding a butcher block top, lighting, or a full paint job stretches the timeline to two or three weekends and pushes the budget closer to $300 for the full build-out.
Ready to Create Your Dream Coffee Corner?
Between wall-mounted ledges, painted backs, and color-zoned inserts, these 13 ideas cover the full range, layout, material, light, and color, for turning a spare Kallax into a real coffee station. You don’t need to tackle all thirteen at once; even the beadboard back panel or a set of fabric bins moves the needle on its own. Start today by measuring the gap where your machine currently lives and checking how far it sits from the nearest outlet that single measurement decides almost everything else.
A coffee bar that actually works means mornings where your hand finds what it needs without thinking, which is a small kind of calm most small kitchens are missing. Save your favorites now, especially if you’re still deciding between wall-mounted and floor-standing you’ll want them side by side when it’s time to measure.
You Might Also Like
- 9 IKEA Kallax Kitchen Island Hacks for Tiny Layouts
- 15 IKEA Kallax Pantry Organization Ideas That Actually Work
- 10 Small Kitchen Storage Ideas That Don’t Involve a Single Cabinet