20 Small She Shed Craft Room Ideas That Actually Solve the Storage Problem
A she shed craft room is simply a small backyard studio carved out just for your projects no shared table, no interruptions, no packing everything away at 9pm. Here are 20 small she shed craft room ideas that solve the real problems: not enough storage, bad lighting, and a work surface that never stays clear.
There’s a particular kind of quiet that settles in once a space is finally yours. Fabric within reach. Tools where you last left them. Even a shed under 100 square feet can hold that feeling if it’s set up right. Let’s get into what actually works.
Quick Navigation
- Why Small She Shed Craft Rooms Make Such a Difference
- 20 Small She Shed Craft Room Ideas
- How to Start Your Craft Room Transformation
- Ready to Create Your Small She Shed Craft Room?
Why Small She Shed Craft Rooms Make Such a Difference
A she shed craft room works because it separates “craft mode” from the rest of the house even 60 square feet of dedicated space changes how a project gets finished. The materials that hold up best in a small shed are the same ones that work in a well-organized craft closet painted MDF shelving, powder-coated wire baskets, warm white LED strip lighting, and a laminate or butcher-block work surface that wipes clean.
It’s especially relevant now, with more people converting sheds and outbuildings instead of taking on a full renovation. In a small footprint, prioritize vertical wall storage first floor space disappears fast, wall space rarely does.
| Best starting point | Clear and zone the main worktable |
| Biggest impact area | Vertical wall storage above the table |
| Budget to start | $150–$400 for core organizing pieces |
| Time to complete | One weekend for basics, 2–3 for a full setup |
20 Small She Shed Craft Room Ideas
1. Zone the Worktable by Task
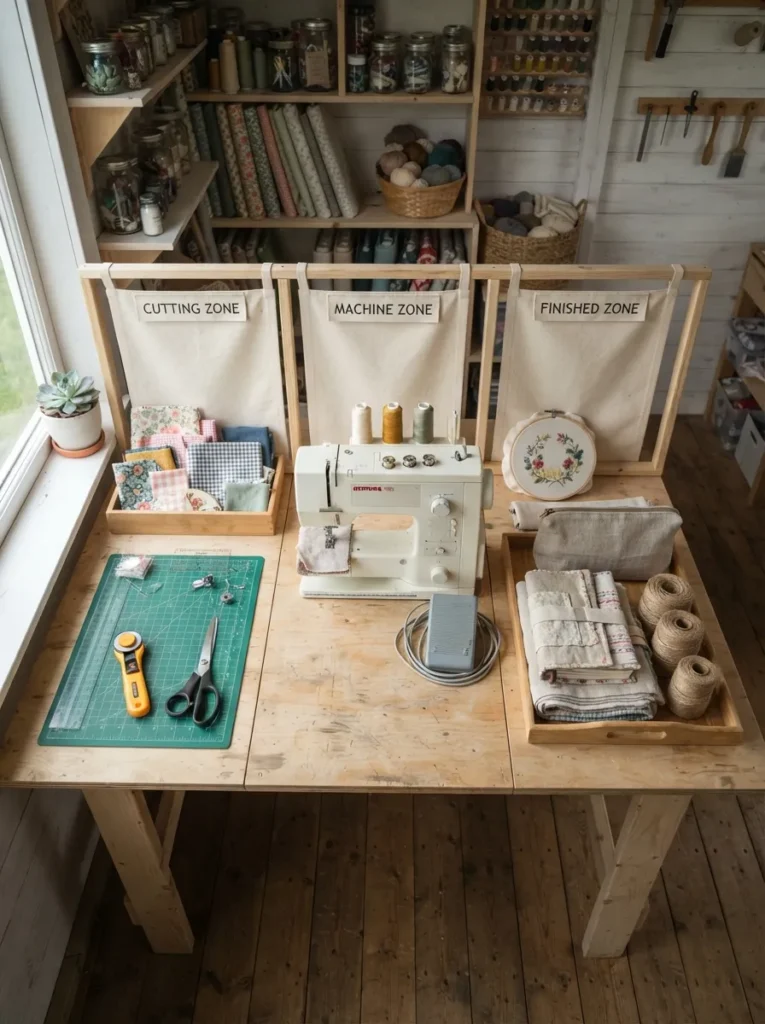
What it looks like: One long table split into three defined zones instead of a single cluttered surface cutting on the left, machine work in the center, finished pieces stacked right.
Why it works: Grouping tools by task cuts the mental reset time between steps. A mixed pile actually slows you down more than a small shed ever will.
How to copy it: Mark zones with painter’s tape for a week before committing, then anchor each zone with a shallow tray so tools land back in the right spot every time.
Best for: Crafters who work on multiple project types in the same session.
Pro Tip: Measure your most-used tool’s reach radius before placing the zones if you have to stand up to grab your scissors more than once per project, the layout is wrong.
2. Wall-Mounted Pegboard for Overflow Storage
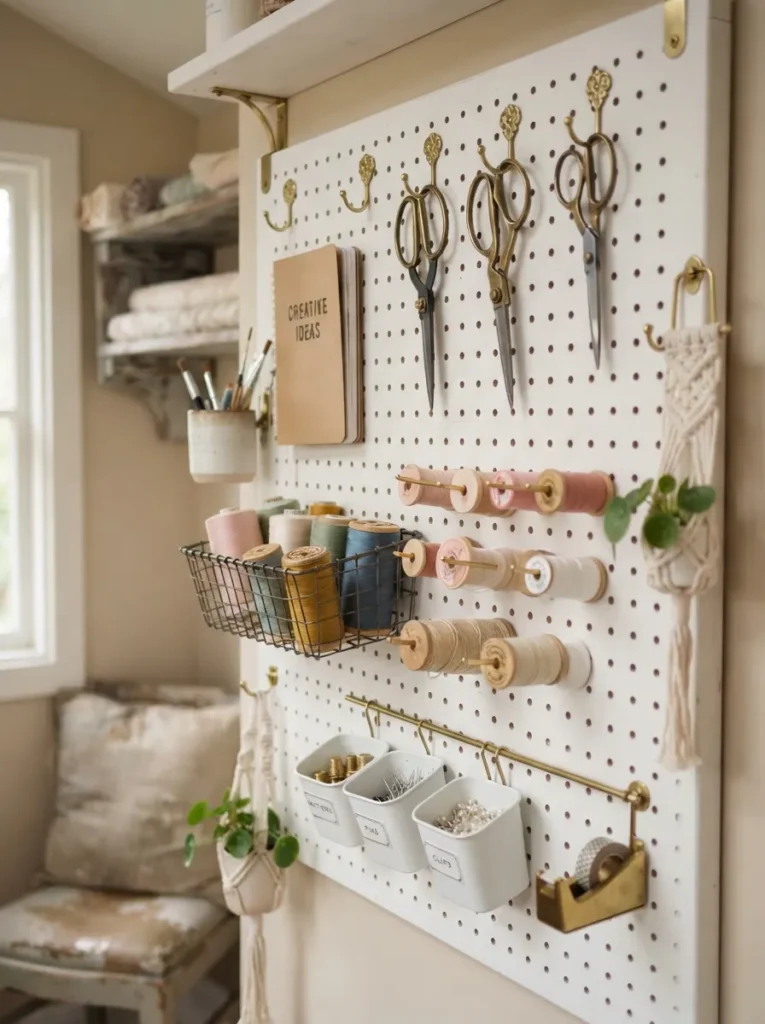
What it looks like: A full wall of pegboard holding everything that used to live in drawers scissors on hooks, thread on dowels, small bins clipped in rows.
Why it works: It uses vertical negative space that a shed’s tiny floor plan can’t spare. Open storage means you can see what you own instead of digging through bins.
How to copy it: Start with a 4×4 foot painted pegboard section, add metal hooks and small wire baskets, and leave one row of holes empty for tools you haven’t added yet.
Best for: Crafters who are constantly restocking bins and losing small tools.
✅ Before You Install the Pegboard:
- [ ] Measure the wall and mark stud locations for secure anchoring
- [ ] Sort tools into “daily use” and “occasional use” piles
- [ ] Choose hook and bin sizes based on your heaviest daily-use items
- [ ] Mount the board, then place daily items at arm height first
What You’ll Need:
| Product |
|---|
| Painted white pegboard panel, 4×4 ft |
| Metal pegboard hook assortment set |
| Small wire storage baskets, pegboard-compatible |
| Wooden thread spool dowel rack |
| Heavy-duty wall anchors for pegboard mounting |
3. A Cork Board Wall Above the Table
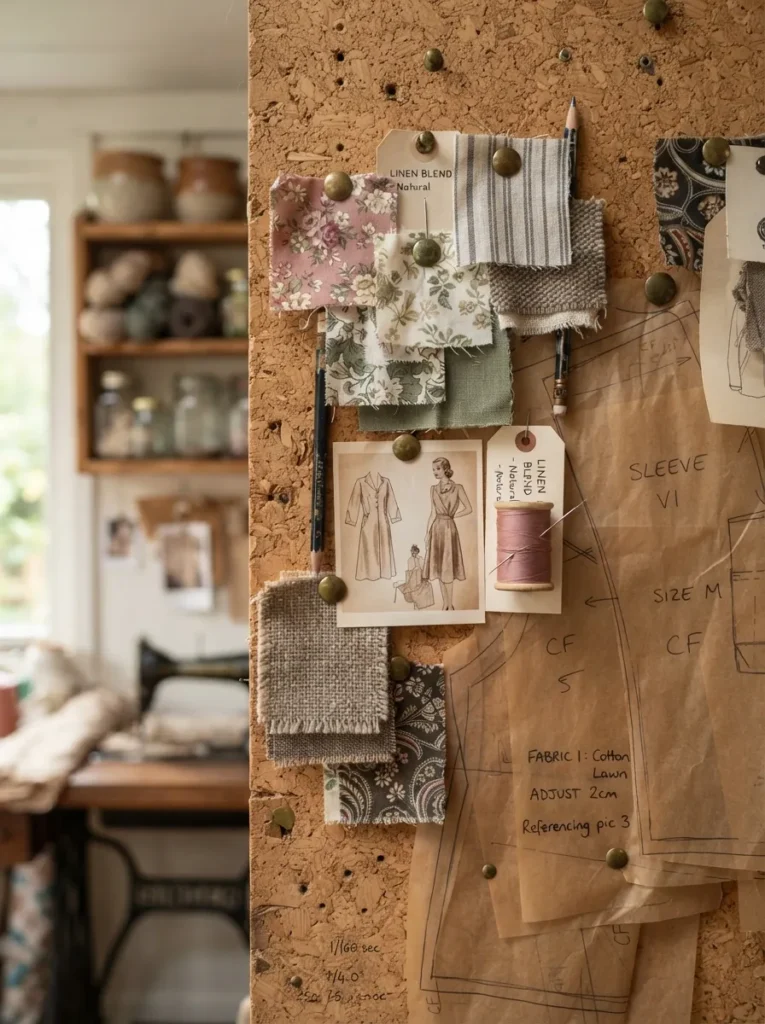
What it looks like: A cork-covered wall panel behind the worktable, pinned with pattern pieces, fabric swatches, and the current project’s reference photo.
Why it works: Texture layering gives the eye somewhere to land besides bare drywall. Cork specifically absorbs sound in a small shed, which matters more than people expect once a sewing machine gets running. It also doubles as the easiest spot to keep easy paper craft ideas pinned up instead of buried in a folder.
How to copy it: Buy 12×12 inch cork tiles, tile them edge to edge across one wall section, and skip a frame raw cork edges read as intentional in a small space.
Best for: Visual planners who work from mood boards or patterns.
Small-Space Tip: Keep the cork section to one wall only covering more than one wall in cork starts to visually shrink the room instead of adding texture.
Next up is the one lighting fix that changes how late you can actually work out there.
4. A Single Statement Pendant Over the Table
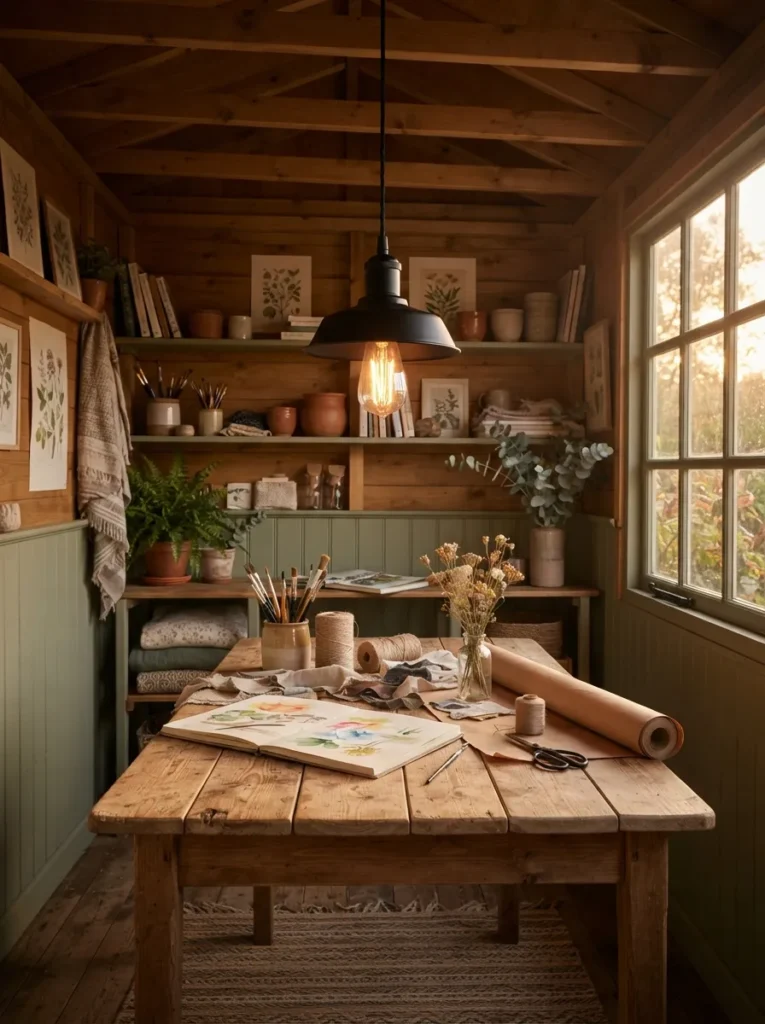
What it looks like: One pendant light hanging low and centered over the main table, casting warm, shadow-free light directly onto the work surface.
Why it works: Light behavior matters more than fixture style in a small shed a single centered source eliminates the shadows that overhead ceiling lights throw across your hands while you work.
How to copy it: Hang the pendant 30–36 inches above the tabletop, choose a bulb rated 3000K for warm-but-clear light, and skip dimmers unless the shed has proper wiring for one.
Best for: Anyone who does detail work like hand-sewing, painting, or beading.
Warning: A pendant hung too high scatters light across the whole room instead of focusing it if you can read fine print comfortably at the table’s center but not the edges, lower the fixture.
5. Warm White Walls to Bounce Available Light
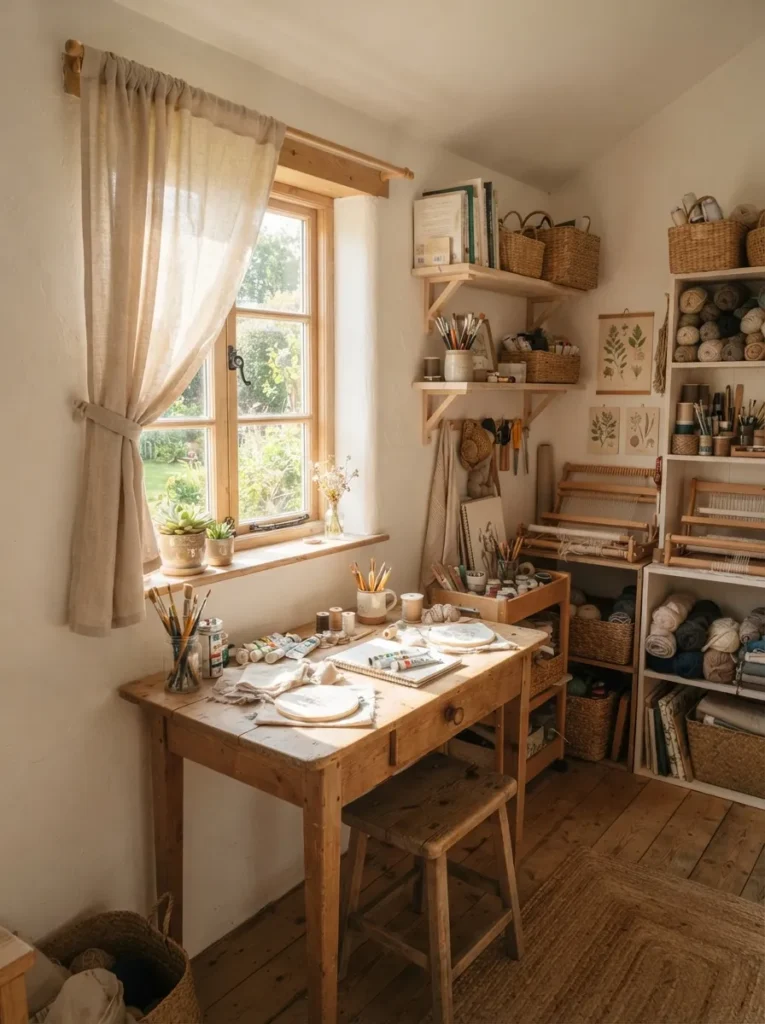
What it looks like: Walls in a warm white rather than a stark or cool white, softening the light instead of making it feel clinical.
Why it works: A true white can read cold and sterile under LED bulbs, while a warm white with a slight yellow undertone bounces both natural and artificial light without washing out fabric colors you’re trying to match.
How to copy it: Look for warm whites in the “cream” or “warm white” family with an LRV around 80–85, and test a sample swatch against your fabric stash before committing to the full wall.
Best for: Small sheds with limited natural light or north-facing windows.
Budget Version: A single gallon of warm white ceiling paint (not wall paint) covers most small shed interiors and costs less than a quart of premium wall paint.
6. Clear Acrylic Bins for Instant Visual Order
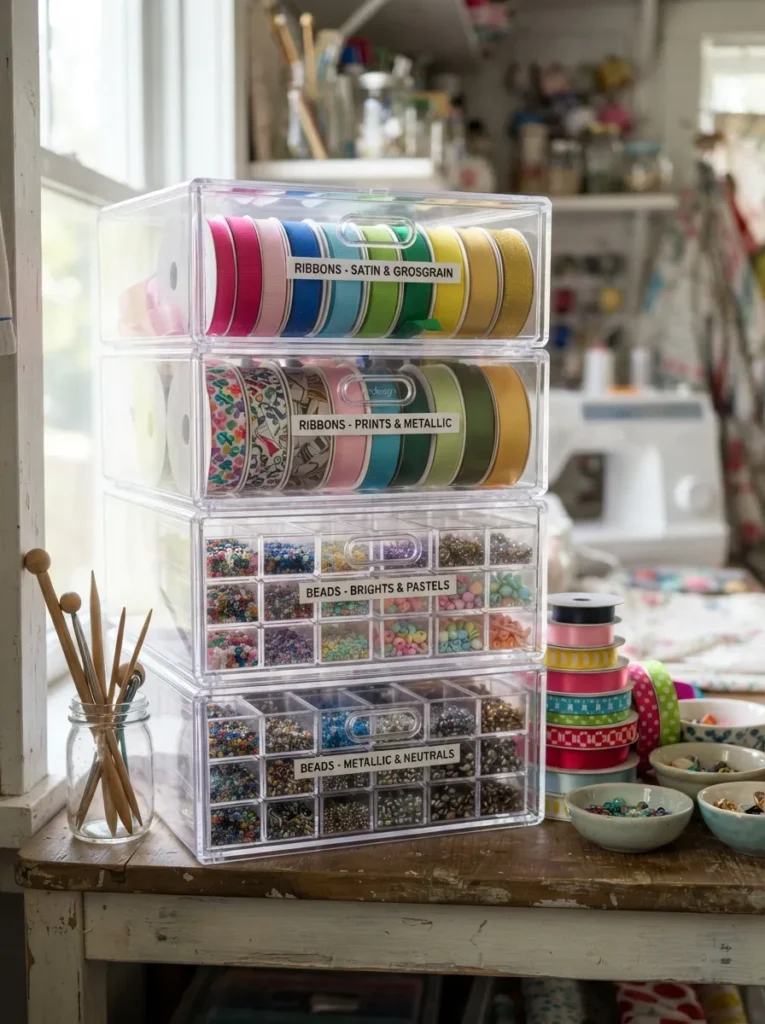
What it looks like: A shelf of clear acrylic bins, each holding one supply category, stacked in a grid instead of scattered across open shelves.
Why it works: Clear containers let color-coded contents do the organizing instead of adding another layer of pattern or opacity to an already small room.
How to copy it: Buy bins in two or three fixed sizes only so they stack evenly, and label the front edge rather than the lid so labels stay visible when stacked. This same setup works especially well if button crafts for adults are part of your regular rotation, since sorting by size keeps small pieces from mixing.
Best for: Crafters with lots of small loose supplies like beads, buttons, or ribbon.
Important: Most people assume clear bins need no labels since contents are visible but stacked bins hide their contents from the front, so label anyway.
The next idea solves the problem of a craft room that only works for one project at a time.
7. A Rolling Cart for Mobile Storage
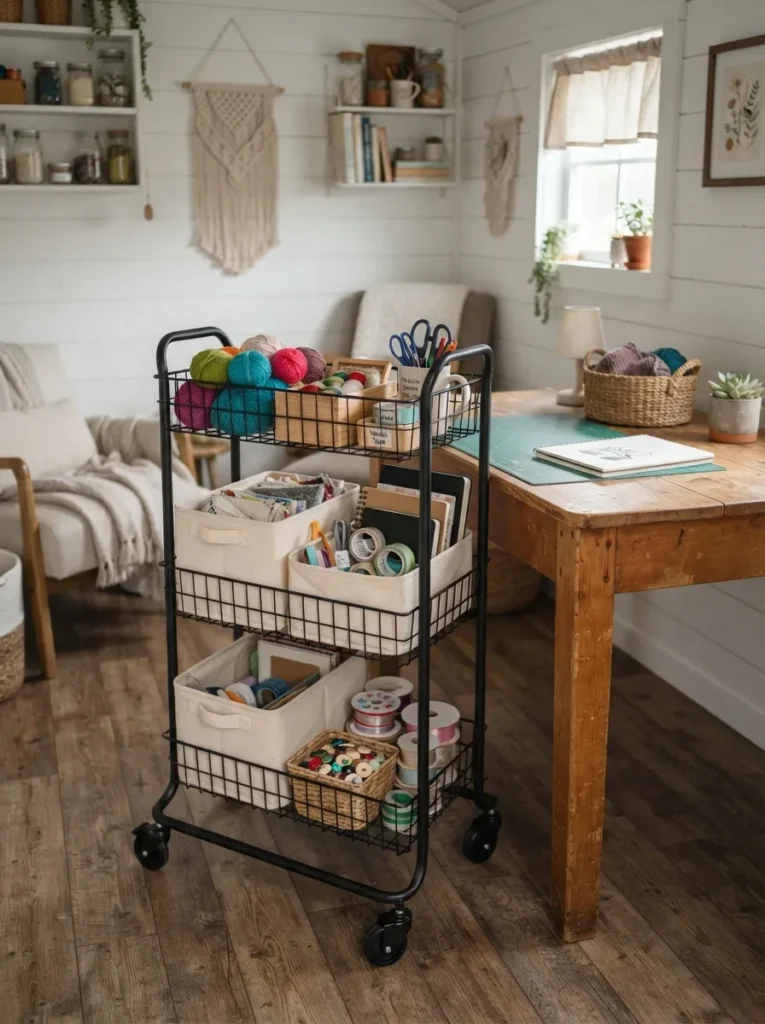
What it looks like: A slim three-tier rolling cart parked beside the table, loaded with the current project’s supplies and nothing else.
Why it works: It turns a fixed-storage problem into a flexible one the cart moves with the project, which matters in a shed too small for a dedicated station per craft type.
How to copy it: Choose a cart no wider than 12–16 inches so it fits in a corner when not in use, and dedicate each tier to one stage of your workflow: raw materials, tools, finished pieces.
Best for: Crafters who rotate between multiple hobbies in the same small space.
What You’ll Need:
| Product |
|---|
| Three-tier rolling utility cart, narrow profile |
| Small canvas storage bins, cart-tier sized |
| Locking caster wheels for uneven shed flooring |
| Slim drawer organizer insert for cart top tier |
8. Task Lighting Tucked Under Open Shelves
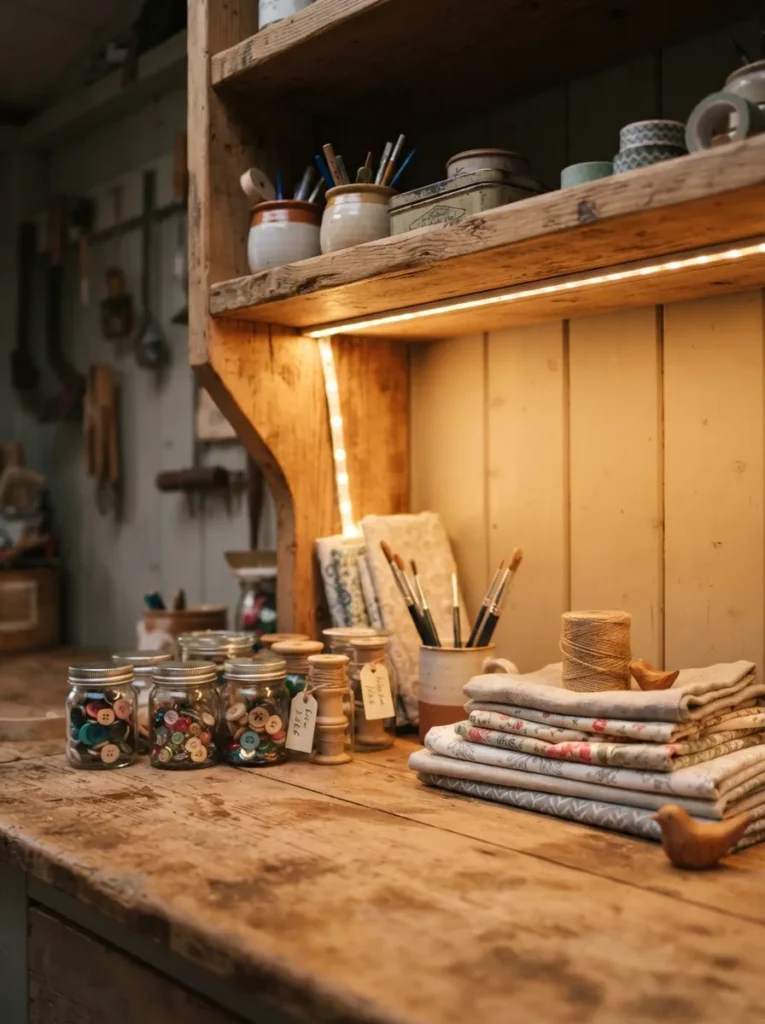
What it looks like: A slim LED strip mounted under the lowest open shelf, throwing extra light directly onto the counter below without adding another lamp to the table.
Why it works: Task lighting placed at the source of shadow solves the specific problem of shelves blocking overhead light, rather than just adding more general brightness to the room.
How to copy it: Use a battery-powered or plug-in LED strip rated at least 300 lumens per foot, and mount it toward the front edge of the shelf so it lights the counter, not just the shelf above.
Best for: Sheds where shelving creates dark pockets over the work surface.
Styling Note: Choose a warm-toned LED strip (2700–3000K) instead of daylight white daylight-toned strips under shelving tend to make small rooms feel like a garage instead of a studio.
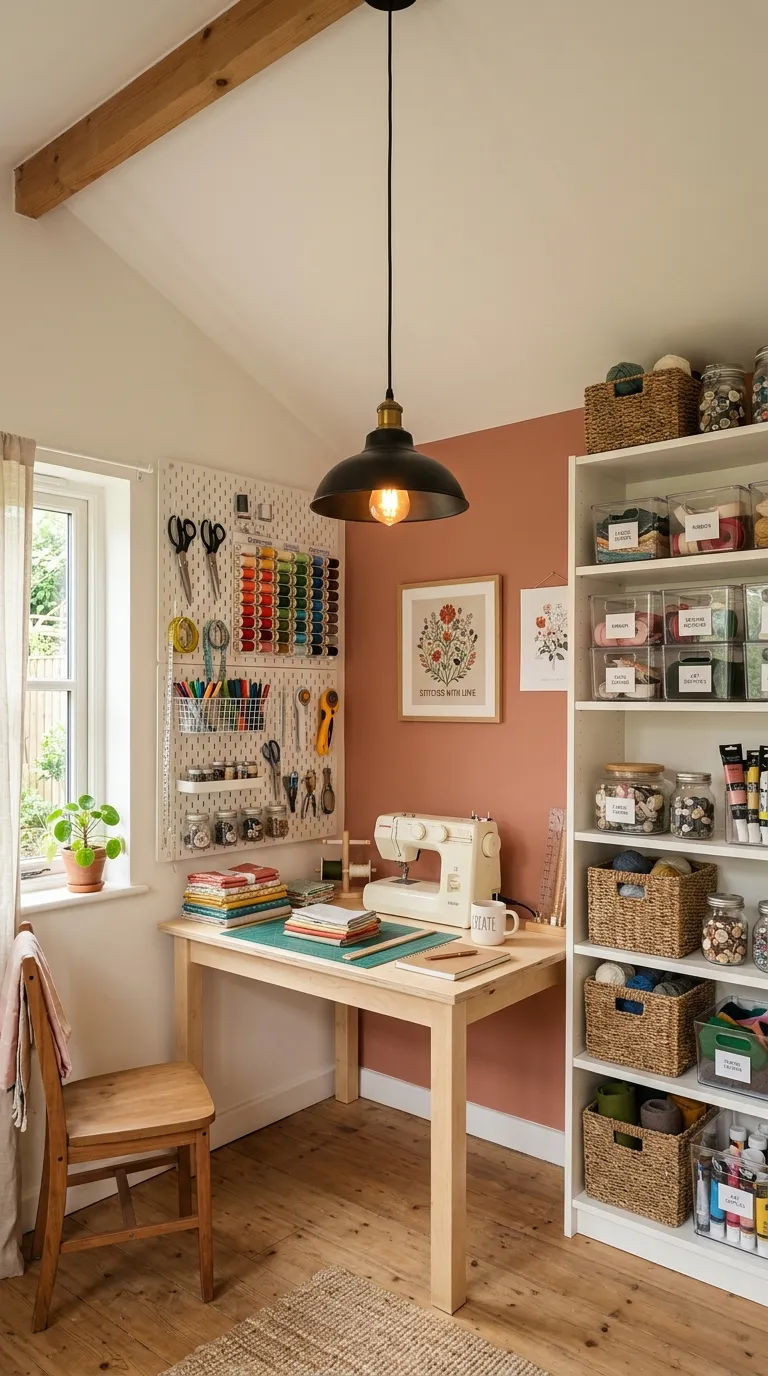
9. A Muted Terracotta Accent on One Wall
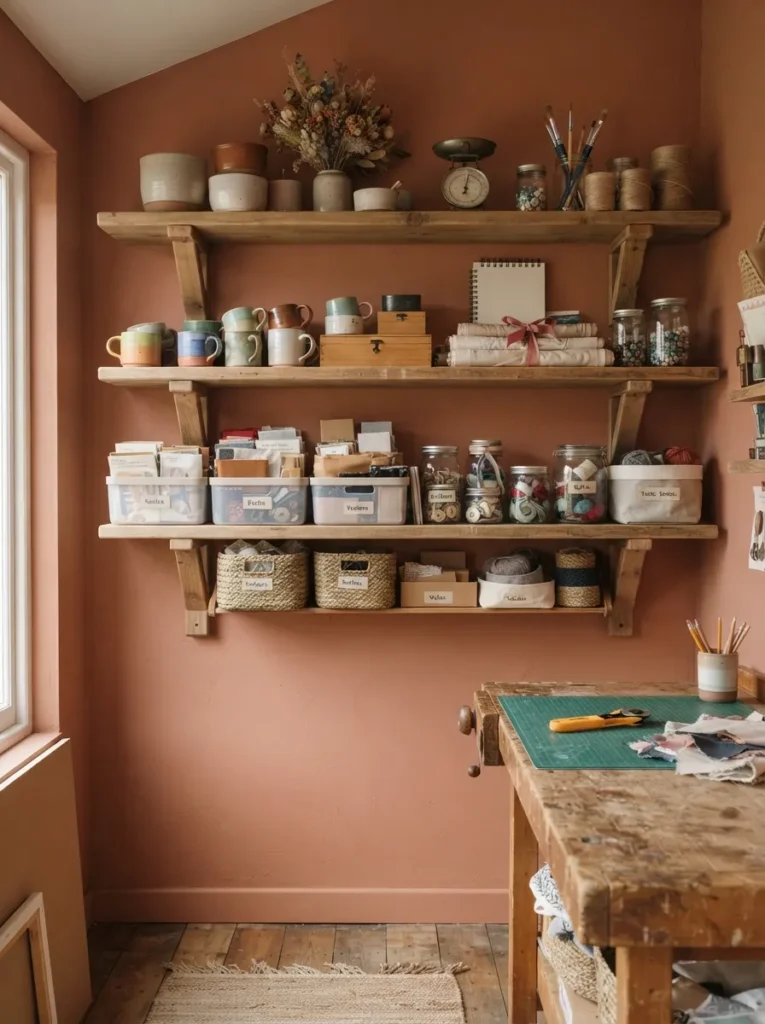
What it looks like: One wall in a muted, dusty terracotta instead of white, positioned behind open shelves so the color peeks through the gaps.
Why it works: A single accent wall gives a small shed a focal point without shrinking the room the way four colored walls would. Terracotta reads warm without competing with fabric or paint colors on display.
How to copy it: Paint only the wall behind your main storage area, keep the remaining three walls in your base warm white, and test the sample in both morning and evening light before committing.
Best for: Crafters who want personality without full-room color commitment.
Pro Tip: Test the terracotta swatch behind your actual shelving before painting shed light shifts color more than living room light, and a shade that looks right on the card can read orange under LED shop lighting.
This next one is easy to skip and it’s the fix most people wish they’d done first.
10. Painted MDF Shelving for a Clean Budget Finish
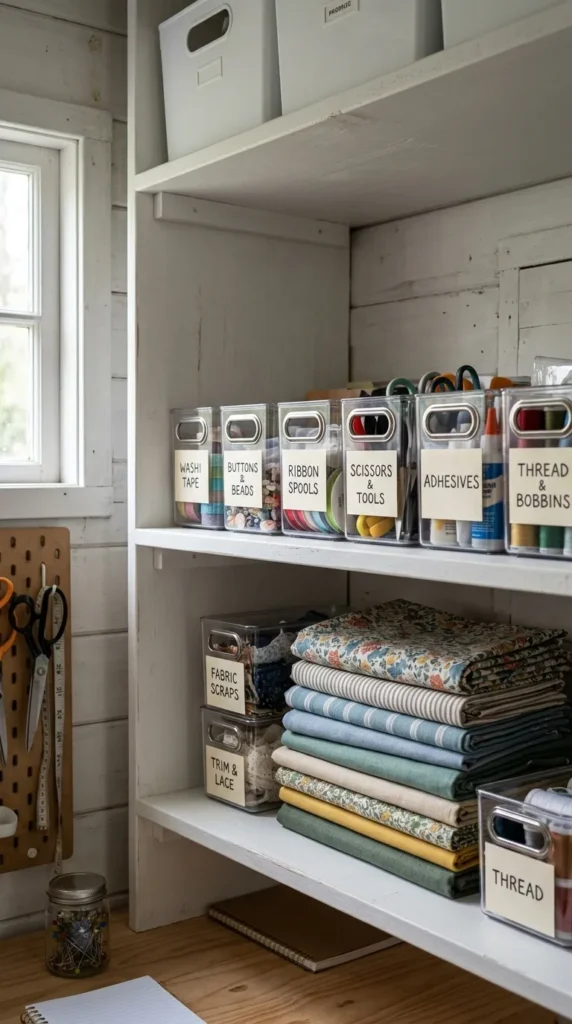
What it looks like: Simple painted MDF shelves in a clean matte white, holding labeled bins instead of open loose supplies.
Why it works: MDF takes paint more evenly than raw plywood and costs less than solid wood, which matters when outfitting an entire shed’s worth of shelving on a tight budget.
How to copy it: Buy primed MDF shelf boards, paint with a durable semi-gloss finish for easy wiping, and seal edges with painter’s tape before painting to keep lines crisp. Kallax units styled for craft storage are a solid budget-friendly stand-in if built-in shelving isn’t in the cards yet.
Best for: Budget-conscious crafters setting up shelving from scratch.
Important: Most people assume MDF is too fragile for a shed but sealed and properly supported with brackets every 16 inches, it holds craft supply weight just fine.
11. A Fold-Down Wall Desk for Multi-Use Space
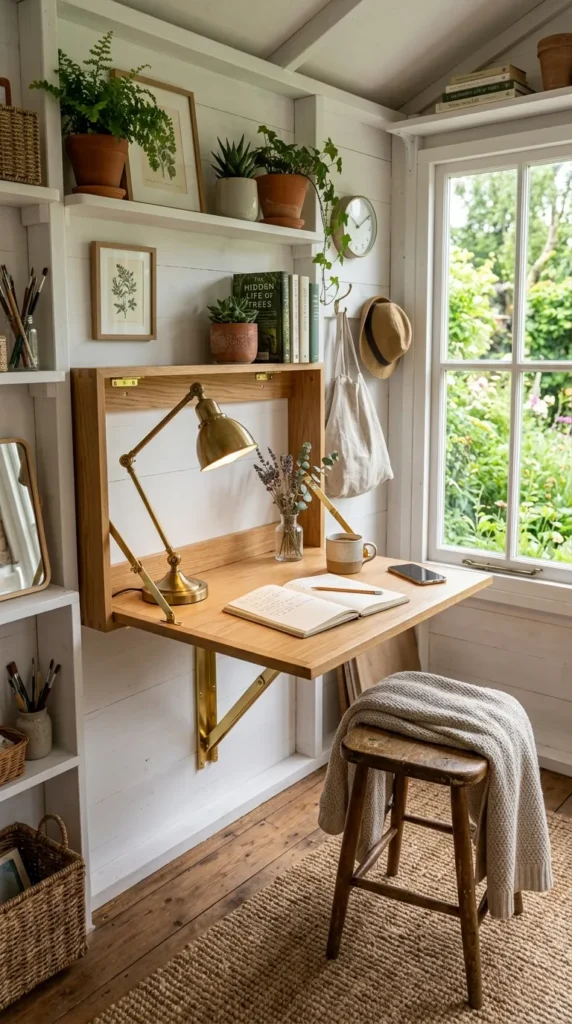
What it looks like: A wall-mounted desk that folds flat against the wall when not in use, opening into a full worktable when needed.
Why it works: It solves the classic small-shed problem of a permanent table eating the only open floor space, giving the room double duty as a walking path or a full workstation depending on the moment.
How to copy it: Mount the hinge into wall studs, not just drywall anchors, size the panel to at least 24×36 inches open, and add one folding leg support for stability under sewing machine weight.
Best for: Sheds under 80 square feet where floor space is genuinely scarce.
What You’ll Need:
| Product |
|---|
| Wall-mounted fold-down desk panel with hinge kit |
| Folding support leg bracket, weight-rated |
| Stud finder for secure hinge mounting |
| Slim under-desk cable organizer tray |
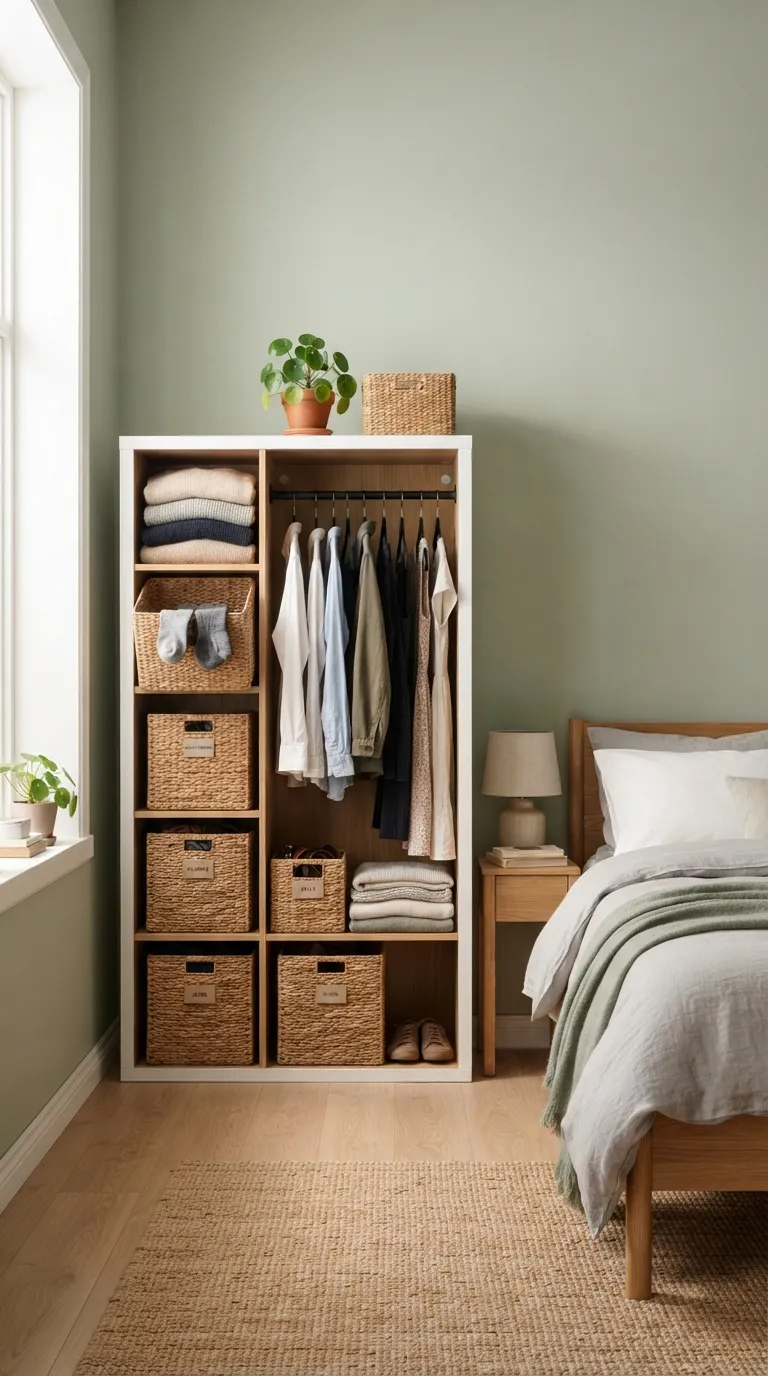
12. Woven Baskets for Soft Storage Texture

What it looks like: A row of woven baskets on open shelving, holding soft materials like fabric scraps and yarn instead of hard bins.
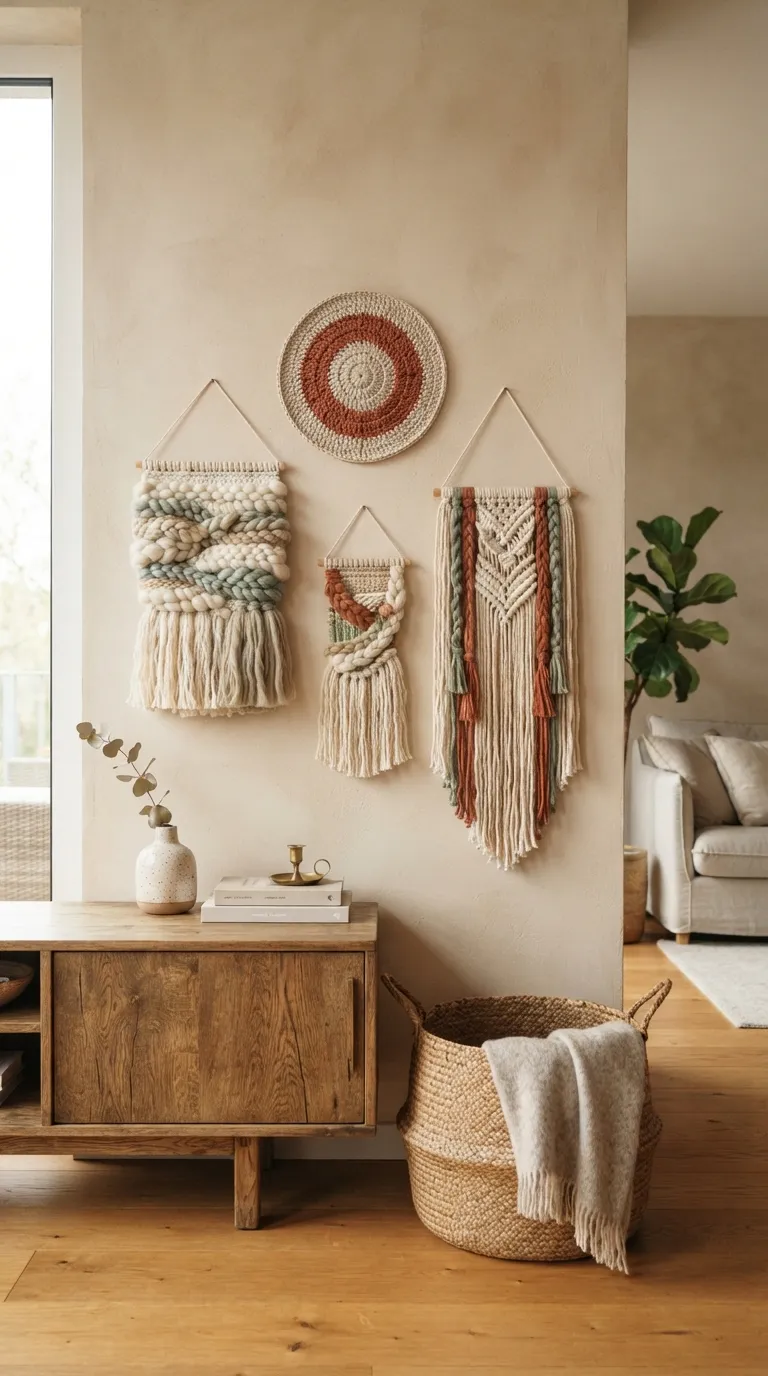
Why it works: An all-hard-surface shelf starts to feel cold, and one row of woven texture breaks that up without adding visual clutter. If yarn and fiber are already part of your projects, a crochet wall hanging nearby carries that same soft texture up onto the walls.
How to copy it: Reserve baskets specifically for soft goods fabric, yarn, batting since loose hard items like beads tend to work through the weave gaps over time.
Best for: Crafters who work primarily with fabric, yarn, or fiber.
Quick Win: Line each basket with a leftover fabric scrap before loading it it keeps small threads from snagging on the weave and takes under five minutes.
Up next: a color trick that makes a single small shed feel like it has two separate rooms.
13. Two-Tone Zoning With Paint
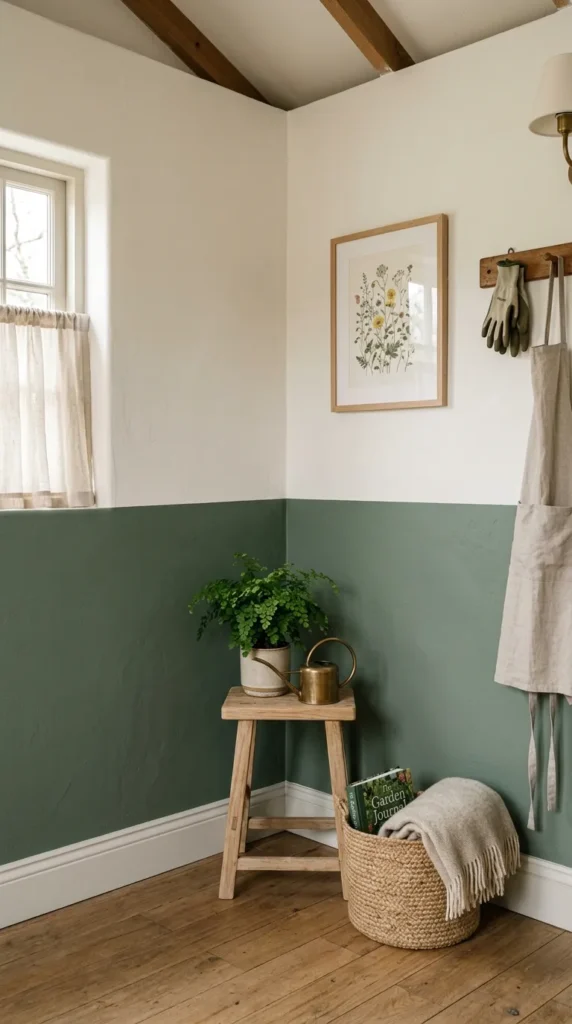
What it looks like: The lower third of the walls painted a deeper sage, with warm white above a clean painted line creating a visual break without a physical divider.
Why it works: Color blocking at a consistent height tricks the eye into reading the room as having distinct zones, useful when one small shed has to serve as both work area and storage area.
How to copy it: Mark the paint line with painter’s tape at a consistent height using a level, and keep the darker tone below to ground the room rather than making the ceiling feel lower.
Best for: Crafters who want the room to feel zoned without adding furniture dividers.
14. Reclaimed Wood Shelf Brackets for Character
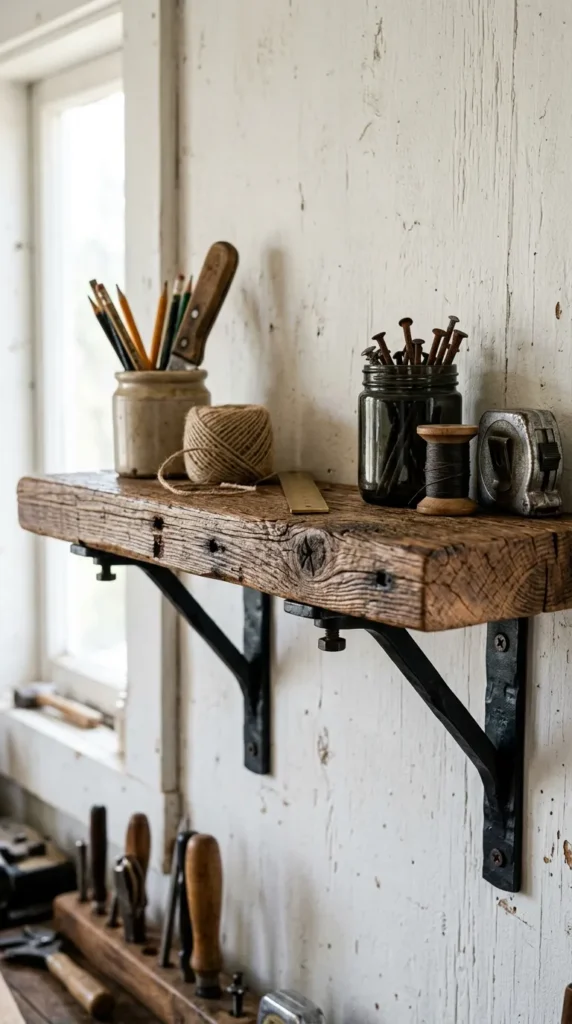
What it looks like: A single open shelf in reclaimed or salvaged wood, left unpainted so the grain and old nail holes show, mounted on simple black iron brackets.
Why it works: It introduces raw texture into a room otherwise full of new painted surfaces one honest material choice does more visual work than several decorative accents combined.
How to copy it: Sand the shelf just enough to remove splinters, seal with a matte wax rather than a glossy polyurethane, and keep it to one shelf so the room doesn’t read rustic-themed instead of simply personal.
Best for: Crafters who want one distinctive piece rather than a fully matched look.
Important: Reclaimed wood is often assumed to need heavy sealing, but a thin matte wax is usually enough for a shelf that isn’t holding liquids heavy polyurethane can trap moisture and darken the wood unevenly.
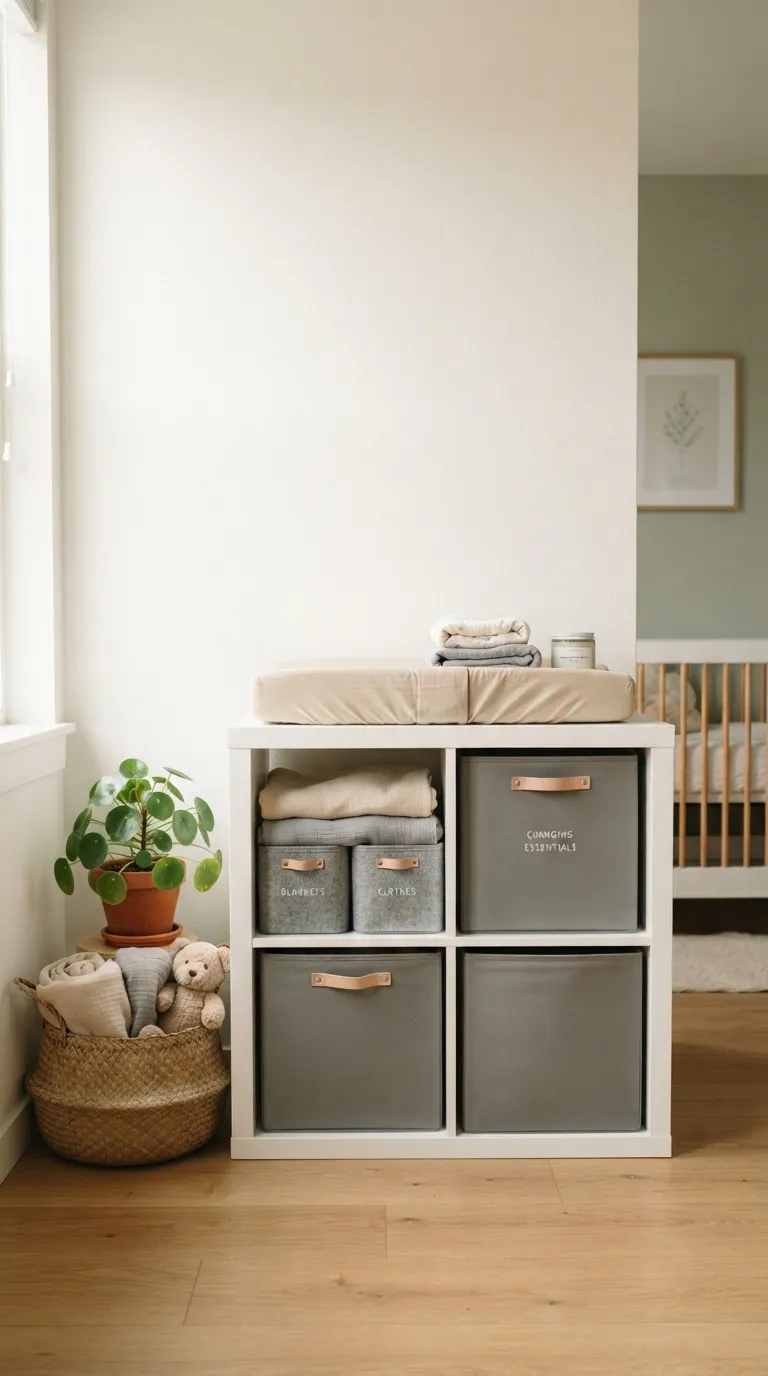
15. Stackable Labeled Drawer Units by Project
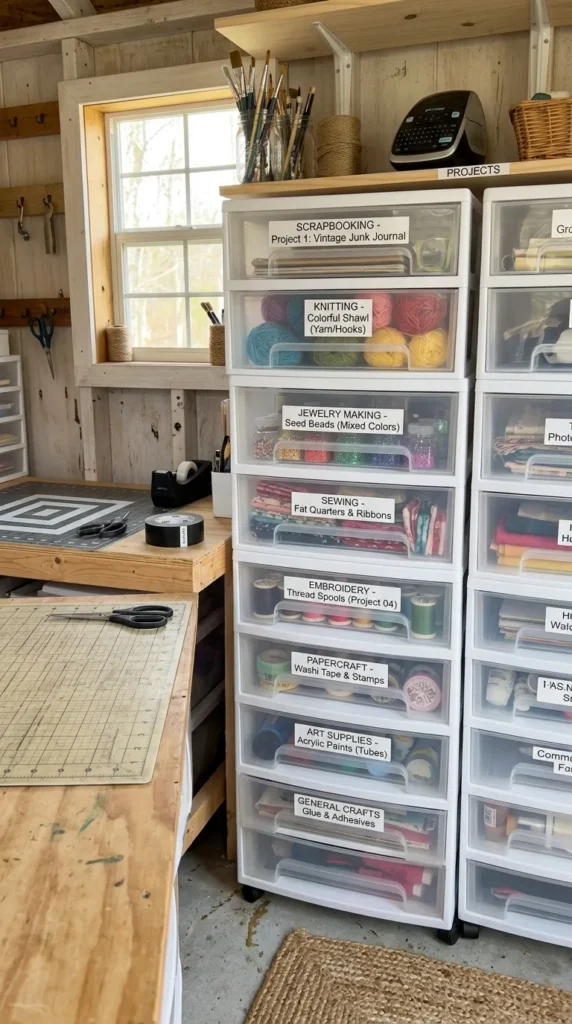
What it looks like: A stack of shallow plastic drawer units, each labeled by active project rather than by supply type.
Why it works: Sorting by project instead of by category means everything needed for a specific piece pattern, thread, hardware lives in one drawer, cutting how often you search multiple bins mid-project.
How to copy it: Use drawers no deeper than 3 inches so contents stay visible without digging, label the outside edge with the project name and start date, and clear finished-project drawers weekly.
Best for: Crafters juggling more than two active projects at once.
What You’ll Need:
| Product |
|---|
| Stackable shallow plastic drawer unit set |
| Adhesive label holder strips for drawer fronts |
| Fine-point label maker or paint pen |
| Small drawer dividers for mixed small supplies |
The next idea is the one most people only add after their shed already feels too dark by 5pm.
16. String Lights for Ambient Evening Work
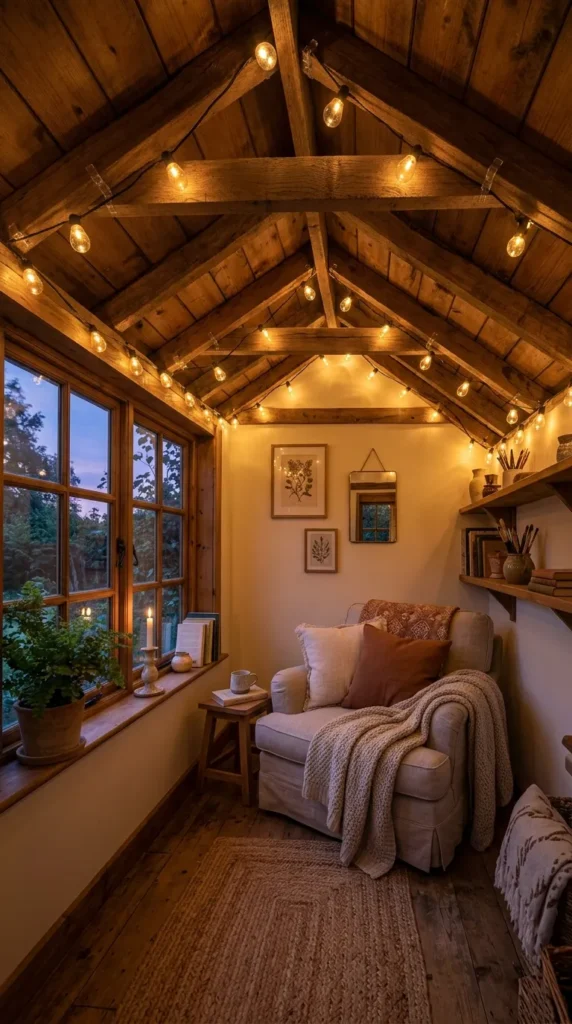
What it looks like: A single strand of warm white string lights run along the ceiling perimeter, supplementing the main task light once the sun goes down.
Why it works: It’s a low-cost fix for overhead task lighting feeling harsh once natural light disappears string lights soften the room’s overall mood without competing with the pendant over the table.
How to copy it: Choose warm white, not multicolor, bulbs on an indoor-rated strand, run them along the ceiling-to-wall seam using clear adhesive clips, and put them on a separate switch from the main task light.
Best for: Anyone who crafts in the evening after natural light fades.
Pro Tip: Run string lights on a smart plug or timer so they turn on automatically at dusk it’s a two-minute setup that means you never work in bad light without noticing.
My Views:
Here’s something most guides won’t tell you: in actual small shed conversions, the biggest complaint isn’t storage it’s outlet placement. A single dual outlet on one wall forces every cart, iron, and sewing machine into the same four-foot radius. Before adding any lighting or furniture idea from this list, map where your outlets actually are and plan the layout around them, not the other way around.
17. Dusty Blue Behind the Display Shelf
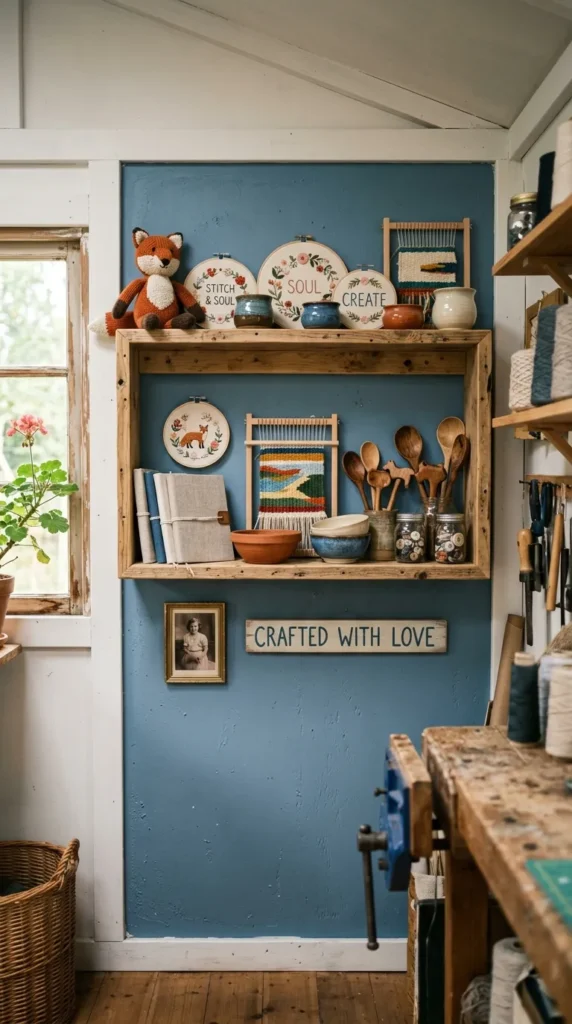
What it looks like: A dusty, muted blue painted behind a single display shelf of finished projects, distinct from the warm white used elsewhere in the room.
Why it works: It separates “display” from “storage” visually the eye reads the blue section as intentional and finished rather than another storage zone to sort through.
How to copy it: Limit the blue to the wall directly behind the display shelf, keep the shelf itself in natural wood or white so pieces stand out, and rotate displayed items seasonally.
Best for: Crafters who like to keep and show finished pieces rather than gift or sell them immediately.
Small-Space Tip: A single 3-foot display shelf is plenty in a small shed a longer run starts competing with storage space you’ll need more.
18. A Chalkboard Paint Panel for Flexible Labeling
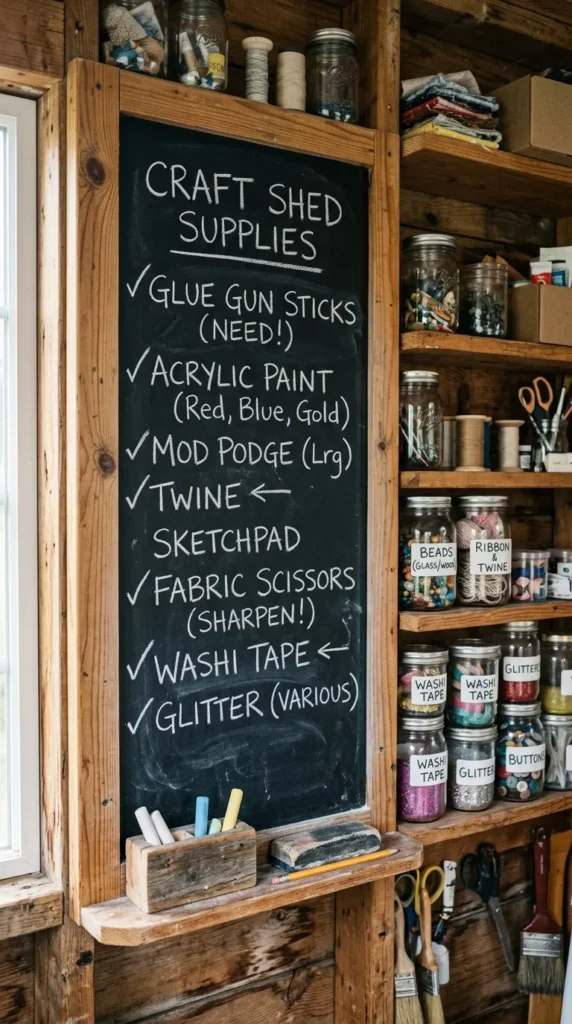
What it looks like: A single panel painted in chalkboard paint, mounted beside the main storage wall and used for a running supply list or bin labels that change often.
Why it works: It solves labels that need constant updating printed labels get expensive and messy to redo, while a chalkboard panel gets wiped and rewritten in seconds when a bin’s contents change.
How to copy it: Paint a scrap MDF or plywood panel with two coats of chalkboard paint, season it by rubbing chalk over the whole surface and wiping before first use, and mount it at eye level near the bins it labels.
Best for: Crafters whose supply categories shift often between projects.
What You’ll Need:
| Product |
|---|
| Chalkboard paint, quart size |
| Scrap plywood or MDF panel for mounting |
| Chalk marker set, fine tip |
| Small wall hooks for chalk holder |
Two more ideas left — and the last one is the cheapest fix on this entire list.
19. A Small Gallery Wall of Finished Projects
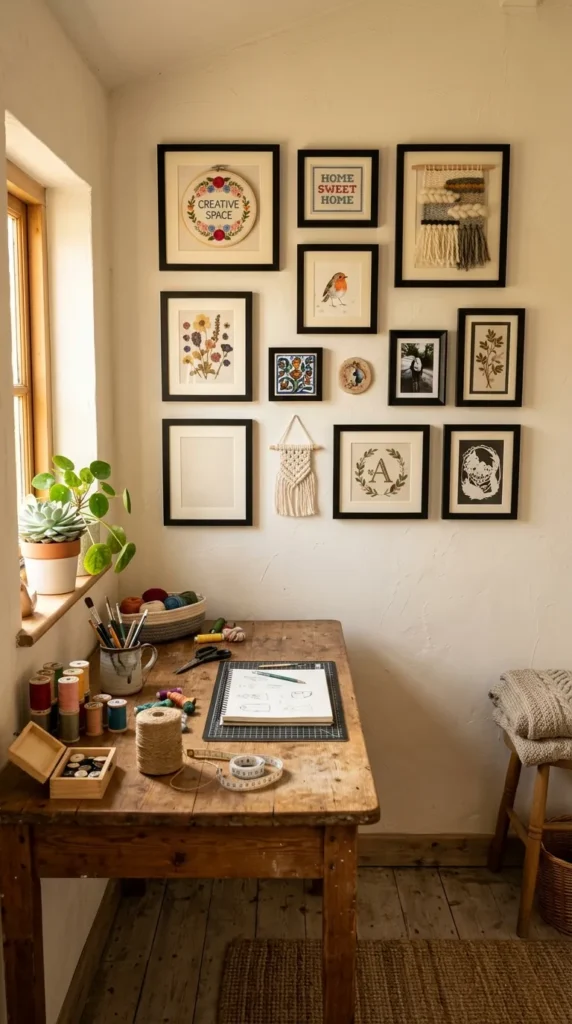
What it looks like: A small cluster of framed finished projects a cross-stitch, a small painting, a fabric swatch hung above eye level where they’re seen but not in the way.
Why it works: It gives the room a sense of progress without taking up shelf or drawer space, and hanging finished work above the sightline keeps the actual working wall clear for active storage.
How to copy it: Choose three to five pieces maximum, use matching thin frames so the mix of mediums feels curated, and hang the cluster starting about 6 inches above your tallest shelf. A book page craft that looks more expensive than it was earns a spot in this cluster too.
Best for: Crafters who want to feel their progress without cluttering the work zone.
Styling Note: Leave one frame empty on purpose it signals the wall is still growing, and it’s an easy spot to drop in your next finished piece.
20. Mirror Placement to Expand the Visual Space
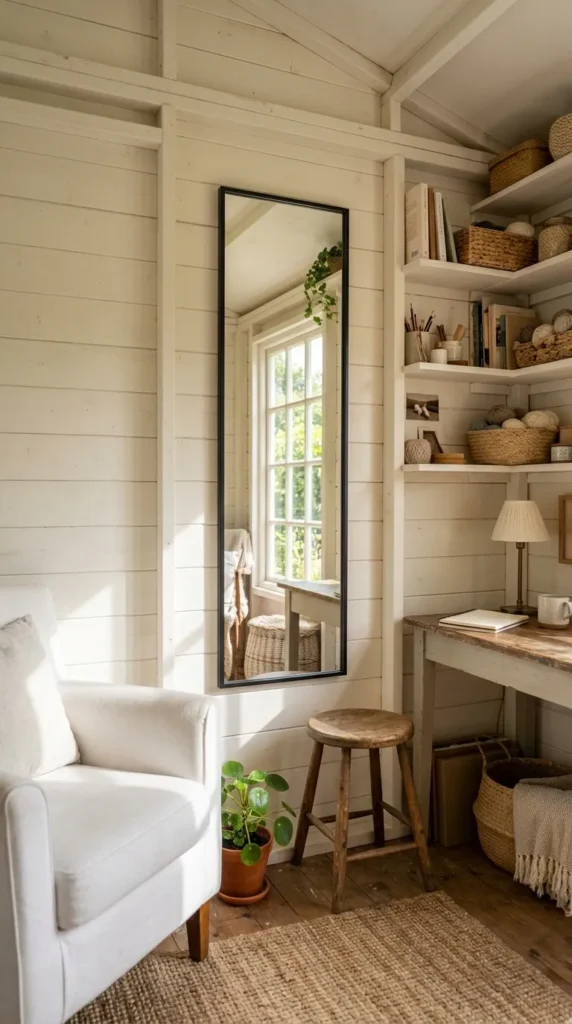
What it looks like: A tall, narrow mirror mounted directly across from the shed’s main window, doubling the sense of light in the room without adding a second window.
Why it works: A mirror placed opposite a light source reflects real daylight deeper into the room, which matters most in a shed with only one small window and no ceiling fixture bright enough on its own.
How to copy it: Hang the mirror at a height that reflects the window directly, not the ceiling or floor, and keep the frame slim so it doesn’t compete visually with the storage wall beside it.
Best for: Sheds with only one window or limited natural light.
Pro Tip: Test mirror placement by holding it up at a few different heights before mounting even six inches off reflects the wrong section of the yard instead of the window’s light.
How to Start Your Craft Room Transformation
In practice, the first move that actually anchors a small she shed craft room is clearing and zoning the main worktable before buying a single shelf or bin. Once the table has defined zones, every storage decision afterward has an obvious home instead of becoming another pile.
The most common fixable mistake is buying storage before mapping outlet locations. It’s tempting to assume you can rearrange later around whatever outlets you find. Sketch the outlet placement first, then build furniture and lighting plans around it rewiring a shed after the fact costs far more than a slightly awkward cart position.
Three items under $50 that make an immediate difference: a set of clear acrylic stacking bins for loose supplies, a warm-white LED under-shelf light strip, and a roll of chalkboard contact paper for quick, changeable labeling on any surface. A handful of repurposed mason jar crafts works just as well for pins, buttons, or loose hardware if you’d rather not buy bins at all.
A basic setup zoned table, pegboard wall, and task lighting takes one solid weekend. A full transformation with shelving, a rolling cart, and finishing touches like the gallery wall typically spreads across two to three weekends, and the whole project usually lands between $300 and $700 depending on how much furniture needs replacing versus repurposing.
Ready to Create Your Small She Shed Craft Room?
Twenty ideas, and not one of them requires knocking down a wall just smarter color choices, better light placement, and storage that actually matches how you work. Start with one zone or one shelf; a craft room built in stages tends to fit the way you actually work better than one finished all at once.
Today, take five minutes to sketch where your outlets are before you buy anything else. The best small craft rooms feel less like a storage unit and more like a space that was actually thought through for you.
Pin your favorites now, since the pegboard wall and the fold-down desk tend to be the two people come back to look up again and once the room’s ready, it doubles nicely as the setting for creative craft night themes with friends.
Read Next
- 15 Backyard She Shed Ideas for Every Budget
- 12 Small Craft Room Organization Ideas for Apartments
- 10 Budget-Friendly She Shed Makeover Ideas Under $500