18 Handmade Gift Ideas That Feel Personal, Not Store-Bought
A handmade gift is just something somebody spent real hours on instead of ten minutes at checkout. Here are 18 handmade gift ideas spanning candles, dyed textiles, wood, and clay built to look considered without eating your entire weekend.
There’s a particular quiet that comes with unwrapping something someone actually made: a slightly uneven stitch, a candle that pooled unevenly on one side, wax still faintly warm from the pour. It smells like beeswax and cut linen instead of cardboard. Nothing here needs a workshop or a kiln to start. Pick one, and give it before the holiday rush talks you into buying a candle instead.
Jump To
- Why Handmade Gifts Make Such a Difference
- 18 Handmade Gift Ideas Anyone Will Actually Use
- How to Start Your Handmade Gift-Making Journey
- Ready to Give Something Truly Handmade?
- You Might Also Like
Why Handmade Gifts Make Such a Difference
Handmade gifts have circled back into fashion as a quiet reaction to same-day shipping and identical big-box décor people want something with a maker’s fingerprint still on it.
The strongest ideas here lean on specific, shoppable materials: unbleached jute, reclaimed white oak, food-safe beeswax, and natural indigo or avocado dye, none of which require a specialty crafting store.
It works fine in a studio apartment, since most quick-win projects need a kitchen counter, not a workshop. Starting cold? Prioritize a no-tool project dye or wax before anything involving saws or a kiln. If you’d rather start from a curated bundle than one project at a time, gift basket ideas built around handmade extras show how to group several quick wins into a single presentation.
| Best starting point | A $15 soy candle kit or a single indigo dip-dye |
| Biggest impact area | Kitchen and tabletop gifts (mugs, coasters, wraps) |
| Budget to start | $10–30 for a first quick-win gift |
| Time to complete | One evening for quick wins, one weekend for furniture pieces |
18 Handmade Gift Ideas Anyone Will Actually Use
The first three take the least time, the smallest budget, and the fewest tools start here if this is your first handmade gift. From there, the ideas move into textiles, wood, and a few small furniture pieces.
1. Hand-Poured Soy Candles in Vintage Teacups
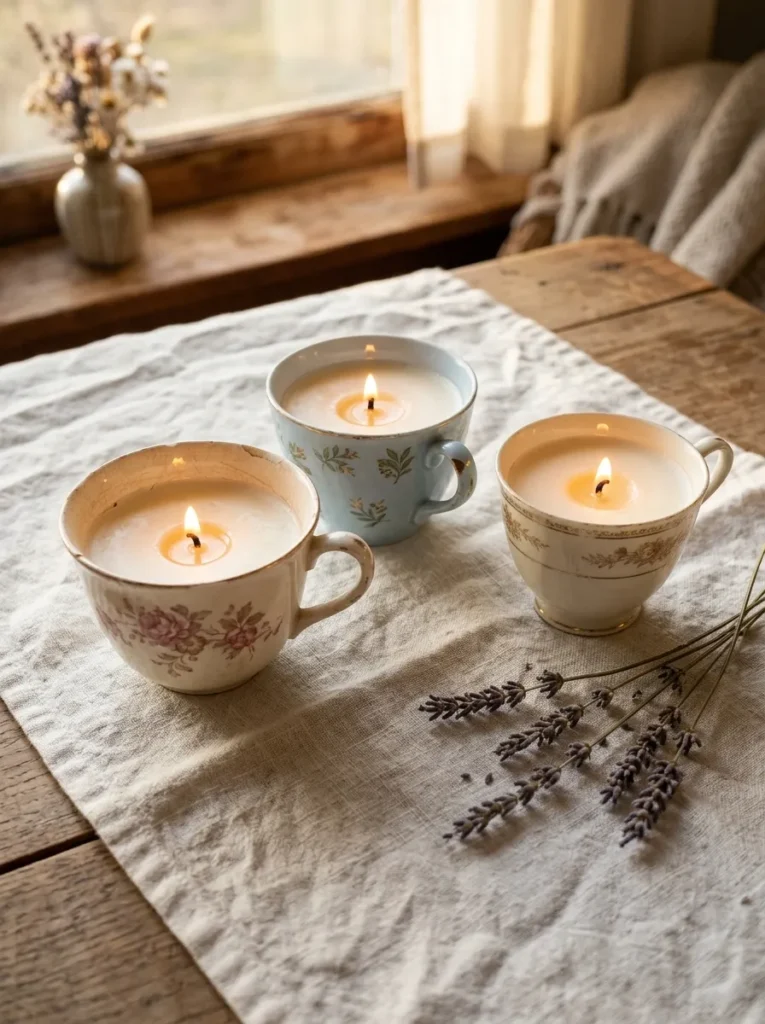
What it looks like: Soft and unhurried mismatched cups, one wisp of wax pooling near the rim.
Why it works: Repurposing a container with history reads as more considered than anything store-bought. The imperfection of a chipped rim against a clean pour line is texture layering, just in miniature.
How to copy it: Melt soy wax flakes to 185°F, center a cotton wick with a clothespin, and pour at 135°F so the ceramic doesn’t crack. Add 1 ounce of fragrance oil per pound of wax.
Best for: Beginners with zero tool budget and a thrift-store habit.
Pro Tip: Pour at exactly 135°F, not hotter a too-hot pour causes wet spots and pull-away along the sides, which reads as a defect instead of a handmade detail.
Where to Shop
| Product |
|---|
| Soy wax flakes, container-safe |
| Cotton candle wicks with sustainer tabs |
| Fragrance oil sampler set |
| Candle-pouring pitcher with spout |
| Wick centering tool |
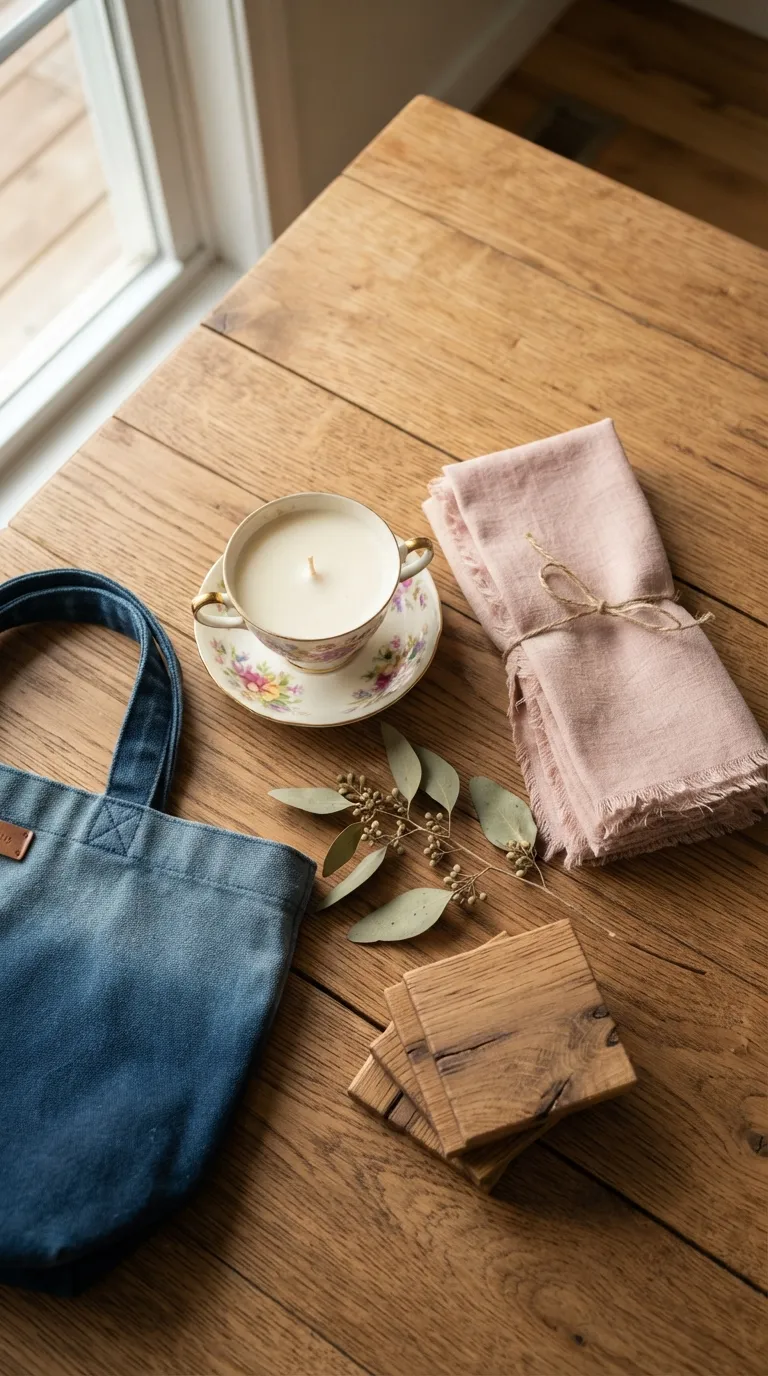
2. Dip-Dyed Indigo Tote Bag
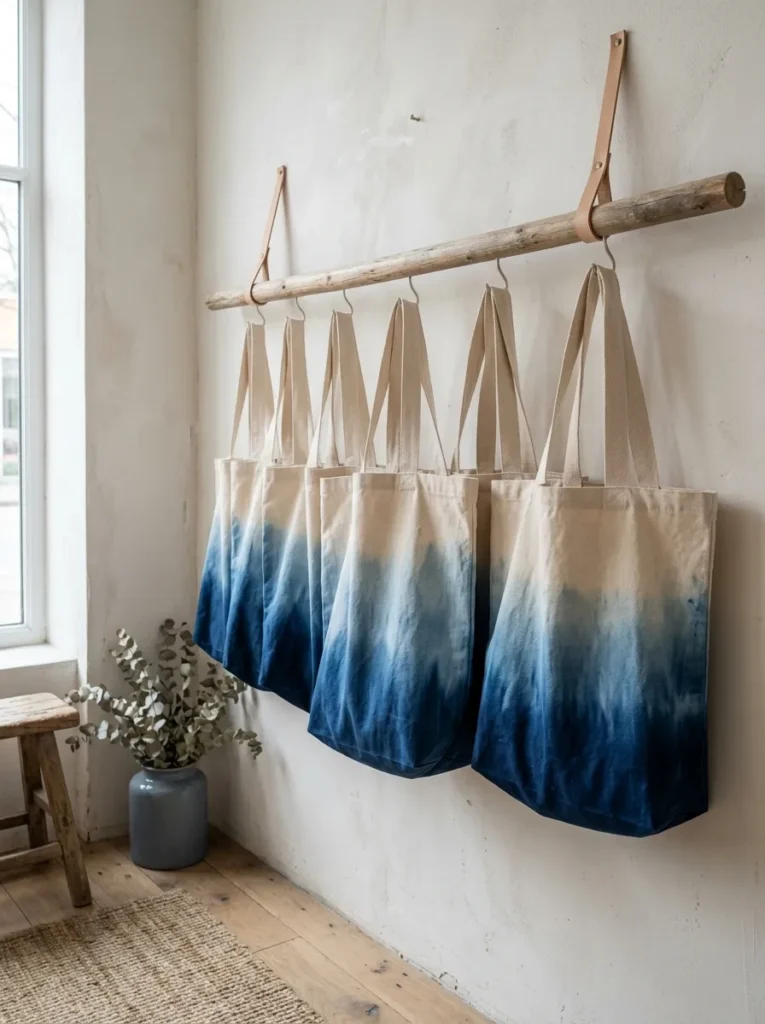
What it looks like: Uneven, watery gradients no two totes match, and that’s the entire point.
Why it works: Indigo bonds unevenly with cotton fibers, so the gradient comes from chemistry, not skill. That unpredictability is what makes shibori-style dyeing look intentional rather than accidental.
How to copy it: Dissolve indigo dye powder per the package instructions, dip a third of a pre-washed canvas tote for 60 seconds, and let it oxidize in open air for 20 minutes before a second dip for depth.
Best for: People who want a gift that photographs well without owning a single power tool.
Quick Win: Skip the indigo vat kit entirely and use RIT dye in navy slower to build depth, but far more forgiving on a first attempt.
3. Beeswax Wrap Set for Kitchen Storage
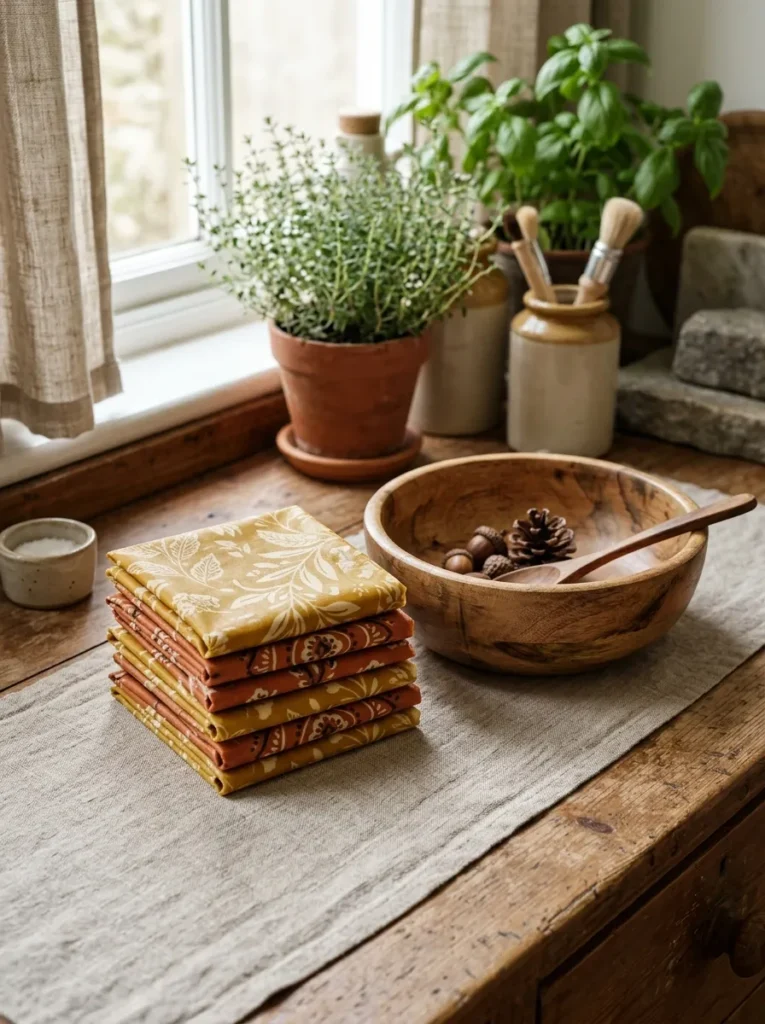
What it looks like: Slightly stiff, faintly honey-scented squares that soften the moment they hit your palm.
Why it works: Beeswax combined with jojoba oil and pine resin creates a tack that clings to bowl rims without plastic. Resin is the ingredient most beginner kits skip and it’s the difference between a wrap that seals and one that just sits there.
How to copy it: Iron pre-cut cotton squares between parchment paper with a light dusting of beeswax pellets, pine resin, and jojoba oil at low heat until fully absorbed, then hang to cool for 90 seconds.
Best for: Gift recipients who already compost and hate plastic wrap.
Warning: Skip the resin and the wraps go stiff after one wash. Resin is what keeps the wax flexible, and most online tutorials leave it out entirely.
The next idea costs almost nothing and uses a plant most people already have on a windowsill.
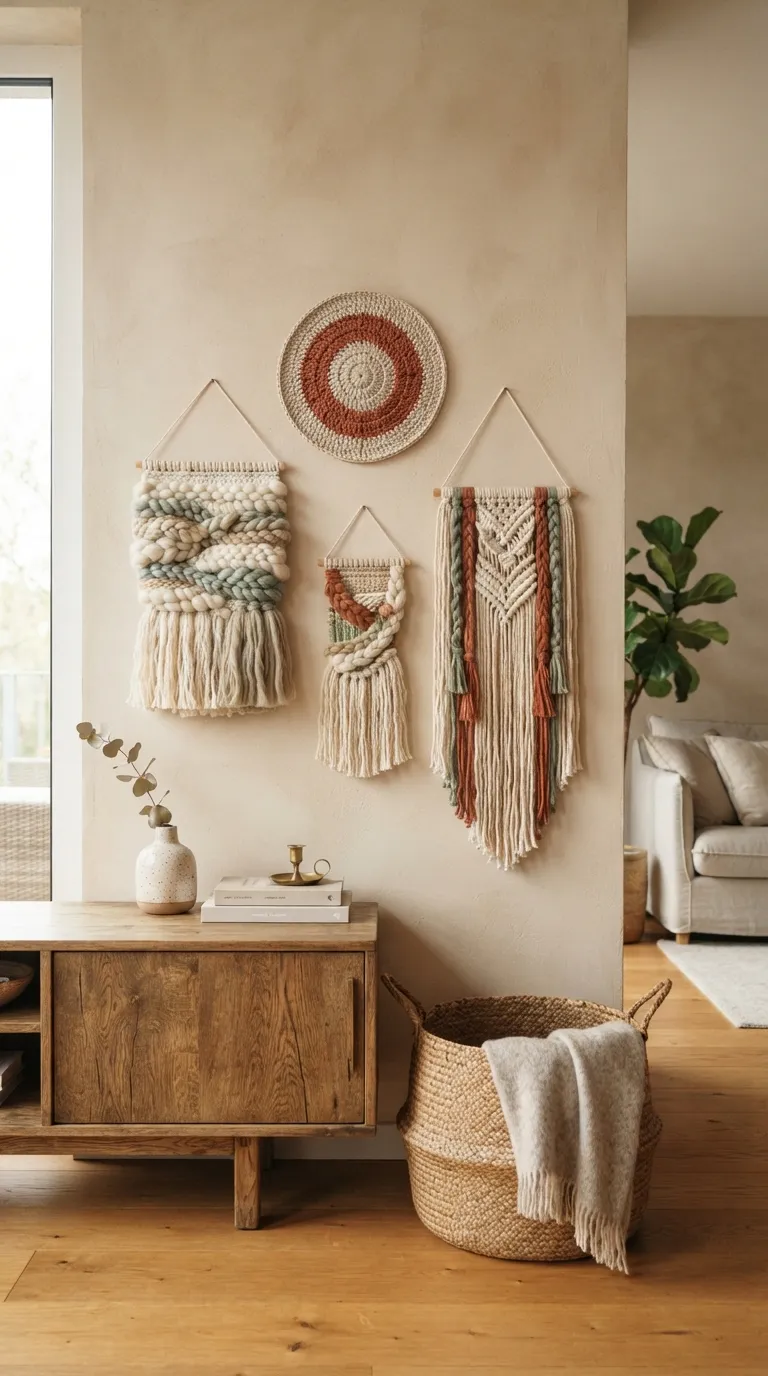
4. Macrame Plant Hanger with Wooden Beads
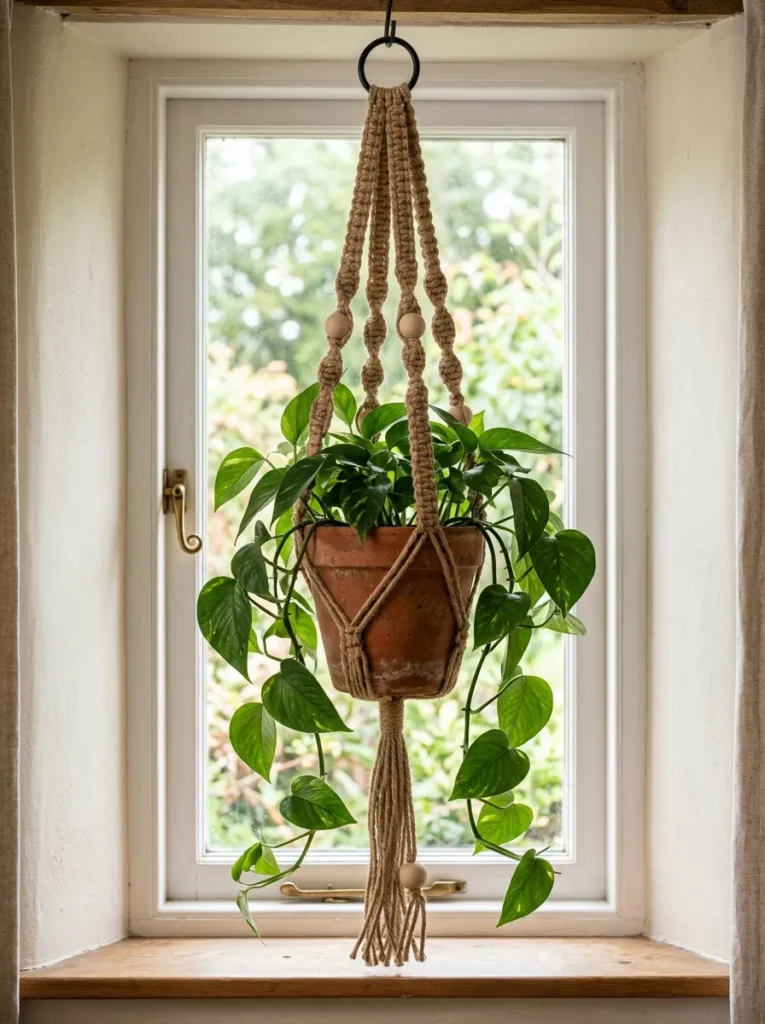
What it looks like: Chunky knotwork with a raw, unbleached texture one wooden bead sitting slightly off-center on purpose.
Why it works: The spiral sennit knot creates visual rhythm without needing color. Texture alone carries the design, which is why undyed jute reads as more expensive than dyed cord.
How to copy it: Cut eight 6-foot lengths of 4mm jute, mount them to a wooden ring, and alternate square knots with a spiral sennit every 4 inches until you reach the pot cradle.
Best for: Renters and plant parents low on wall space or anyone already drawn to crocheted wall hangings and other fiber-art gifts.
Small-Space Tip: One macrame hanger does the visual work of an entire shelf of plants hang it in a window corner instead of adding furniture.
5. Avocado-Dyed Linen Napkin Set
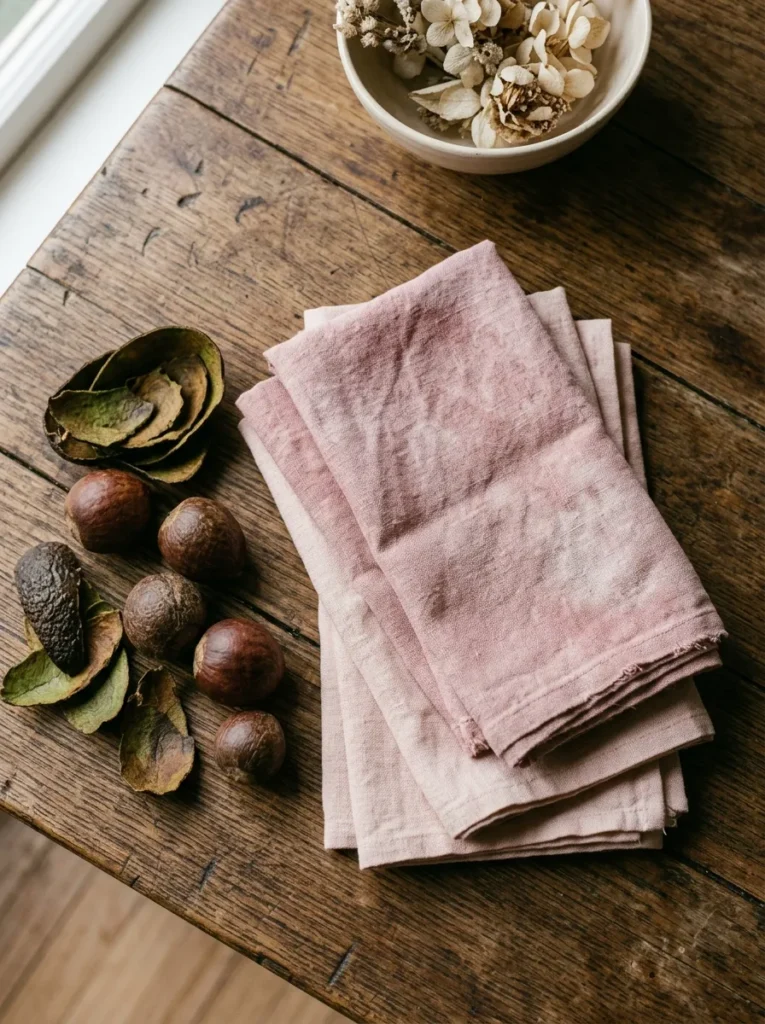
What it looks like: Soft, uneven blush closer to old rose than bubblegum pink.
Why it works: Avocado pits and skins release betalain pigments that bond differently to protein and cellulose fibers, so linen picks up a warmer, dustier pink than cotton dyed in the same bath. Most natural-dye guides skip that distinction entirely.
How to copy it: Simmer skins and pits from six avocados for an hour, strain, then simmer pre-mordanted linen napkins in the dye bath for 45 minutes before an overnight soak.
Best for: Anyone gifting to a person who already owns too many candles.
✅ Avocado Dye Prep Checklist:
- [ ] Save pits and skins from at least 6 avocados (freeze until ready)
- [ ] Pre-mordant linen in a soy milk soak for 12 hours
- [ ] Simmer dye bath for a full hour, then strain out solids
- [ ] Simmer napkins in strained dye for 45 minutes
- [ ] Let napkins soak overnight before rinsing in cold water
6. Turned Wooden Coasters from Reclaimed Oak
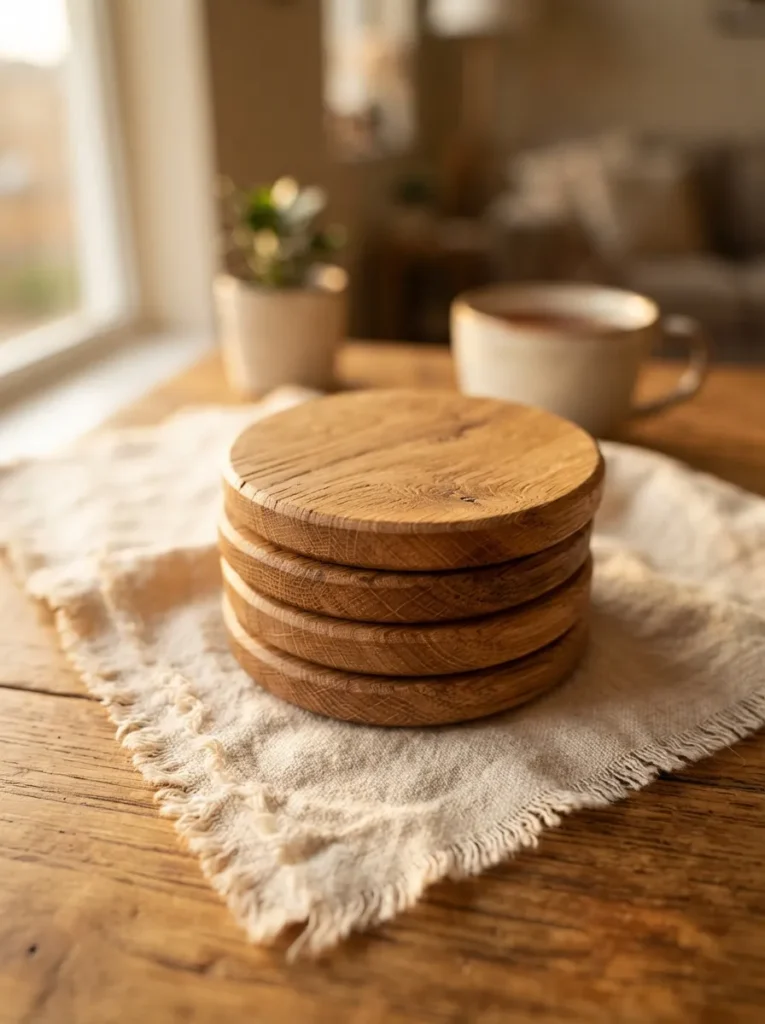
What it looks like: Grain lines that never repeat, a slightly uneven edge from hand-sanding.
Why it works: Reclaimed oak carries tighter grain than new-growth lumber, which is why it absorbs a beeswax finish more evenly and resists water rings better than a cheap pine coaster. It’s the same reclaimed-material logic behind pallet furniture ideas for the patio old wood simply holds up better than new.
How to copy it: Cut 4-inch rounds from reclaimed oak with a hole saw, sand progressively from 80 to 220 grit, and seal with two coats of food-safe beeswax and mineral oil.
Best for: Recipients who already have a “nice” coffee table they’re protective of.
Pro Tip: Sand with the grain, never across it cross-grain scratches show up under any finish, even a matte one.
Where to Shop
| Product |
|---|
| Reclaimed oak lumber offcuts |
| Hole saw bit set |
| Food-safe mineral oil and beeswax finish |
| Orbital sander with variable grit pads |
| Cork backing sheets |
Up next: the material choice that quietly outlasts almost every other gift on this list.
7. Embroidered Tea Towels with Botanical Motifs
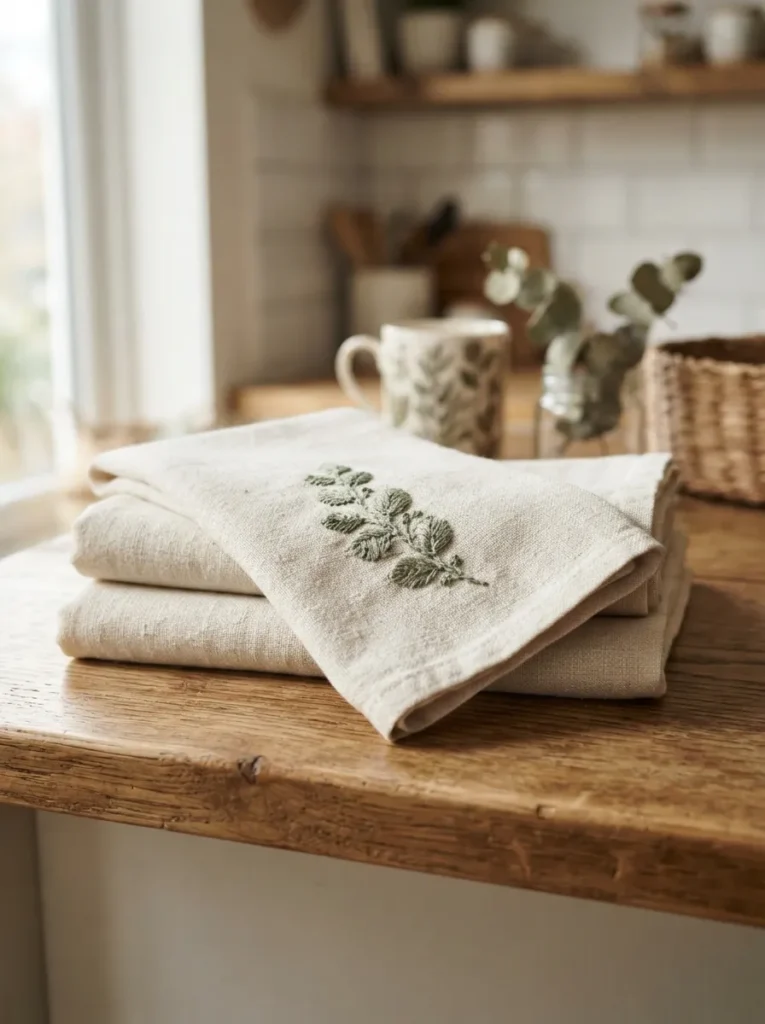
What it looks like: A single embroidered sprig, not a busy pattern restraint is the whole design choice.
Why it works: One motif per towel keeps negative space intact, so the eye rests instead of hunting for a focal point. Most beginner embroiderers ignore that and overcrowd the design.
How to copy it: Trace a simple botanical outline with a water-soluble pen, work the stem in stem stitch and leaves in lazy daisy stitch using two strands of embroidery floss.
Best for: People learning embroidery who want a finished gift, not a sampler.
Budget Version: A single skein of DMC floss and a pre-hemmed flour sack towel gets this look for under $8 per towel.
8. Concrete Pillar Candle Holders
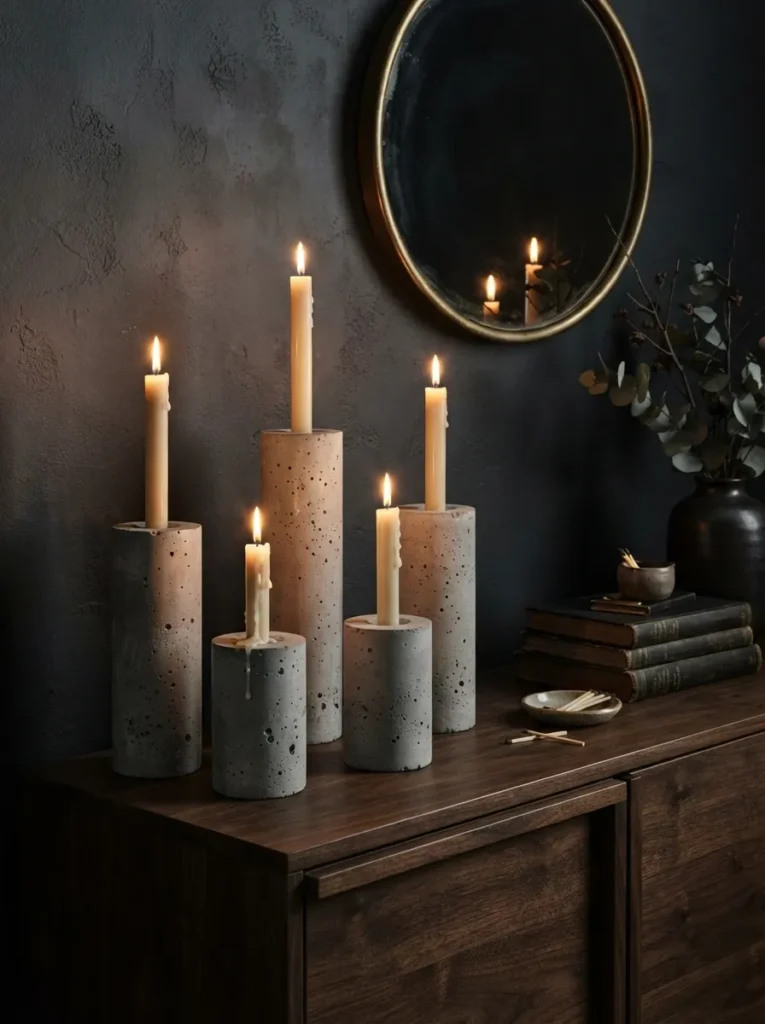
What it looks like: Cool, matte grey with tiny air-bubble pockmarks left in on purpose.
Why it works: Concrete holds heat differently than ceramic, which changes how wax pools and drips a detail that makes the holder feel engineered rather than crafted.
How to copy it: Mix quick-set concrete to a pancake-batter consistency, pour into silicone molds with a taper-sized dowel inserted, and cure for 24 hours before removing the mold.
Best for: Gifting to someone whose taste runs more industrial than cottage.
Important: Most people assume any candle fits any holder taper diameters vary by up to 3mm between brands, so drill the opening slightly oversized or candles will crack it on insertion.
9. Hand-Thrown Ceramic Mugs with a Matte Glaze
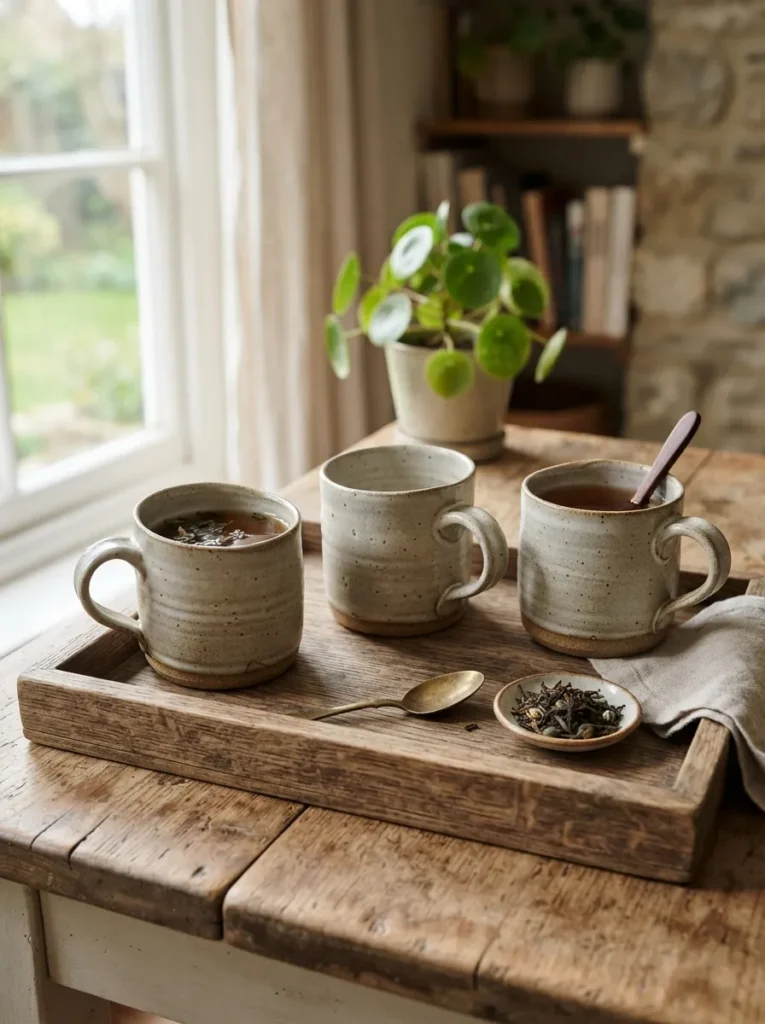
What it looks like: Slightly asymmetrical rims, a thumb-sized dent where the handle meets the body.
Why it works: A matte glaze absorbs light instead of bouncing it, which is why hand-thrown mugs photograph warmer than glossy factory ones a technical reason, not just a style preference.
How to copy it: Throw a cylinder on the wheel, pull a handle from a coil, score and slip both pieces before attaching, and finish in a matte stoneware glaze fired to cone 6.
Best for: Coffee-obsessed friends who already own too many identical white mugs. If pottery isn’t in the cards yet, these mug gift ideas that feel stylish cover the same territory without a wheel.
Styling Note: Leave the foot ring unglazed and slightly rough it’s the one detail that signals “handmade” even to someone who’s never touched clay.
This next one surprised even people who’ve been making gifts for years.
10. Small Walnut Jewelry Box with Brass Hinges
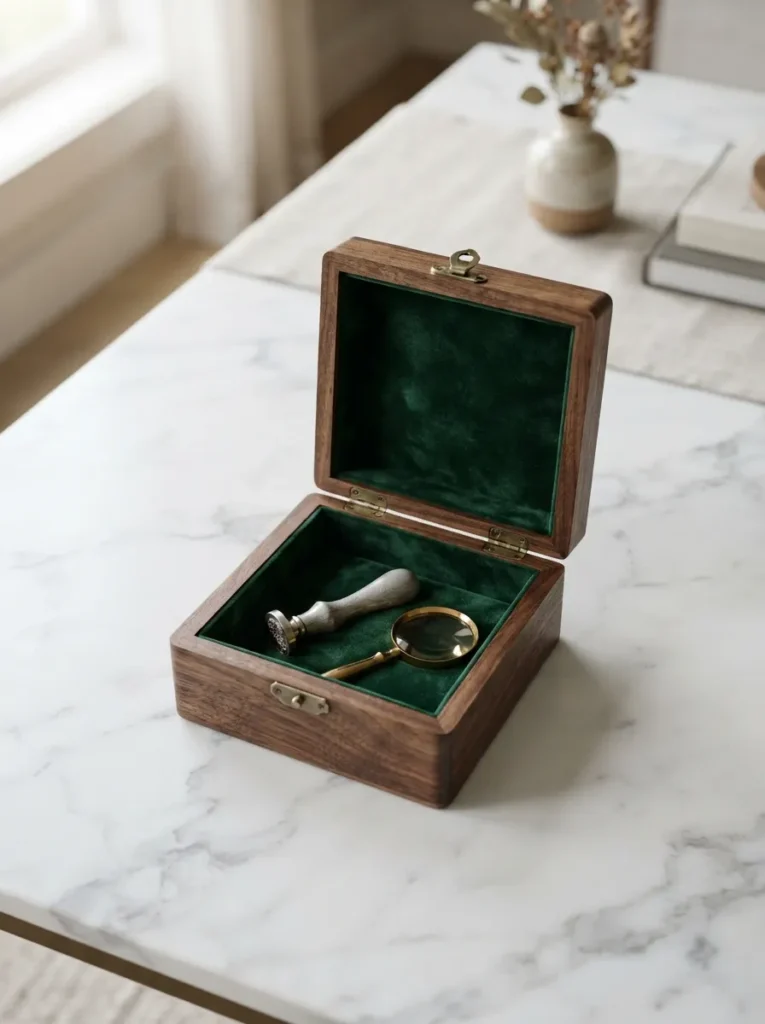
What it looks like: Dense, dark grain with a hand-rubbed oil finish, brass hardware slightly tarnished on purpose.
Why it works: Walnut’s tight grain takes a hand-rubbed oil finish better than open-grain woods like oak, which is why it reads as refined without any stain or paint involved.
How to copy it: Miter-cut walnut boards for a 5×7-inch box, glue and clamp the frame, install a piano hinge on the back edge, and finish with three coats of hand-rubbed tung oil.
Best for: Someone who already has too much jewelry and needs somewhere to put it.
Pro Tip: Buy brass hardware, not brass-plated plated hinges green within a year, with no way to fix it once installed.
11. Hand-Painted Terra Cotta Planters
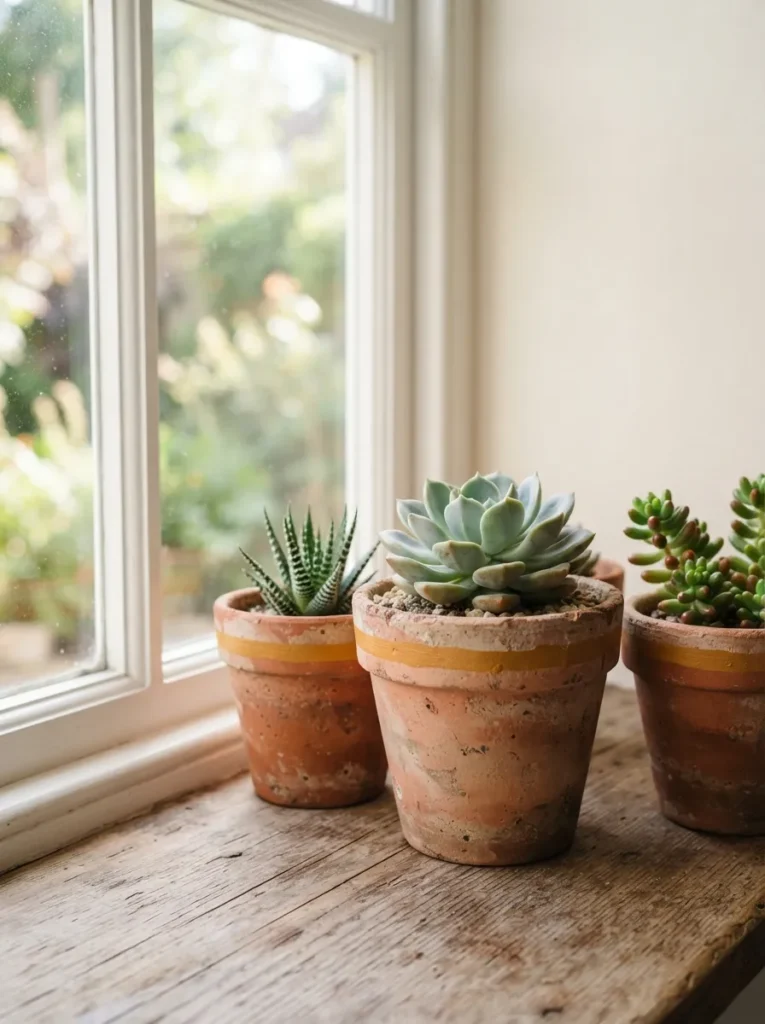
What it looks like: One confident brushstroke, not a full pattern the raw clay does the rest of the work.
Why it works: Leaving most of the terra cotta unpainted keeps the material’s natural texture visible, which is the whole reason terra cotta reads as warm in the first place. Painting the entire pot erases that.
How to copy it: Tape a 1-inch band near the rim with painter’s tape, apply two coats of acrylic craft paint in an earthy ochre or rust, and seal with a matte outdoor sealant.
Best for: People gifting to plant collectors who already own dozens of plain pots, especially anyone building out a set of modern succulent planters.
Mistake to Avoid: Skipping the sealant means the paint chips the first time the pot gets watered from above.
Where to Shop
| Product |
|---|
| Unglazed terra cotta pots, assorted sizes |
| Acrylic craft paint in ochre and rust tones |
| Painter’s tape, narrow width |
| Matte outdoor sealant spray |
| Small succulent starter plants |
12. Dried Flower Resin Coasters
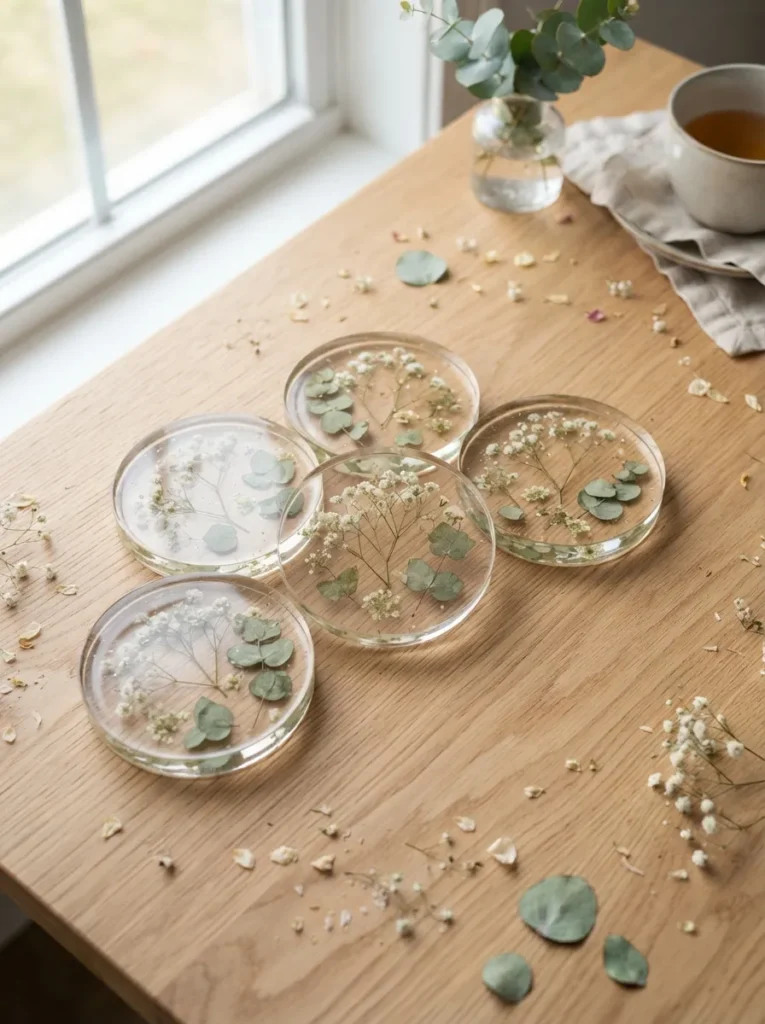
What it looks like: Flowers suspended mid-float, not flattened against the bottom that layering is the hard part.
Why it works: Pouring resin in two thin layers instead of one thick pour lets pressed flowers float in the middle of the coaster instead of sinking. That layout decision separates amateur resin work from finished pieces.
How to copy it: Pour a base layer of resin into silicone molds, let it reach a tacky half-cure, place pressed flowers, then pour a second layer once the first has fully set.
Best for: People who already have a pressed-flower collection with nowhere to use it.
Warning: Resin fumes need real ventilation, not a cracked window work near an open door or outdoors, and skip this one entirely if the maker or recipient is pregnant.
The next idea is the coziest thing on this entire list, and it takes the least skill.
My Views:
Here’s something most guides won’t tell you: the “flaw” people apologize for in handmade gifts a slightly crooked stitch, an off-center bead, wax that pooled unevenly on one side of a candle is almost always the detail the recipient mentions first. I’ve watched someone point straight at the wonkiest coaster in a set of six and call it their favorite. Stop sanding that imperfection out before it even leaves your hands.
13. Knitted Chunky Throw Blanket
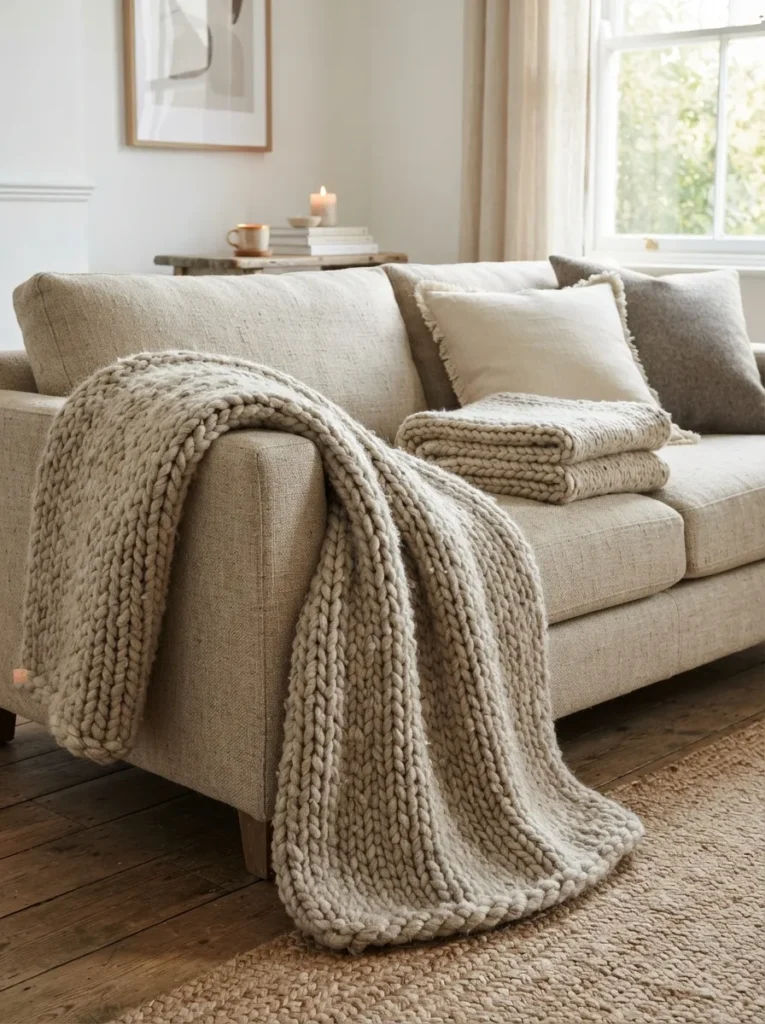
What it looks like: Loose, fist-sized stitches you can see clearly from across a room.
Why it works: Chunky wool on 12mm needles knits up in hours instead of weeks, and the oversized stitches create a texture depth that a fine-gauge blanket can’t match at the same price point.
How to copy it: Cast on 40 stitches in super chunky wool on size 25mm needles, work in garter stitch for roughly 5 feet, and bind off loosely to keep the drape soft.
Best for: Beginners who can only knit and purl but want a gift that looks intentional.
Quick Win: A garter-stitch blanket has zero shaping and zero pattern-reading it’s one repeated row for the entire project.
14. Personalized Wood-Burned Cutting Board
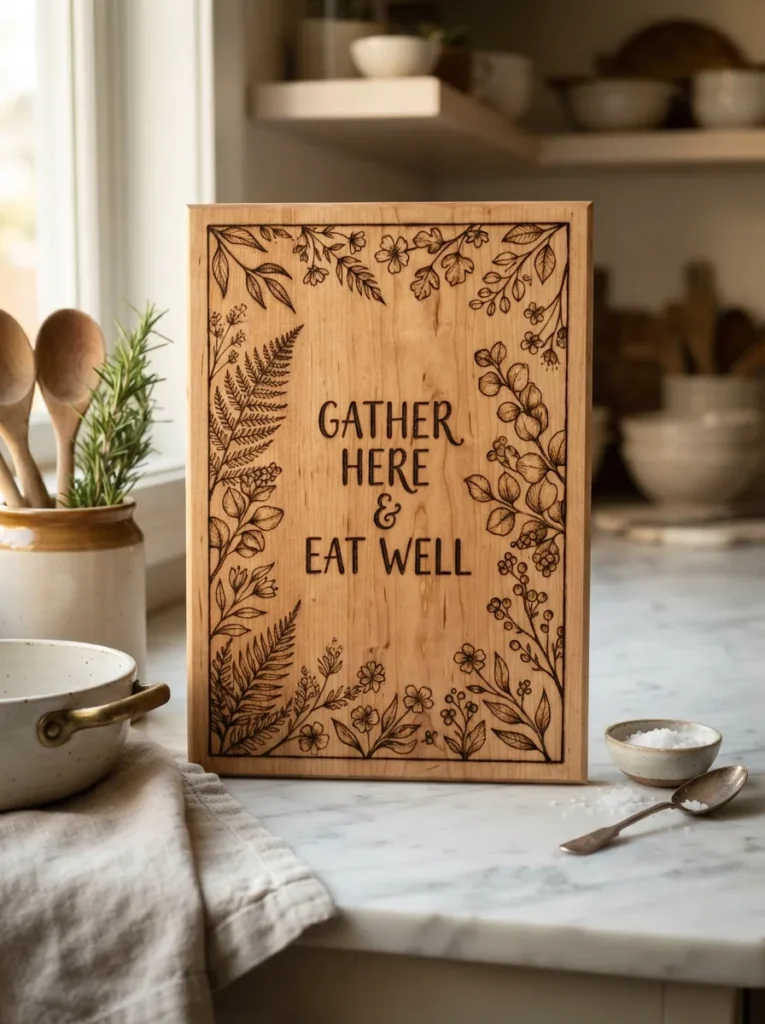
What it looks like: Fine, dark linework against pale maple grain, slightly raised where the wood scorched.
Why it works: Maple’s tight, even grain takes a wood-burning tip cleanly without the line wandering, which is why it’s preferred over oak or walnut for this technique.
How to copy it: Sketch the design in pencil first, then trace it slowly with a fine-tip wood-burning pen at medium heat, working in one direction to avoid double-burn marks.
Best for: Someone getting married, moving in together, or hosting their first holiday.
Important: A wood-burned board still needs food-safe mineral oil monthly the burning doesn’t seal the wood, it just marks it.
15. Small Oak Step Stool for Kids
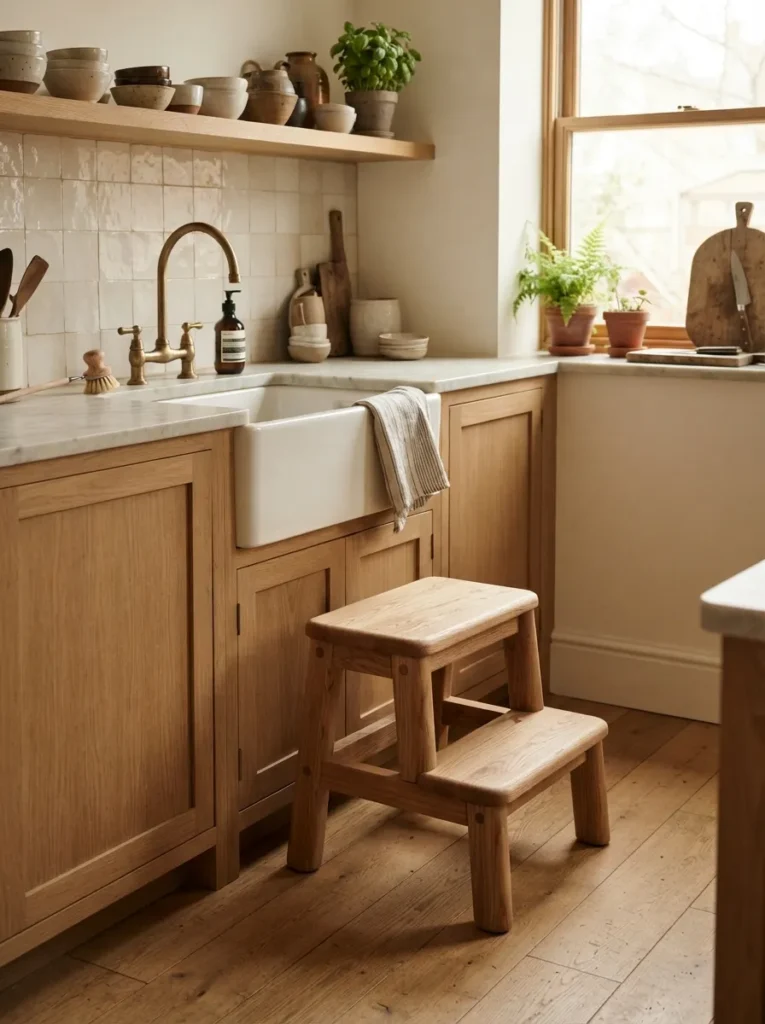
What it looks like: Compact, rounded edges, low enough for a toddler’s foot to find without looking.
Why it works: A 45-degree angled leg brace is what keeps a stool this small from tipping under a child’s weight most simple stool plans skip that brace and rely on glue alone.
How to copy it: Cut oak boards for a 10-inch-high stool, add a diagonal leg brace at each corner, and finish with a food-safe hardwax oil so little hands can chew on the edge safely.
Best for: New parents who already have every plastic toy imaginable.
Budget Version: A basic pine version of this same stool costs under $15 in lumber oak simply holds up better to daily kitchen traffic and small feet.
This next one fits in a gift bag and still makes a real impact on someone’s kitchen windowsill.
16. Mini Herb Garden Kit in a Repurposed Crate
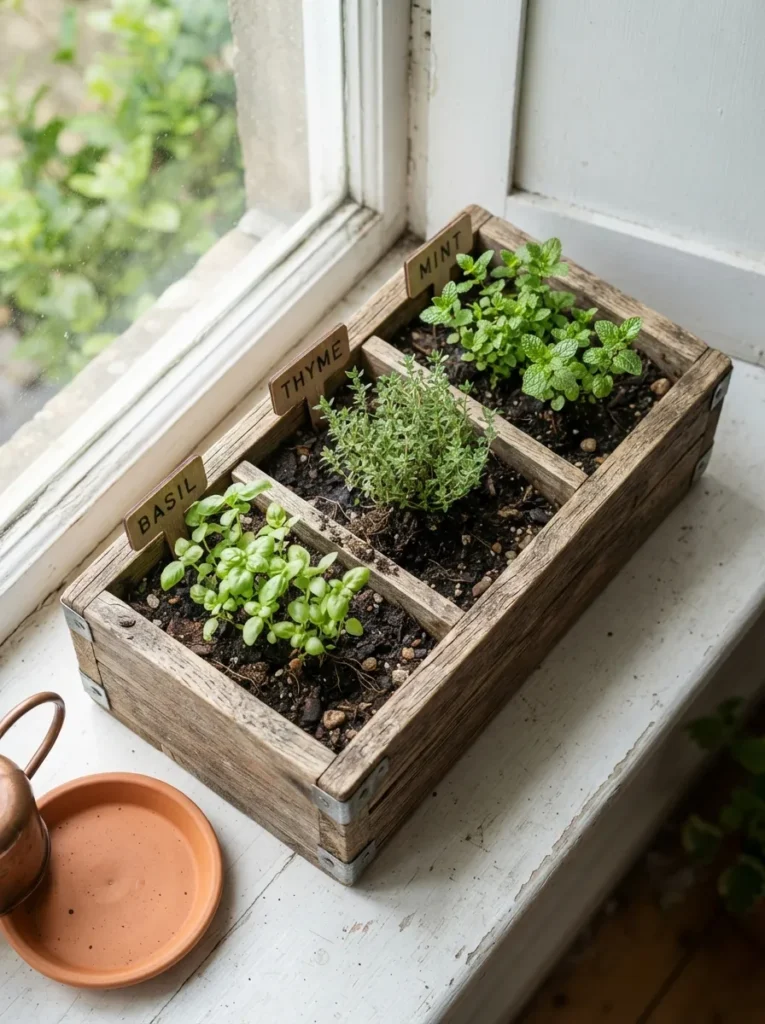
What it looks like: A miniature garden that fits on an 8-inch windowsill, three herbs, one crate.
Why it works: Compartmentalizing the crate keeps mint from choking out the other herbs mint’s root system spreads aggressively, and that’s the one detail that decides whether this gift survives past a month.
How to copy it: Divide a small wooden crate with a thin plywood insert, line with landscape fabric, fill with potting mix, and plant basil and thyme together but keep mint isolated.
Best for: Apartment dwellers with a single sunny windowsill and no yard. If a crate feels like more woodworking than you want, the same compartmentalizing trick works in a trio of repurposed mason jar crafts instead.
Pro Tip: Label each compartment with a wood-burned tag it looks intentional and stops the recipient from over- or under-watering by guesswork.
Where to Shop
| Product |
|---|
| Small unfinished wood crate |
| Landscape fabric liner |
| Potting soil mix for herbs |
| Basil, thyme, and mint starter seedlings |
| Mini wood plant tags |
17. Ombré Beeswax Pillar Candles
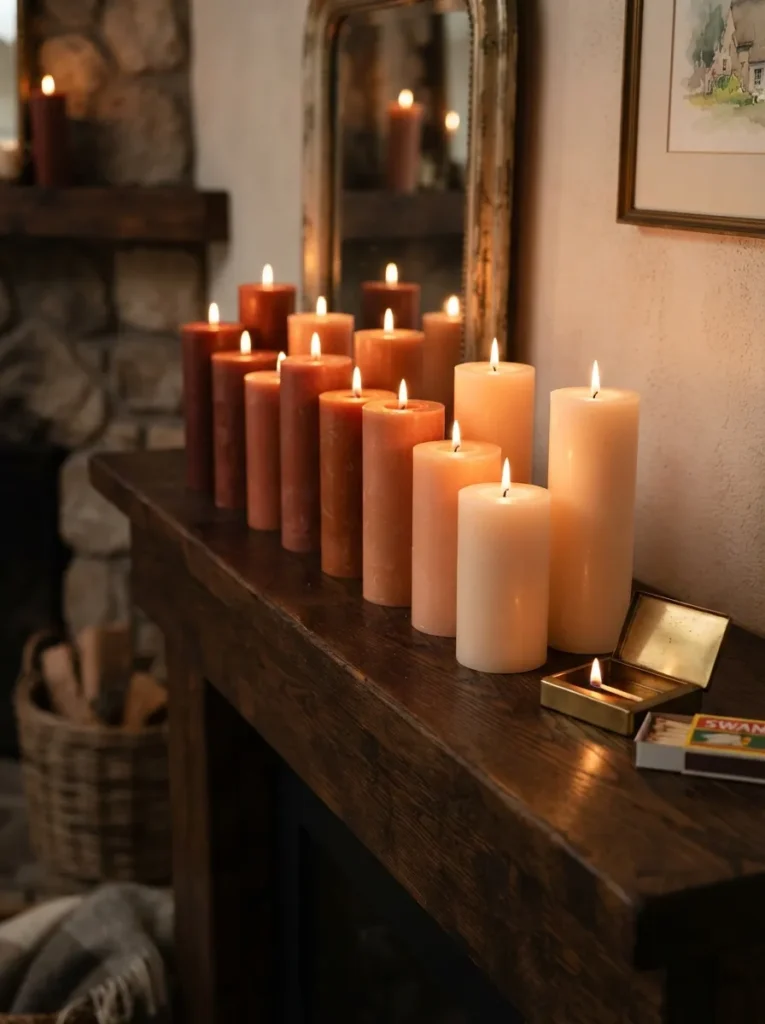
What it looks like: A gradient with soft, blended bands no hard color lines anywhere.
Why it works: Dipping in progressively lighter dye baths, rather than pouring layers, is what creates the seamless blend. Poured layers always leave a visible seam where colors meet.
How to copy it: Melt beeswax and divide it into three dye-tinted pots from darkest to lightest, dip a wick repeatedly in the darkest pot first, then work upward through lighter pots, cooling between dips.
Best for: Someone who wants a genuinely striking centerpiece gift without owning a pottery wheel.
Styling Note: Group three candles at slightly different heights rather than a matched set uneven heights read as styled, not mismatched.
18. Reclaimed Wood Floating Shelf
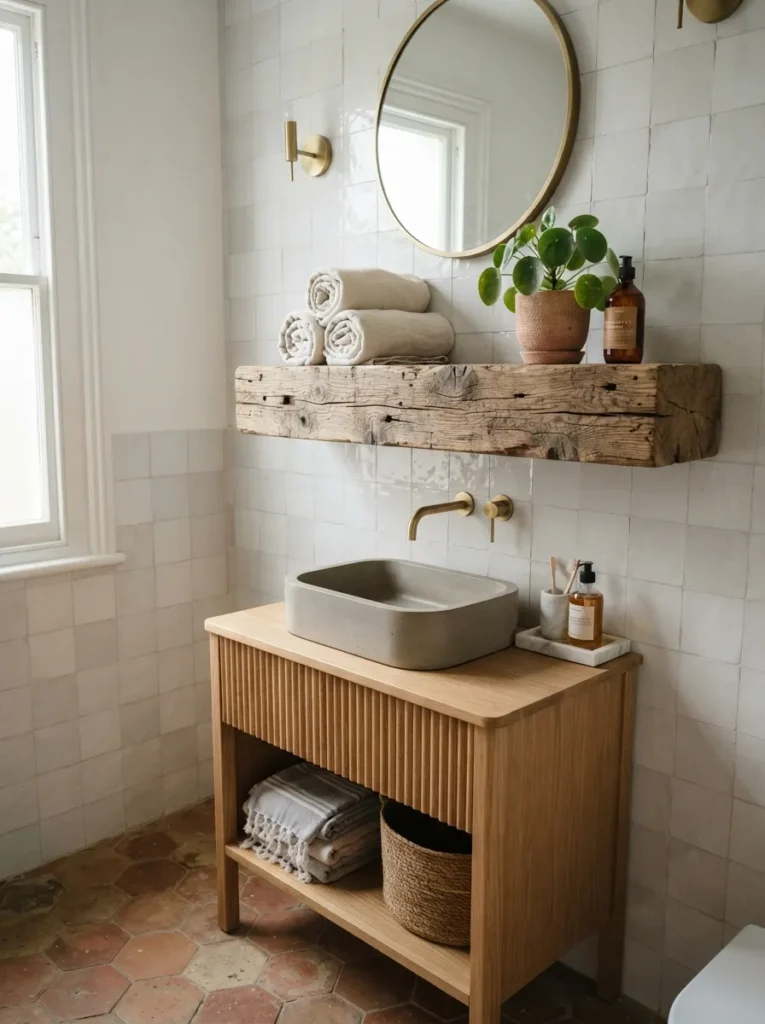
What it looks like: Visible saw marks and old nail holes left unfilled, a slightly uneven top edge.
Why it works: A floating shelf bracket hides entirely inside the wood, so the shelf appears to defy gravity that hidden-hardware detail is what separates a floating shelf from a plain bracket-mounted board.
How to copy it: Rout a channel into the back of a reclaimed board to fit a steel floating shelf bracket, anchor the bracket into wall studs, and slide the board on until it sits flush.
Best for: Someone renovating a bathroom or entryway who mentioned needing “just a little more storage.”
Warning: Anchoring into drywall alone instead of a stud is the single most common failure point a loaded floating shelf needs at least one stud, or a toggle anchor rated for the shelf’s full weight.
How to Start Your Handmade Gift-Making Journey
In practice, the easiest entry point is dip-dyeing or hand-poured candles both need under $30 in materials and zero power tools, which matters more than any fancier idea on this list when you’re testing whether gift-making is something you’ll actually stick with.
The most common fixable mistake is rushing a gift out the door before it’s fully cured. Wax that hasn’t set, resin that’s still tacky, or dye that hasn’t oxidized will all look unfinished no matter how good the technique was build in at least 24 extra hours before any gift-giving deadline.
Three items under $50 that cover most of this list: a 1-pound bag of soy candle wax with cotton wicks included (about $14), a starter embroidery kit with floss and a hoop (around $10), and a bottle of RIT indigo dye (roughly $9).
A single quick-win gift candles, dyed textiles, wraps takes one evening and rarely tops $20 per item. A furniture-level piece like the walnut box or floating shelf realistically needs a full weekend and $40–80 in materials, tools excluded. If you end up making more than one of these, carving out even a corner using some small she shed craft room ideas makes the next project easier to start.
Ready to Give Something Truly Handmade?
Between the dye baths, the wood grain, and the candle wax, these 18 handmade gift ideas cover color, material, and a few pieces of actual furniture there’s a version here for a $10 budget and a version for a full weekend project.
Nobody expects you to make all eighteen; picking one and finishing it beats starting three and finishing none. Tonight, go pull whatever’s already in your kitchen or craft drawer an avocado pit, a spare mason jar, a scrap of linen and start there instead of waiting on a supply run. Once the wax, dye, and wood scraps start piling up, a few craft closet organizing ideas keep the momentum going for the next gift.
A gift someone made by hand tends to sit on a shelf a little longer than one that came in a box, mostly because it’s harder to forget who gave it. Save this list for the next birthday, holiday, or just-because moment, and pin your favorite idea before you lose the page.