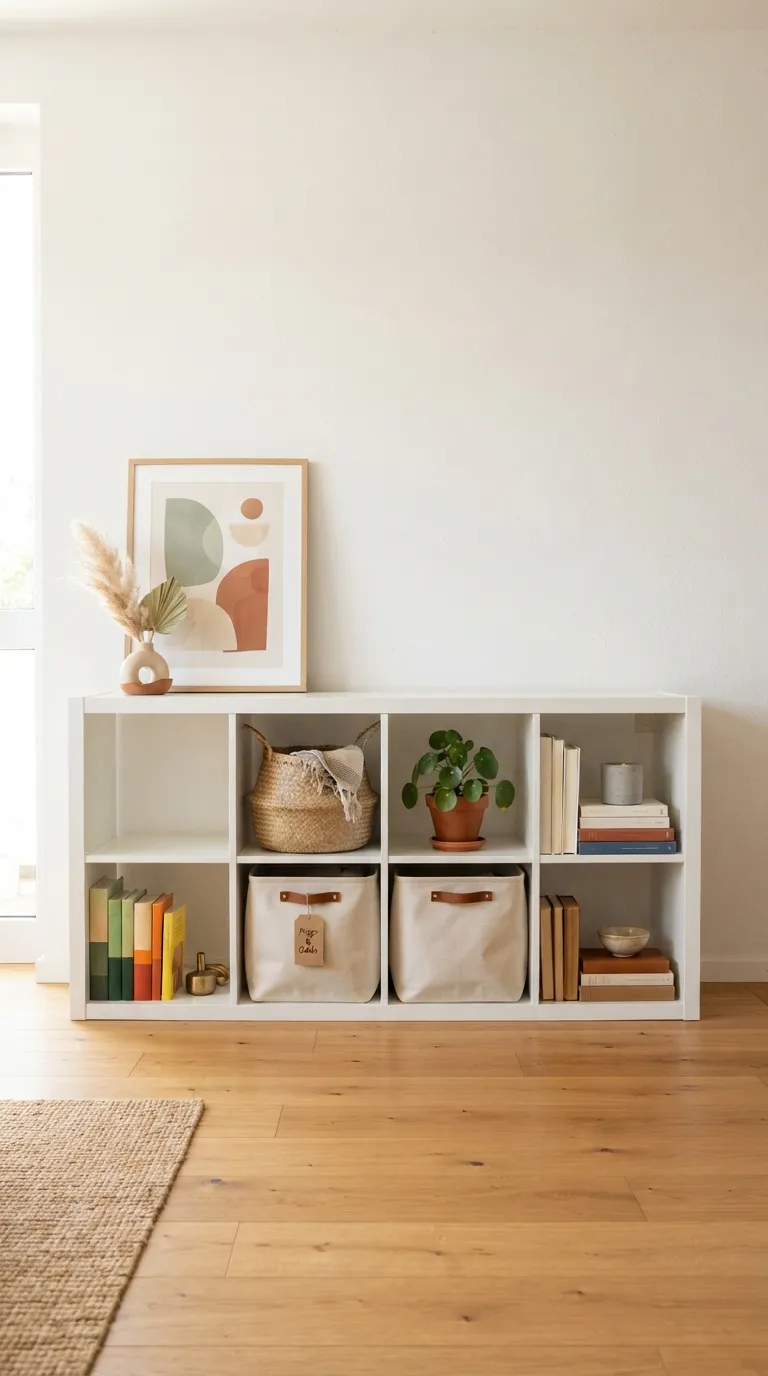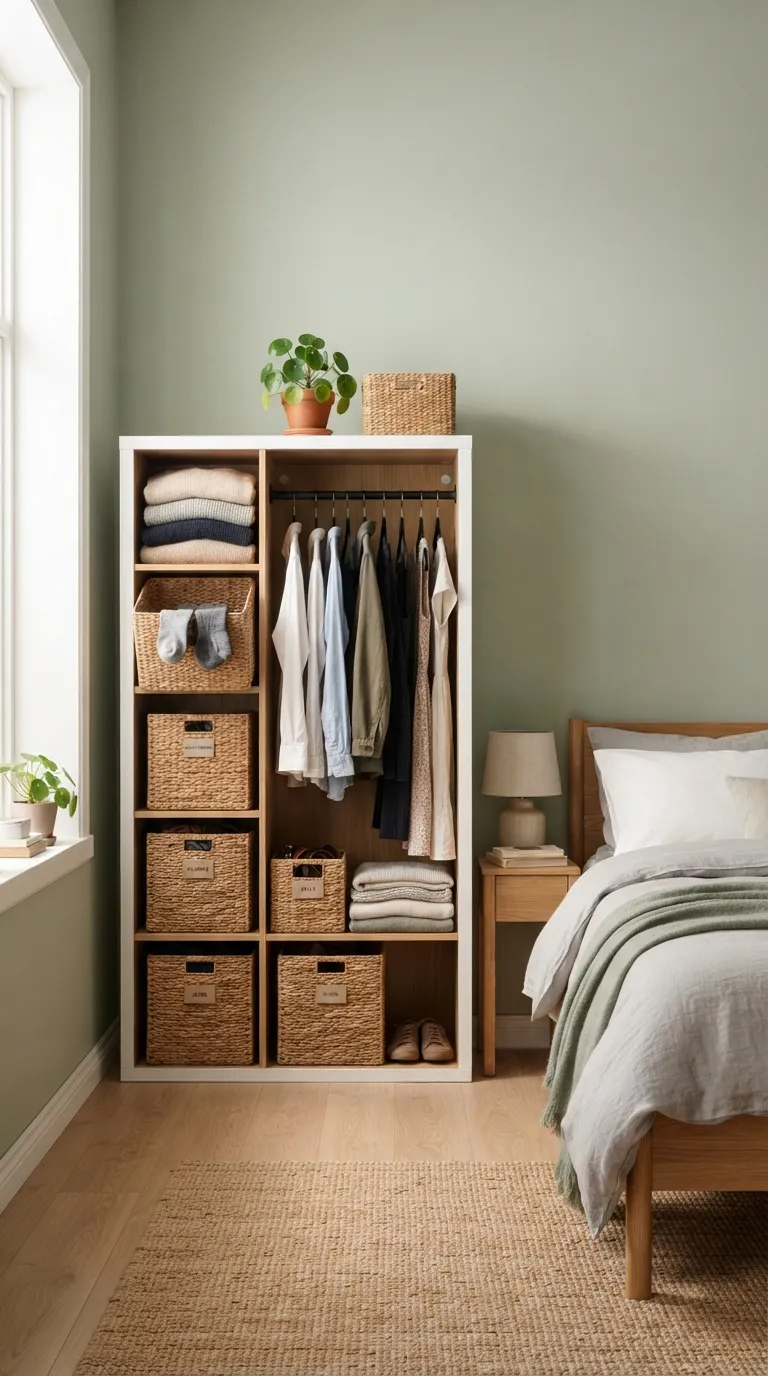
11 IKEA Kallax Closet Conversion Ideas for Small Bedrooms
A Kallax closet conversion turns IKEA’s boxy shelf unit into a stand-in wardrobe hanging rods, bins, doors, whatever your clothes actually need. This roundup walks through 11 specific ways to make that switch work in a small bedroom, from five-minute basket swaps to full built-in panel fronts.
Small bedrooms don’t have room for wasted square footage, and a Kallax gives you a footprint you can actually plan around. It’s cheap enough to test before committing, sturdy enough to hold real clothing, and modular enough to grow with you. No structural changes, no contractor, no guessing. Let’s get into it.
Jump To
- Why Kallax Closet Conversions Make Such a Difference
- Add a Hanging Rail Insert for True Wardrobe Function
- Swap Baskets for Fabric Bins to Fake a Closed Closet
- Turn a Full Kallax Wall Into a Room-Dividing Closet
- Paint the Kallax to Match Your Wall Color
- Stack Two Units for a Built-In Dresser Look
- Hang a Curtain Instead of Doors
- Add Battery LED Strips Under Each Shelf
- Use a 2×4 Vertical Stack in a Narrow Corner
- Install Kallax Doors for a Built-In Panel Front
- Paint the Cubby Backs a Contrast Accent Color
- Add Labeled Woven Baskets for Zoned Storage
- How to Start Your Kallax Closet Conversion
- Ready to Create Your Small-Bedroom Closet?
Why Kallax Closet Conversions Make Such a Difference
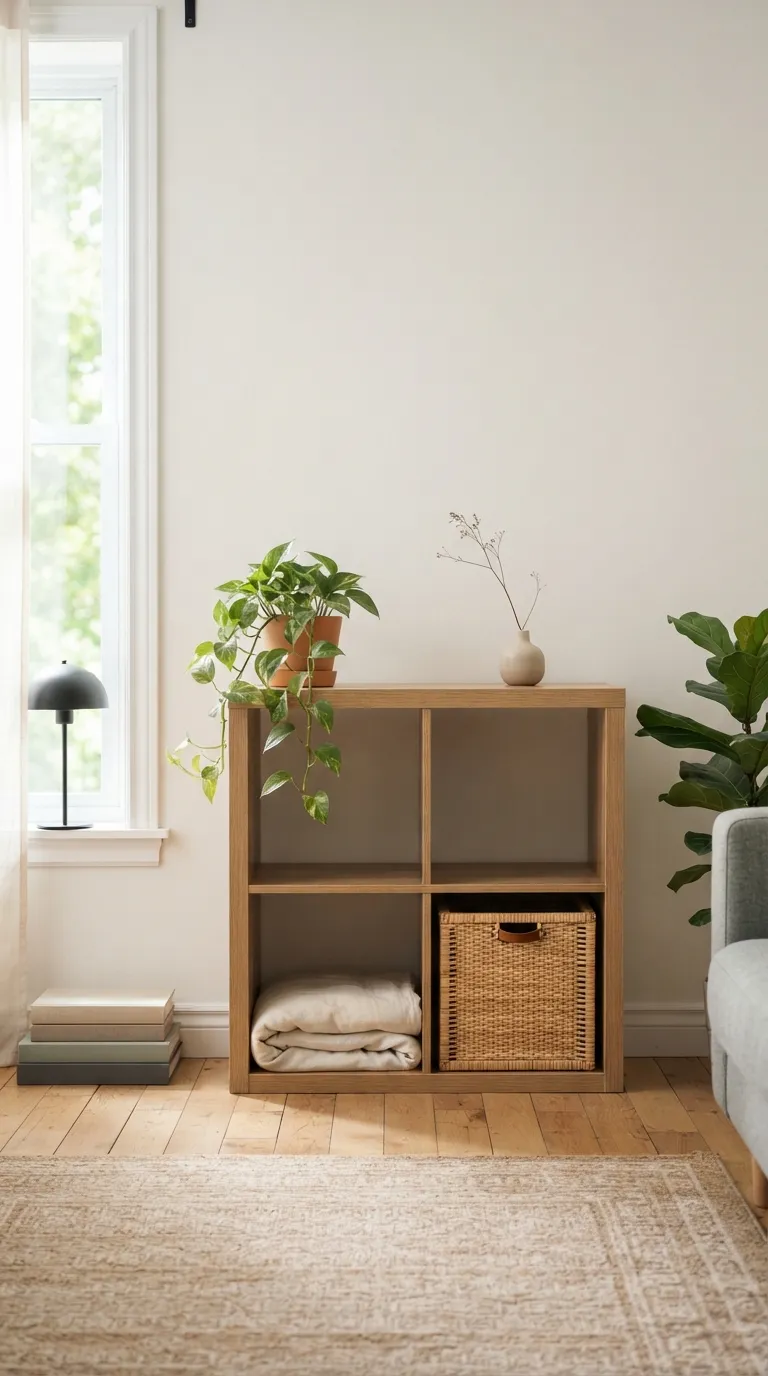
A Kallax closet conversion works because the unit already solves the hardest part of small-bedroom storage: vertical division. Each cube measures roughly 13 by 13 inches big enough for folded stacks, bins, or a mounted rod, small enough that the whole piece stays under 60 inches wide in the 4×4 version.
Both the white and oak-effect finishes take paint and hardware well, which matters if you’re covering exposed backs or adding doors. It works in bedrooms as tight as 90 square feet, as long as you measure swing clearance before adding doors or a curtain track.
| Best starting point | Add a hanging rail insert to one column |
| Biggest impact area | Closing off the open front (bins, doors, or curtain) |
| Budget to start | $40–$180 depending on hardware |
| Time to complete | A weekend for the full conversion |
1. Add a Hanging Rail Insert for True Wardrobe Function
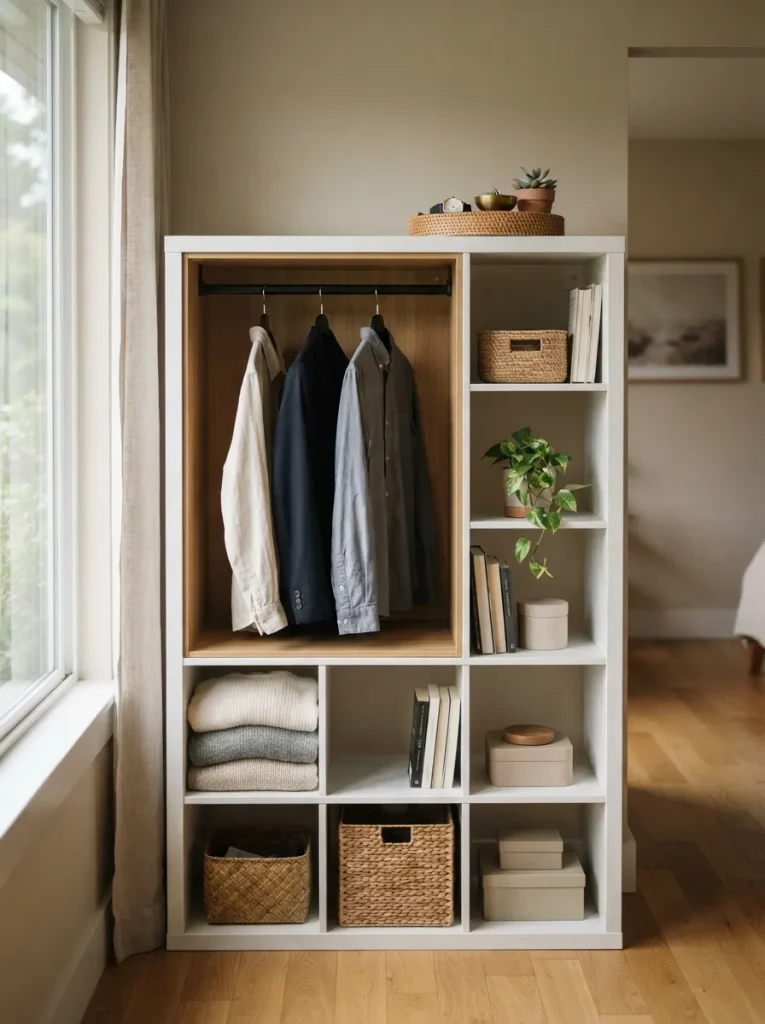
What it looks like: One cube, gutted and fitted with a rod plain, but it finally functions like a closet.
Why it works: A single Kallax cube measures just under 13 inches wide, which is tight for full-size hangers but works fine for kids’ clothes, blazers, or a rotating capsule wardrobe. The rail carries real weight because it mounts into the cube’s particleboard sides, not just the back panel.
How to copy it: Buy a tension or screw-mounted closet rail sized for a 13-inch cube several brands sell a version made specifically for Kallax inserts. Mount it about 2 inches down from the top so hangers clear the shelf above, and pre-drill if you’re screwing into particleboard to avoid splitting it.
Best for: Renters who need real hanging storage without touching the walls pair it with these no-drill Kallax hacks if you’d rather skip screws entirely.
Quick Win: No drill on hand? Adhesive-backed tension rods made for cabinets fit most Kallax cube widths and hold a week’s worth of hangers with no hardware at all.
Shop This Look
| Product |
|---|
| Closet rod insert sized for 13-inch cube shelving |
| Tension-mount hanging rail, no-drill |
| Slim-profile matte black hangers |
| Small woven catch-all tray |
| Drawer insert for the cube below the rail |
2. Swap Baskets for Fabric Bins to Fake a Closed Closet
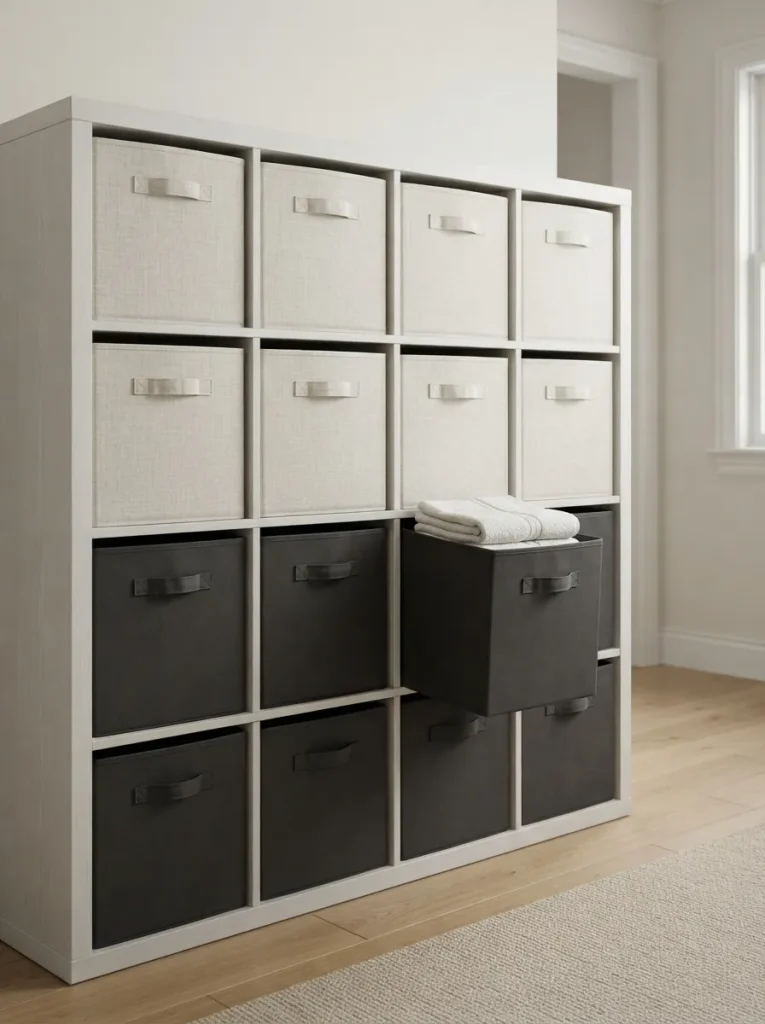
What it looks like: From across the room it reads as a closed cabinet the open shelving disappears entirely.
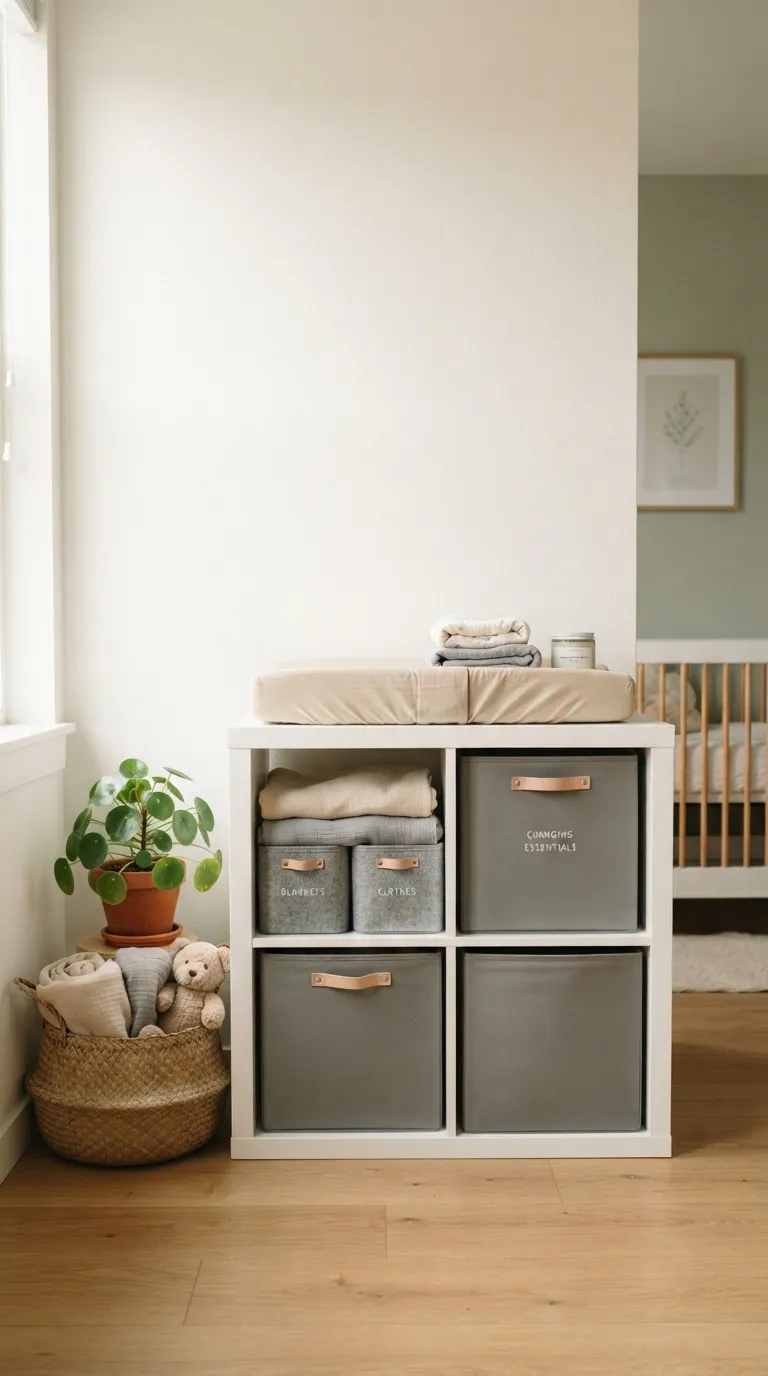
Why it works: Bins create a uniform front, which is what makes open shelving look intentional instead of exposed. Mixing two or three colors instead of one keeps the wall from reading like a supply closet.
How to copy it: Measure your cube opening before buying bins that run even a half-inch oversized won’t slide in cleanly. Mix one solid bin per two woven ones so the texture doesn’t go flat, and label the back-facing side if the unit is visible from both sides of the room.
Best for: Anyone who wants the closet look without installing doors for more ways to fake a full closet from open shelving, see this closet organization roundup.
Warning: The most common mistake here is guessing the bin size. Standard Kallax cubes run about 13 x 13 x 13 inches, but bins marketed simply as “cube storage” range anywhere from 10 to 15 inches measure your actual opening, not the box label.
Shop This Look
| Product |
|---|
| Linen-look fabric storage bins, cube-sized |
| Woven seagrass storage baskets |
| Removable fabric bin labels |
| Felt bin liners for delicate items |
| Canvas bin with leather carry handle |
3. Turn a Full Kallax Wall Into a Room-Dividing Closet
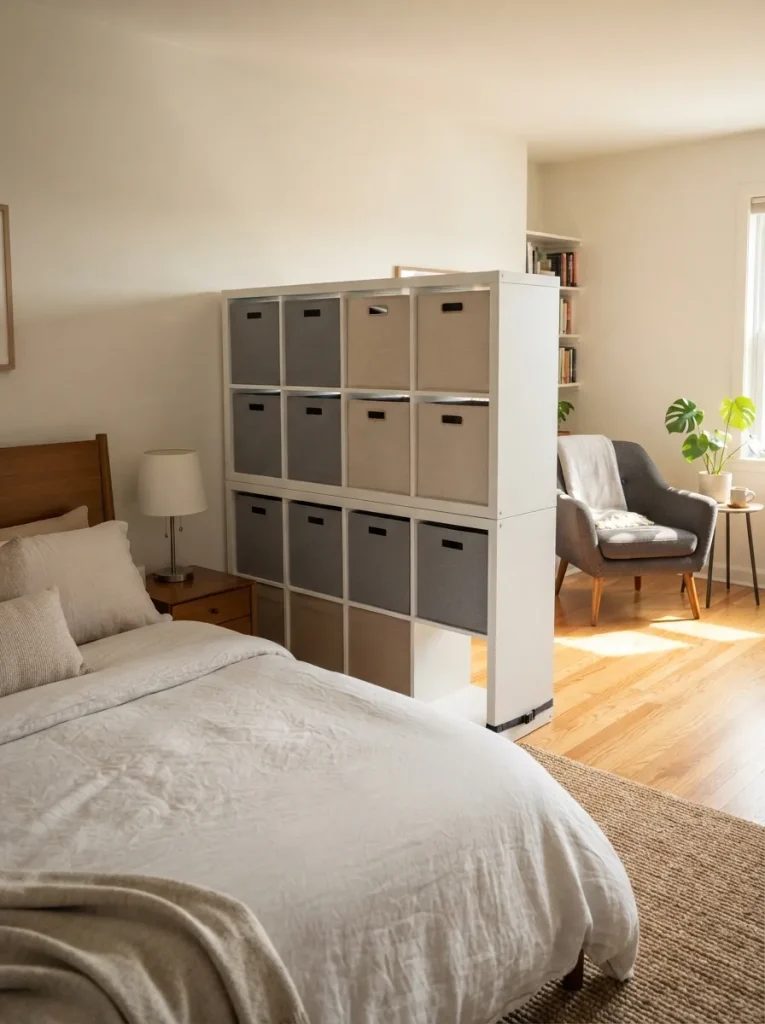
What it looks like: Positioned mid-room, it splits a studio-style bedroom into a sleeping side and a dressing side without a single wall going up.
Why it works: Kallax units are finished on both faces, so the piece reads as furniture from either side instead of the back of a shelf that detail is what makes a room divider feel deliberate rather than makeshift.
How to copy it: Anchor the unit to the wall or floor with the included anti-tip kit before loading it with clothes a fully stacked 4×4 unit is top-heavy on its own. Leave at least 30 inches of walking clearance on the sleep side so the divider organizes the room instead of shrinking it.
Best for: Studio apartments and shared kids’ rooms that need a visual boundary.
Budget Version: Skip buying a second finished-back unit a single Kallax positioned against an existing wall, floated about 4 inches out, gets a similar divider effect for under $100.
Up next: the change that makes the whole unit visually disappear.
4. Paint the Kallax to Match Your Wall Color
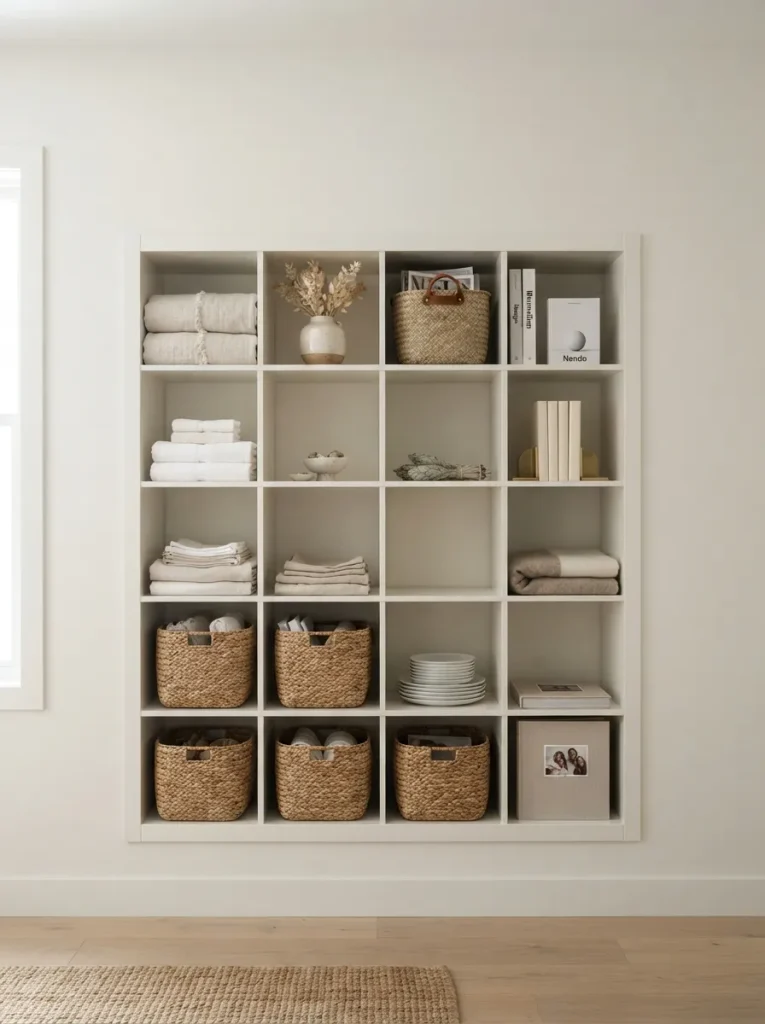
What it looks like: Painted the same tone as the wall behind it, the frame all but disappears and only the contents show.
Why it works: Matching the case color to the wall removes visual weight a bulky storage piece reads as smaller when it isn’t competing with its surroundings. Less contrast against the wall means less perceived mass, plain and simple.
How to copy it: Sand the laminate surface lightly with 220-grit before priming, since paint won’t grip factory laminate on its own. Use a bonding primer made for laminate, then two coats of your wall’s exact paint color or the closest matched swatch.
Best for: Small bedrooms where the storage piece is the largest object in the room.
Pro Tip: Laminate paint jobs chip fastest at the cube openings, where hangers and bins scrape the edges daily run a strip of clear edge-banding tape over the front lip before painting for a finish that actually holds up.
5. Stack Two Units for a Built-In Dresser Look
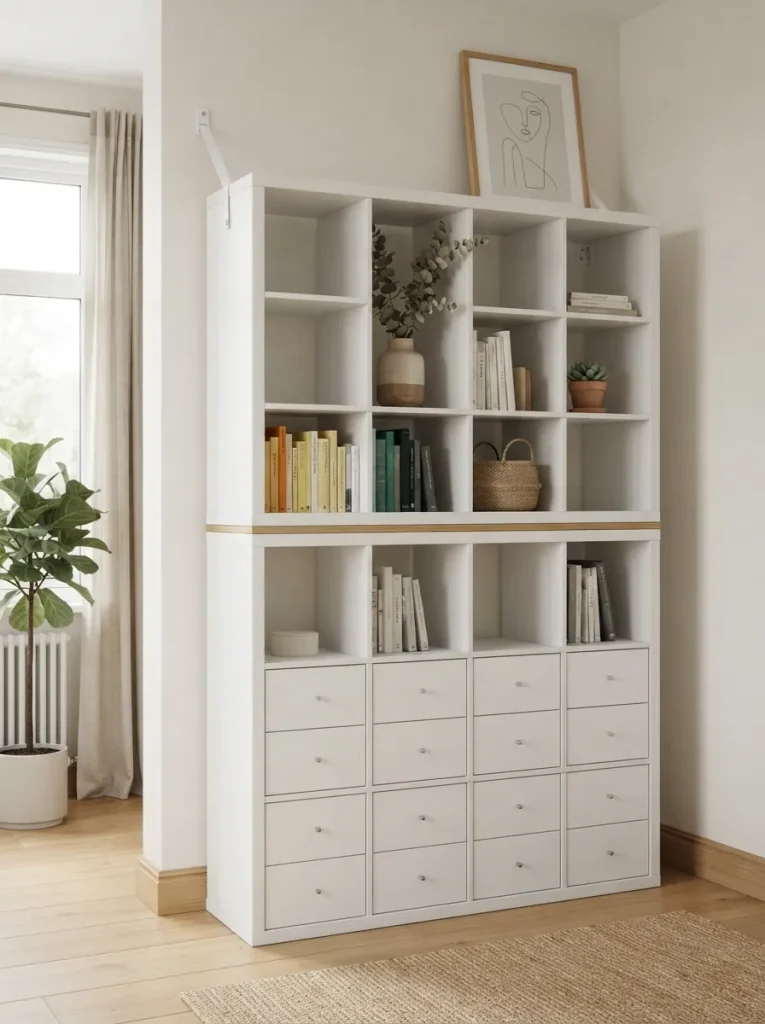
What it looks like: Two units stacked floor to near-ceiling read as a single built-in piece, not two shelves glued together.
Why it works: Stacking adds vertical storage without expanding the footprint critical when floor space is the scarcest resource in the room. Aligning the cube grid top to bottom is what makes the seam disappear instead of announcing itself.
How to copy it: Use IKEA’s official stacking connector kit rather than free-standing the top unit an unsecured stacked Kallax is a genuine tip-over risk, especially with kids around. Add a thin trim board across the seam if the finish lines don’t match exactly.
Best for: Bedrooms with high ceilings and not much floor width to spare browse more Kallax styling ideas once the stack is built.
Shop This Look
| Product |
|---|
| Official stacking connector kit |
| Wall anchor safety kit |
| Thin trim/edge-banding strip |
| Cube drawer inserts |
| Felt shelf liner |
6. Hang a Curtain Instead of Doors
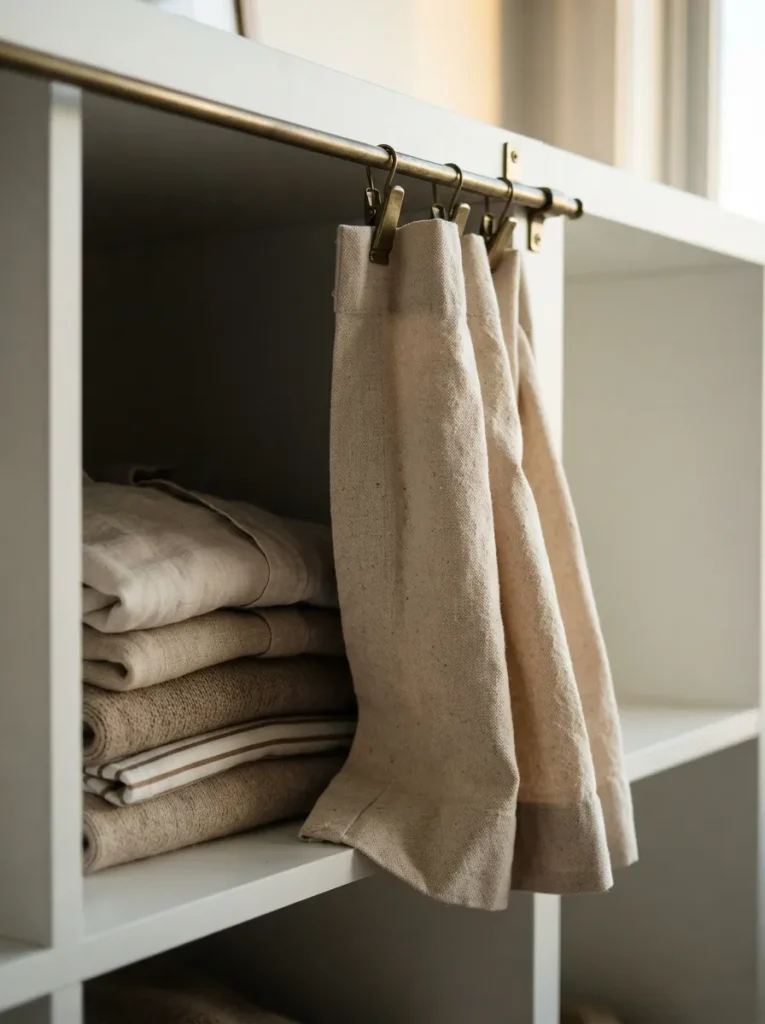
What it looks like: A single curtain panel on a tension rod softens the whole unit and hides the front in one motion.
Why it works: Fabric absorbs visual noise the way hard doors can’t, and it costs a fraction of a hinged-door retrofit. Heavier fabrics like cotton canvas hang flatter and hide bin outlines better than sheer or lightweight cotton.
How to copy it: Mount a tension or cafe-curtain rod about 2 inches above the unit, and choose a panel roughly 1.5 times the unit’s width for fullness when closed. Weighted curtain clips keep the fabric from riding up while you’re pulling bins in and out.
Best for: Renters and anyone who wants to swap the look seasonally.
Small-Space Tip: In a room too narrow for the curtain to fully open, mount the rod off-center and split the fabric into two unequal panels the wider one covers most of the unit while the narrower one tucks flush against the wall when open.
The next idea solves the “it’s too dark to see anything” problem nobody mentions until they’re digging through it at night.
7. Add Battery LED Strips Under Each Shelf
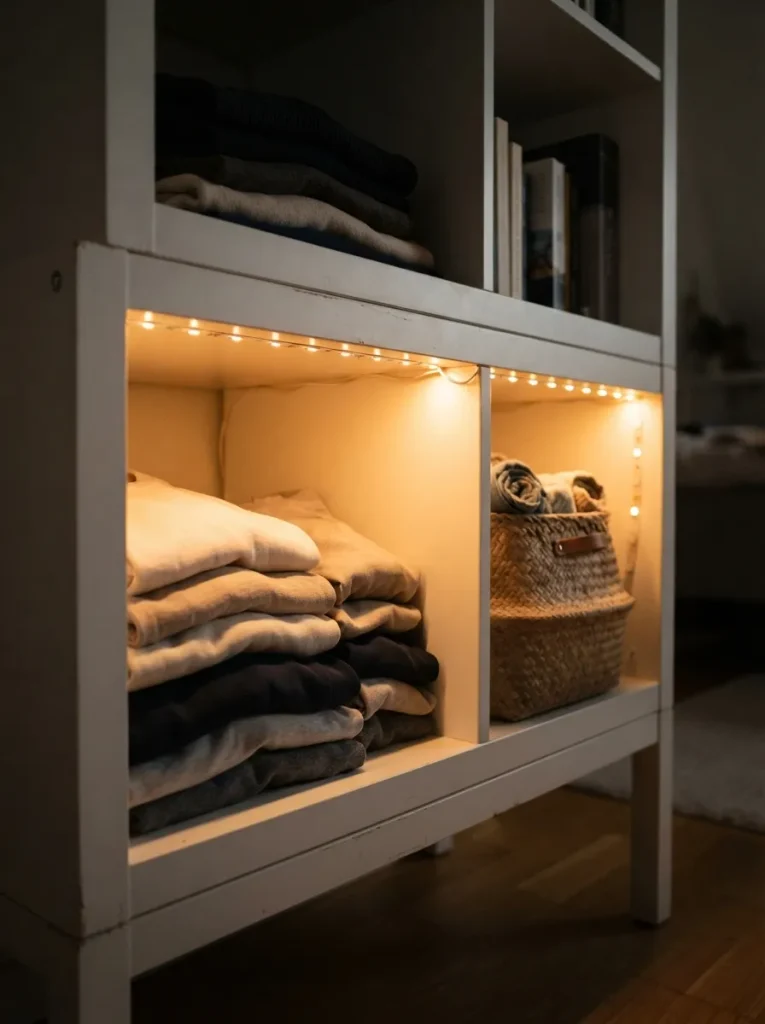
What it looks like: Warm LED strips under each shelf edge turn a plain storage cube into something closer to a lit closet nook.
Why it works: Interior cube lighting solves the real problem with converted shelving it’s usually darker than a true closet because it never gets a ceiling fixture. Warm-white strips around 2700K read as ambient rather than clinical, which matters at eye level in a bedroom.
How to copy it: Battery-powered, motion-activated puck or strip lights avoid running a cord across an open room. Stick them to the underside of each shelf, angled slightly forward so the light hits the contents instead of your eyes, and swap batteries roughly every 4 to 6 months with daily use.
Best for: North-facing bedrooms or any Kallax placed away from a window.
Important: Most battery LED strips are rated for ambient accent light, not for reading labels at the back of a deep bin if you’re storing off-season items you’ll dig for later, add a stronger single puck light at the rear of that specific cube.
Shop This Look
| Product |
|---|
| Battery-powered LED strip lights, warm white |
| Motion-sensor puck lights |
| Rechargeable battery pack |
| Adhesive mounting clips |
| Dimmer remote control |
8. Use a 2×4 Vertical Stack in a Narrow Corner
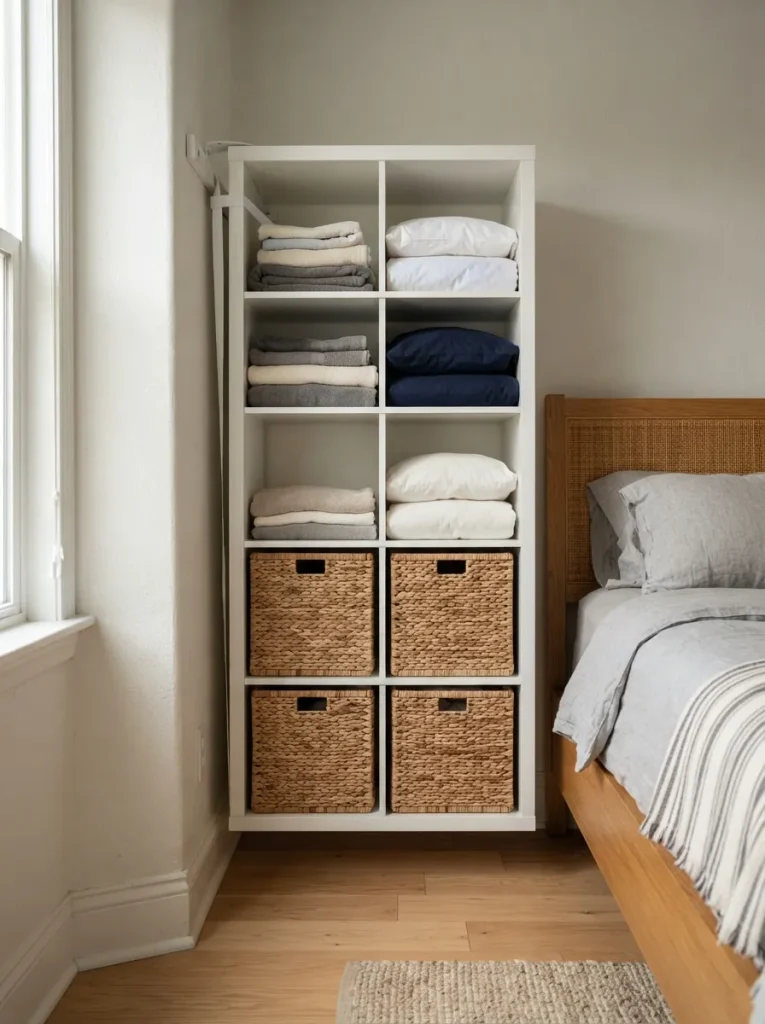
What it looks like: Turned vertical instead of horizontal, the same eight cubes fit into a corner barely wider than a doorway.
Why it works: A 2×4 Kallax stood on its end occupies roughly 15 inches of floor width instead of the horizontal version’s 30-plus, which matters when every inch of wall gets fought over. It still holds the same eight cubes’ worth of storage.
How to copy it: Confirm the vertical orientation is structurally rated before flipping it Kallax specifically is designed to be used either way, but not every shelf unit is. Secure it to a wall stud regardless of orientation; a tall, narrow unit tips more easily than a wide, low one.
Best for: Awkward corners, hallway nooks, or bedrooms with one unusable wall the same trick shows up a lot in these Kallax dorm room ideas.
Mistake to Avoid: People often skip the wall anchor on a vertical stack because it looks stable standing empty it isn’t once four cubes are loaded with folded clothing. Anchor it before you fill a single cube.
MY Views:
In my experience, the conversions that fail aren’t the ones with bad hardware they’re the ones where nobody measured the door swing before adding a curtain track or hinged doors. I’ve watched a perfectly good Kallax closet get its doors removed within a month because they hit the bed frame at a 90-degree open. Measure the full swing radius, not just the unit’s width, before committing to anything with hinges.
9. Install Kallax Doors for a Built-In Panel Front
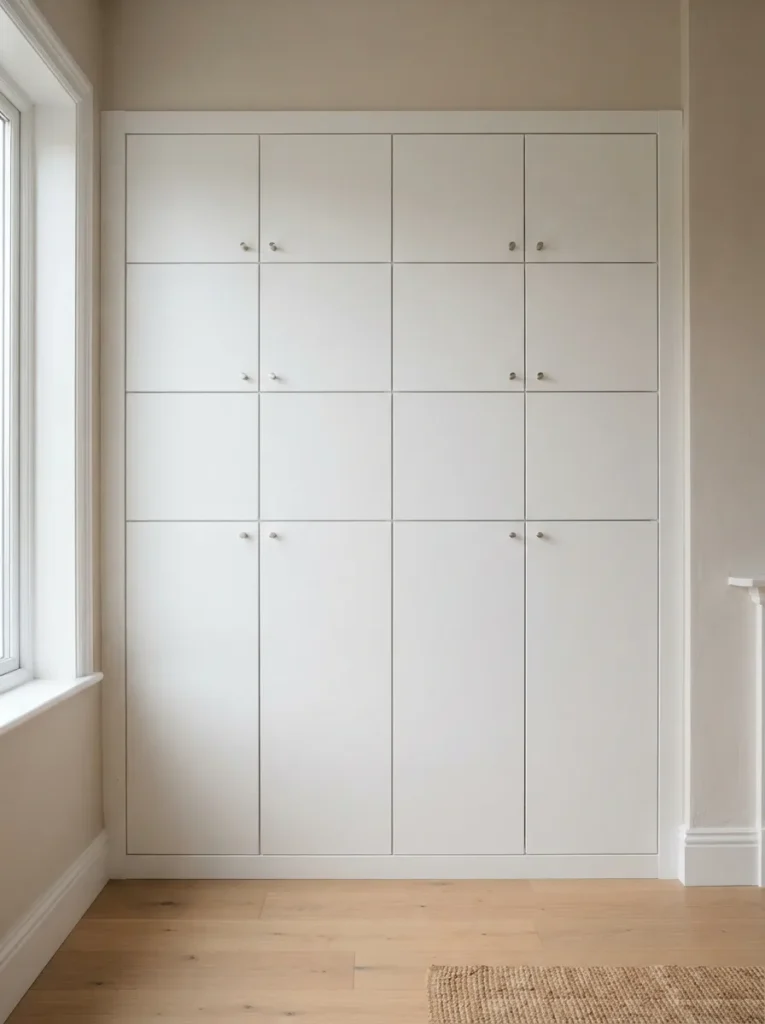
What it looks like: Flat panel doors across the front make the unit read as a built-in closet instead of open shelving with things stacked in it.
Why it works: Doors are the single change that shifts a Kallax from “shelf” to “closet” in most people’s eyes it’s a psychological read as much as a practical one, since hidden storage always feels more finished than visible storage, even when the contents are identical.
How to copy it: Doors come sized specifically for 1×2, 2×2, and 2×4 Kallax configurations, so match your exact unit before ordering they aren’t universal. Budget an extra hour for hinge alignment; laminate cube openings are rarely perfectly square, and doors hung without shimming will bind.
Best for: Bedrooms where the storage piece needs to look permanent, not temporary.
✅ Before You Install Kallax Doors:
- [ ] Measure each cube opening individually don’t assume uniform sizing across the unit
- [ ] Order doors matched to your exact Kallax configuration (1×2, 2×2, or 2×4)
- [ ] Unpack and dry-fit each door before attaching hinges
- [ ] Shim uneven cube openings so doors hang flush
- [ ] Add a soft-close hinge kit if the unit sits near a sleeping area
Shop This Look
| Product |
|---|
| Kallax-sized cabinet door panels |
| Matching hinge kit |
| Soft-close hinge upgrade |
| Slim cabinet door pulls |
| Cabinet door shim set |
Last two: a color trick and a labeling system that keep the whole thing from sliding back into chaos.
10. Paint the Cubby Backs a Contrast Accent Color
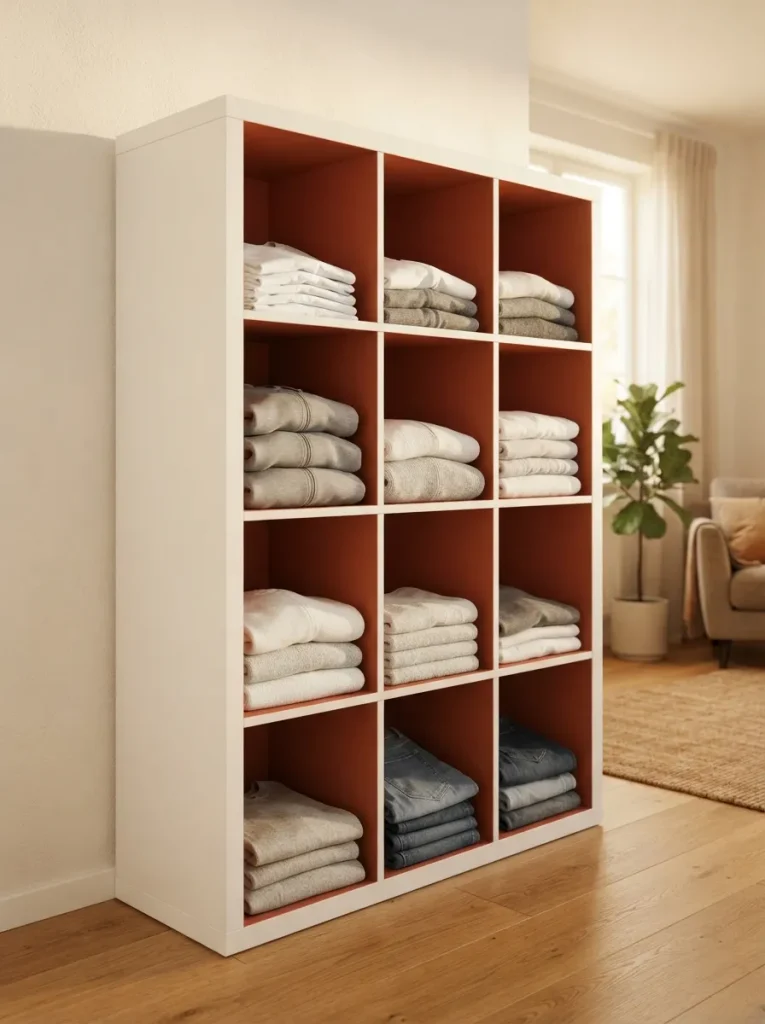
What it looks like: The frame stays neutral, but each cube’s back panel gets a small hit of color deep terracotta, forest green, whatever isn’t already on the walls.
Why it works: Painting only the interior back panel adds personality without adding visual bulk, since the color only reads when you’re facing the unit directly. It also makes contents easier to spot at a glance a colored back panel creates contrast against white folded stacks or black bins.
How to copy it: Tape off the surrounding cube edges carefully before painting the back panel only a bleed line onto the white sides reads as a mistake, not a design choice. Two coats of chalk or eggshell paint in a saturated tone hold up better against scuffing than flat matte.
Best for: Anyone who wants color without repainting an entire room.
Quick Win: Peel-and-stick removable wallpaper works as well as paint for this and comes off clean at move-out cut it to the exact back-panel dimensions before applying.
11. Add Labeled Woven Baskets for Zoned Storage
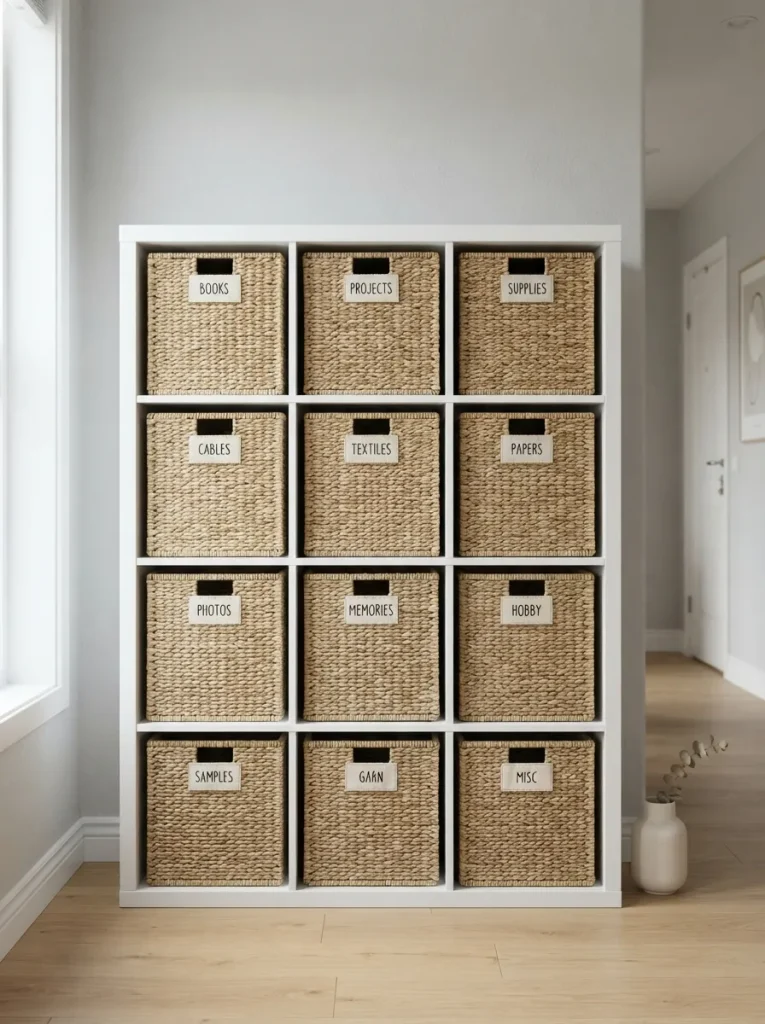
What it looks like: Each cube gets one labeled basket, and the whole unit reads as sorted rather than simply full.
Why it works: Zoning by basket one for socks, one for accessories, one for off-season folds solves the real failure point of open shelving, which is that “storage” quietly becomes “pile” within a few weeks. A visible label does more to maintain the system than the basket itself.
How to copy it: Use a consistent basket material across the whole unit rather than mixing wicker with fabric with plastic visual consistency is what sells the closet read from a distance. Attach labels to the front lip with removable adhesive tags so zones can shift as your wardrobe changes seasonally.
Best for: People who’ve tried open shelving before and watched it turn into a mess this zoning approach is borrowed straight from these Kallax craft room storage ideas.
Pro Tip: Assign the eye-level cubes to whatever you reach for daily and push off-season baskets to the bottom row most people default to alphabetizing or color-coding first, but reach-frequency is what actually keeps a converted closet functional six months in.
How to Start Your Kallax Closet Conversion
In practice, the first move is almost always the hanging rail not the doors, not the paint. Everything else on this list is optional depending on your wardrobe, but a rail is the one addition that turns a shelf into something that functions like a closet on day one. Start with a single cube before committing rail hardware to the whole unit.
The most common fixable error is buying bins or doors before measuring the actual cube opening. Kallax cubes measure close to 13 x 13 inches, but “cube storage” bins sold elsewhere range widely, and doors are sized to specific configurations. Buying based on a general “cube bin” label instead of your unit’s real dimensions is the single most returned-item mistake in this kind of project.
A single tension curtain rod under $15 solves the closed-front problem without hardware. A four-pack of labeled canvas bins, usually under $35, handles the zoning. A roll of clear edge-banding tape, around $8, protects painted or laminate edges from the daily wear of hangers and bins.
A single-cube rail conversion takes about 20 minutes. The full version rail, bins, paint, and doors realistically takes a weekend: one afternoon for painting and drying time, another for hardware and door installation. Budget $60 to $120 for a basic bin-and-rail setup, or up to $250 if you’re adding doors and lighting.
Ready to Create Your Small-Bedroom Closet?
Between hanging rails, painted panels, stacked units, and labeled baskets, there’s more than one way to make a Kallax function like an actual closet color, material, and layout all played a part above. None of this has to happen at once; even the rail alone, added this weekend, gets you real hanging storage by Sunday night.
Pick the smallest, cheapest idea from this list and do that one first before deciding whether the doors or the paint are worth the extra step. Done well, a converted Kallax stops looking like storage you’re tolerating and starts feeling like a closet you actually planned for. Pin your favorite version now so you’re not scrolling back through eleven ideas while standing in the IKEA aisle.
You Might Also Like
- 9 Small Bedroom Storage Ideas That Don’t Require a Closet
- 7 IKEA Kallax Hacks for a Home Office in a Studio Apartment
- 6 Budget Closet Organization Ideas Under $100