12 Basement Kitchenette Island Ideas for a Finished Basement
A basement kitchenette island only earns its square footage if it works with a ceiling under 8 feet and a slab floor that was never meant for plumbing. These twelve basement kitchenette island ideas cover the island types, materials, and lighting workarounds that hold up below grade no guesswork required.
Picture the low hum of a mini-fridge, the soft glow of toe-kick lighting instead of harsh can lights, and a countertop just wide enough for a cutting board and two wine glasses. Basement kitchenettes aren’t smaller kitchens they’re a different design problem entirely. Get the island right, and the room finally feels finished instead of borrowed.
Quick Navigation
- Why Basement Kitchenette Islands Make Such a Difference
- The Ideas: What Actually Works Below Grade
- How to Start Your Basement Kitchenette Transformation
- Ready to Create Your Basement Kitchenette?
Why Basement Kitchenette Islands Make Such a Difference
A basement kitchenette usually shows up alongside a home theater, an in-law suite, or a rental unit spaces that need real counter space and storage without duplicating an upstairs kitchen. The island is what makes that work: prep space, a social anchor for movie nights, and often the only storage in a room built around mechanicals and stairs.
It matters now because basements are increasingly finished as accessory living space, not just rec rooms, and every material or lighting choice has to account for lower ceilings, less natural light, and a slab floor. Start with the ceiling height and plumbing decision before anything else.
| Best starting point | Ceiling height and plumbing decision |
| Biggest impact area | Countertop material and island footprint |
| Budget to start | Roughly $150–$400 for a cart-based setup (approximate) |
| Time to complete | A weekend for a cart; several weeks for built-in cabinetry |
The Ideas: What Actually Works Below Grade
1. A Rolling Bar Cart Instead of a Fixed Island
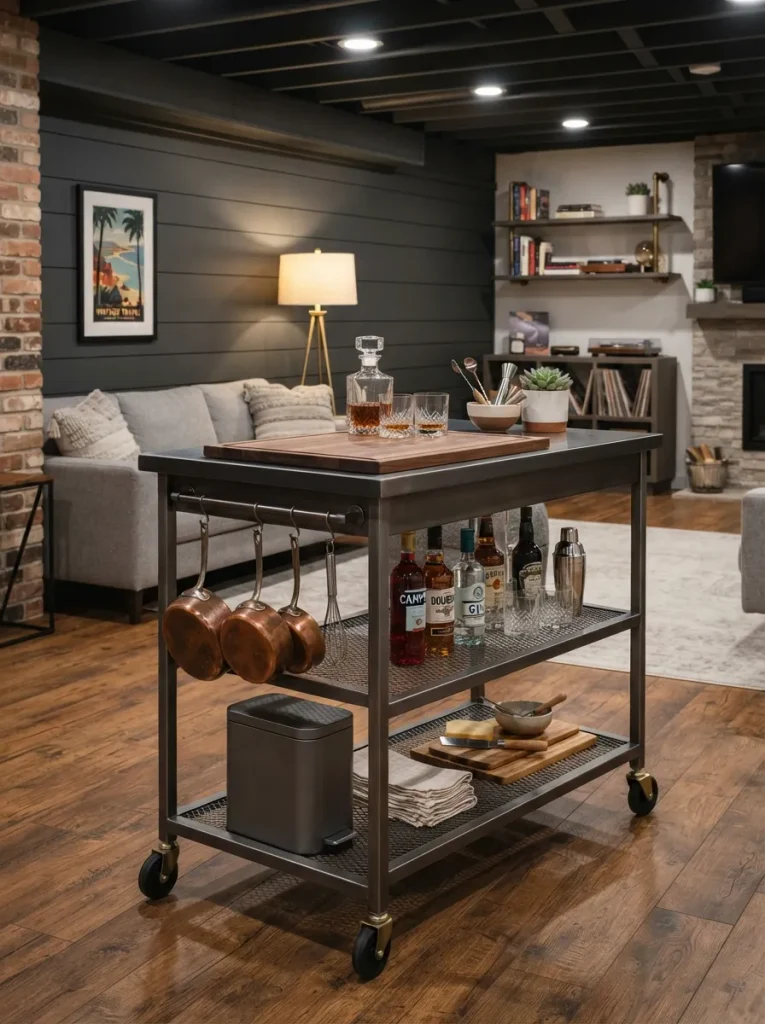
Most basement kitchenette plans start with a plumbed-in island, and that’s usually the first expensive detour. A rolling cart on locking casters gives real counter space and storage without a permit or slab work, and it travels through most standard basement stairwells and doorways as long as the footprint stays under a 32-inch clearance.
Lock the wheels while pouring drinks, then roll it flush against a wall to open up floor space for movie nights. It’s the right call for renters, tight budgets, and any basement under 200 square feet.
Quick Win: Skip the permit conversation entirely anything on wheels, without a hardwired sink, typically doesn’t trigger a basement remodel permit in most municipalities (always confirm locally).
2. Cabinet Boxes Built for Below-Grade Humidity
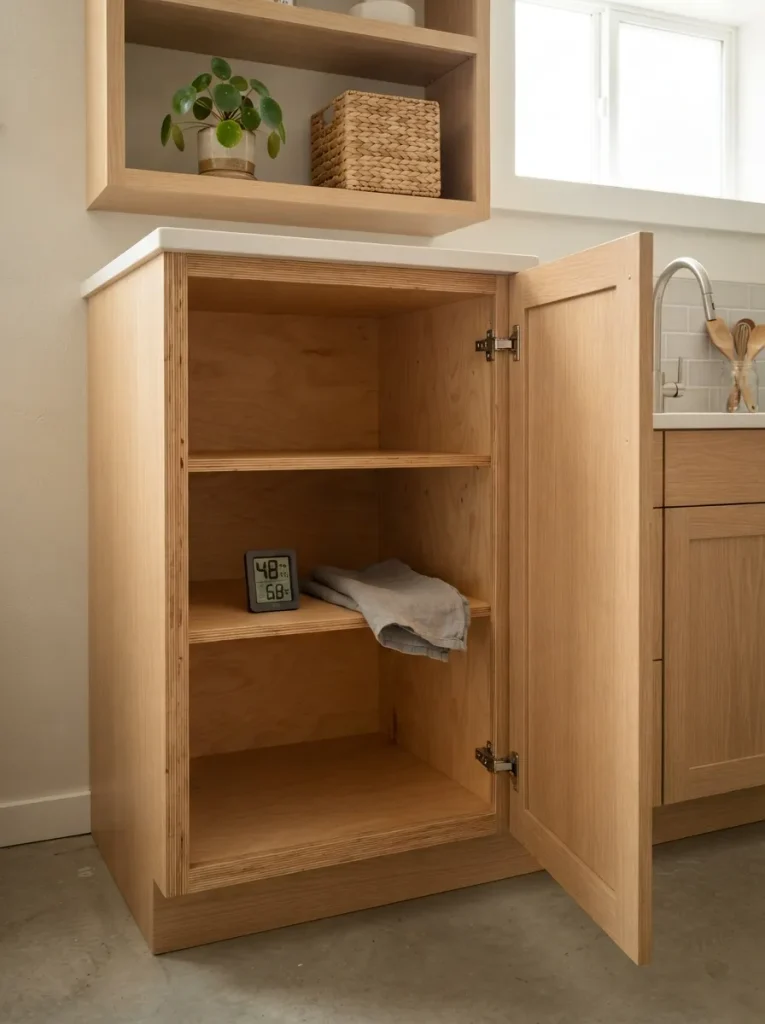
Basements run measurably more humid than the rest of the house even with a dehumidifier running, and standard MDF or particleboard cabinet boxes swell and delaminate faster than most people expect.
Plywood holds its shape better below grade because of how its layered grain resists moisture absorption, which is why it’s worth asking for a plywood box even under a laminate or thermofoil face. Seal any exposed edges, and keep the cabinet toe-kick clear of the floor in case of minor flooding. This one applies to any island near a sump pump, floor drain, or unfinished water source.
Pro Tip: Ask your cabinet maker for a plywood box with a laminate or thermofoil face it costs a little more upfront than MDF but skips the swelling repair bill in year two.
3. Flush-Mount Lighting for Low Basement Ceilings
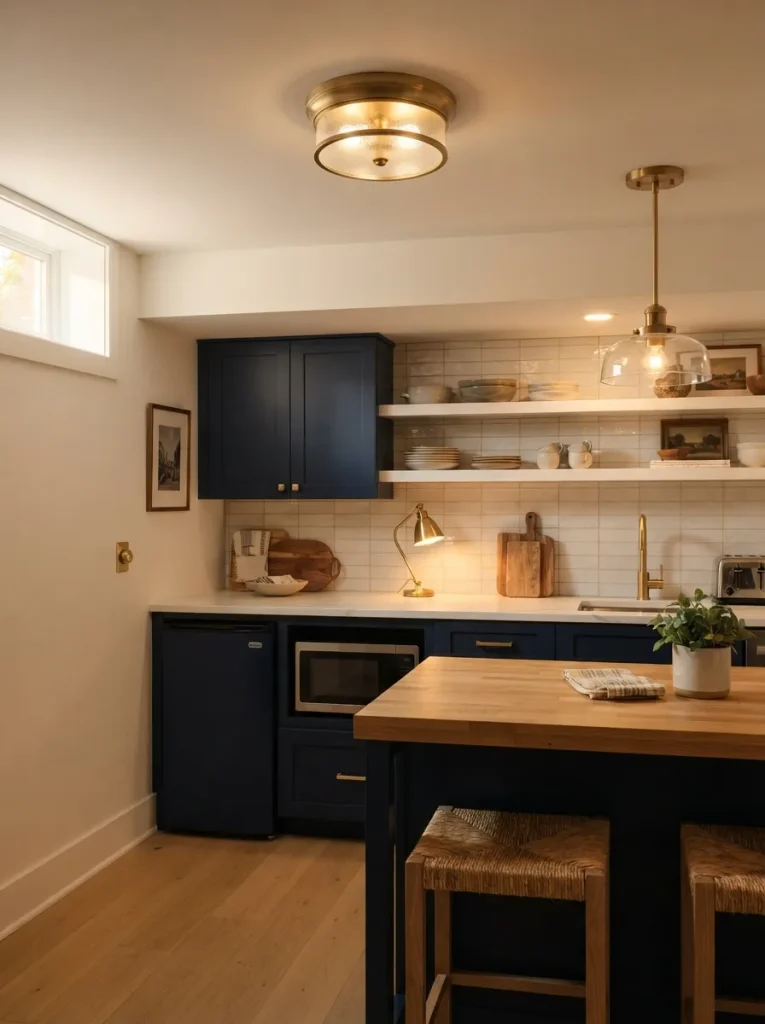
Anyone finishing a basement with a ceiling under 8 feet already knows pendant lights are mostly off the table they eat headroom fast. Hanging fixtures typically need 30 to 36 inches of drop clearance above counter height to look proportional, and most basements simply don’t have it.
Flush-mount or semi-flush fixtures solve the clearance problem, and swapping in warm 2700K bulbs keeps the cozy effect a pendant would have given. This fix matters most in walkout basements with dropped ductwork running the length of the ceiling.
Styling Note: Match the fixture’s finish to your cabinet hardware, not the fixture you’d pick for a room with 9-foot ceilings flush mounts read best kept simple.
Next: the two color decisions that make a windowless basement stop looking like one.
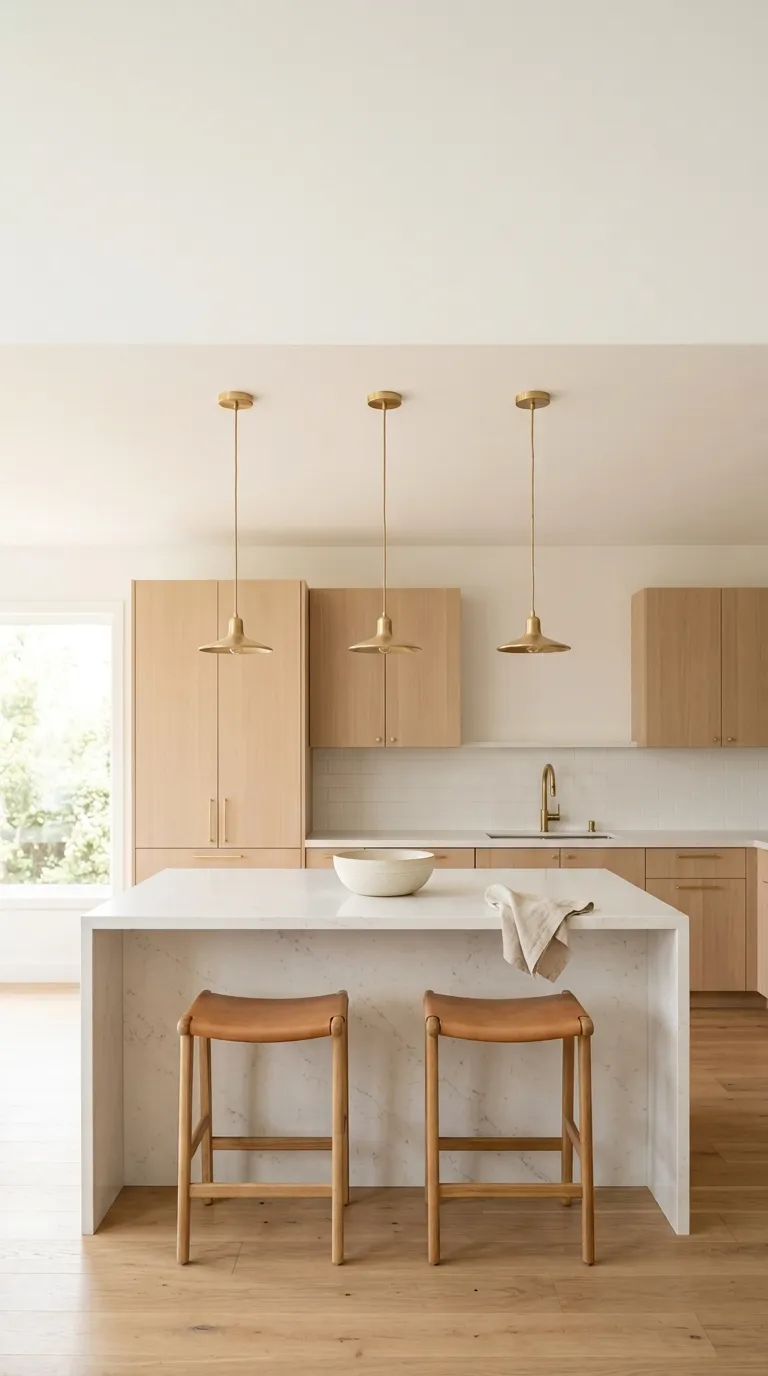
4. A Two-Tone Island to Offset a Low Ceiling
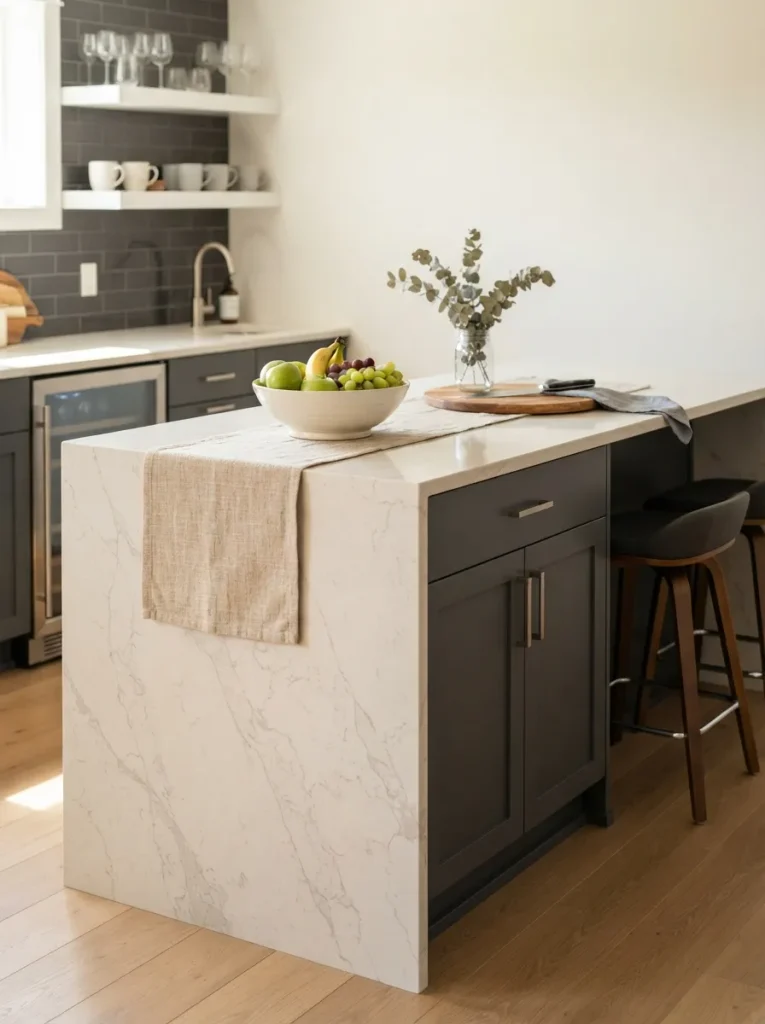
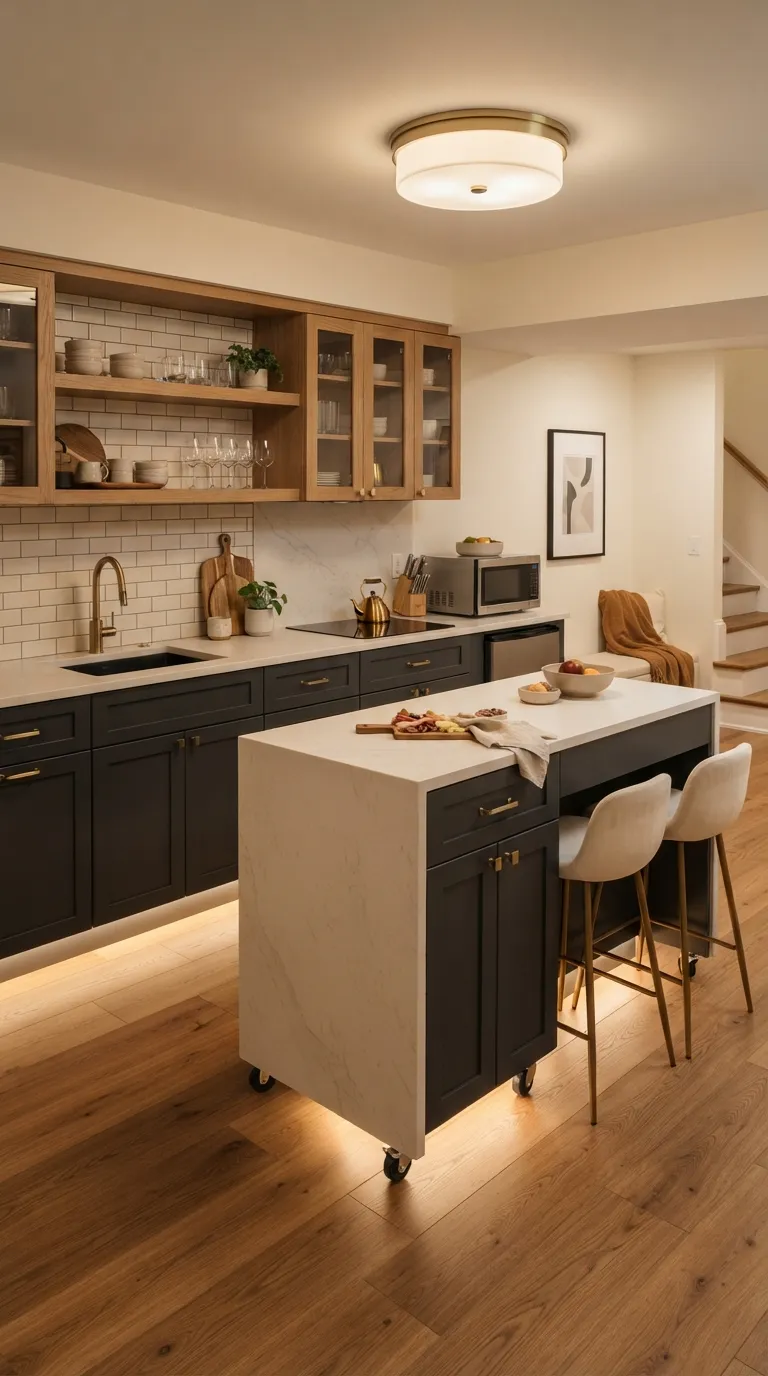
A dark lower cabinet base topped with a pale waterfall or flat-edge countertop pulls the eye down and sideways instead of up toward a ceiling nobody wants highlighted. Contrast at eye level reads as furniture-scale rather than architecture, which is what makes a low ceiling feel intentional instead of cramped.
Keep the top at least 20 to 30 points lighter in reflectance than the lower cabinets, and choose a matte finish below the counter basement dust and fingerprints show up faster on gloss. The palette choices here work the same way as the ones in these kitchen island ideas for minimal-style homes.
Important: A common assumption is that an all-white island makes a small basement feel bigger. Below grade, with no daylight to bounce around, white often reads flat and gray instead a warm off-white or a contrasting base holds up better under artificial light.
5. Choosing Between a Peninsula and a Freestanding Island
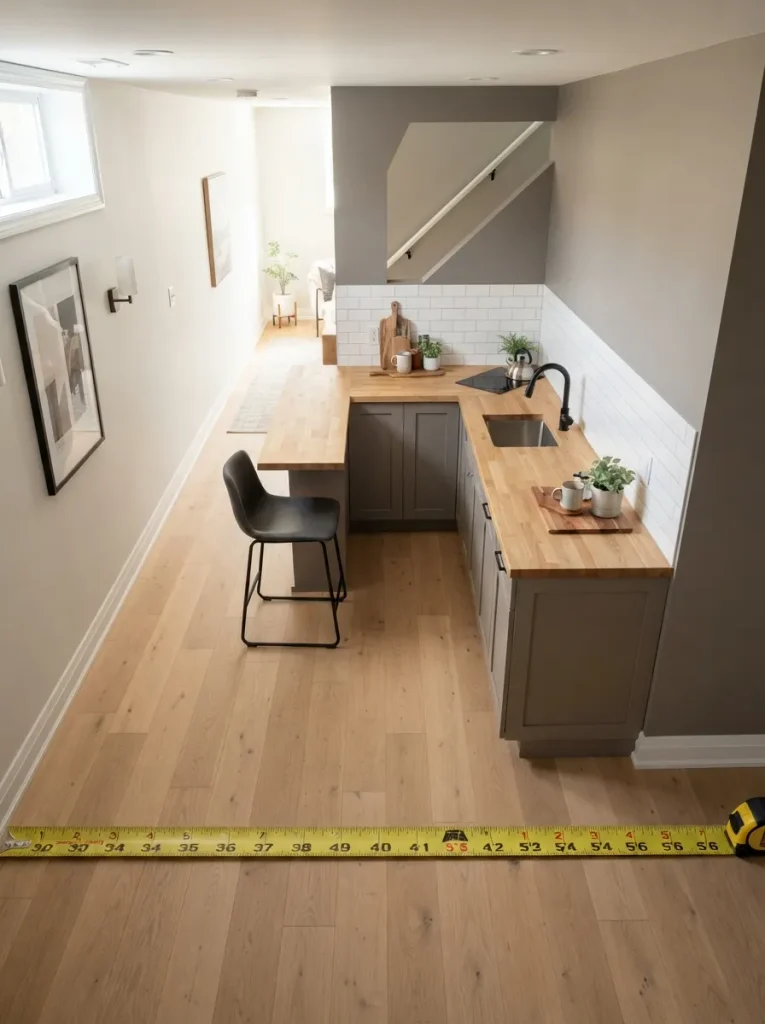
Measure the walkway on every side of the planned footprint before committing to a layout. A freestanding island needs roughly 42 inches of clearance all around to feel comfortable, or 36 inches if only one side sees regular foot traffic.
A peninsula, attached to a wall on one end, skips that clearance requirement on the attached side entirely, which makes it the better fit for narrow, rectangular basements. Open, squarer basements have more room to let a freestanding layout breathe. For more on getting this measurement right, these kitchen island layouts break down the same clearance math for above-grade kitchens.
✅ Measuring for the Right Layout:
- [ ] Measure the room’s shortest dimension wall-to-wall
- [ ] Subtract 36 to 42 inches of walkway clearance on the busiest side
- [ ] Check ceiling joist direction if adding overhead support brackets
- [ ] Confirm the remaining footprint against your appliance list
6. A Narrow Galley Island for Tight Basement Footprints
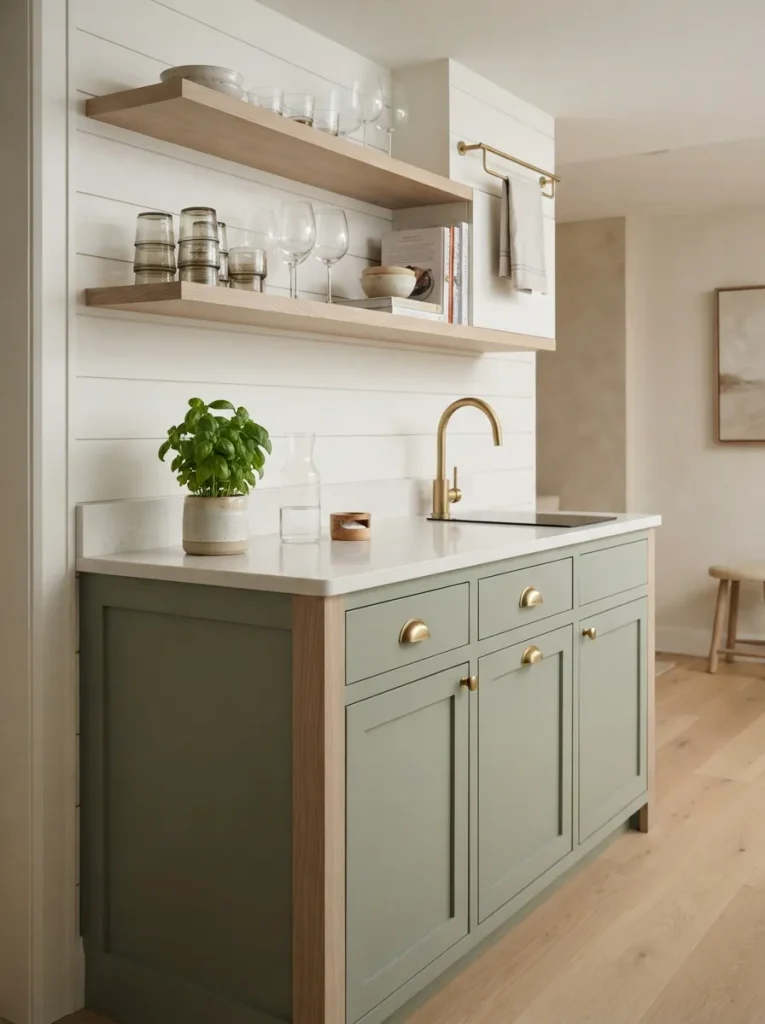
Standard kitchen islands run 36 to 42 inches deep, and that depth is exactly what makes them feel wrong crammed into a basement that was never framed for one. A 24-inch-deep run the same depth as a typical base cabinet still fits a bar sink, a two-burner cooktop, or open shelving, and it leaves real walkway space in a room already tight with stairs, a mechanical closet, or a bathroom rough-in.
This is the layout for any basement under 400 square feet pulling double duty as a rec room. These small kitchen island ideas cover more compact-depth tricks that translate directly below grade.
Budget Version: Stock 24-inch-deep base cabinets from a home center cost less than a custom-depth build and give the same narrow footprint.
Up next: the material trade-off nobody mentions until the estimate comes back.
7. Waterfall Quartz vs. Butcher Block: The Trade-Off That Matters Below Grade
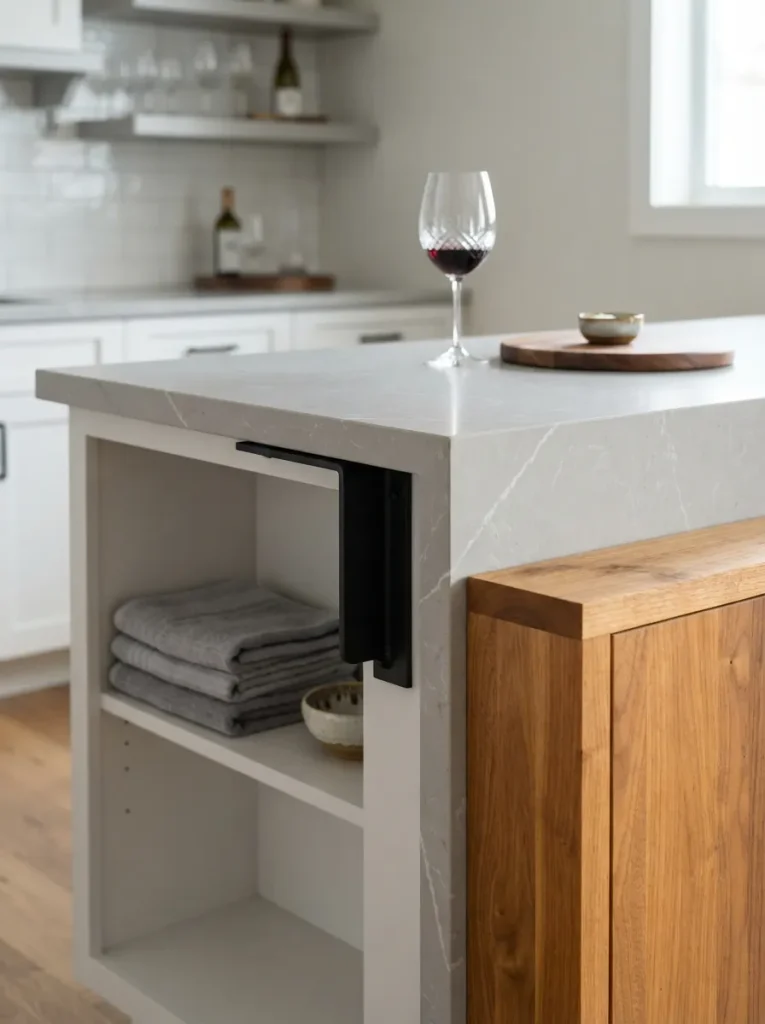
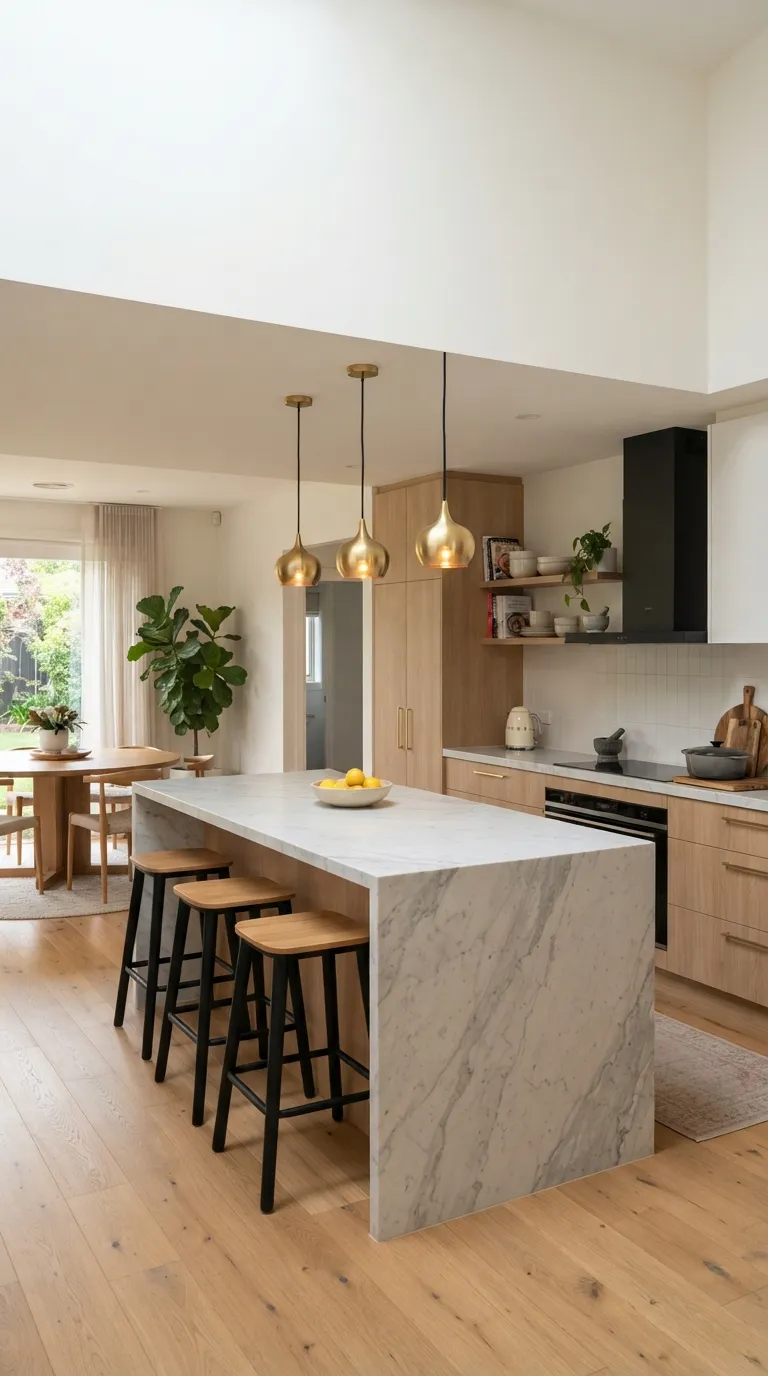
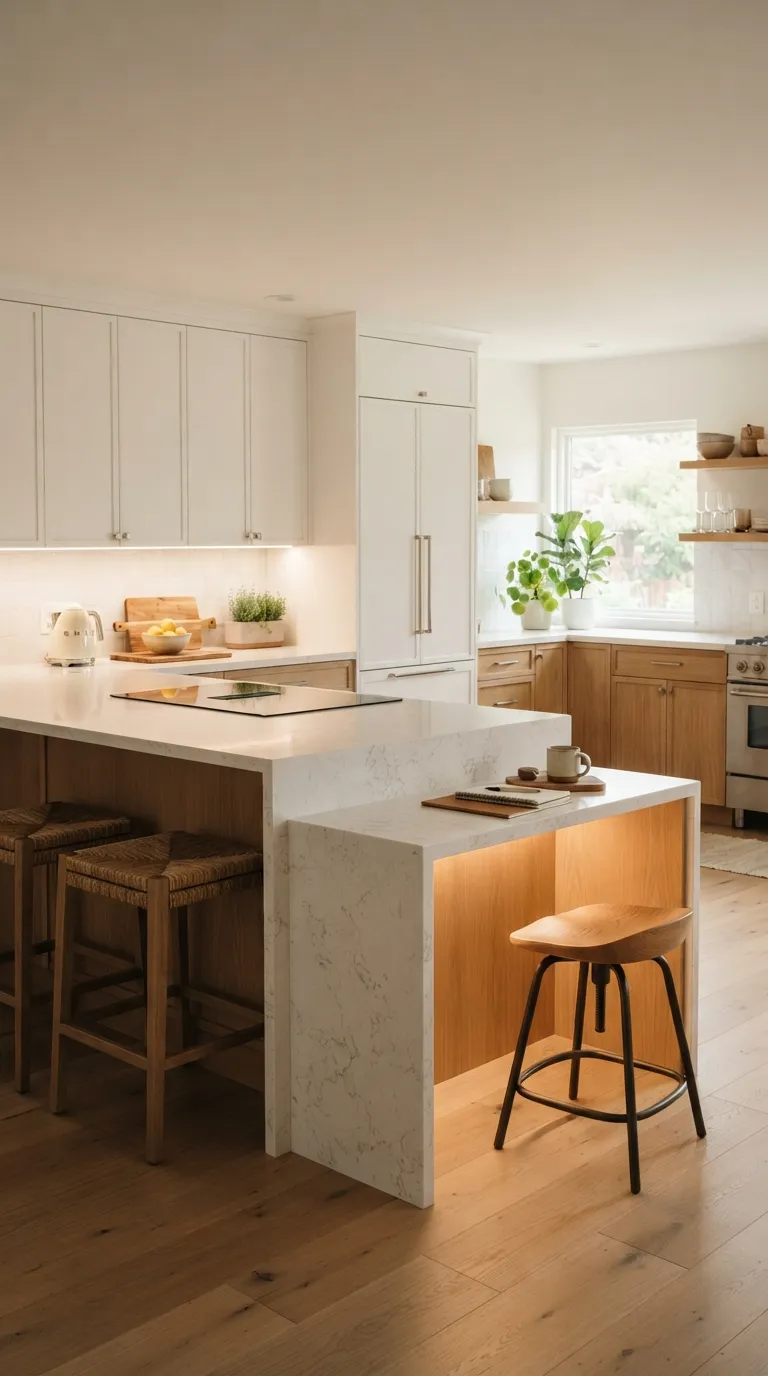
Waterfall quartz looks like the obvious upgrade, but the overhang needs full-depth support brackets or a mitered return underneath or it can crack under its own weight within a few years. Quartz is completely nonporous, which makes it a strong choice below grade near any plumbing.
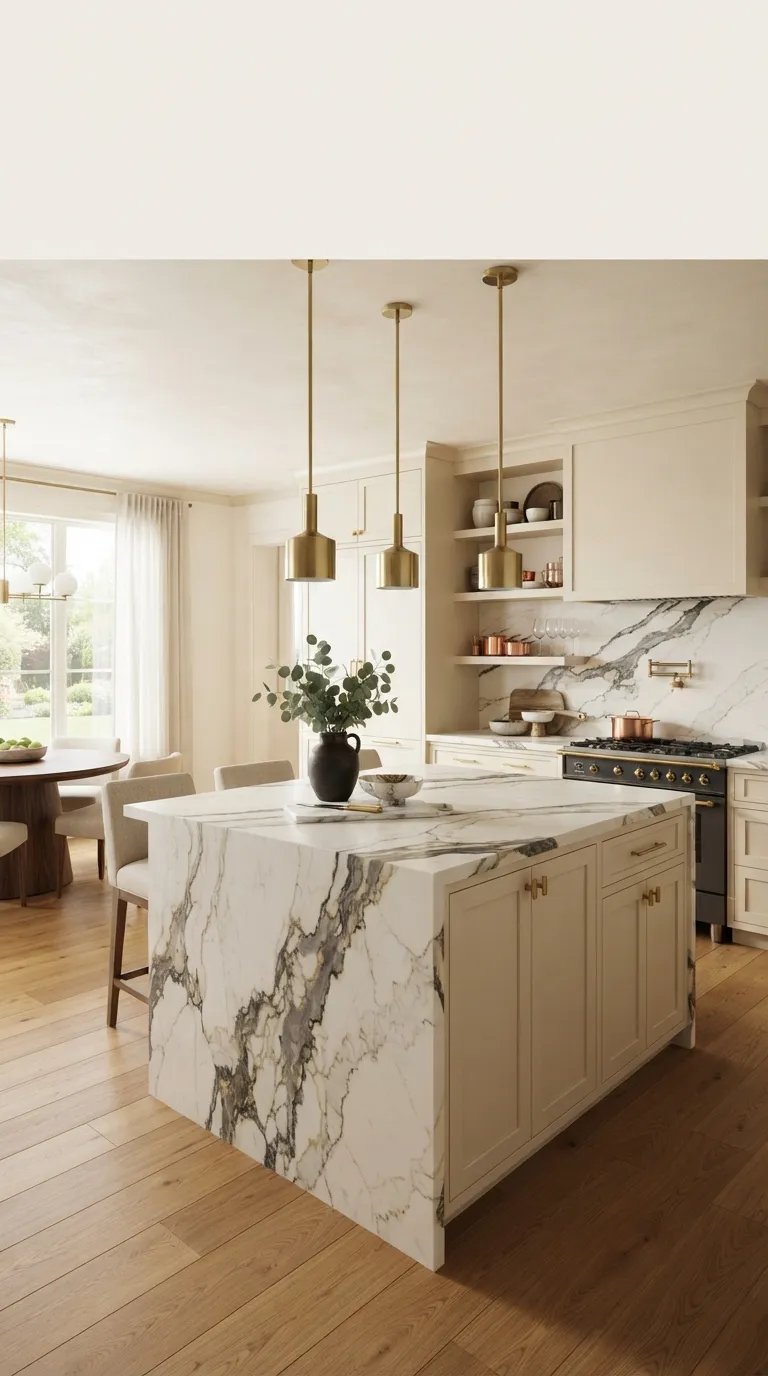
Butcher block runs warmer and cheaper per linear foot but needs yearly oiling and doesn’t tolerate basement humidity swings without a properly sealed finish. Pick quartz for the section nearest a sink, and save butcher block for a pure prep zone away from any water source. These luxury waterfall quartz kitchen islands show the support detail in more finished examples.
Pro Tip: If you go with a quartz waterfall, ask for corner support brackets every 24 inches under the overhang it’s a small add that prevents the crack most homeowners find out about the hard way.
8. Open Shelving Where Upper Cabinets Won’t Fit
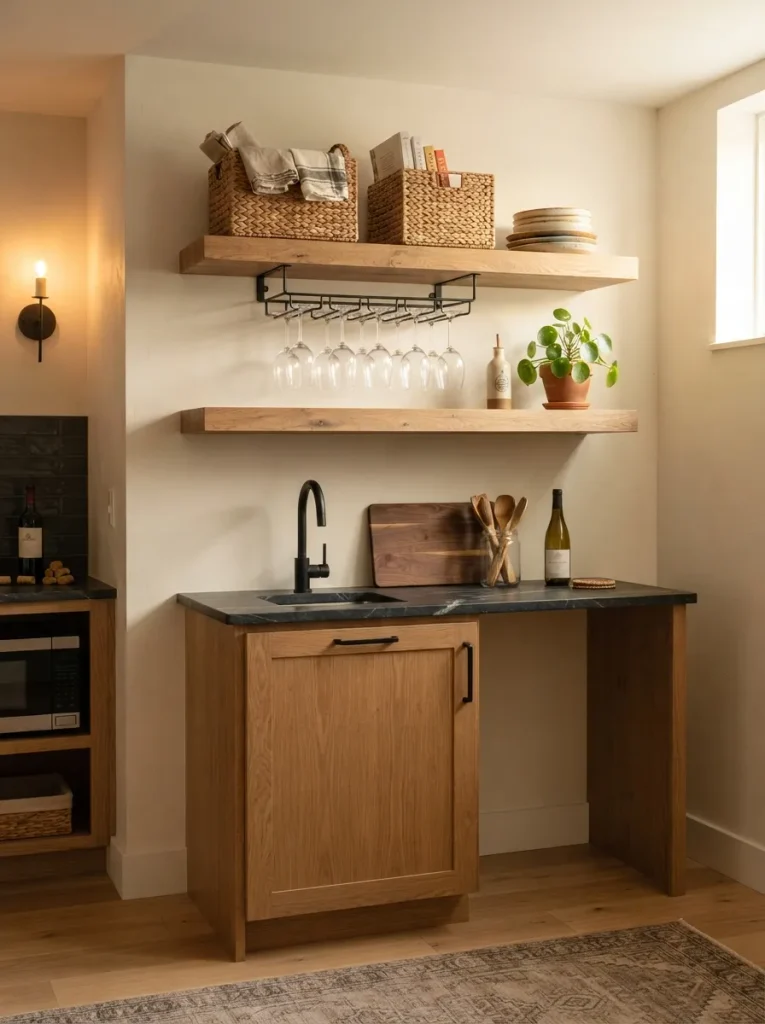
Skip the upper cabinets entirely and hang two or three floating shelves instead. Upper cabinet boxes typically need around 18 inches of clearance to the ceiling or a range hood, which most low basement ceilings don’t have to spare open shelving needs only a few inches and doubles as display space for glassware.
The visual weight stays low, working with the same two-tone trick from earlier in this list. Choose solid wood shelving or brackets rated for at least 15 to 20 pounds per linear foot if you’re storing stemware or bottles.
| Shop This Look |
|---|
| Floating wood wall shelves |
| Wall-mounted wine glass rack |
| Woven storage baskets |
Small-Space Tip: Mount shelves 15 to 18 inches above the counter instead of the standard 18 to 20 a couple inches lower keeps everything in easy reach in a low-ceiling room.
9. Bar-Height Seating That Actually Fits the Overhang
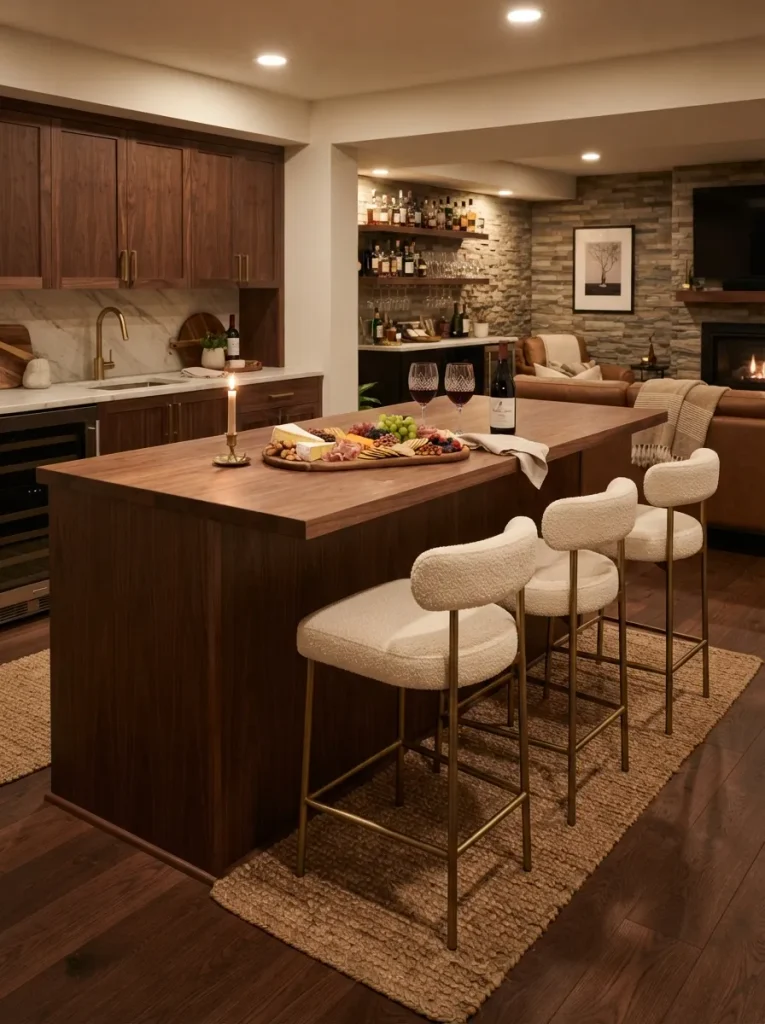
Start with the overhang, not the stools. Counter-height seating needs roughly a 12-inch overhang for knee clearance, and bar-height seating needs about the same depth paired with a taller 28 to 30-inch stool seat.
Budget 24 to 26 inches of width per stool so people aren’t sitting shoulder to shoulder during a movie-night crowd. In a low-ceiling basement, backless stools tend to look better than stools with tall backs they don’t visually compete with a dropped ceiling the way taller silhouettes do. This setup earns its keep in any basement built around entertaining.
| Shop This Look |
|---|
| Swivel counter-height bar stools |
| Backless bar stools |
| Bar stool with back support and footrest |
Last up: the finish and lighting fixes for a room with zero windows.
The counterintuitive part: Adding more overhead light is the instinct in a windowless basement, and it’s often the wrong fix. A single extra recessed can flattens a room instead of layering it two smaller, warmer light sources at different heights (say, a 2700K under-cabinet strip plus one flush-mount fixture) read as brighter to the eye than one strong overhead source, even at a lower combined wattage.
10. Light-Reflective Surfaces for a Windowless Room
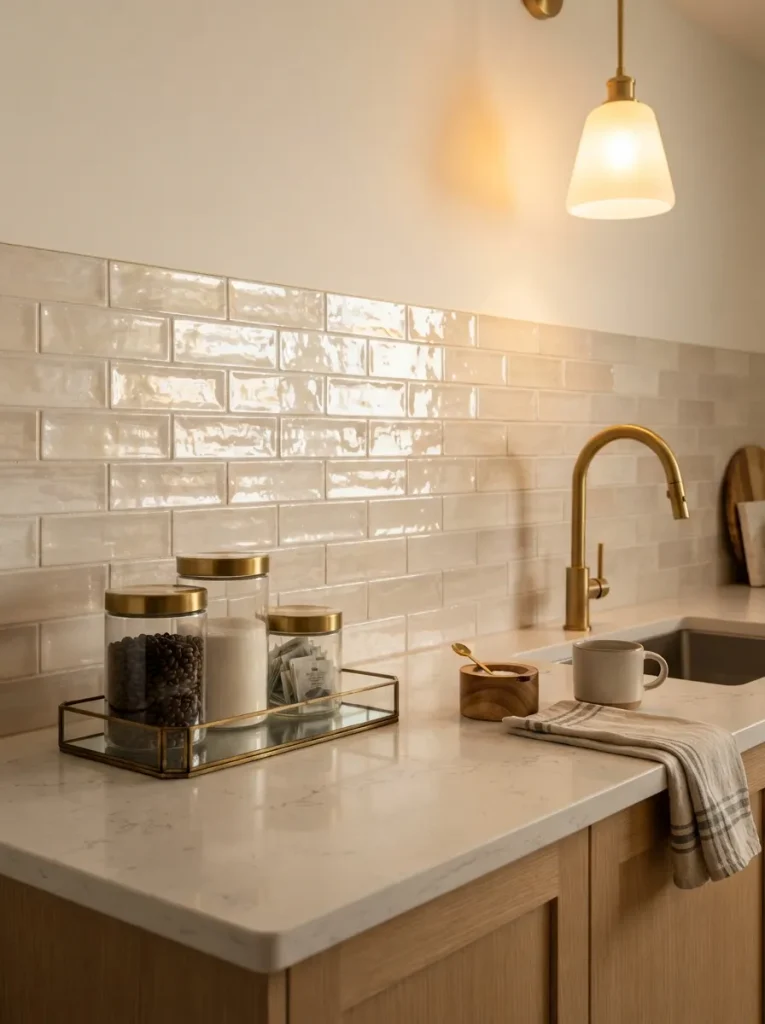
Basements without a single egress window need surfaces that bounce whatever artificial light they get instead of absorbing it. Glossy or honed light countertops and a glass-tile or mirrored backsplash reflect noticeably more of a room’s lumens back out than matte dark stone does a practical decision as much as a stylistic one.
Pair the finish with warm-white LEDs in the 2700 to 3000K range rather than daylight-toned bulbs, which can feel clinical in a room with no natural light for comparison. This one is worth prioritizing in any fully below-grade room without window wells.
Styling Note: A glass or glossy ceramic backsplash tile does more for perceived brightness than adding a second light fixture.
11. Toe-Kick and Under-Cabinet LEDs Instead of More Can Lights
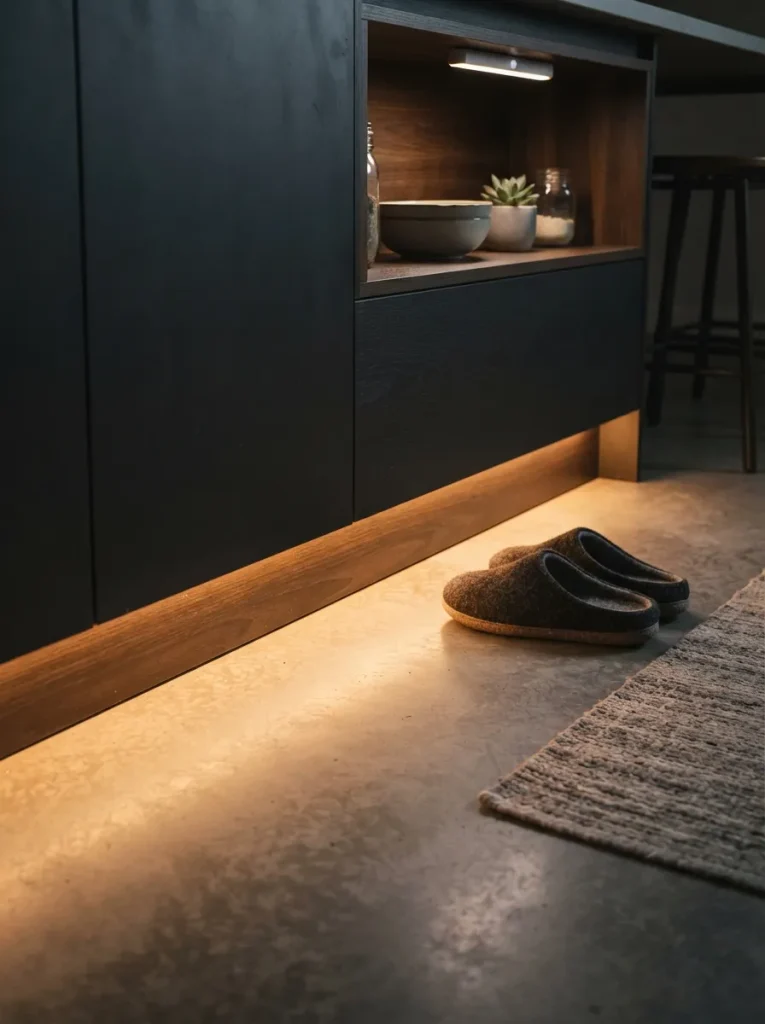
Adding more recessed can lights is the default fix for a dark basement, and it’s usually the wrong one it flattens the room instead of layering it, as the note above gets into. Toe-kick LED strips and under-cabinet task lighting add light at counter height, which does more for a kitchenette’s usability than overhead cans ever will on their own.
Peel-and-stick LED strips run on a plug-in transformer, so no electrician is required, and most kits come dimmable out of the box. This is the fix for DIY-friendly basements and rental units where hardwiring isn’t an option.
| Shop This Look |
|---|
| LED strip light kit with adhesive backing |
| Battery-powered puck lights |
| Motion-sensor light bar |
Quick Win: A motion-sensor light bar under the counter turns on automatically when you reach for a glass at night no switch required.
12. Sink and Mini-Fridge Integration: What Plumbing Actually Costs
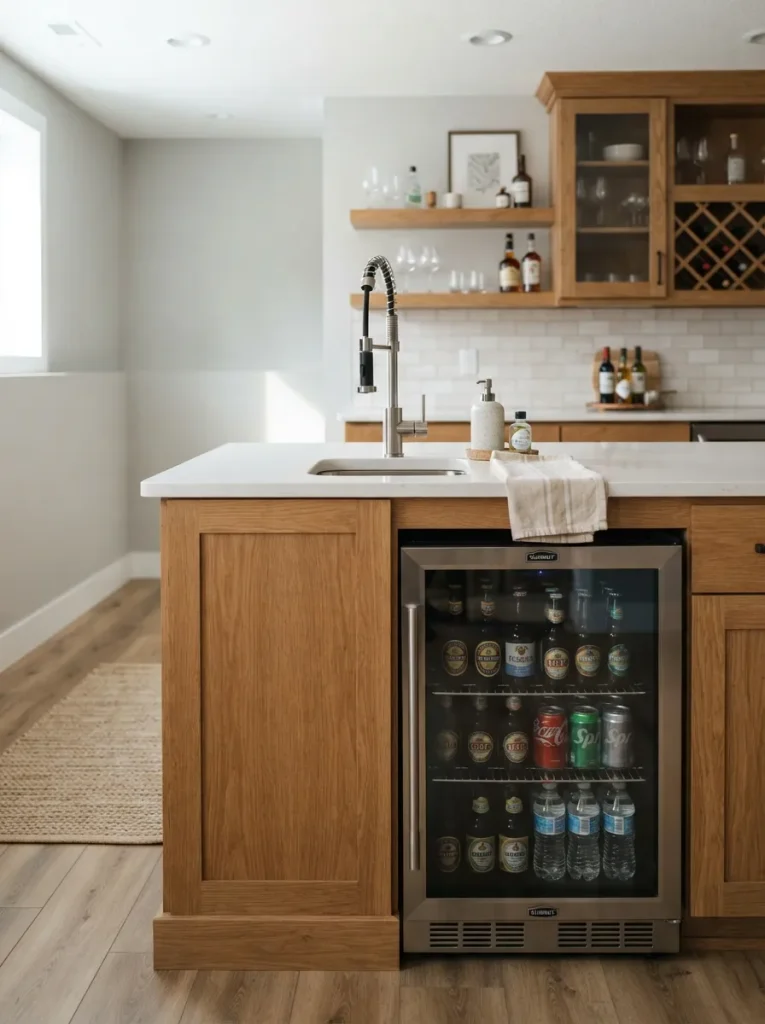
A bar sink is the single upgrade that turns a kitchenette from “nice cart” into “real second kitchen,” and it’s also the one most likely to require a permit. Below-grade plumbing usually needs a sewage ejector pump when gravity drainage isn’t possible, since the drain line sits below the main sewer line an added cost most people don’t budget for upfront.
Skip the sink and add only a mini-fridge, and plumbing drops out of the equation entirely while still covering most of what a kitchenette gets used for: drinks, snacks, and light prep. A full in-law suite usually justifies the plumbing cost; an occasional-use basement usually doesn’t. Accessible sink height and clearance considerations, covered in these aging-in-place kitchen island ideas, are worth a look if the space needs to work for all ages.
Warning: Skipping the permit on a below-grade sink is a common shortcut, and it’s the one that shows up at resale an unpermitted ejector pump install can hold up a home sale or an insurance claim. Pull the permit even for a small bar sink.
How to Start Your Basement Kitchenette Transformation
The right first move is almost always the ceiling measurement, not the cabinet color. Measure floor to the lowest point ductwork, a beam, a sprinkler head because that single number decides whether pendant lighting, upper cabinets, and a full-height island are even on the table for your basement kitchenette.
The most common fixable error is ordering island cabinetry sized for an upstairs kitchen and finding out at delivery that a corner clips a stair stringer or a support column. Order after a full walk-through with a tape measure, not from a floor plan drawn from memory, and account for a swinging door’s full arc, not just its width.
Three inexpensive items are worth grabbing before the bigger purchases: a moisture meter to check subfloor readings near the planned footprint, self-adhesive cork or foam shelf liner rated for damp spaces, and a roll of removable wallpaper for a quick backsplash refresh that won’t fight future plumbing changes. None of them lock you into a direction yet.
A cart-based kitchenette island can go from empty corner to finished in a single weekend, running roughly $150 to $400 depending on the cart and accessories. A built-in version with plumbing, cabinetry, and a quartz or butcher block top runs closer to several weeks and $2,000 to $6,000 (approximate, and permit-dependent) once a sink or mini-fridge enters the plan.
Ready to Create Your Basement Kitchenette?
Twelve basement kitchenette island ideas, and not one of them requires the same fix twice color that offsets a low ceiling, materials that shrug off basement humidity, lighting that skips the pendant problem entirely, and layouts that leave room to walk.
Transformation here doesn’t have to happen all at once; a rolling cart with the right lighting solves the immediate problem while cabinetry decisions wait. Start today by measuring that ceiling clearance it’s the one number every other choice on this list depends on.
Picture the finished version: warm toe-kick glow underfoot, a countertop that holds up to a poured drink and a board-game night, and a basement that finally stops feeling like unfinished square footage. Save the ideas that fit your ceiling height and floor plan now, before the cabinetry quote makes the decision for you.
Keep Exploring:
- 9 Basement Wet Bar Ideas for a Home That Loves to Entertain
- 11 Small Kitchen Island Ideas for Tight Upstairs Kitchens
- 8 Basement Flooring Ideas That Handle Moisture and Foot Traffic