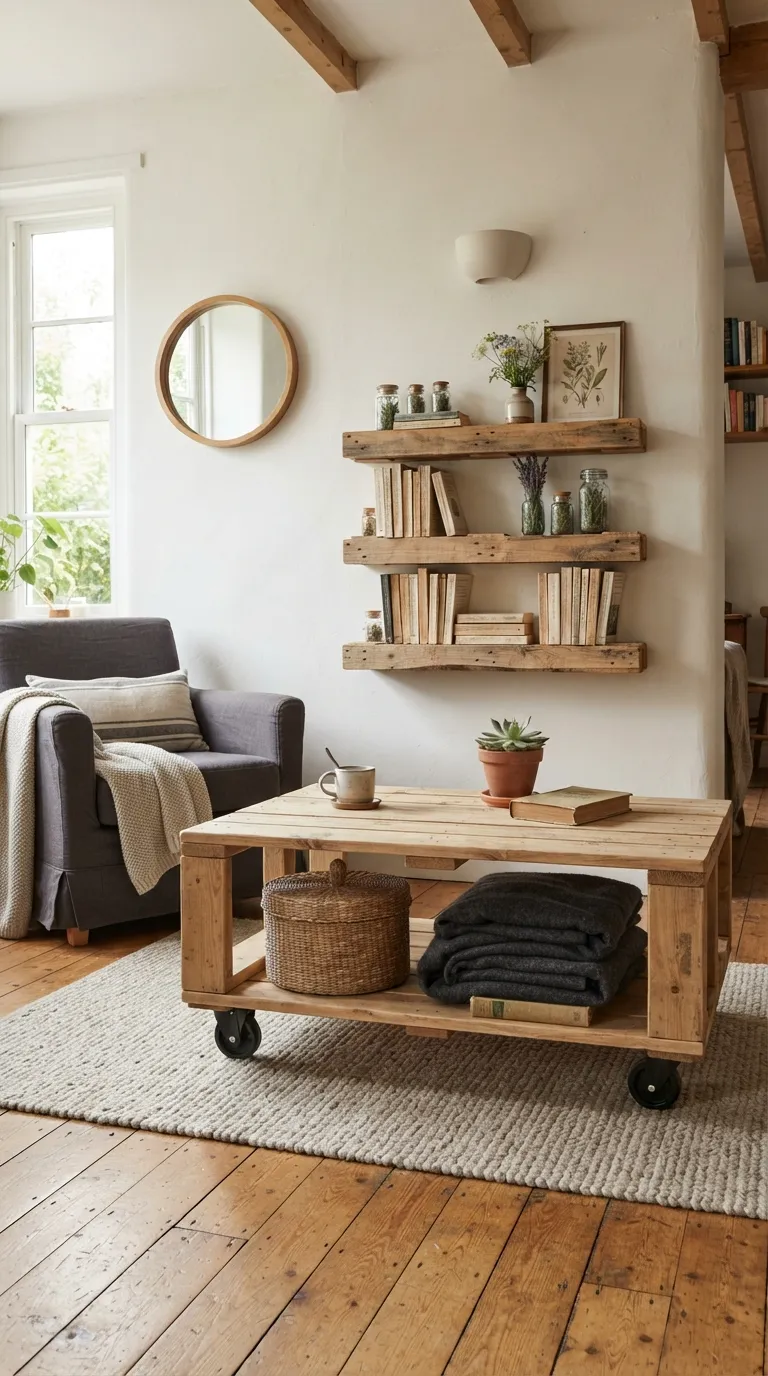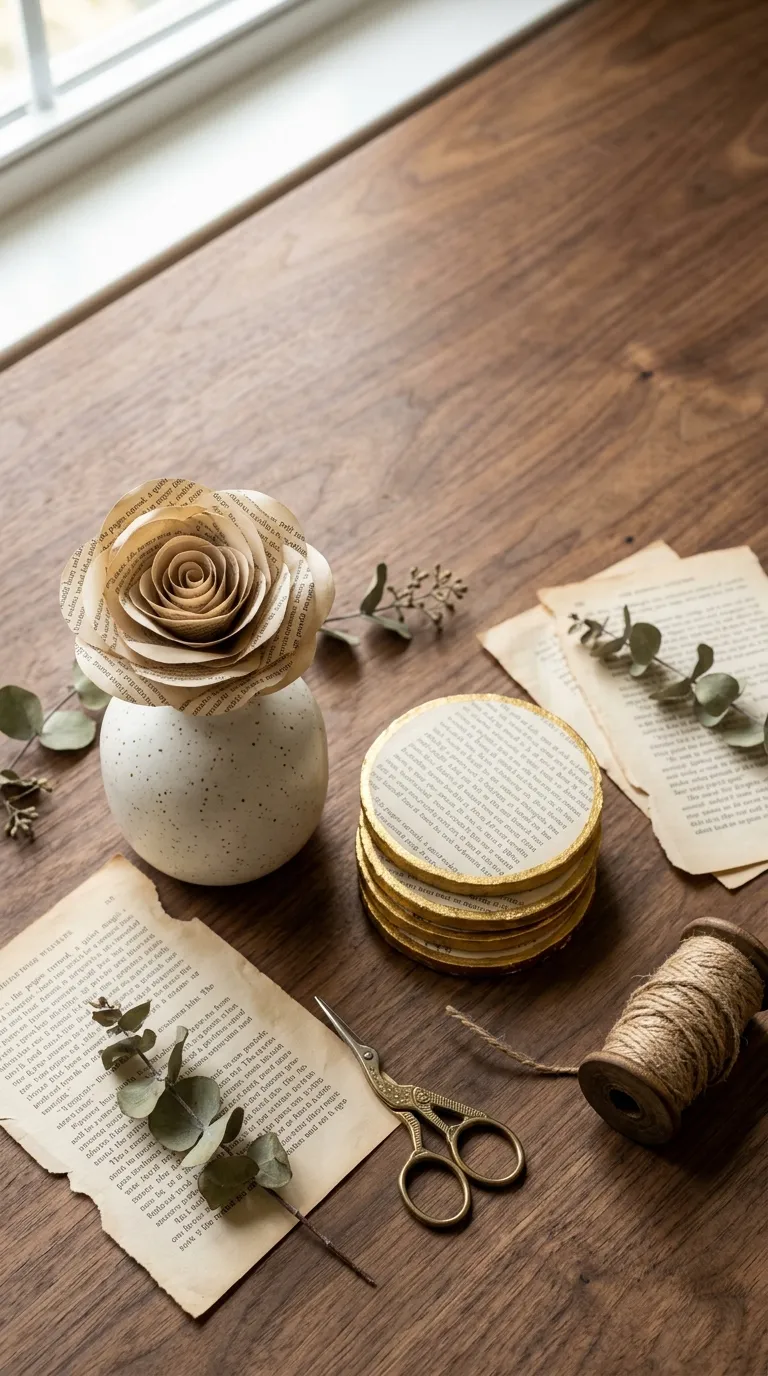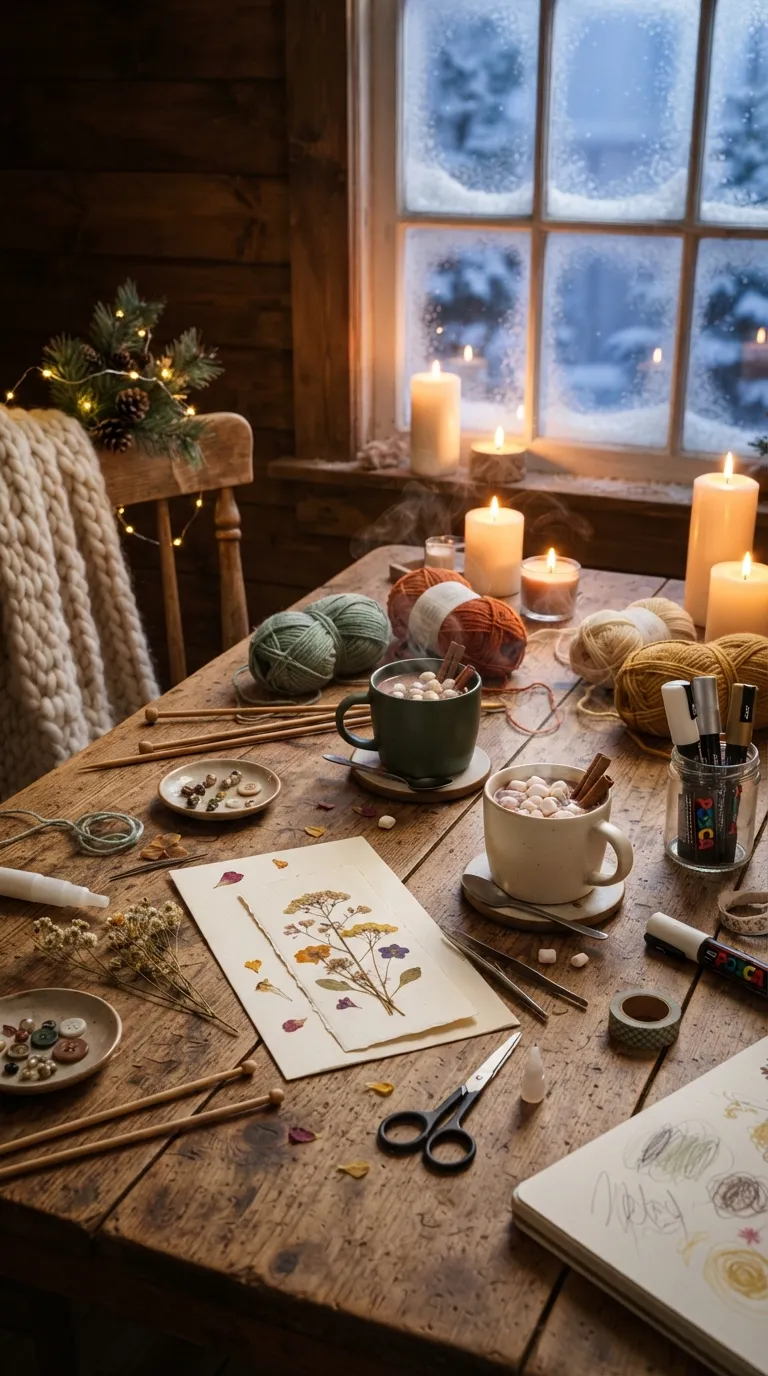
14 Cozy Winter Craft Night Themes for Staying In (No Reason to Leave the House)
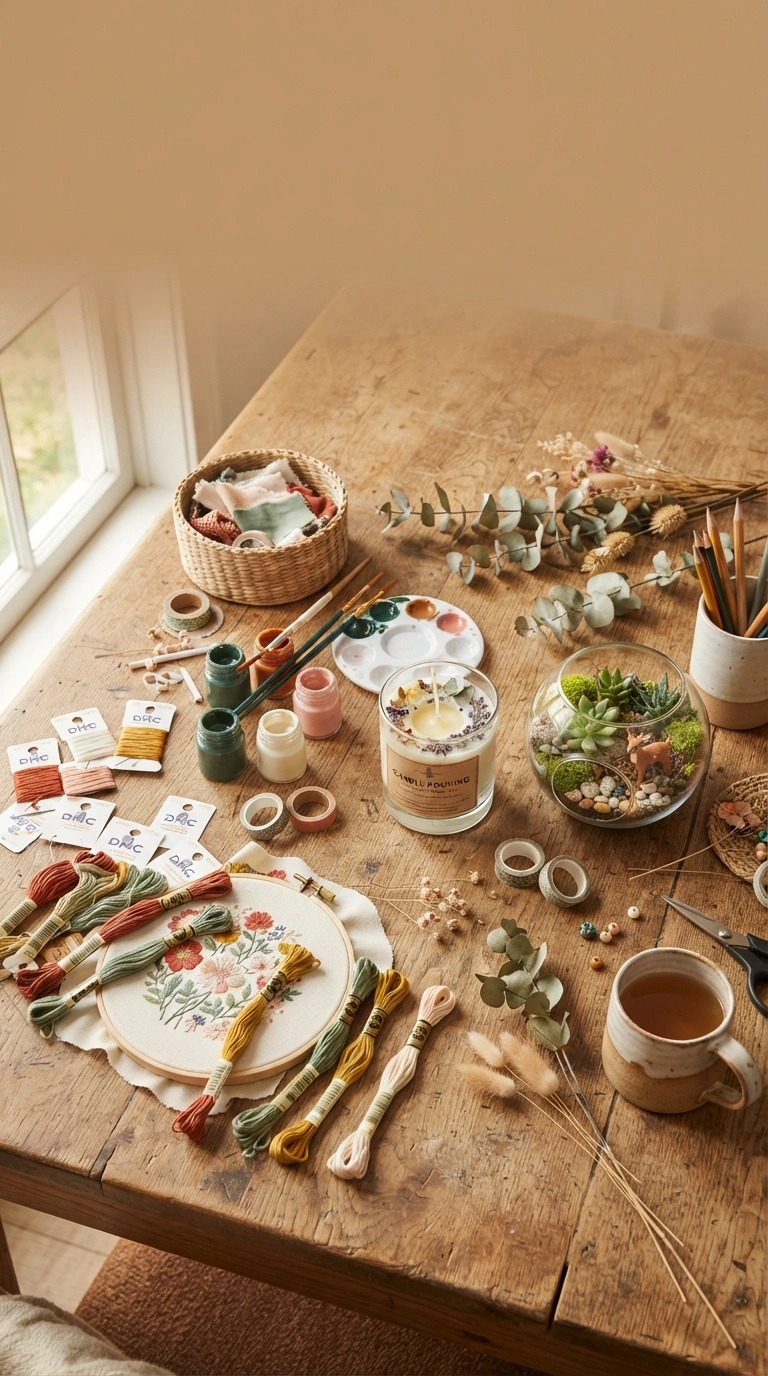
A craft night is really just an excuse hot drinks, low light, hands busy with something that isn’t a phone. Here are 14 cozy winter craft night themes for staying in, ranging from ten-minute wins to slower weekend projects.
Picture wool socks on the coffee table, a candle throwing shadows across half-painted mugs, someone’s playlist running low in the background. The best winter craft nights don’t need a real plan so much as a table cleared off and one good reason to stay seated. Snow outside makes the whole thing feel earned, somehow. Pick a theme, pull up a chair that’s really the whole trick.
Jump To
- Why Craft Night Themes Make Such a Difference
- 14 Cozy Winter Craft Night Themes
- How to Start Your Craft Night Tradition
- Ready to Plan Your Cozy Craft Night?
Why Craft Night Themes Make Such a Difference
A themed craft night is just a regular gathering with one constraint added everyone works from the same supply bin instead of five different projects. That constraint is what makes it easy to plan and even easier to show up to; nobody has to guess what to bring. Right now, with grocery and heating bills doing what they’re doing, a $15 supply box that entertains four people for two hours is doing real work.
It scales down fine, too one person, one candle, and a folding table works just as well as a crowded living room. Start with whichever theme uses supplies you already half-own.
| Best starting point | A $15–20 supply box built around one craft paint, yarn, or wax |
| Biggest impact area | Lighting candles or string lights over the craft table |
| Budget to start | $15 per person solo, $40–60 for a hosted group night |
| Time to complete | 90 minutes to 3 hours depending on the project |
14 Cozy Winter Craft Night Themes
1. Custom Mug Painting Palette Party
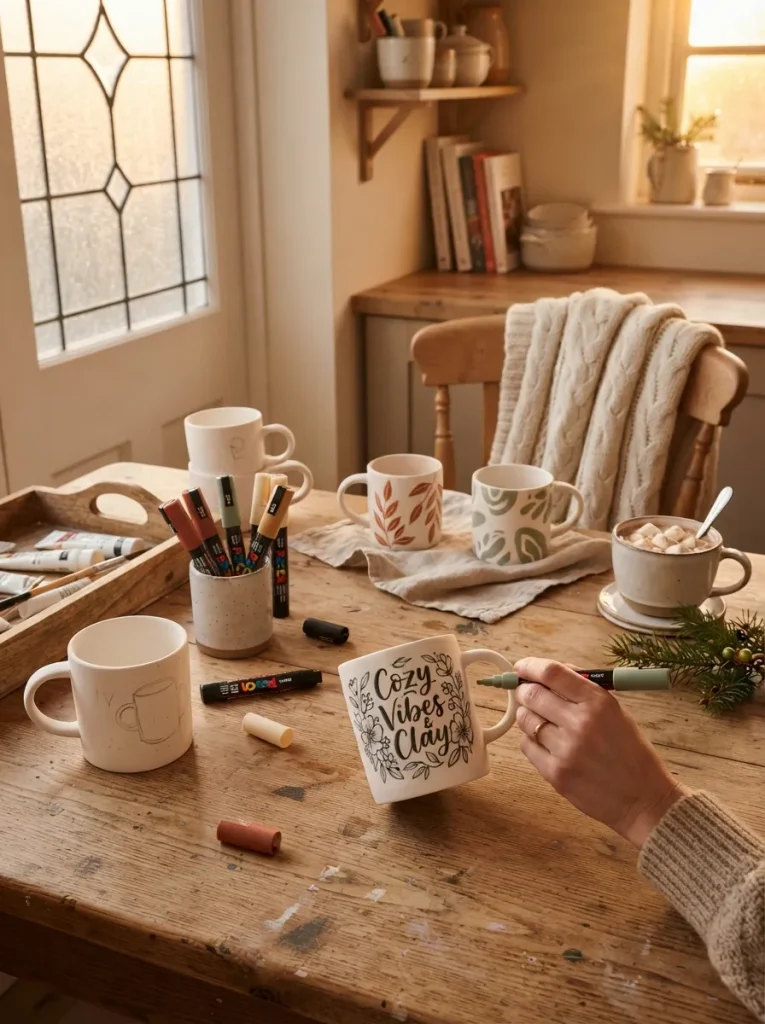
What it looks like: Plain mugs turn into something yours in under an hour, no kiln required.
Why it works: Dishwasher-safe paint pens cure right in a home oven, so the payoff is immediate instead of a week-long wait that instant gratification is what gets people to come back for the next one.
How to copy it: Buy plain white ceramic mugs in bulk, set out oil-based paint pens in three or four colors max, and bake finished mugs at 350°F for 30 minutes once the design has cured overnight. Keep one scrap mug out for testing pen pressure before anyone commits to their real one. If you’re hunting for more painted-mug pairings, the mug gift ideas roundup has color combinations worth stealing.
Best for: Total beginners, gift-season crafting, and anyone hosting people who swear they “can’t draw.”
Quick Win: Skip the oven step entirely and use paint pens labeled “cures at room temperature” check the label first, since not every brand needs baking.
What You’ll Need
| Product |
|---|
| Plain white ceramic mugs, 12 oz, set of 6 |
| Oil-based dishwasher-safe paint pens, fine tip |
| Set of linen tea towels for drying |
| Small painter’s palette tray |
2. Pressed-Flower Bookmark Station
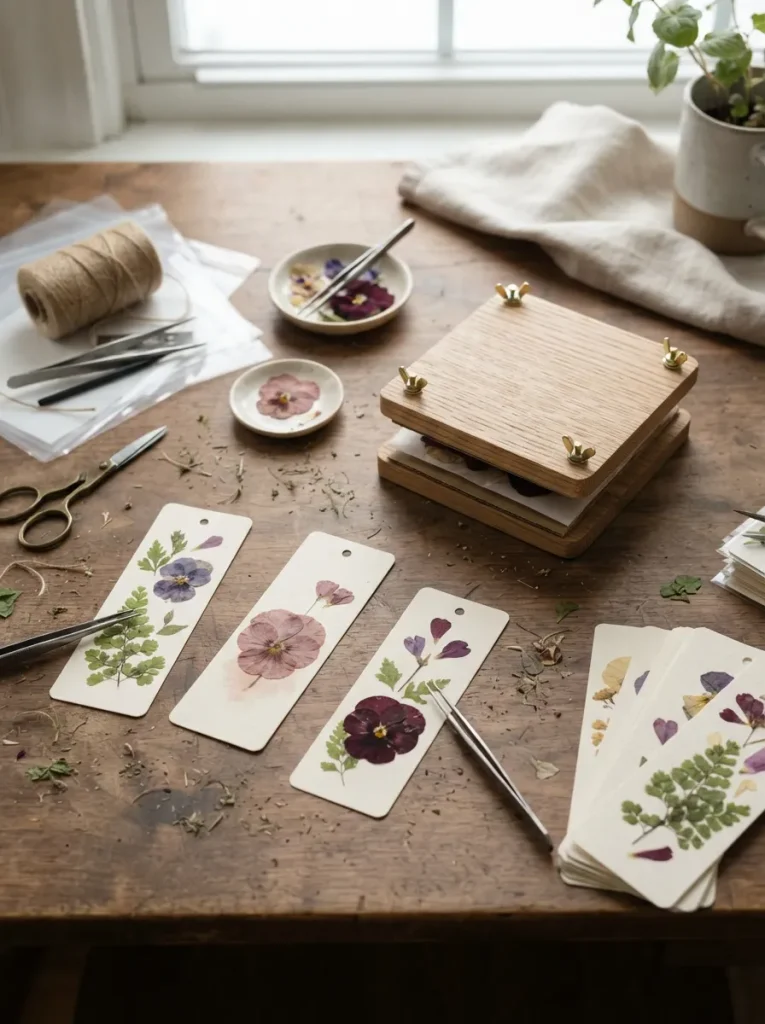
What it looks like: Delicate, slightly imperfect, the kind of craft that looks harder than it is.
Why it works: Pressed botanicals rely on negative space a single flower on plain cardstock reads as intentional, while a crowded design reads as clutter, so restraint is the actual skill here.
How to copy it: Press flowers between wax paper inside a heavy book for at least two weeks ahead of time, then arrange one or two blooms on cardstock strips and seal with clear laminate sheets or contact paper. Trim the edges with decorative-edge scissors for a finished look. For more paper-based projects that use the same low-mess setup, the easy paper craft ideas list is worth bookmarking.
Best for: Readers in the group, low-mess hosts, and anyone who wants a craft that fits on a lap tray.
Pro Tip: Silica gel flower-drying pouches cut the pressing time from two weeks to about 48 hours if you’re planning this the week of the craft night, not months ahead.
3. Dried Citrus & Cinnamon Garland Night
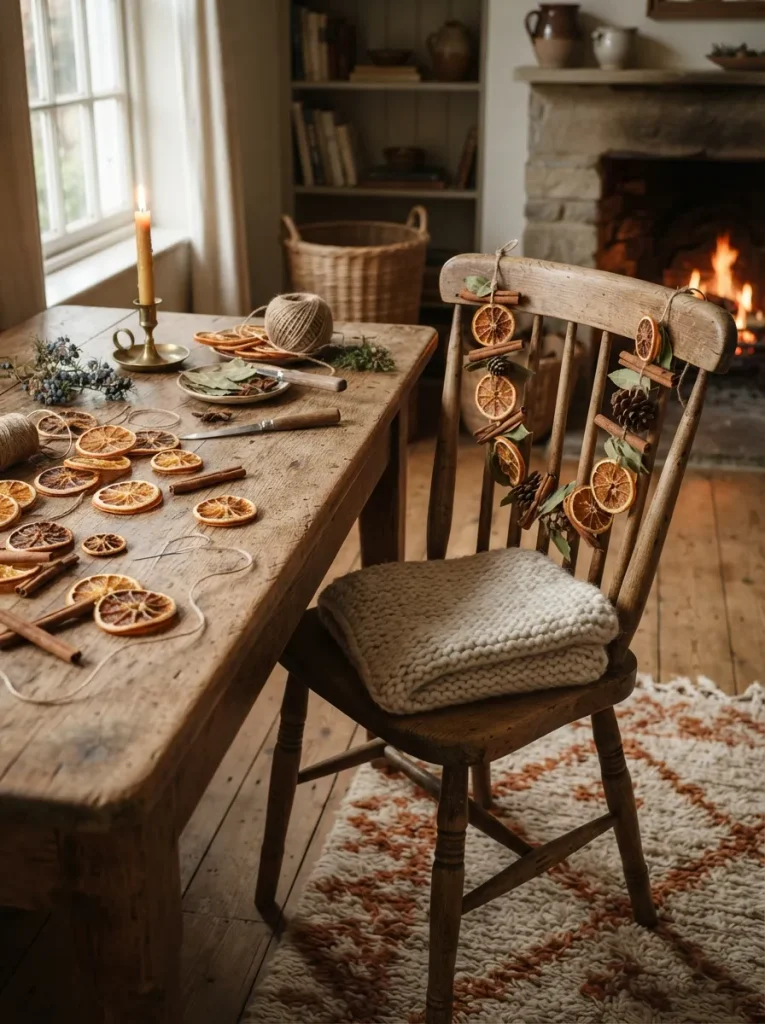
What it looks like: A garland that smells like mulled cider before it’s even finished.
Why it works: Dried citrus and whole spices have irregular shapes and warm, saturated color, which is exactly the kind of visual texture that makes a handmade garland look intentional instead of thrown together.
How to copy it: Slice oranges thin, dehydrate at 200°F for 3–4 hours (or use a low oven overnight), then thread slices and cinnamon sticks onto twine with a large needle, alternating for rhythm. Hang it somewhere it’ll get looked at a mantel or window frame, not a closet door. For a wider spread of low-cost group activities in the same spirit, the craft night party themes guide covers a few more.
Best for: Budget hosts, anyone leaning into a natural or farmhouse look, and last-minute planners.
Budget Version: Skip the dehydrator entirely sliced oranges dry out fine on a wire rack over a radiator or low heating vent in about two days.
Up next: the theme that turns fairy lights into an actual craft supply, not just background decor.
4. Fairy-Light Macramé Corner
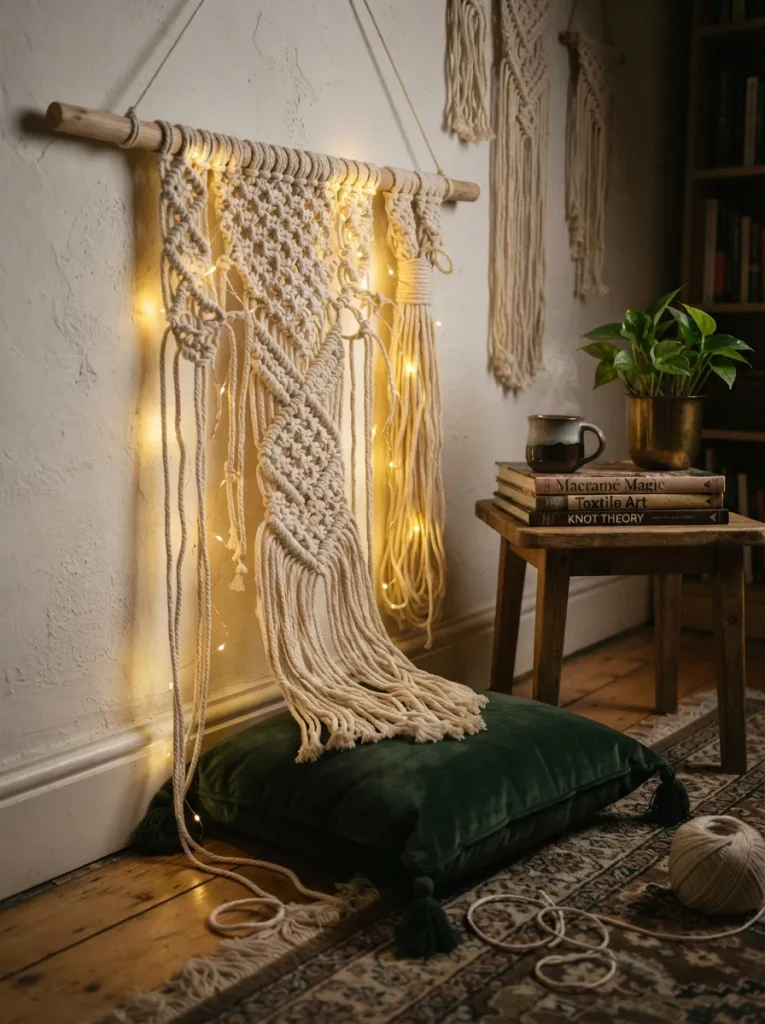
What it looks like: Soft knotwork lit from within instead of overhead, which changes the whole mood of the corner.
Why it works: Macramé depends on shadow to read as textured rather than flat, and warm fairy lights strung just behind the cord throw exactly that kind of shadow overhead lighting flattens the same piece completely.
How to copy it: Use single-knot cord (5mm cotton is easiest for beginners), start with a basic square knot pattern on a dowel, and clip battery-powered fairy lights to the back of the dowel rather than weaving them through the knots themselves it’s easier to adjust later. A pattern with 20–30 knots is plenty for one evening. The crochet wall hangings piece has a few finished layouts if anyone wants a visual reference before starting.
Best for: Fidgety hands, first-timers who want a forgiving craft, and small apartments where the finished piece doubles as decor.
Small-Space Tip: A dowel under 12 inches keeps the whole project lap-sized, so there’s no need to clear floor space for it.
What You’ll Need
| Product |
|---|
| 5mm single-strand cotton macramé cord |
| Unfinished wooden dowel, 12–18 inches |
| Battery-powered warm white fairy lights |
| Wide-tooth comb for fringe |
5. Floor-Cushion Embroidery Circle
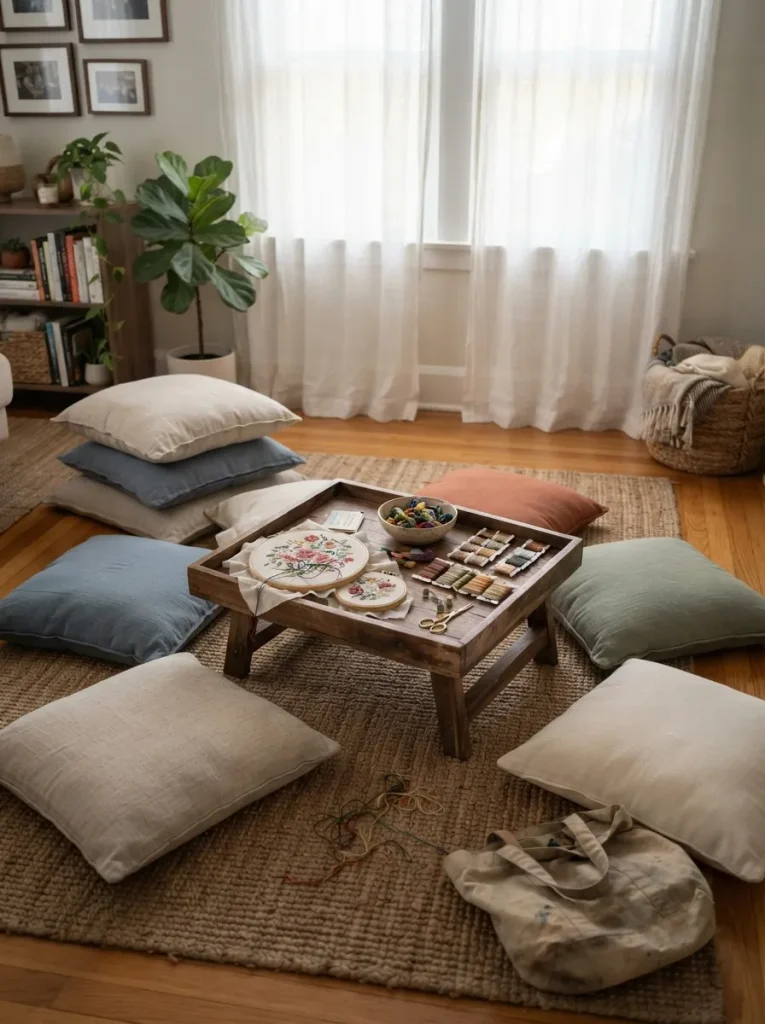
What it looks like: Low seating, low table, everyone’s knees practically touching the setup that actually gets people talking.
Why it works: Sitting on the floor around a shared low surface removes the head-of-the-table hierarchy a normal dining setup creates, so the conversation flows more evenly and people lean in instead of leaning back.
How to copy it: Skip chairs entirely and use floor cushions or folded blankets around a coffee table or low tray. Pre-thread three or four embroidery hoops with simple stem-stitch patterns before guests arrive, so nobody’s first ten minutes are spent threading a needle in bad light. Buttons make a fun add-on embellishment for anyone who finishes early, and the button crafts for adults roundup has ideas worth borrowing.
Best for: Small groups of four to six, apartments without a full dining set, and hosts who want the whole night to feel unstructured.
Warning: Cheap embroidery floss tangles constantly and will eat into your evening spend the extra few dollars on a quality cotton floss brand, since the time lost untangling a knock-off skein isn’t worth the savings.
6. Vintage Ornament Decoupage Night
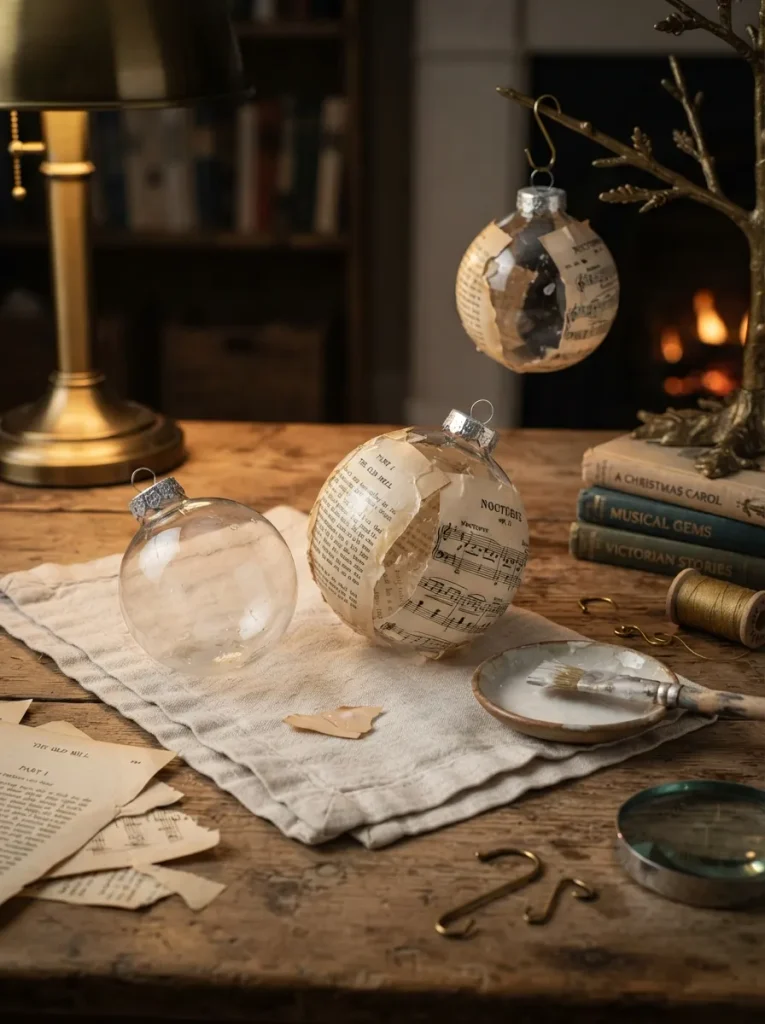
What it looks like: Old paper wrapped around glass, catching lamplight instead of reflecting it.
Why it works: Matte paper against glossy glass creates the kind of texture contrast that makes an ornament feel collected over years rather than bought last week visual weight matters more here than color.
How to copy it: Tear (don’t cut) strips of old book pages or sheet music for a rougher, more natural edge, brush a thin layer of decoupage medium onto a clear glass ornament, and press the paper on in overlapping sections. One thin top coat once it’s dry keeps the paper from peeling by spring.
Best for: Anyone with a box of old books they can’t bring themselves to toss, and hosts planning ahead for holiday gifting.
Mistake to Avoid: Using too much glue at once causes bubbling under the paper thin, even coats brushed in one direction beat a thick, rushed layer every time.
Up next: the felting theme that only needs a felting needle and about twenty minutes of actual focus.
7. Wool Felting Fireside Session
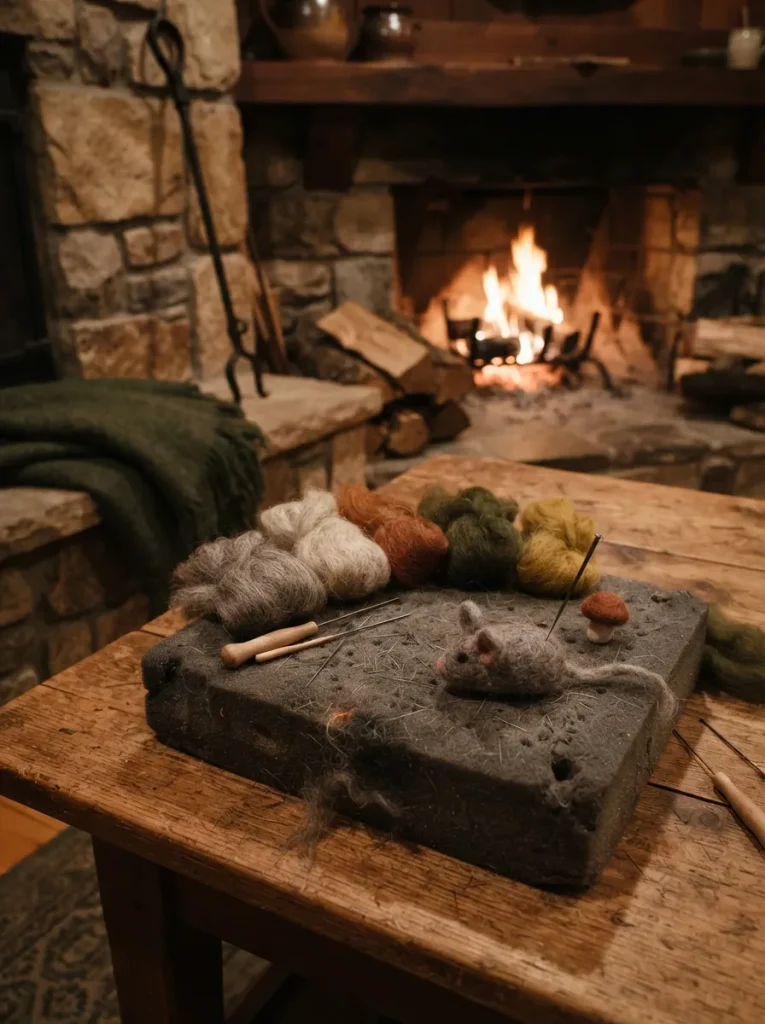
What it looks like: Loose wool tightening into a small, dense shape, one repetitive stab at a time.
Why it works: Needle felting is meditative because the motion barely varies that repetition is the appeal, not a drawback, and it’s part of why this theme pairs so naturally with a fire and quiet conversation.
How to copy it: Give each person a foam block, a single felting needle, and one small ball of core wool roving to start shaping a simple mushroom or acorn is far more forgiving for beginners than anything with limbs. Warn people up front that felting needles are sharp; a finger guard is worth the two extra dollars. For a broader spread of low-supply craft night formats, the craft night ideas for a ladies’ night list covers a few more starting points.
Best for: Slow winter evenings, fireplace hosting, and anyone who wants a project they can finish in one sitting.
Styling Note: Stick to two or three wool colors per person a rainbow of roving looks generous on the shelf but muddies the finished shape fast.
What You’ll Need
| Product |
|---|
| Core wool roving, assorted natural colors |
| Single and multi-needle felting tool set |
| Foam felting block, 4×6 inches |
| Felting finger guards |
8. Hot Cocoa & Watercolor Palette Night
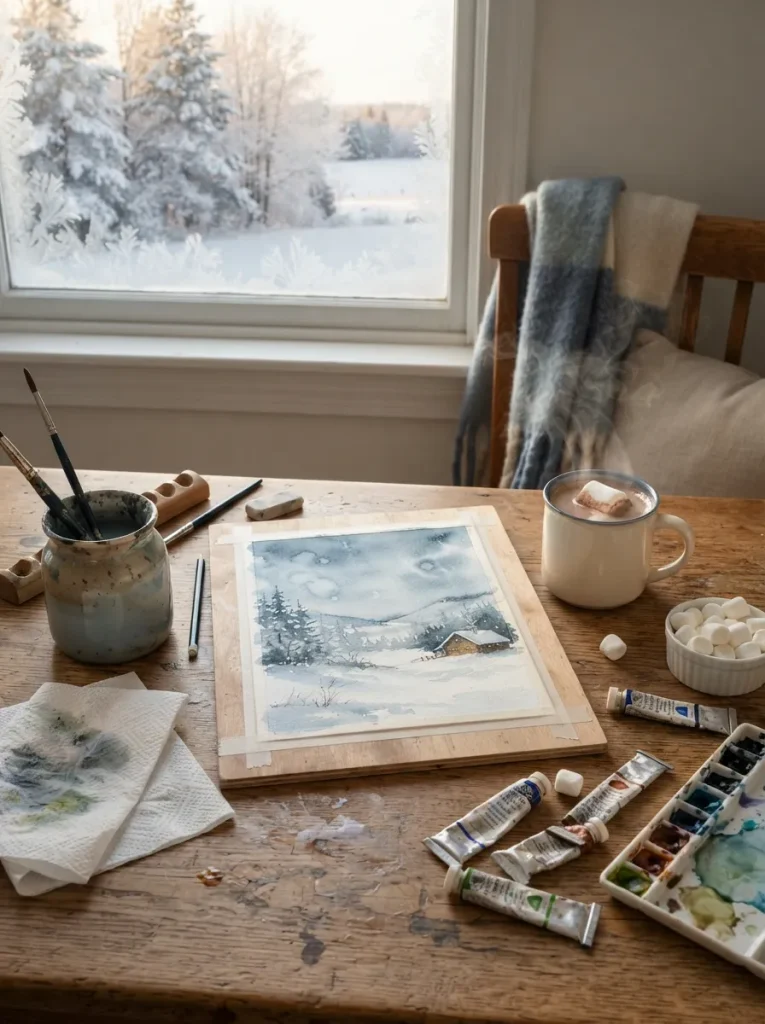
What it looks like: Loose, forgiving watercolor washes nobody’s aiming for realism here.
Why it works: Wet-on-wet watercolor technique produces soft, unpredictable blooms that look intentional even when they’re not, which takes the pressure off beginners in a way that a pencil sketch never quite does.
How to copy it: Pre-wet the paper with a clean brush before adding pigment, keep the palette to three or four colors that naturally blend (a cool blue, warm ochre, and muted pink go a long way), and set a hot cocoa station within arm’s reach so nobody has to leave mid-wash. Simple winter shapes a tree line, a single ornament, a mug are more approachable than a full scene for first-timers.
Best for: Groups that skew toward “not artistic,” moms hosting kids alongside adults, and anyone who wants a relaxed pace.
Important: Cheap printer paper buckles and pills the moment it’s wet even a basic cold-press watercolor pad makes a bigger difference to the finished look than the paint quality does.
9. Candlelit Card-Making Circle
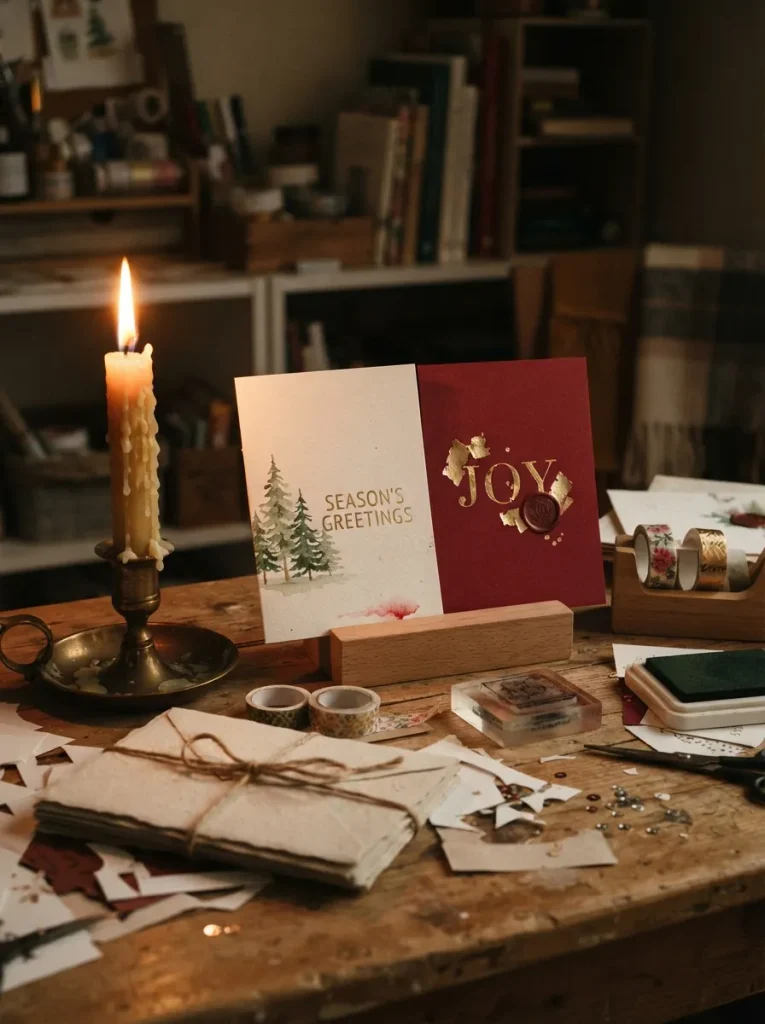
What it looks like: Low light, quiet hands, a small stack of finished cards growing slowly on the table.
Why it works: Card-making is one of the few crafts where the finished product has an immediate purpose someone’s going to receive it which gives the whole evening a sense of momentum that open-ended crafts don’t have.
How to copy it: Pre-cut cardstock to a standard 5×7 fold so nobody’s measuring mid-craft, set out two or three coordinating washi tape patterns instead of a full drawer of options, and keep a stamp pad and a single simple stamp on hand for anyone who wants texture without freehand drawing. A finished card ready for mailing is a nice built-in reason to send a few this winter, and the handmade gift ideas roundup pairs well if anyone wants to attach a small gift.
Best for: Anyone behind on holiday cards, low-mess hosting, and groups who like a bit of quiet over a bit of chaos.
Up next: the setup that proves a studio apartment can still host a real craft night.
10. Studio-Apartment Knit & Sip Setup
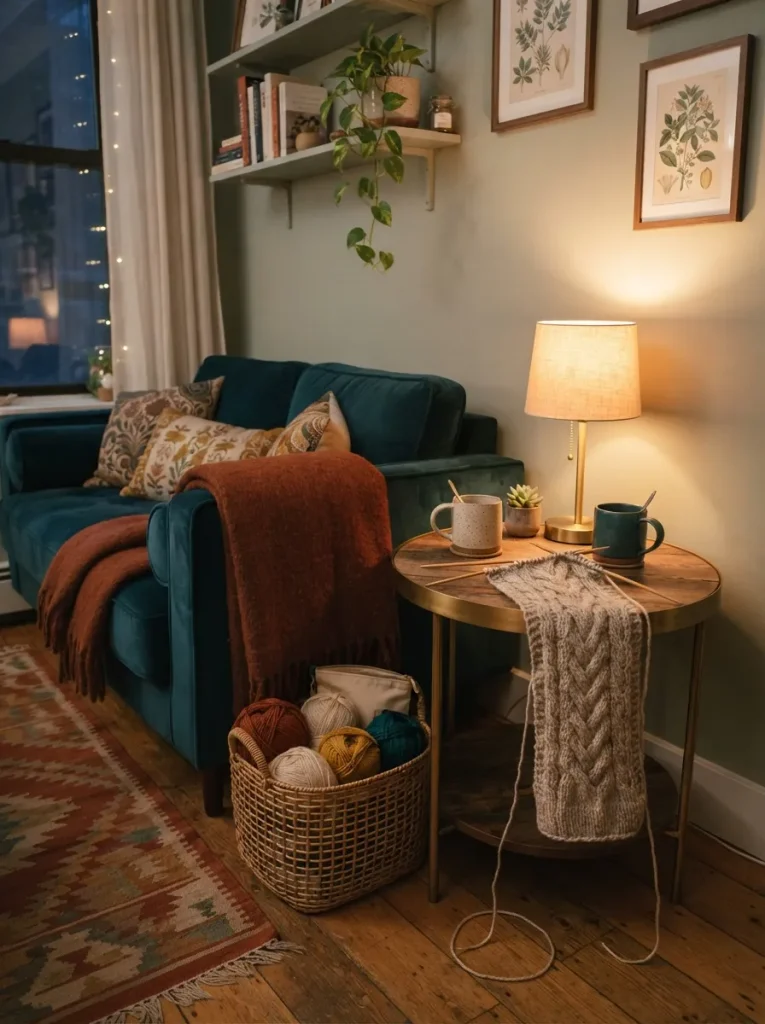
What it looks like: A single corner doing all the work no dining table required.
Why it works: Knitting only needs lap space and decent light, so a loveseat with a side table beats a full dining setup for a small apartment; cramming people around a table they don’t have is the actual mistake, not the small square footage.
How to copy it: Pull a basket of yarn and needles within reach of the main seating instead of setting up a separate craft table, cap the guest list at three or four so there’s room to actually move an elbow, and keep drinks on a small round table rather than balanced on a knee. Chunky yarn and size 10 needles knit up fast enough that beginners finish a swatch in one sitting. For more ways to squeeze a real craft setup into a small footprint, the small she-shed and craft room ideas piece has layout tricks worth borrowing even without the shed.
Best for: Studio and one-bedroom hosts, small friend groups, and anyone who’s ruled out hosting because “there’s no room.”
What You’ll Need
| Product |
|---|
| Chunky weight yarn, assorted colors |
| Size 10 (6mm) knitting needles, beginner set |
| Small woven yarn storage basket |
| Compact round side table |
My Views:
Here’s something most craft night guides won’t tell you: the theme matters less than the seating math. In my experience running these, six people around a table built for four kills the mood faster than a bad craft choice ever could everyone’s guarding elbow space instead of talking. Cap the guest list to whatever your actual table seats comfortably, then add a floor cushion or two if more people want in.
11. U-Shaped Craft Table Layout for Group Nights
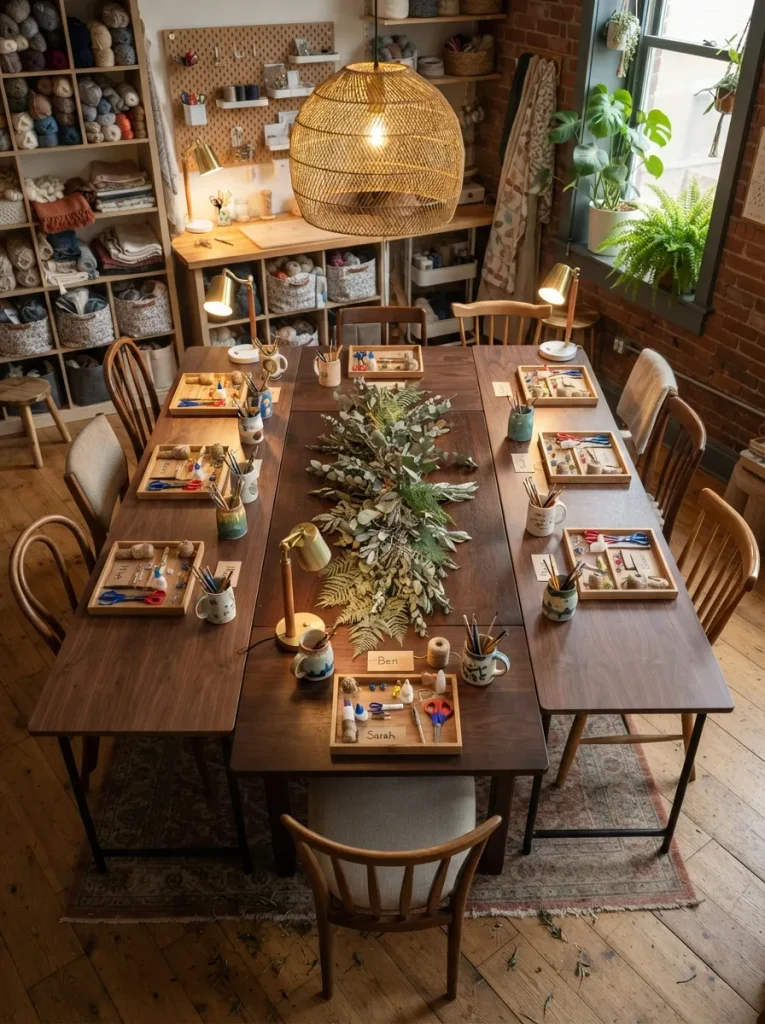
What it looks like: Three tables pushed into one open U, so everyone can see everyone else’s project.
Why it works: A closed rectangle forces people to talk across a wide gap or not at all, while an open U keeps every seat within easy reach of the center where the shared supplies usually end up anyway.
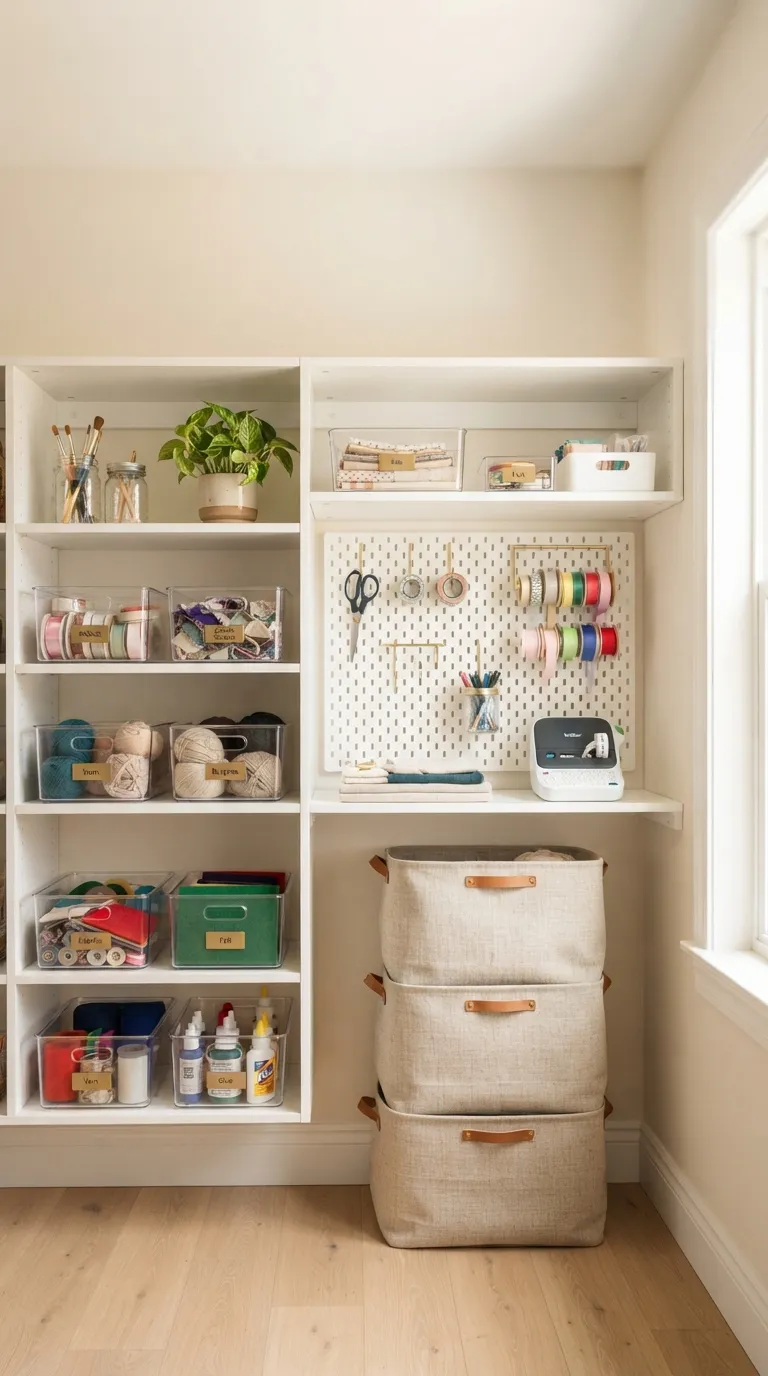
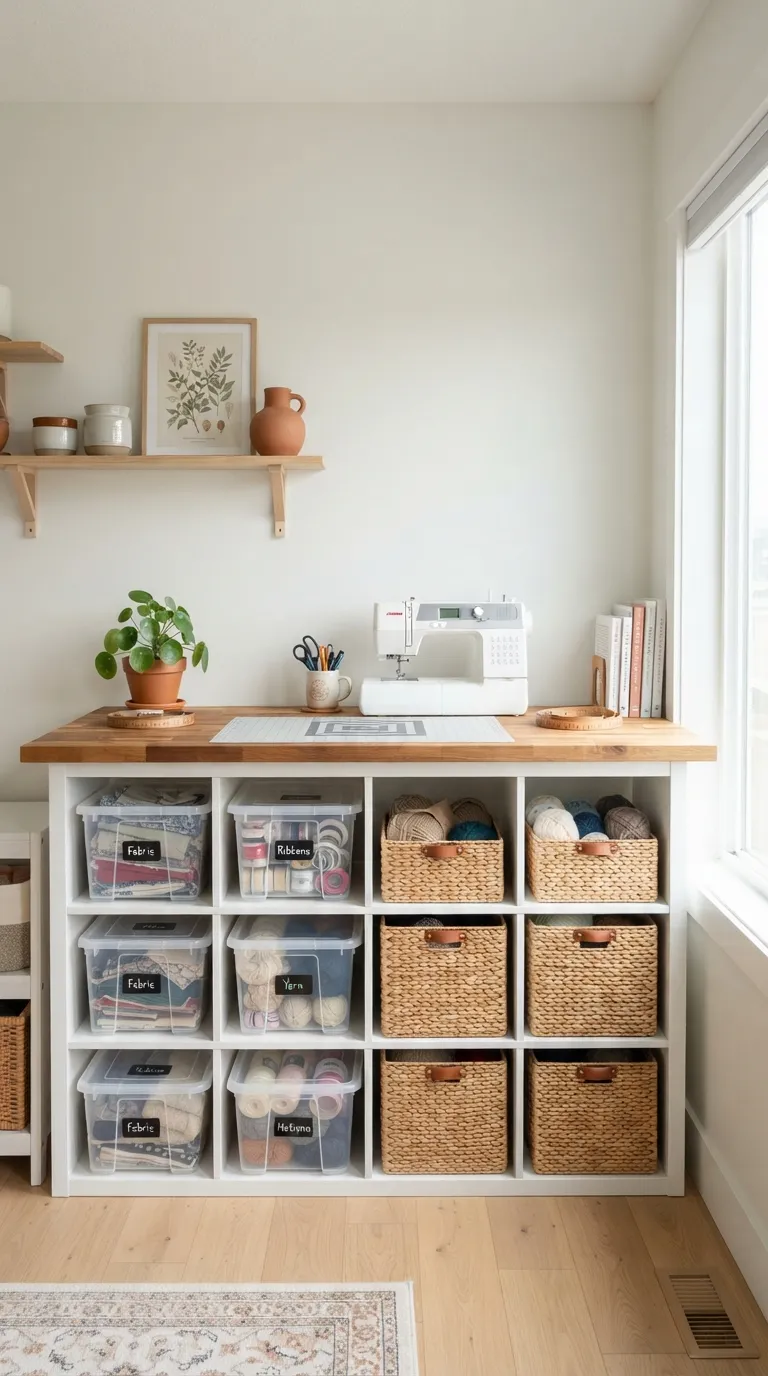
How to copy it: Push a folding table against each end of your main table to form the U, leave the open side facing the main walking path so latecomers aren’t climbing over anyone, and run a shared supply tray down the center instead of duplicating scissors and glue at every seat. Storage matters just as much as layout once the night’s over, and the craft closet ideas guide covers where all these folding tables and bins can live.
Best for: Groups of six or more, recurring craft nights, and anyone who’s outgrown a single dining table.
✅ Craft Night Setup Checklist:
- [ ] Push tables into the U shape and check for wobble before guests arrive
- [ ] Lay a shared runner or cloth down the center seam to hide the gap
- [ ] Set individual supply trays at each seat, shared tools down the middle
- [ ] Test overhead lighting reaches every seat, not just the center
- [ ] Leave the open end of the U facing the room’s main walkway
Up next: the one theme on this list that needs a well-ventilated room.
12. Hand-Poured Soy Candle Making Night
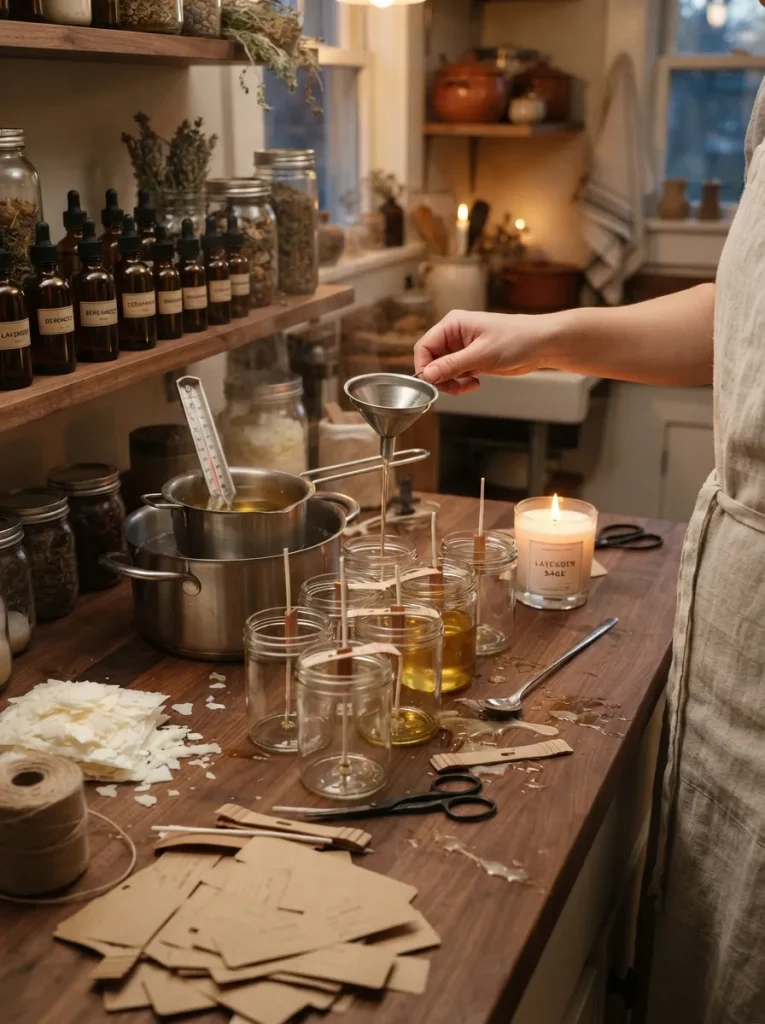
What it looks like: Melted wax going from liquid to solid right in front of everyone, which is more satisfying to watch than it sounds.
Why it works: Candle making has a built-in waiting period the pour, then the cool-down that naturally slows the whole evening down and gives people a reason to sit and talk instead of rushing to the next project.
How to copy it: Melt soy wax flakes in a double boiler to about 185°F, add fragrance oil once melted, and pour into small glass jars with a pre-waxed wick already centered and taped in place. Let jars cool undisturbed for at least four hours before anyone moves them, or the wax surface cracks. For gift-ready packaging once the candles have cured, the handmade gift basket ideas roundup has pairing suggestions worth a look.
Best for: Groups of four or fewer (the melting step is one-at-a-time), well-ventilated rooms, and gift-focused hosts.
Budget Version: Skip individual jars and pour into a few shared muffin tins lined with parchment, then pop out mini pucks once set one bag of wax stretches much further this way.
13. Monochrome Yarn Pom-Pom Wreath Night
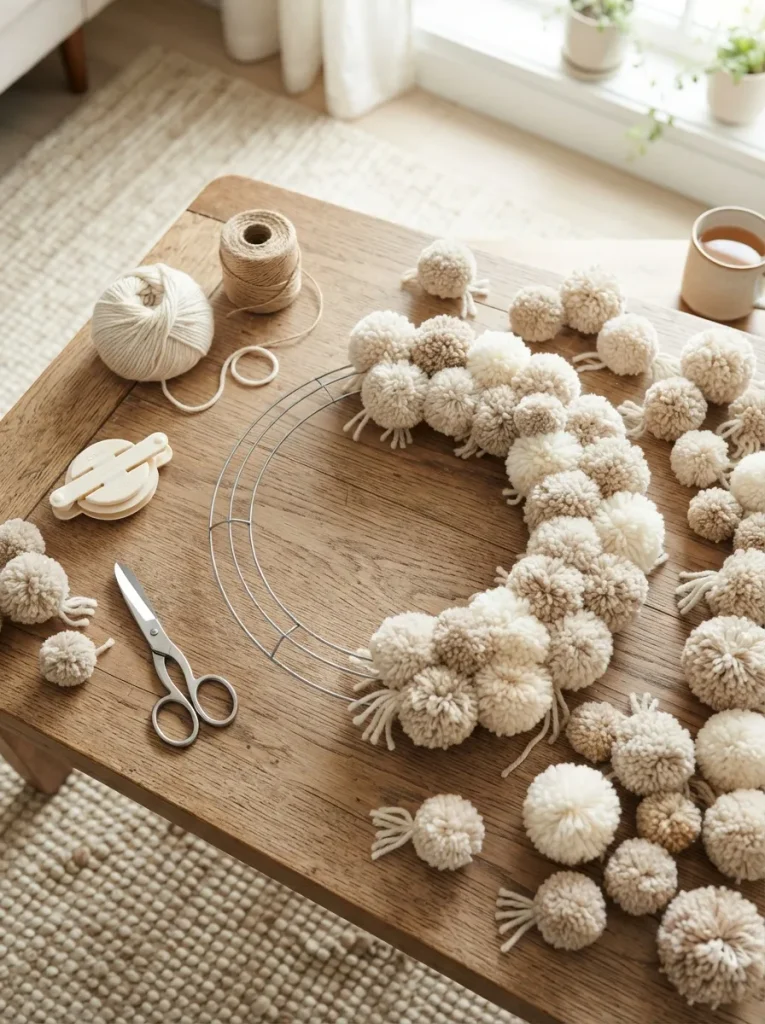
What it looks like: Dozens of small pom-poms in barely-different shades of white, clustered into one wreath shape.
Why it works: Sticking to one tight color family — three shades of cream instead of a rainbow is what makes a pom-pom wreath read as designed rather than kid-craft; the texture does the visual work instead of the color.
How to copy it: Use a pom-pom maker tool for consistent size, wrap yarn around each arm about 80 times for a dense finished pom, and trim aggressively into a rounded shape once tied off. Hot-glue finished pom-poms onto a wire wreath frame, packing them tightly so no wire shows through. Anyone who wants more themed craft night formats to rotate through the rest of winter can check the creative craft night themes list for a few more starting points.
Best for: Texture-lovers, minimalist decorators, and groups who want one big shared project instead of individual pieces.
Pro Tip: Trim each pom-pom before it goes on the wreath, not after trimming in place is nearly impossible to do evenly once dozens of poms are glued side by side.
14. Low Bench Seating for a Craft Circle
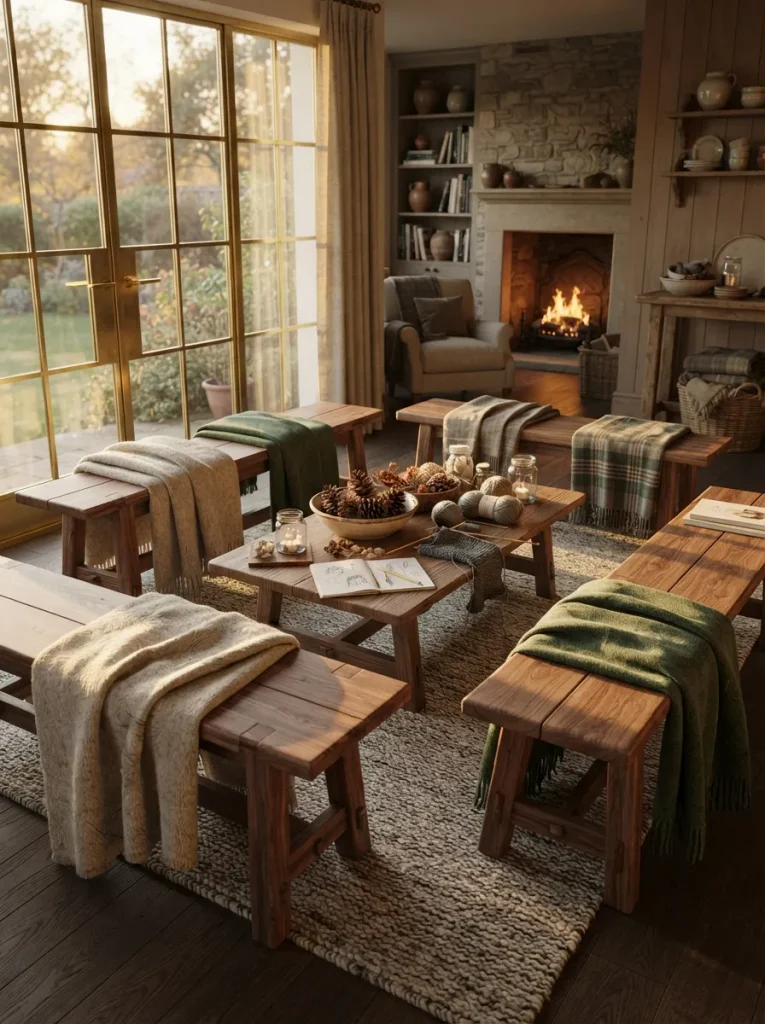
What it looks like: Backless benches instead of chairs, arranged loose enough to turn and talk to whoever’s next to you.
Why it works: A bench doesn’t lock people into a fixed seat the way a dining chair does, so the whole circle stays a little fluid people shift, share supplies, and lean in without scraping a chair leg across the floor.
How to copy it: Pull benches from a dining set, entryway, or even borrowed patio benches into a loose circle around a low coffee table, and drape a wool throw over each one for warmth since benches lack the upholstery a chair usually has. Leave a bit more gap between benches than feels necessary at first it fills in fast once people settle.
Best for: Casual hosts, mixed-age groups, and anyone without enough matching dining chairs for a full table.
Styling Note: One consistent throw color across every bench pulls a mismatched seating situation together in about thirty seconds of effort.
How to Start Your Craft Night Tradition
What I’ve found with real craft nights is that the supply box matters more than the invite list. Start with one theme mug painting or the dried citrus garland are the most forgiving and build a $15–20 box around just that craft. Buying one focused kit anchors the whole evening; a table covered in five half-started projects never actually gets finished.
The mistake almost everyone makes early on is buying too many crafts at once, hoping variety will keep people engaged. It does the opposite decision fatigue sets in before anyone’s picked up a tool. Pick one theme per night and commit to it fully; save the second craft for next time.
Three items under $50 that make an immediate difference: a set of oil-based paint pens for mug night, a battery-powered fairy light string for the macramé corner, and a beginner felting needle kit with finger guards. All three get reused across multiple future craft nights, not just the one they were bought for.
A solo craft night runs about 90 minutes and costs $15–20 in supplies. A hosted group night for four to six people takes closer to two to three hours and runs $40–60 once drinks and snacks are factored in. Bigger builds the U-shaped table layout, a full wreath are worth planning a weekend around rather than squeezing into a weeknight.
Ready to Plan Your Cozy Craft Night?
These 14 themes cover a lot of ground quick color-driven wins like mug painting, slower material-based projects like felting and candle making, and a couple of layout fixes for hosting a bigger group comfortably. Nobody needs to tackle all fourteen this winter; picking one and finishing it beats half-starting five.
Tonight’s concrete step is small: pull one supply box together, even if it’s just paint pens and a couple of plain mugs from the cabinet. There’s something grounding about a slow, hands-busy evening when it’s dark by five and cold outside it’s the kind of cozy that sticks with you longer than the craft itself does. Save your favorite theme now so it’s easy to find once the snow starts.
Keep Exploring
- 9 Budget Craft Night Snack and Drink Pairings for a Winter Guest List
- 6 Easy Craft Night Games to Play Between Projects
- 11 Cozy Winter Hosting Ideas Beyond the Craft Table