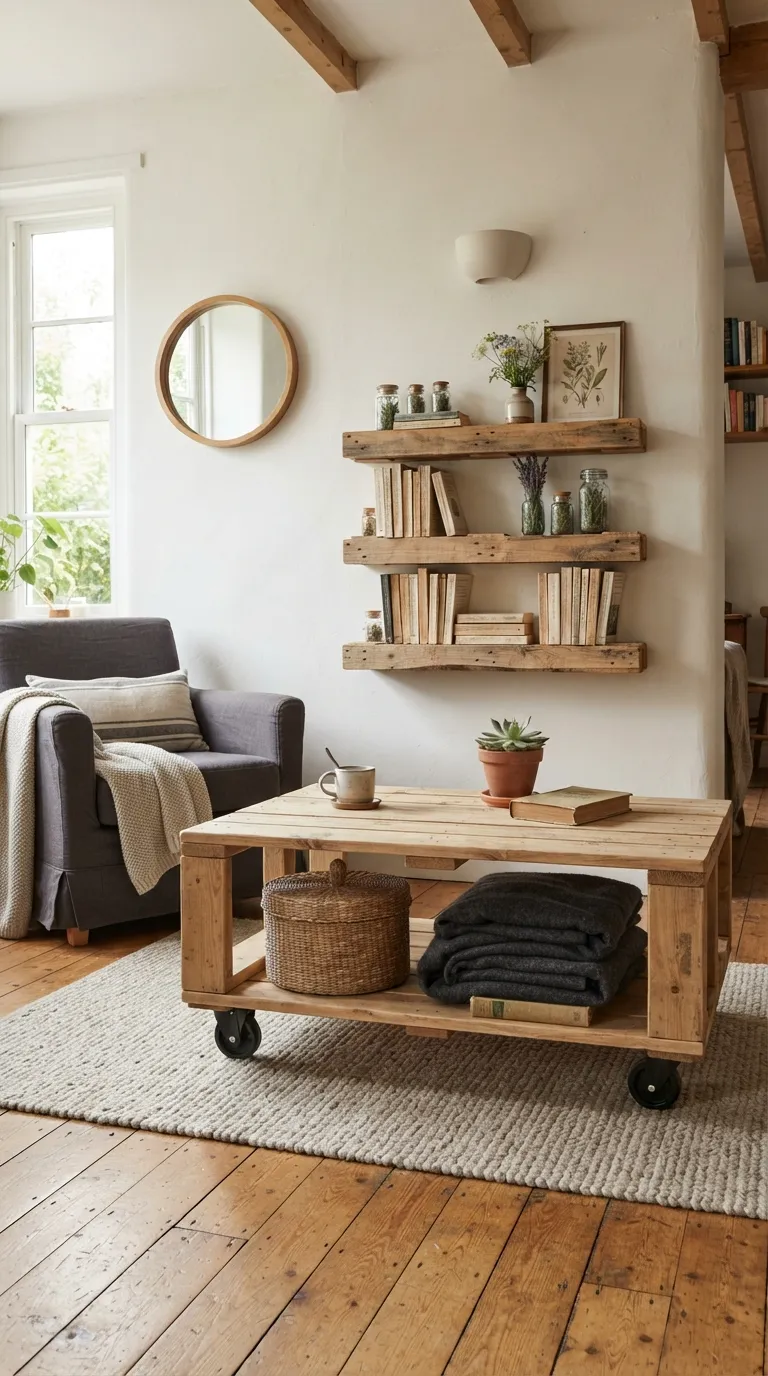
12 Pallet Storage Furniture Ideas to Declutter Any Room
A pallet already has the hard parts of storage built in: a load-bearing frame, flat boards, and gaps that hold things. These 12 pallet storage furniture ideas to declutter any room put that frame to work as a coat wall, a rolling table, a bed with bins underneath, and more, with the safety check and the one measurement that keeps each build from failing.
Picture an entry wall where shoes line up instead of piling up. Pallet wood sanded until it feels like satin, baskets swallowing the small stuff, coats hung with room to breathe. Good pallet storage furniture is quiet about its job. Everything has a slot.
What’s Inside
- Why Pallet Storage Furniture Makes Such a Difference
- Two Fixes First, Then the Builds
- How to Start Your Pallet Storage Transformation
- Ready to Declutter Any Room With Pallet Storage Furniture?
- Keep Exploring
Why Pallet Storage Furniture Makes Such a Difference
Pallets arrive with structure included: stringers for strength, deck boards for shelves, and gaps that work as slots. Expect oak, pine, or mixed hardwood in tones that run pale honey through weathered gray-brown, and a common North American size of 48 × 40 inches. Storage builds that cost mostly time and hardware suit anyone decluttering on a budget. Small rooms gain the most, so begin at floor level, where piles form first.
Quick Reference
| Best starting point | An HT-stamped pallet, sanded smooth and sealed |
| Biggest impact area | Floor-level clutter: shoes, bags, blankets |
| Budget to start | About $20–$60 for one piece (approximate) |
| Time to complete | A weekend per piece, plus finish drying time |
Two Fixes First, Then the Builds
1. Sealed Pallet Shelving Built From Heat-Treated Wood
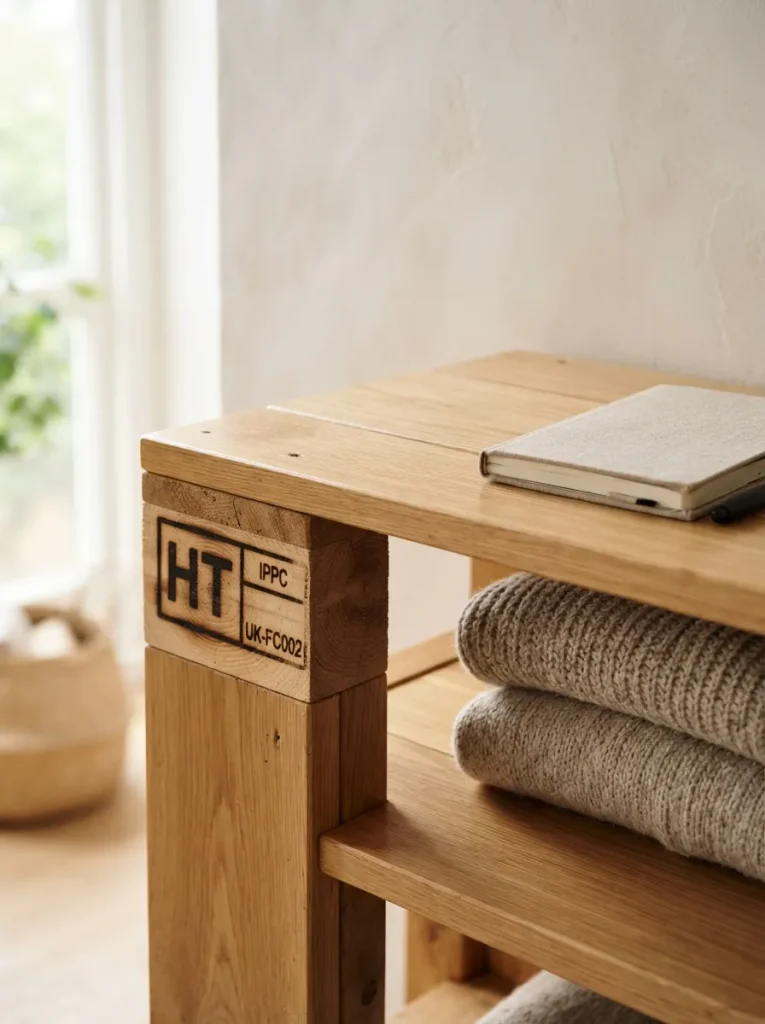
Most people haul home whichever pallet is closest and find out about the problems later, in splinters and snagged sweaters. Check the stamp first. HT means heat treated and is the one to want; MB points to methyl bromide fumigation, so leave those alone, along with anything stained, oily, or chemical-smelling.
Then sand through 80, 120, and 180 grit and seal with a water-based clear finish so knits slide instead of catching. Water-based stays pale, while oil-based ambers the wood over time. Best for anyone storing clothes, linens, or books at hand height.
Warning: Sanding before you read the stamp is backward. An MB stamp, an oily stain, or a chemical smell means skip that pallet, and sanding it only puts the dust in the air. Check first, sand second, and wear a dust mask either way.
2. Stacked Single-Board Ledges Up a Narrow Wall
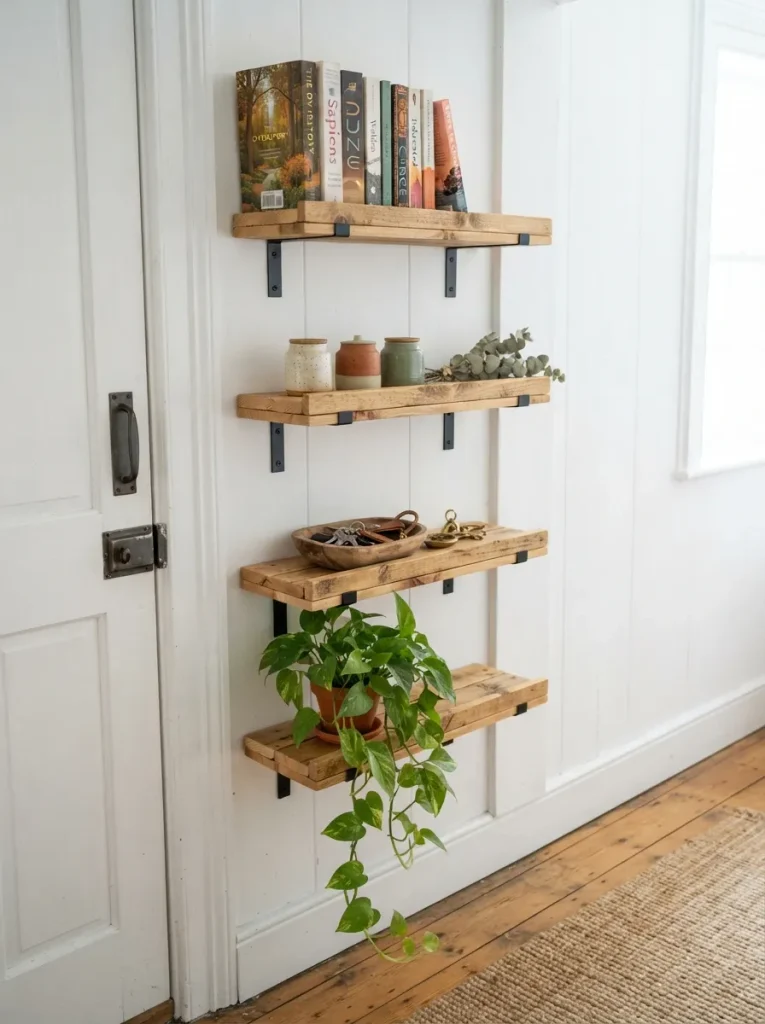
A narrow wall beside a door or at the end of a hallway is prime storage space that most people leave blank. Cut four to six deck boards to about 24 inches, add a thin front lip so paperbacks and jars don’t creep off, and stack the ledges up the wall.
Each one is a single board deep, roughly 3.5 to 5.5 inches, so everything stays in view. Deck boards sag over long spans, and books are heavy. Keep spans short and carry each ledge on two brackets screwed into studs.
Quick Win: Studs are commonly spaced 16 inches apart, center to center. A 24-inch ledge with brackets set about 4 inches in from each end lands both on studs. Mark them with a stud finder before you cut anything.
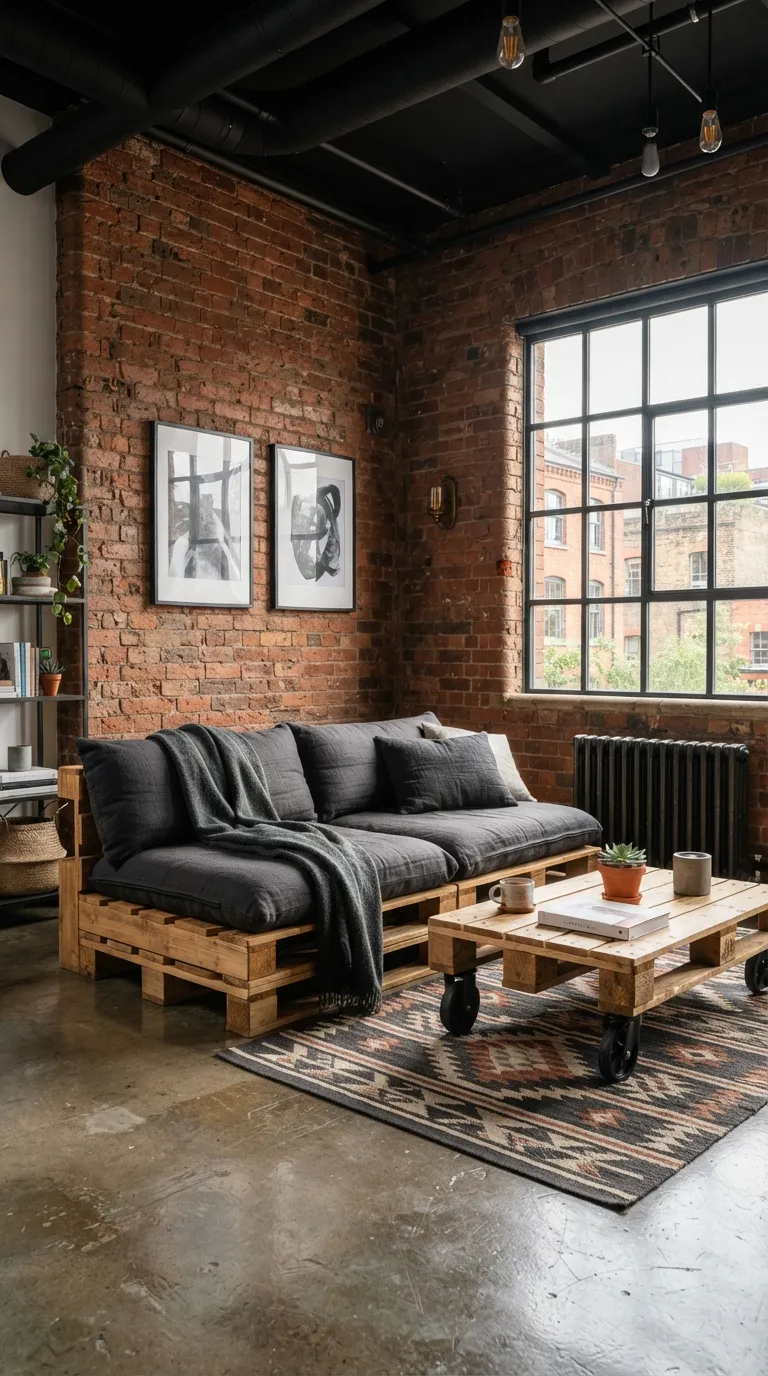
3. A Pallet Coffee Table With a Lower Shelf on Locking Casters
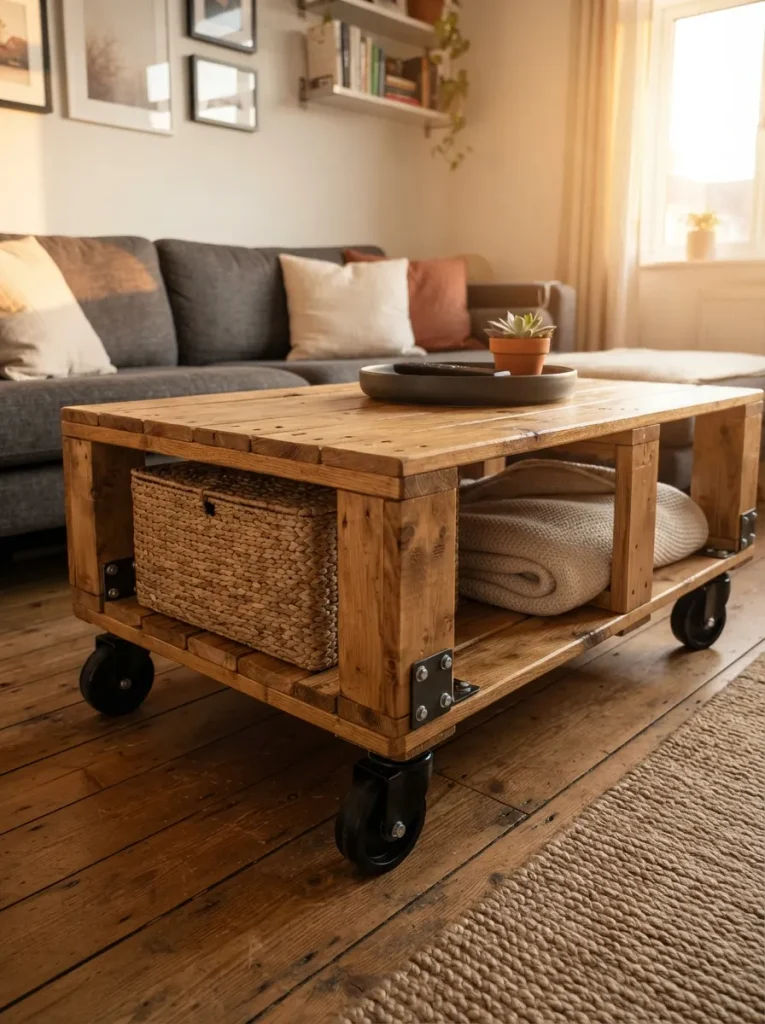
Warm wood at knee height, a lidded basket and folded throw on the open lower shelf, four small wheels tucked underneath. Most coffee tables give you a surface and nothing else; this one adds a level for the things that usually end up on the sofa.
Roll it aside for floor space when guests or kids arrive. Bolt the casters through the stringers or added corner blocks, never into thin deck boards, and add the caster height to your table-height measurement before you cut anything. Best for living rooms where remotes, blankets, and magazines have no home.
✅ CHECKLIST Caster-Table Build Order:
- [ ] Confirm the HT stamp, then sand every surface
- [ ] Seal the top and edges and let the finish dry fully
- [ ] Bolt caster plates through the stringers or corner blocks
- [ ] Load the lower shelf and test each lock on a flat floor
Shop This Look
| Product |
|---|
| Locking swivel casters with mounting plates |
| Large lidded woven basket for throws |
| Low-profile tray for remotes and coasters |
Next up: a paint color per person that does more sorting work than any label, and it costs one small sample pot each.
4. Color-Coded Pallet Cubbies, One Painted Back per Person
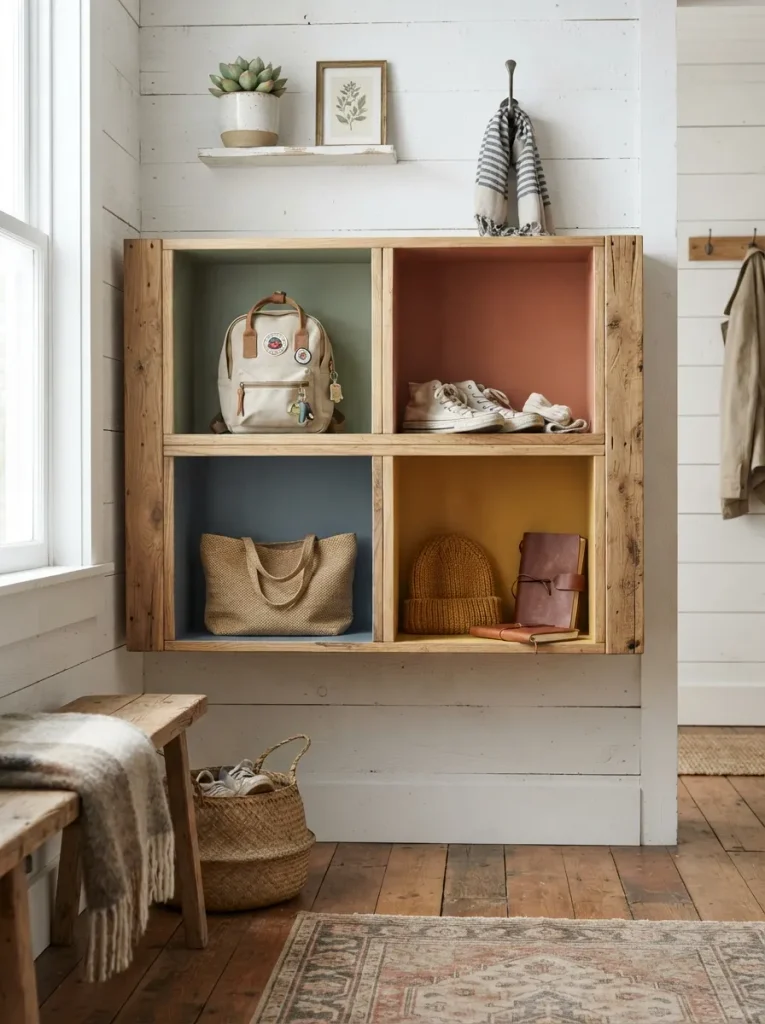
A color reads at a glance; a label makes you stop and look. Build a wide pallet cubby unit, then give each person one compartment back in their own muted shade, all from the same soft family so the wall still looks composed.
Natural wood edges frame the color instead of fighting it. Paint thin plywood or hardboard back panels before you attach them, since brushing inside finished cubbies leaves drips in the corners. The panels also stop small items falling through the gaps. Works for entries and kids’ rooms, where shoes, bags, and gear drift together.
Pro Tip: Pick shades that differ in hue, not just lightness. A pale blue and a pale green look alike in a dim hallway, while blue beside terracotta stays readable even at dusk.
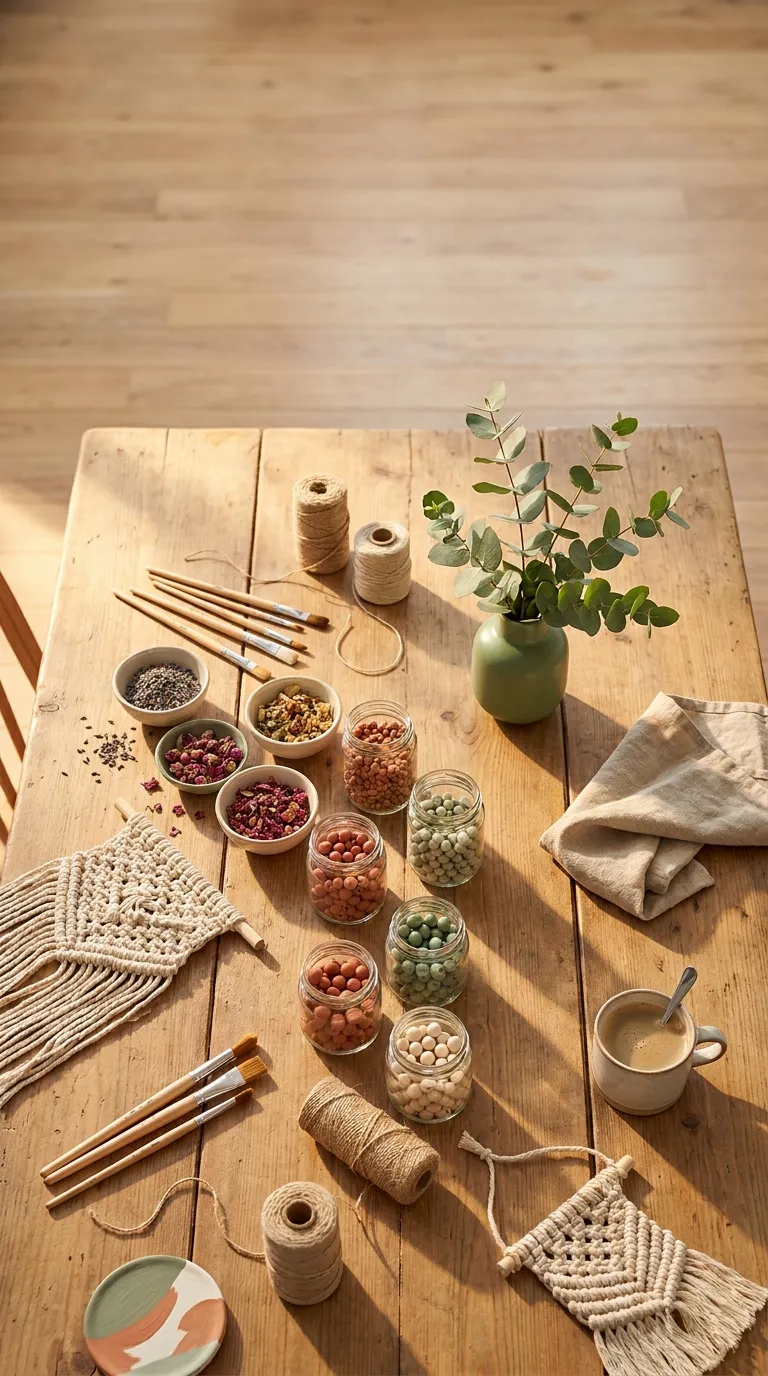
5. A Pallet Supply Rack With Warm LED Strips Under Each Rail
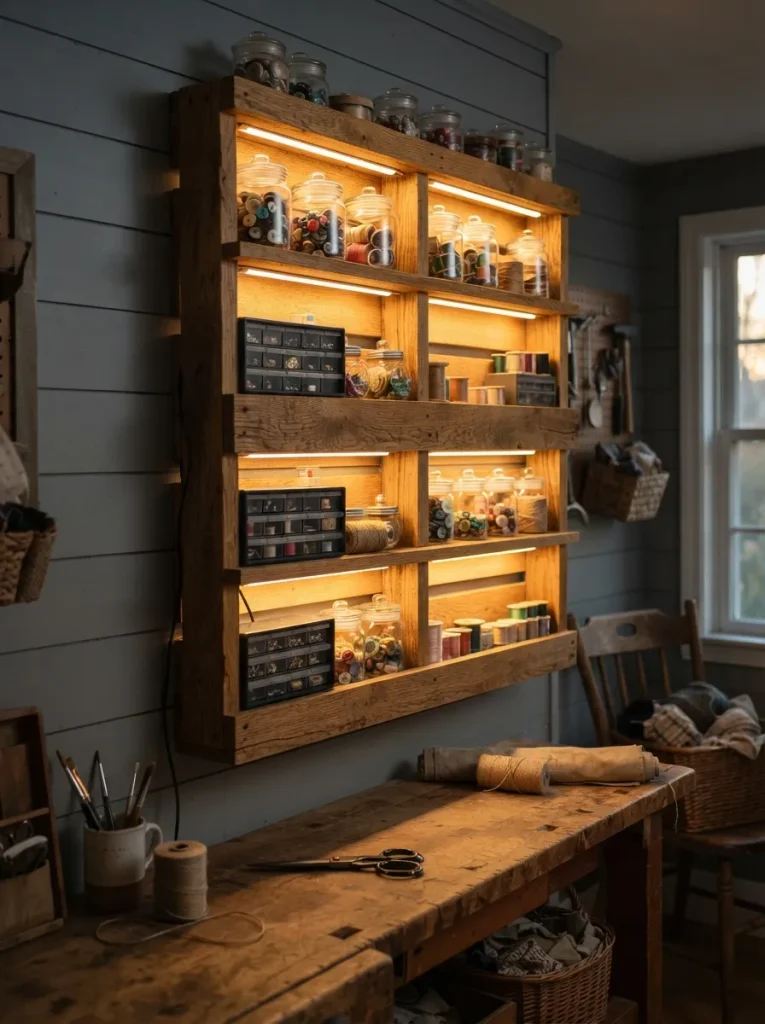
Run a warm-white LED strip along the underside of each shelf’s front board so light falls onto the supplies below instead of into your eyes. Jars, spools, and screws become findable at a glance, which is what stops duplicate buying.
Choose warm white, around 2700–3000K, so colors read true without clinical glare. Adhesive backing fails on rough pallet grain, so sand a narrow strip smooth first or add mounting clips, and route the cable down the back of a stringer. Suits craft nooks, garage benches, and any corner too dim to shop your own supplies.
Budget Version: Under about $100 is realistic (approximate): a plug-in warm-white LED strip, a set of matching lidded jars, and one reclaimed HT-stamped pallet. Skip color-changing strips; warm white is the only setting you’ll use.
Shop This Look
| Product |
|---|
| Warm-white plug-in LED strip lights |
| Clear lidded storage jars in one matching size |
| Small-parts organizer boxes with dividers |
6. A Pallet-Slat Hook Board That Replaces the Coat Pile
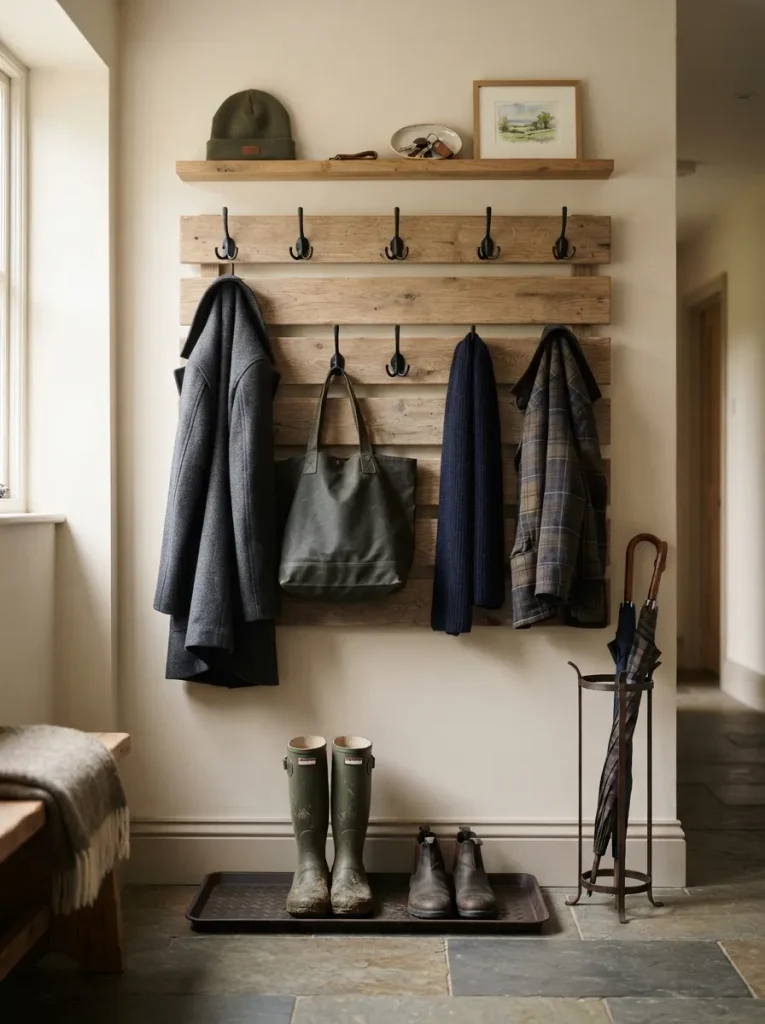
The default entry wall is one row of hooks at one height, which is why three coats end up stacked on each. Mount four or five sanded slats side by side as a backboard, set hooks at two heights, and add a narrow shelf on top for hats and keys.
Space hooks 6 to 8 inches apart, since winter coats need more room than they look like they will. Screw them into a backer strip or the stringers, not a lone thin slat; a wet wool coat weighs more than it seems. Fits any entry, mudroom, or bedroom door wall with no floor to spare.
Shop This Look
| Product |
|---|
| Heavy-duty wall hooks in matte black metal |
| Boot tray for wet shoes |
| Slim umbrella stand |
Coming up: a pallet shelf that splits a studio in two, and the tip-over risk that catches people who trust its weight.
7. A Freestanding Pallet Shelf That Splits a Studio Into Zones
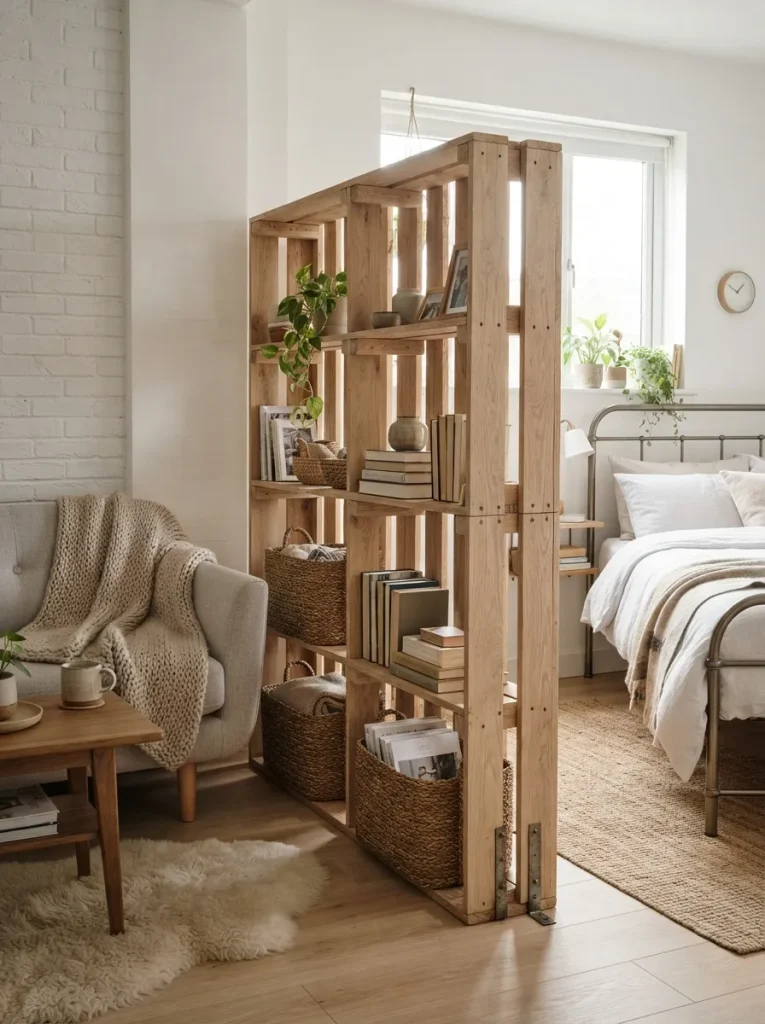
Storage that faces two directions does two jobs: it holds things and it draws a border. Stand a pallet shelf perpendicular to a wall between the sleeping and sitting zones, load both faces evenly, and let the open slots pass light through so the room doesn’t feel chopped in half.
Leave a walkway of about 30 to 36 inches beside it, a practical recommendation rather than a rule, so the divider never becomes an obstacle. Suits studios, shared bedrooms, and open-plan rooms where one area keeps spilling into another.
Important: Solid-looking isn’t tip-proof. A tall pallet loaded near the top can topple when leaned on or bumped. Fasten one end to a wall stud, or widen the base with a second pallet laid flat.
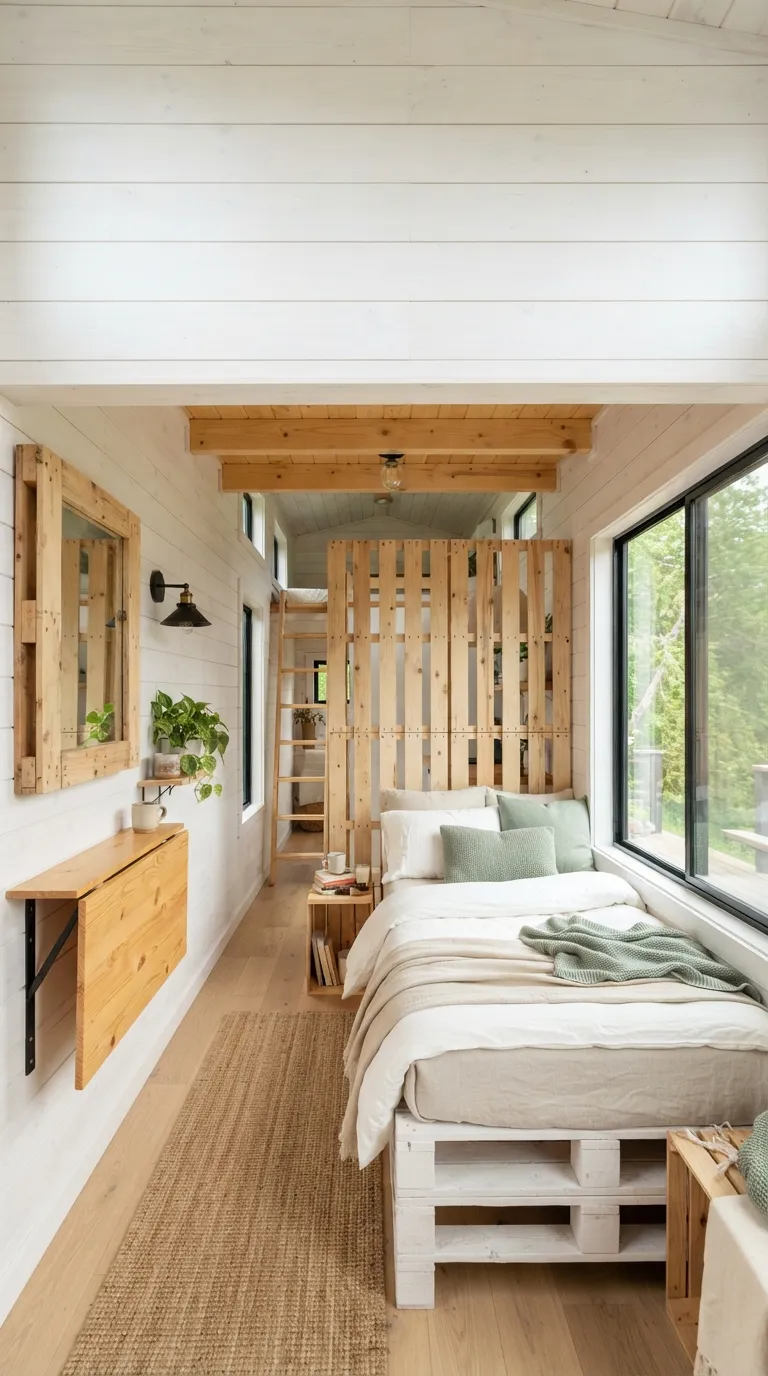
8. A Pallet Platform Bed With Storage Drawers Slid Underneath
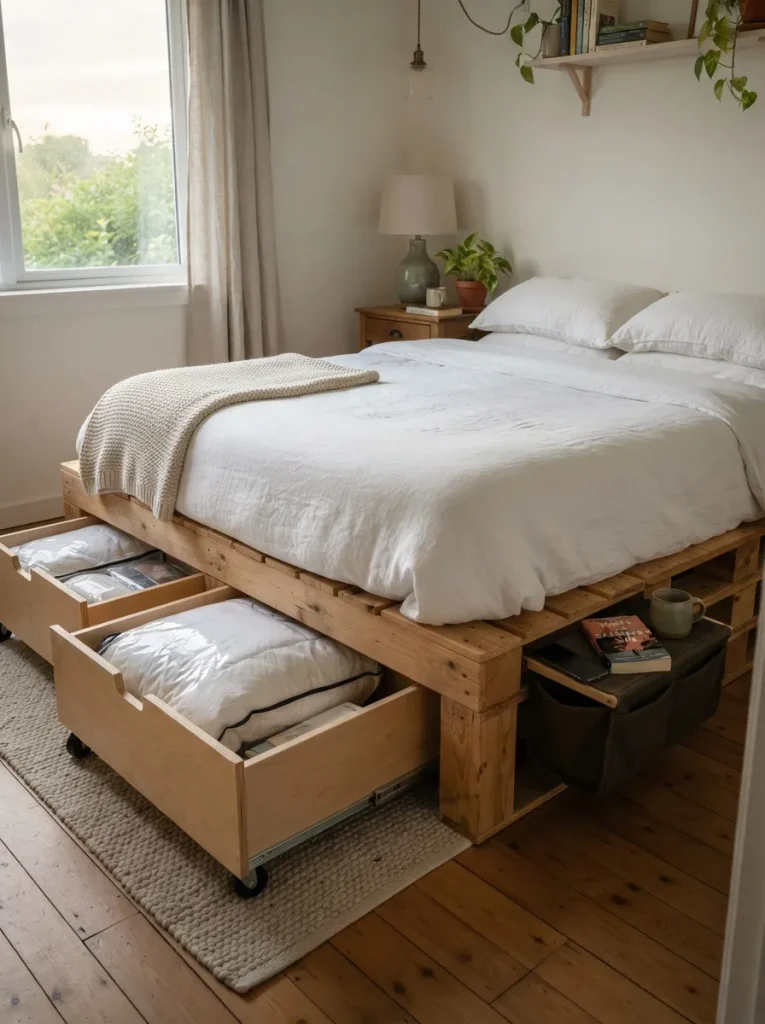
Bedrooms short on closet and dresser space can use the biggest idle area in the room: the floor under the bed. A pallet platform lifts the mattress and opens that space up. Two pallets joined make roughly 80 × 48 inches at the common 48 × 40 size, which suits a twin or twin XL; larger mattresses need more pallets.
Cover the deck with plywood or extra boards so the mattress doesn’t sag into the gaps. Measure the clearance under the finished frame before buying anything for underneath. Pallet height varies, and drawers bought first rarely fit.
Shop This Look
| Product |
|---|
| Low-profile rolling under-bed storage drawers |
| Vacuum-seal storage bags for bulky bedding |
| Under-mattress bedside caddy for phone and book |
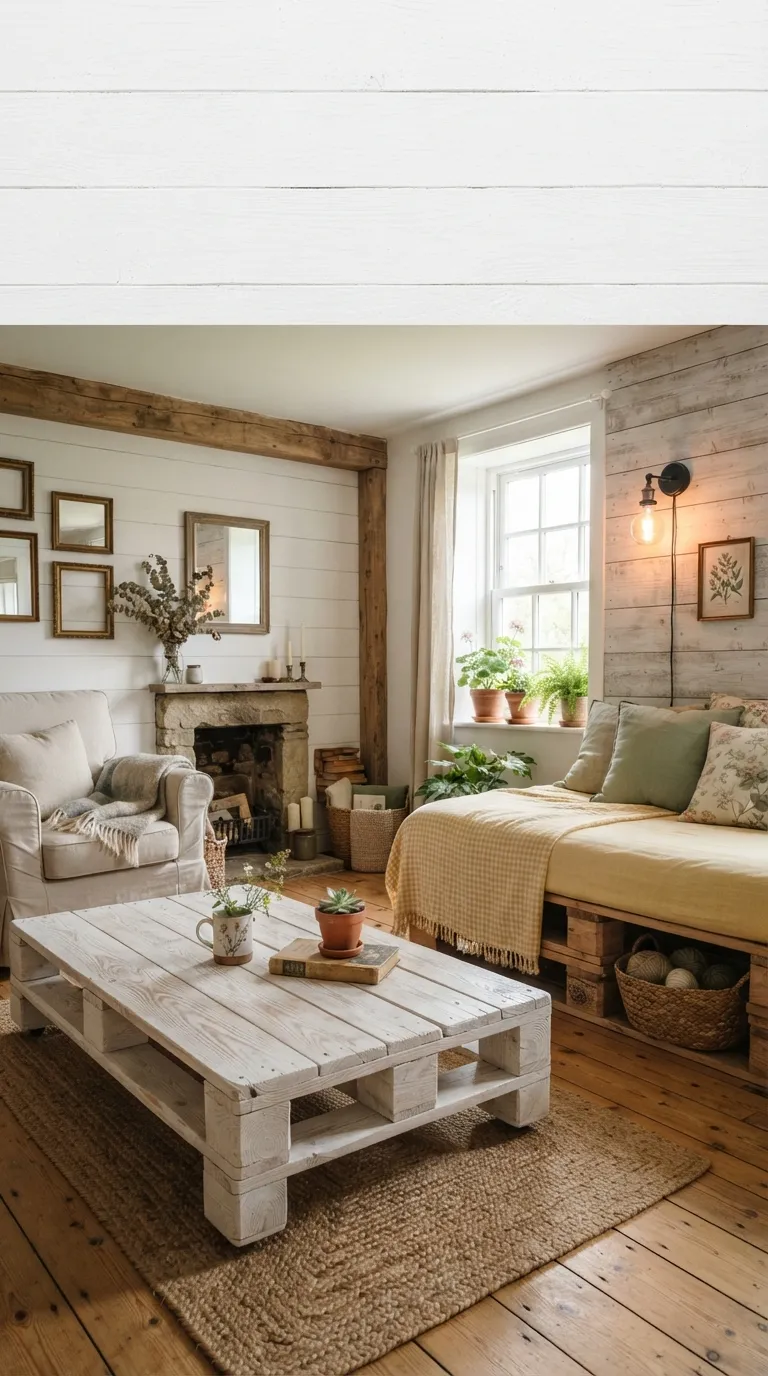
9. A Whitewashed Pallet Bookcase for a Small Room
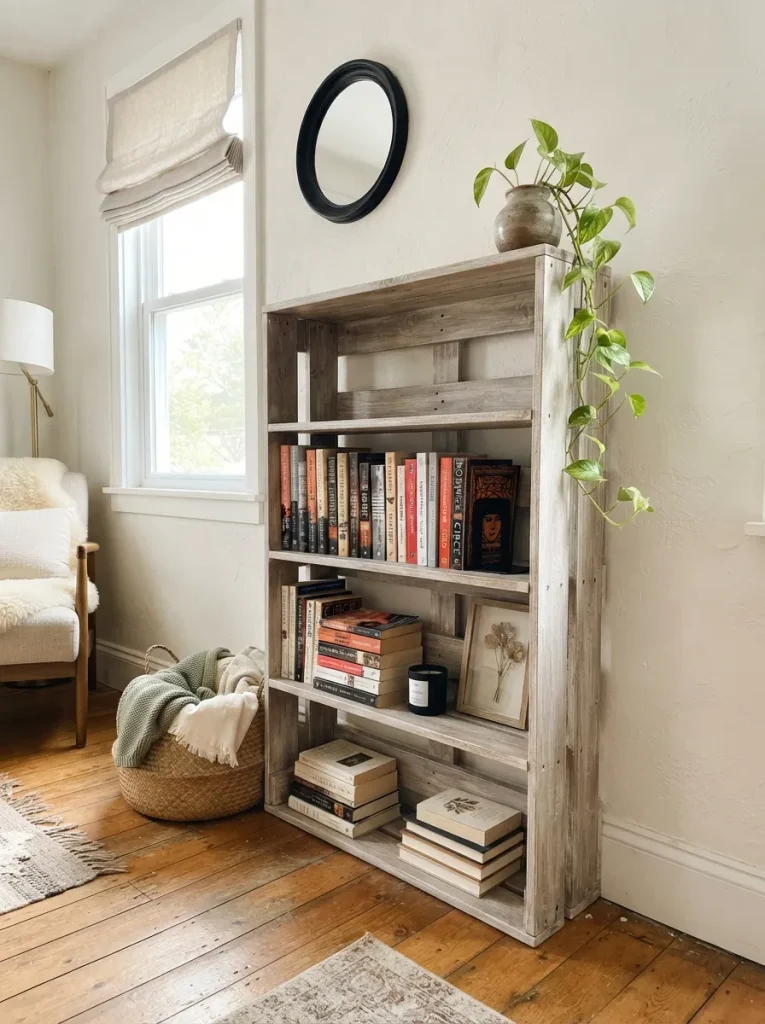
Chalky, pale wood with the grain still showing through, standing against a small room’s wall like part of the plaster instead of a piece of furniture. Light finishes shrink a bookcase’s visual weight, and heavy dark wood crowds a small room fast.
Thin white paint with water until it turns translucent, brush it on, then wipe back with a rag so the grain stays. On oak and other tannin-rich woods, a stain-blocking primer helps stop yellow or pink stains bleeding through. Pallets often mix wood species, so test the wash on the underside of a few boards first. Best for bedrooms and small living rooms.
Styling Note: Keep the top shelf half empty. A whitewashed unit filled edge to edge reads busy, and one bare board gives the eye somewhere to rest.
Next: a kitchen rack where pallet wood needs one rule about food contact before anything else goes on it.
10. A Pallet-Slat Rack for Pots, Lids, and Cutting Boards
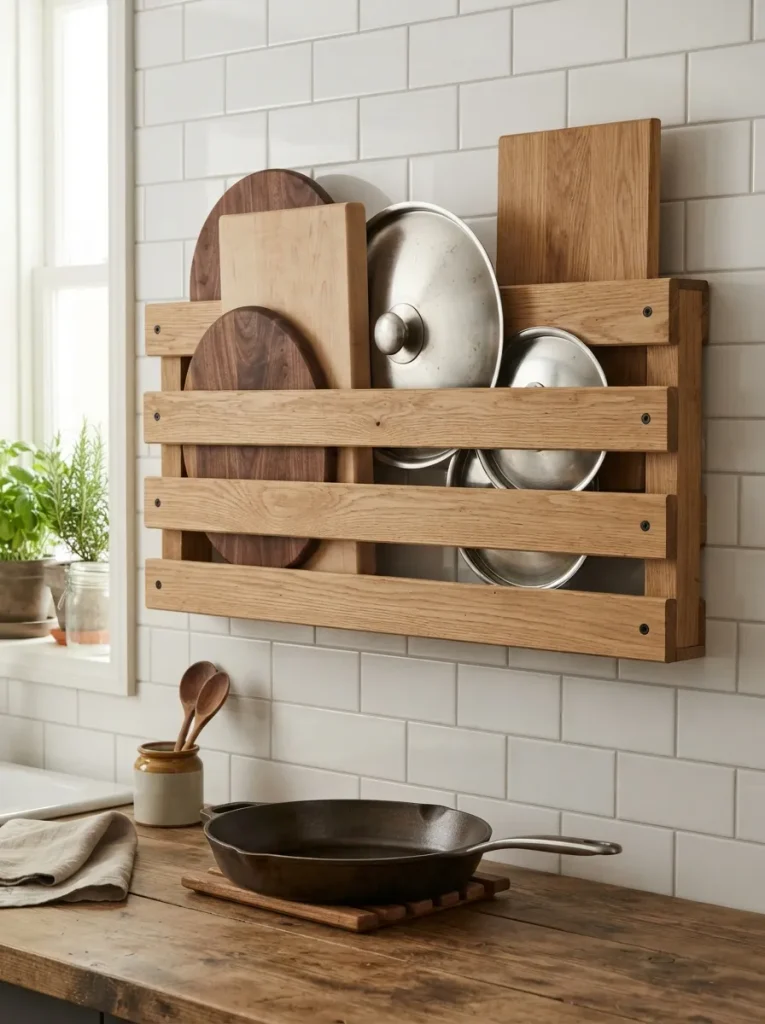
Screw three or four sanded slats horizontally to the wall, spacing them so each gap matches your thickest cutting board plus a little wiggle room.
Boards and lids then stand on edge like plates in a dish rack. Keep the rack well away from the stove, where grease and steam darken and swell unsealed wood. Seal every surface fully. Cookware and boards are fine to store there once the finish has cured, but unwrapped food should stay off raw pallet wood. Ideal for small kitchens where cabinet doors hide a jumble of lids.
Insider Observation
The counterintuitive part: shallow storage declutters better than deep storage. A single-board ledge, roughly 3.5 to 5.5 inches deep (deck-board width varies, so measure yours), can’t hide a back row, which means nothing gets buried and rebought. Deep bays do the opposite, and whatever lands at the back turns invisible. Give weekly items the shallow surfaces and keep deep bins for seasonal things.
11. A Linen Curtain Hung Across a Pallet Shelving Unit
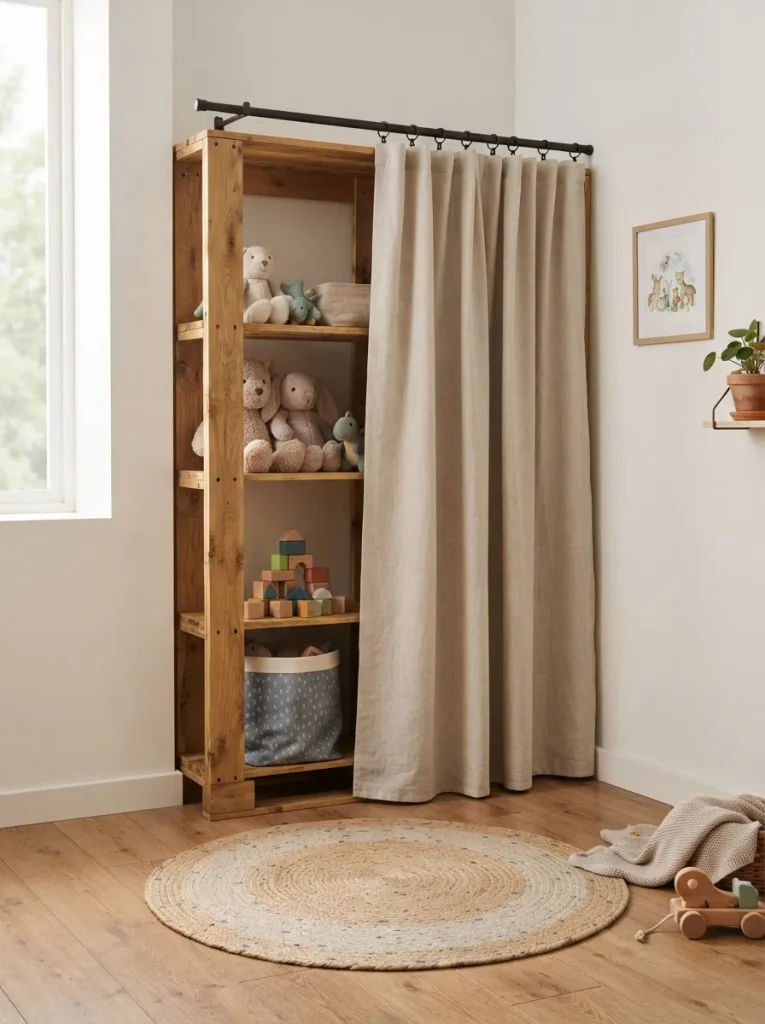
Open slats show everything, including the mess. A curtain across the front turns the same unit into hidden storage, and soft fabric takes the edge off hard pallet lines. Set a tension rod just inside the frame so the curtain hangs flat against the opening, and choose an opaque mid-weight fabric; sheer or thin cotton lets bin shapes show through in daylight.
Ordering panels about 1.5 times the opening width gives gentle folds without bunching. Works for toy corners, laundry nooks, and any shelf that looks worse the more you fill it.
Shop This Look
| Product |
|---|
| Opaque linen-blend curtain panel |
| Spring tension rod |
| Curtain clip rings |
12. A Moisture-Sealed Pallet-Board Rack Above the Toilet
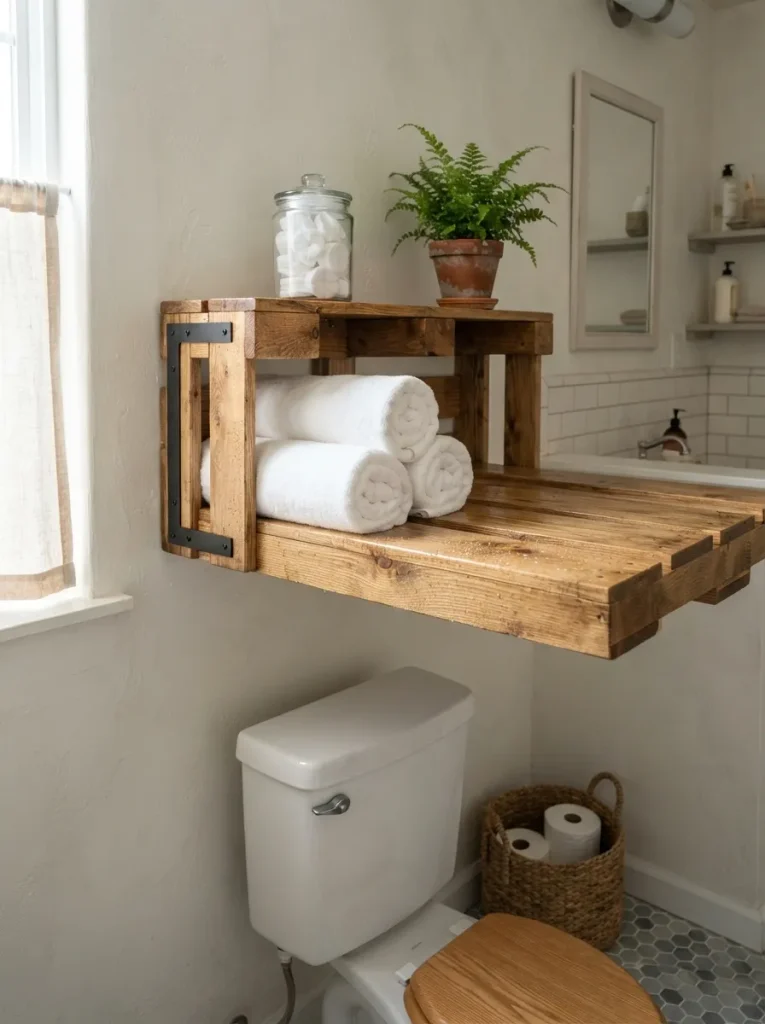
Small bathrooms with no cabinet space still have a zone above the toilet, and a rack two boards deep holds rolled towels and spare paper without touching the floor. Moisture is the design problem here: seal every face, cut ends first, because end grain soaks up water fastest.
Use exterior-grade polyurethane or spar varnish, two coats, and let it cure before anything humid goes near it. Keep the rack shallow and high enough that you can stand up without a knock. Best for powder rooms and compact bathrooms.
Warning: Skipping the underside and cut ends is the classic bathroom failure. Steam finds bare wood, unsealed end grain swells and cracks first, and the finish above it starts lifting. Seal all six faces of every board before you mount anything.
How to Start Your Pallet Storage Transformation
Start here: one HT-stamped pallet, sanded through 80, 120, and 180 grit and sealed with a clear water-based finish. It anchors everything else, since hooks, casters, and paint all need a smooth, safe surface to sit on, and doing it once teaches you the hardest part of every build above.
The beginner error that quietly ruins pallet storage is building first and measuring belongings second. Bays, gaps, and clearances are set by the pallet, not by your bins, so a build that looks right can still fit nothing. Fix it by measuring the tallest basket, the thickest cutting board, and the bulkiest coat before choosing a design, then checking those numbers against the pallet in hand.
Three items that pay off fast, each usually under $50 (prices vary): steel L-shaped shelf brackets sized for board ledges, an anti-tip furniture strap kit for anything tall, and a pack of clip-on chalkboard label tags for baskets and bins.
A single piece is a weekend job, mostly spent waiting on finish to dry. A full room, meaning three or four pieces, is more like a month of weekends. Budget roughly $20–$60 for a starter piece and $150–$400 for a full room (both approximate, driven by hardware, finish, and containers). Hook boards, ledges, and curtains are weekend jobs; the platform bed and the divider take longer.
Ready to Declutter Any Room With Pallet Storage Furniture?
These pallet storage furniture ideas cover plenty of ground: safe sealed wood, wall ledges, a rolling table, color-coded cubbies, lit racks, hook boards, a divider, a bed with drawers beneath it, and finishes that keep a small room light. Nobody needs all twelve.
One well-made piece beats a weekend of half-built ones. Today, look over the pallets you can get your hands on and pick the one with an HT stamp you’d trust indoors. Picture the entry wall or the patch of floor beside the bed where the pile used to sit, and how quiet it feels once everything has a slot. Pin your first-choice builds now so they’re waiting when the pallet arrives.
Keep Exploring
- 9 Pallet Entryway Storage Ideas That Stop the Shoe Pile
- 10 Pallet Kitchen Storage Ideas for Small Kitchens
- 8 Under-Bed Storage Ideas That Free Up Closet Space