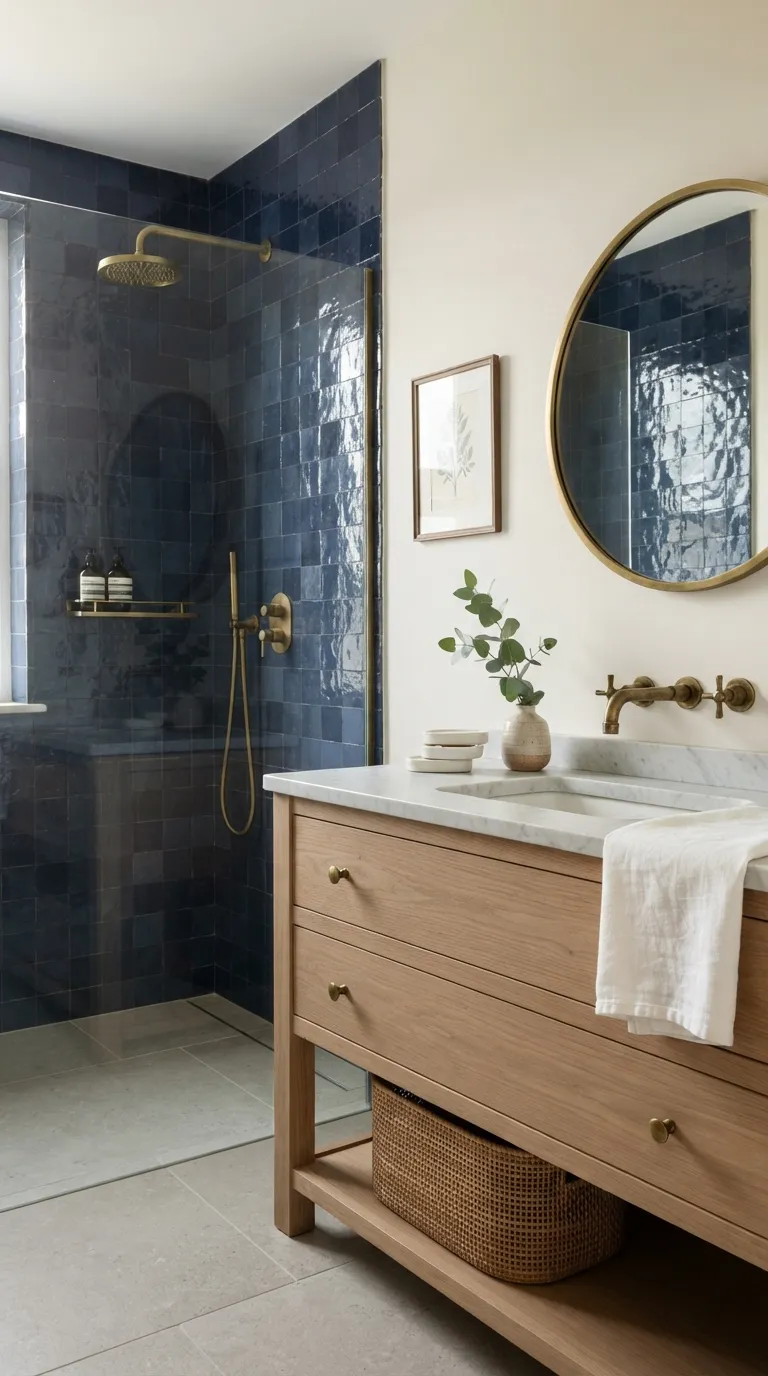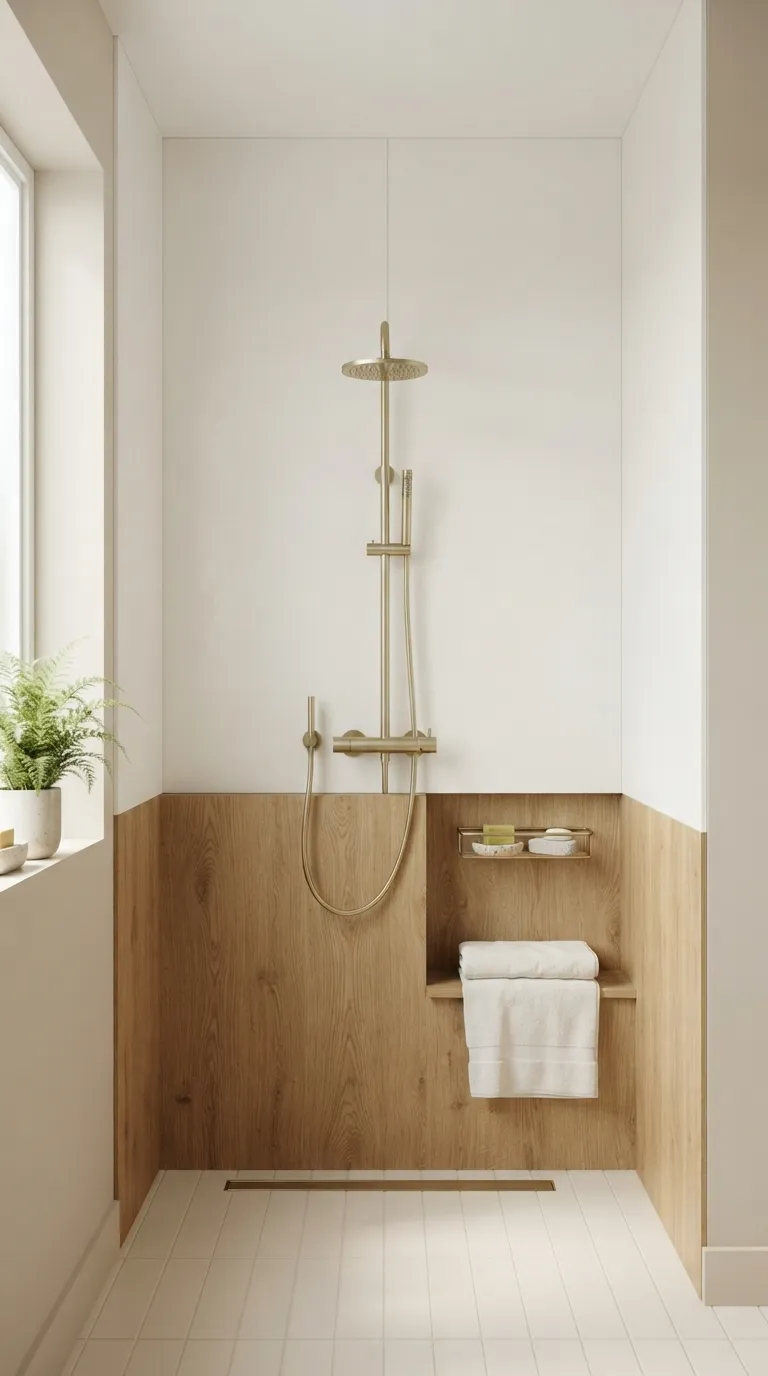
22 Bathroom Wall Panel Ideas That Skip the Grout Lines for Good
Wall panels are large, fully sealed sheets PVC, composite, or engineered wood that install in place of tile, and they fix the one thing tile never quite solves: grout that stains, cracks, and grows mildew within a year of the grout line curing.
Here are 22 bathroom wall panel ideas covering everything from full waterproof shower systems to $80 accent walls, organized so you can find the fix that actually matches your bathroom’s real problem.
A panel wall goes up in a weekend instead of a month of tile-setting and grout cure time. Cleaning turns into a five-minute wipe-down instead of a scrub-brush fight with mildewed grout. Some of these cost under $100. Others rebuild an entire shower surround start to finish. Pick the one that solves the problem you’re actually dealing with not just the one that photographs well.
Quick Navigation
- Why Bathroom Wall Panels Make Such a Difference
- 22 Bathroom Wall Panel Ideas
- How to Start Your Bathroom Wall Panel Project
- Ready to Get Started?
Why Bathroom Wall Panels Make Such a Difference
Wall paneling became genuinely practical once manufacturers started sealing seams completely no grout, no porous stone, no mildew working through hairline cracks.
Panels run in warm white, soft greige, charcoal, and woodgrain finishes like whitewashed oak or warm walnut, and install over drywall, cement board, or straight over old tile in some cases.
They’re having a real moment right now because renovation costs keep climbing and panels finish in days, not weeks. In a small bathroom, start with the shower surround first that’s where grout actually fails first.
| Best starting point | Full shower surround, where grout fails first |
| Biggest impact area | Wet zone — shower or tub surround |
| Budget to start | $80–$400 for a single wall |
| Time to complete | A weekend for one wall, 3–5 days for a full bath |
22 Bathroom Wall Panel Ideas
1. Full Waterproof Shower-to-Ceiling Panel Surround
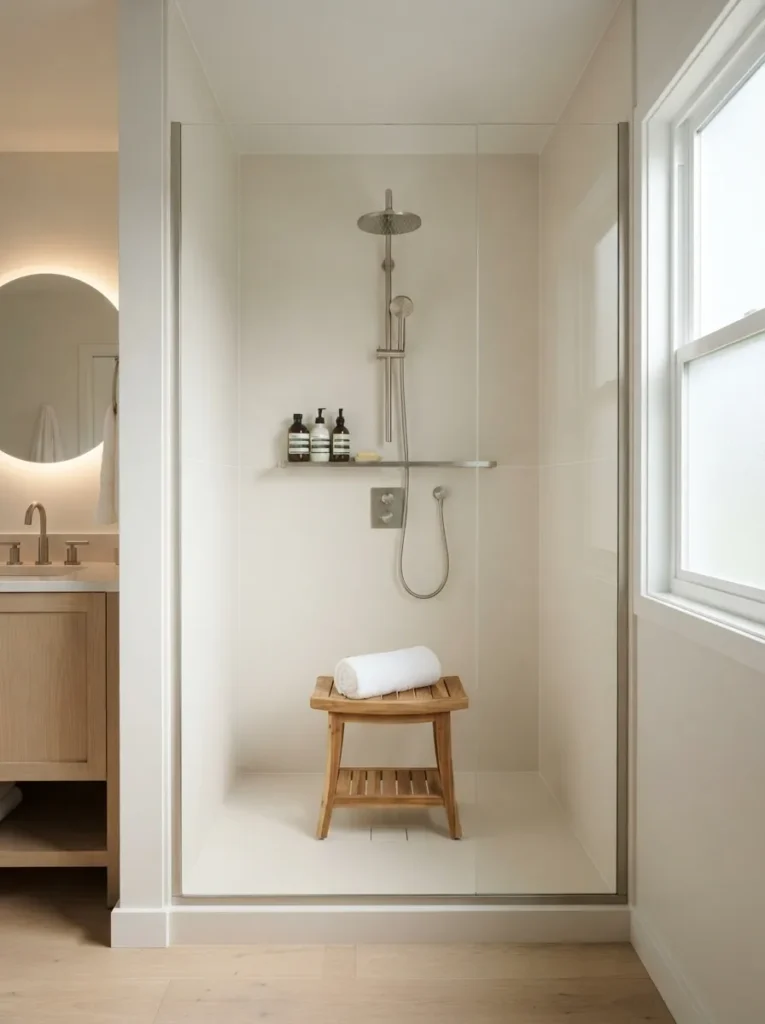
What it looks like: Flat, matte, and genuinely seamless no grout line anywhere, not even in the corners.
Why it works: Full-height panels remove tile’s actual failure point. Grout is cement-based and absorbs water over years; panel seams are sealed with waterproof adhesive and trim strips instead, so there’s nothing left for water to soak into.
How to copy it: Measure floor to ceiling in three spots walls shift more than people expect order panels sized to the tallest reading, and use manufacturer-matched sealant at every seam. Mixing sealant brands is the most common reason these installs fail early.
Best for: Anyone who’s re-grouted a shower once already and doesn’t want to do it again. The same fully sealed approach is worth considering for any other wet space in the house — it’s the same logic behind a pool house makeover, where walls face constant splashing too.
✅ Before You Install: Shower Panel Prep Checklist
- [ ] Measure all three shower walls at floor, mid-height, and ceiling
- [ ] Remove old tile or confirm the substrate is flat within 1/8 inch
- [ ] Dry-fit every panel before applying adhesive
- [ ] Seal all seams and edges with manufacturer-matched sealant
- [ ] Install corner and ceiling trim before final caulking
What You’ll Need
| Product |
|---|
| Waterproof PVC bathroom wall panel kit, matte white finish |
| Panel edge trim strips, brushed nickel finish |
| Panel-specific waterproof seam sealant |
| Notched trowel for panel adhesive |
| Compact shower caddy, matte white |
Most people assume the panels themselves are the expensive part it’s actually the trim and sealant that make or break a waterproof install.
2. Warm Oak Woodgrain Panels That Don’t Read as Plastic
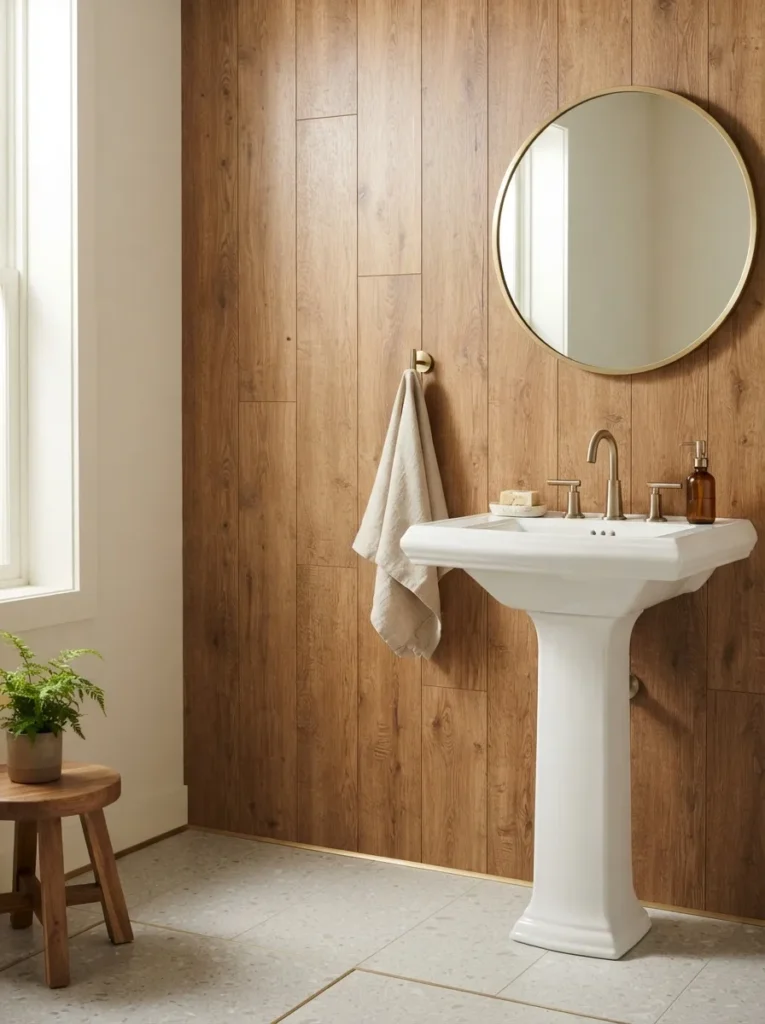
What it looks like: Warm and grained, close enough to real oak that guests ask if it’s actual wood.
Why it works: Cheap woodgrain panels fail because the grain repeats every two feet in an obvious pattern. Better composite panels stagger the grain print across a longer run, which is the specific detail that separates a convincing finish from an obviously fake one.
How to copy it: Buy panels in the largest sheet size available rather than smaller planks fewer repeats mean the grain pattern reads as continuous instead of stamped.
Best for: Renters and budget renovators who want a wood look without real wood’s water sensitivity.
Mistake to Avoid: Ordering panels site-unseen from a single product photo. Woodgrain print quality varies wildly between manufacturers order one sample panel before committing to a full wall.
3. Board-and-Batten Panel Half-Wall
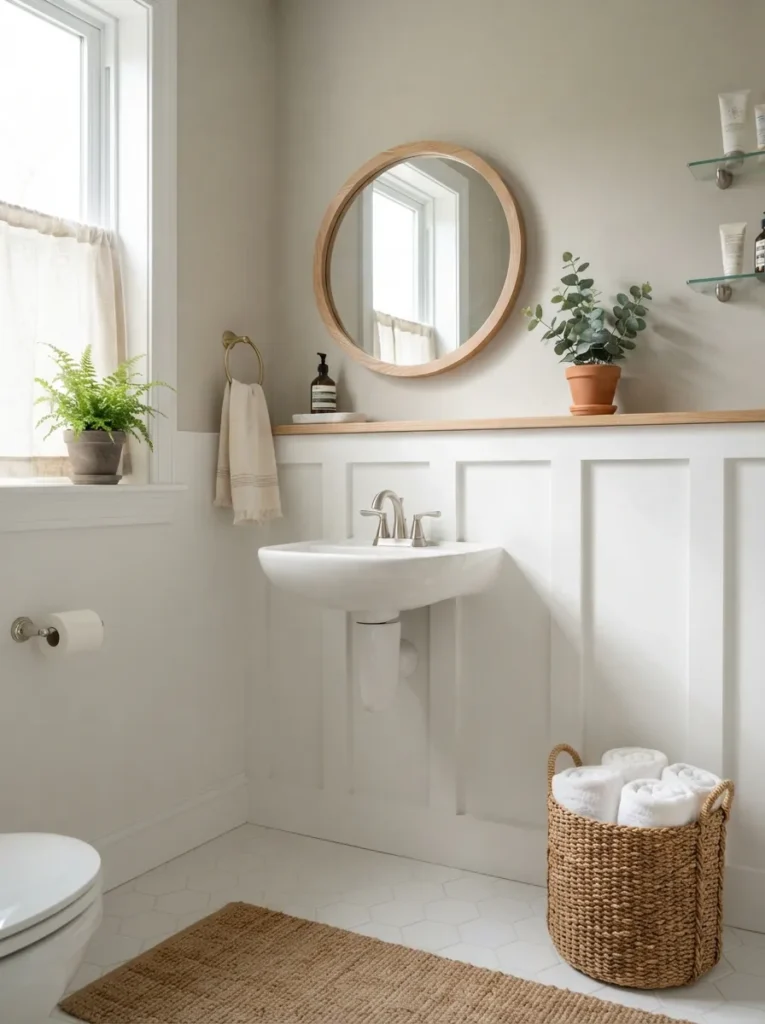
What it looks like: Crisp and architectural vertical shadow lines that catch light differently through the day.
Why it works: Board-and-batten adds visual weight to the lower half of a wall without closing the room in, using proportion the classic rule is battens at roughly 32–36 inches high, leaving the upper wall open and light.
How to copy it: Space battens 12–16 inches apart for a traditional look, or 18–20 inches for a more modern, sparser feel. Cap the top with a painted 1×4 rail so water can’t sit on an exposed edge.
Best for: Half-baths and powder rooms where a full panel wall would feel heavy.
Warning: Skipping a waterproof primer under painted MDF battens near a sink is the single most common reason these swell and warp within a year prime every cut edge, not just the face.
Up next: the panel direction that quietly adds height to a room without touching the ceiling.
4. Vertical Tongue-and-Groove Panels for Low Ceilings
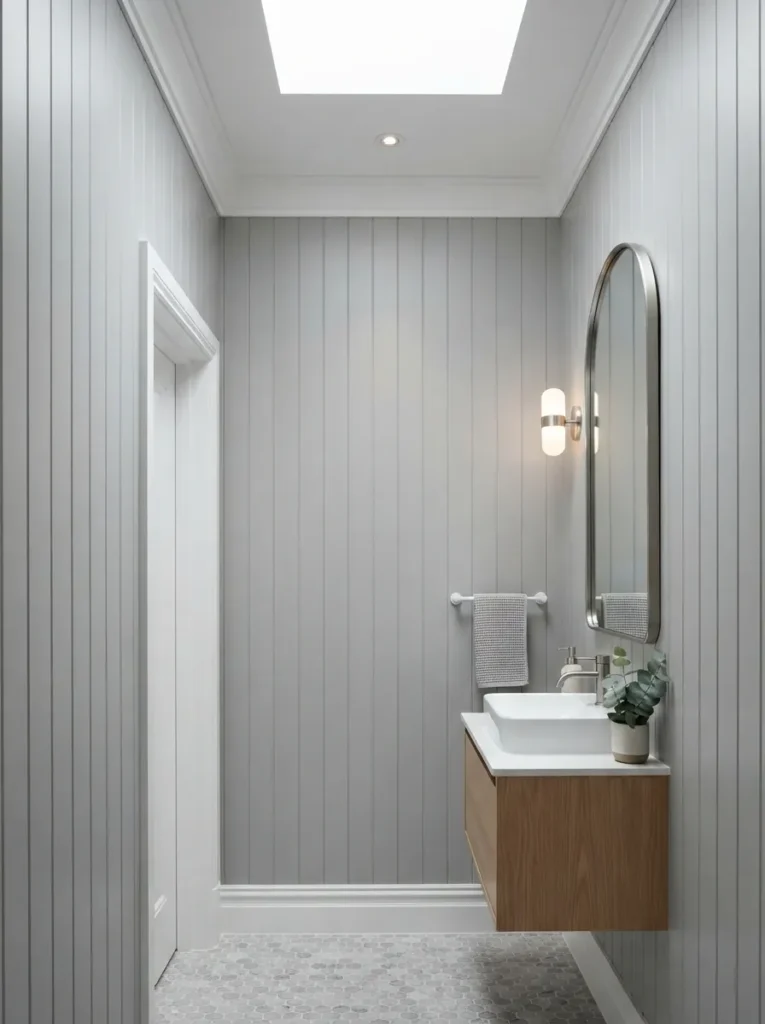
What it looks like: Tall and continuous the grooves pull the eye straight up before it registers where the ceiling actually is.
Why it works: Vertical lines are a basic optical trick, but the reason it actually works here is groove spacing: narrower grooves (roughly 2 inches apart) read as more lines per foot, which exaggerates height more than wide 4-inch spacing does.
How to copy it: Run panels floor-to-ceiling with no horizontal break, and paint trim the same color as the panel so there’s no visual stopping point at eye level.
Best for: Bathrooms with ceilings under 8 feet, especially older homes and converted attic baths.
Small-Space Tip: Keep the panel color identical above and below any window trim a color break at window height cuts the vertical line and cancels the height illusion.
5. Beadboard Wainscoting With a Capped Rail
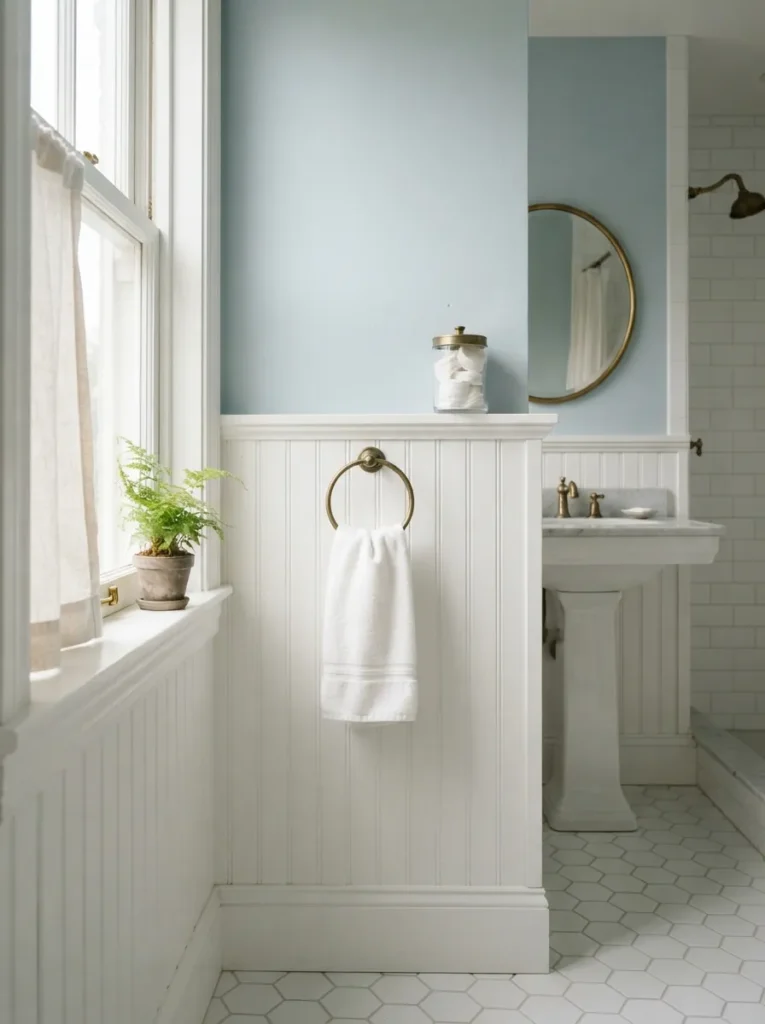
What it looks like: Fine ridged texture that reads as detail from across the room, not just up close.
Why it works: Beadboard’s narrow repeating grooves add texture without pattern unlike wallpaper or tile motifs, the eye doesn’t register a repeat, so it works in almost any style without dating the room.
How to copy it: Install to standard chair-rail height, 32–36 inches, and prime MDF beadboard on all cut edges before painting unprimed edges swell first near sinks and tubs.
Best for: Classic and traditional bathrooms, plus anyone renovating on a rental budget.
Quick Win: Pre-primed PVC beadboard costs more upfront than MDF but skips the priming step entirely and never swells worth it specifically in the wet zone.
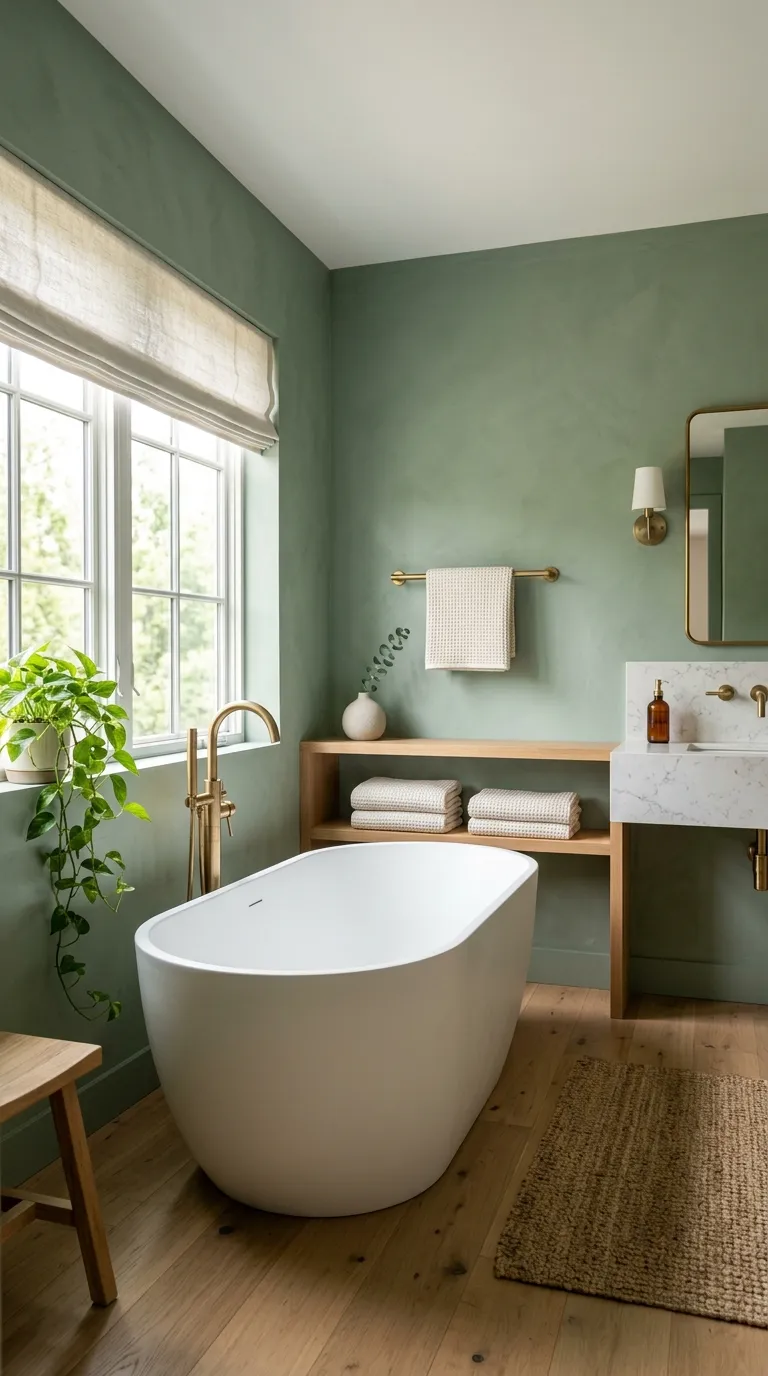
6. Soft Sage Green Panels for a Calming Primary Bath
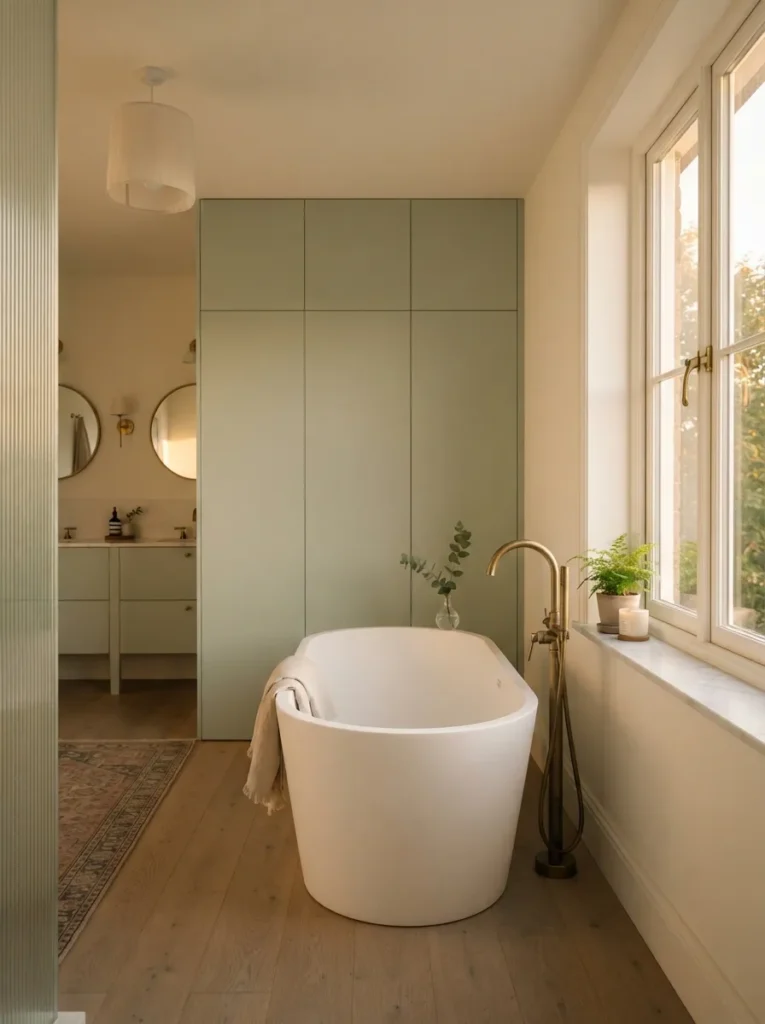
What it looks like: Quiet and grounded the kind of green that reads more gray than mint depending on the light.
Why it works: Sage sits close to neutral on the color wheel, which is why it pairs with warm brass, cool chrome, and both warm and cool whites without a clash most true greens can’t do that.
How to copy it: Panel one wall only, ideally behind the tub, and keep every other wall a warm white so the sage stays the visual anchor rather than washing out the whole room.
Best for: Primary bathrooms and anyone who wants color without committing to a bold shade.
Important: Sage green can shift noticeably yellow under warm 2700K bulbs. Test a sample panel under your actual bathroom lighting before ordering the full run.
This next one surprised even experienced renovators the first time they saw it installed it looks expensive and costs almost nothing to run.
7. Backlit LED Niche Panel
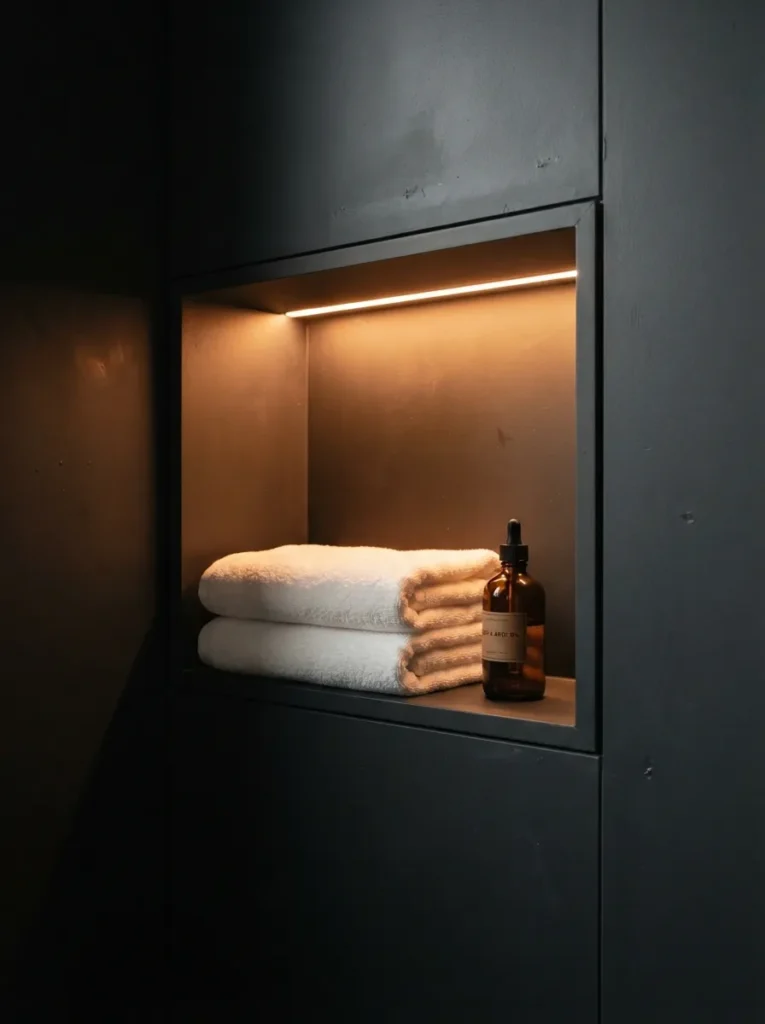
What it looks like: A soft wash of light along the top edge of a recessed niche, warm rather than clinical.
Why it works: Hiding the LED strip in a routed channel at the top of the panel means the light source itself stays invisible only the glow shows, which reads as expensive built-in lighting rather than an add-on strip.
How to copy it: Route or order a pre-channeled panel, use a warm 2700K strip rated for damp locations, and run the wire through a sealed low-voltage transformer outside the wet zone entirely.
Best for: Anyone doing a full shower remodel who wants one clear focal point.
Budget Version: Skip the routed channel and use a surface-mount damp-rated LED strip with a matching trim cap it’s less seamless but costs a third of the price.
8. Marble-Effect Laminate Panels for a Budget Luxury Look
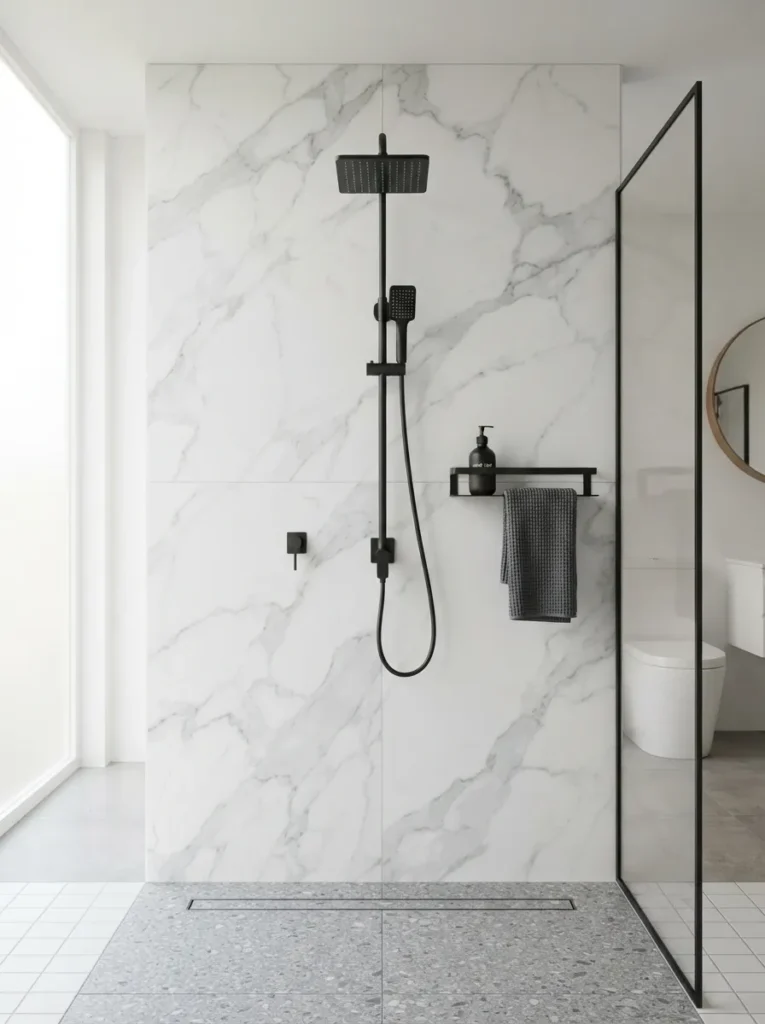
What it looks like: Cool and polished, with veining that reads as continuous rather than tiled.
Why it works: Real marble in a shower needs regular sealing or it stains within months. Laminate panels get the visual veining, subtle sheen without the porous stone underneath, so there’s genuinely nothing to seal.
How to copy it: Order panels from the same batch number so the vein pattern lines up across seams mismatched batches are the number one reason these installs look obviously fake.
Best for: Anyone who wants a marble shower look without the ongoing sealing maintenance real stone requires.
Pro Tip: Ask the supplier for the vein-matched seam diagram before ordering reputable panel brands will show you exactly where each sheet lines up.
What You’ll Need
| Product |
|---|
| Large-format marble-effect laminate wall panel, gray veining |
| Vein-matched panel seam trim, matte black finish |
| High-bond panel construction adhesive |
| Matte black shower fixture set |
| Gray hand towel set |
My Views:
Here’s something most guides won’t tell you: panel seams almost never fail from bad installation they fail from wall movement behind them.
A house settles, a stud shifts a sixteenth of an inch, and a rigid seam that was flush on install day opens a hairline gap eighteen months later.
The fix isn’t a better sealant. It’s leaving a 1/16-inch expansion gap at every seam and corner before caulking, which most first-time installers skip because it looks wrong on day one.
9. Warm Walnut Accent Panel Behind a Floating Vanity
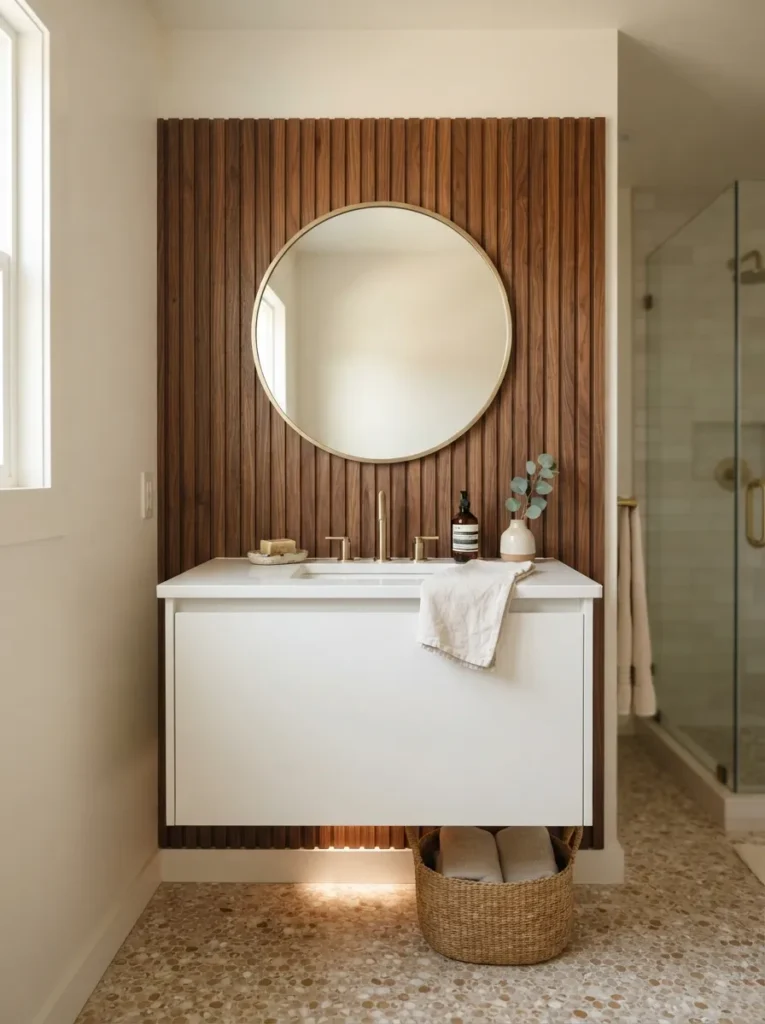
What it looks like: Rich and grounded the panel reads as furniture-grade rather than a wall treatment.
Why it works: A panel sized wider than the vanity beneath it creates a deliberate frame, using proportion and negative space so the eye reads the wall and vanity as one composed unit instead of two separate elements.
How to copy it: Size the panel six to eight inches wider than the vanity on each side, and keep the vanity floating with a visible shadow gap beneath a grounded vanity cabinet breaks the effect entirely.
Best for: Anyone renovating a powder room or primary vanity wall who wants one clear focal point. If you’re updating fixtures at the same time, browsing bathroom mirror ideas first can help you pick a frame finish that actually matches the panel’s warm-metal hardware.
Styling Note: Orient the walnut grain to run vertically behind a floating vanity horizontal grain flattens the wall and fights the vanity’s horizontal line instead of complementing it.
The next idea handles the one bathroom problem paint alone never fully solves: a room with almost no natural light.
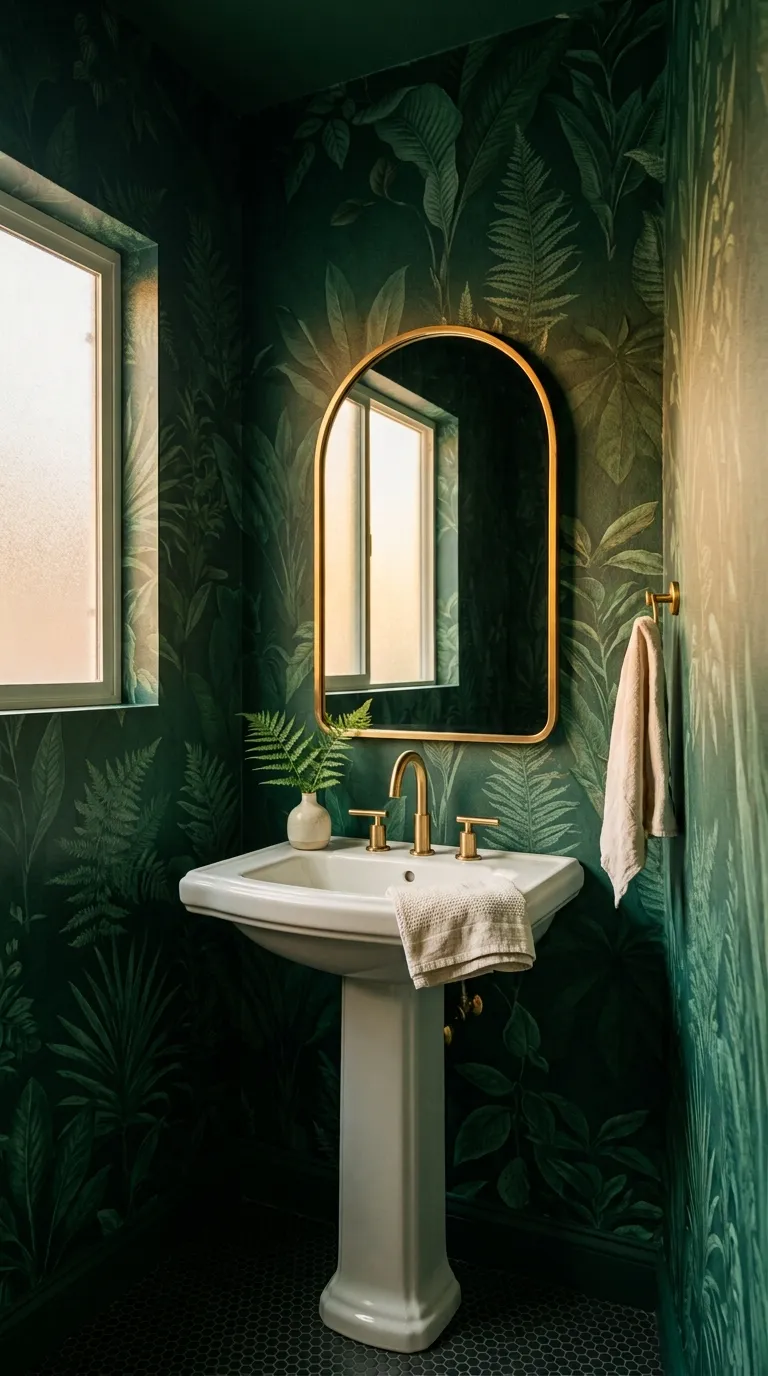
10. Charcoal Slate-Effect Panels for a Moody Powder Room
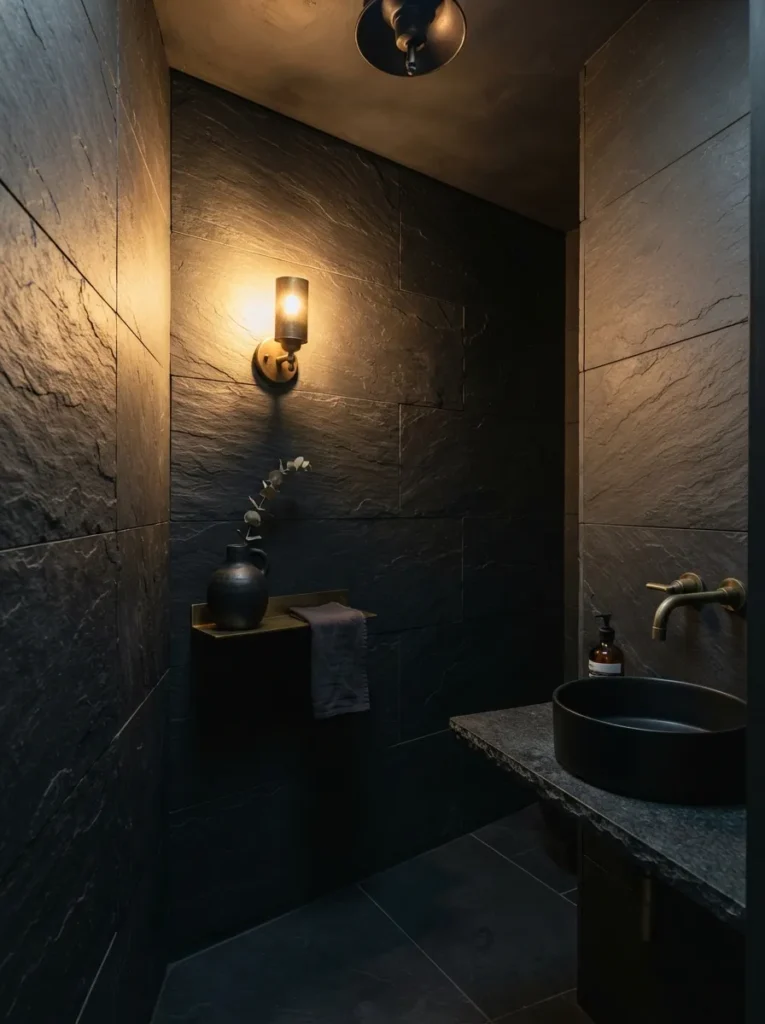
What it looks like: Dense and close the kind of dark that feels intentional rather than cave-like once brass hardware catches the light.
Why it works: Dark, saturated color in a small windowless room works against typical advice because there’s no daylight to fight against visual weight and contrast from brass or nickel fixtures become the real feature instead of the walls trying to feel bright.
How to copy it: Reserve full-wall charcoal for powder rooms with no natural light and add at least one warm metal fixture brass or unlacquered nickel so the room has a clear point of contrast.
Best for: Small powder rooms with no window, where light bathrooms tend to feel flat rather than airy.
Important: Charcoal panels show hard water spots more visibly than lighter finishes near any faucet or sink splash zone a matte rather than gloss finish hides this considerably better.
11. Horizontal Shiplap Panels Above the Tile Line
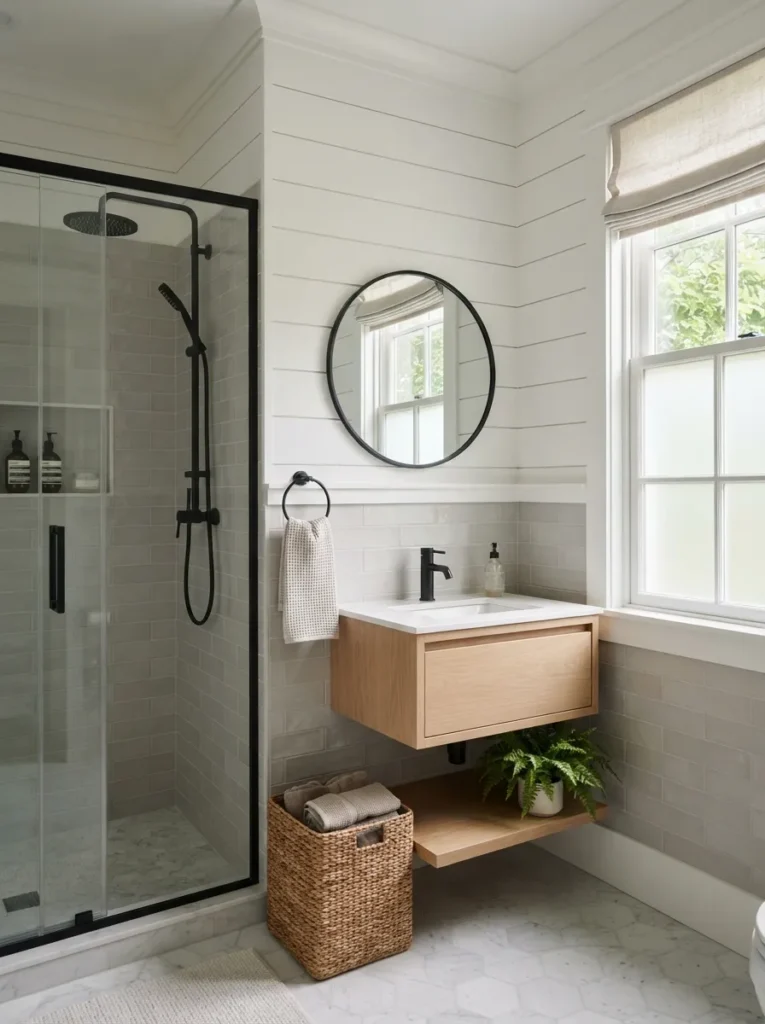
What it looks like: Layered two distinct textures meeting at one clean horizontal line.
Why it works: Splitting a wall between a wet-rated material below and a dry-friendly material above respects where water actually reaches, using material logic rather than pure decoration to justify the transition.
How to copy it: Set the transition line at exactly shower-head height or slightly above, and cap it with a single trim piece so the two materials meet at one deliberate edge instead of an uneven gap.
Best for: Partial renovations where retiling the whole shower isn’t in the budget this year.
Quick Win: A 1/4-inch reveal gap between shiplap boards reads as more intentional than boards butted flush it’s a five-minute install decision with an outsized visual payoff.
12. High-Gloss Reflective Panel Finish to Bounce Daylight
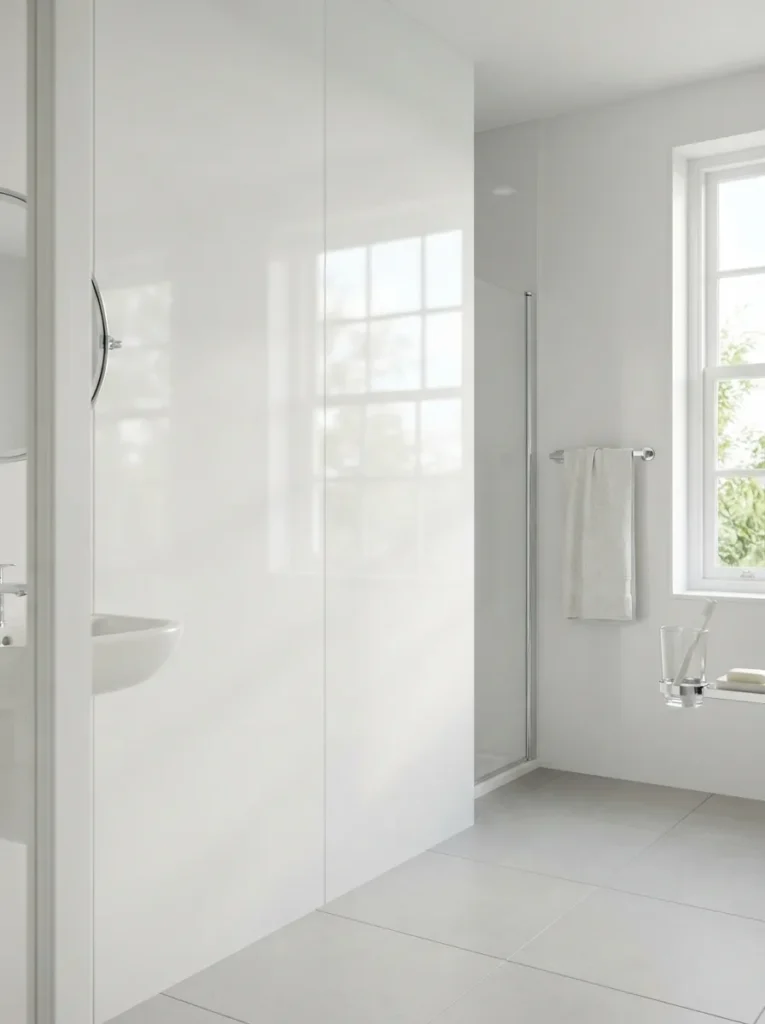
What it looks like: Bright and reflective the wall itself seems to hold more daylight than the room actually receives.
Why it works: Gloss finishes bounce light rather than absorbing it the way matte surfaces do, so a wall facing a window effectively doubles as a secondary light source a real fix for rooms with just one small window.
How to copy it: Place the glossiest panel on the wall directly facing the window, not beside it, so the reflection angle actually redirects light back into the room rather than off to the side.
Best for: Small bathrooms with one window and no space for additional fixtures.
Pro Tip: Gloss finishes show every water spot and fingerprint. Reserve them for walls, not surfaces near constant hand contact like beside the sink.
Up next: a panel style that turns one wall into the whole room’s focal point without adding a single decoration.
13. Textured 3D Panel Feature Wall
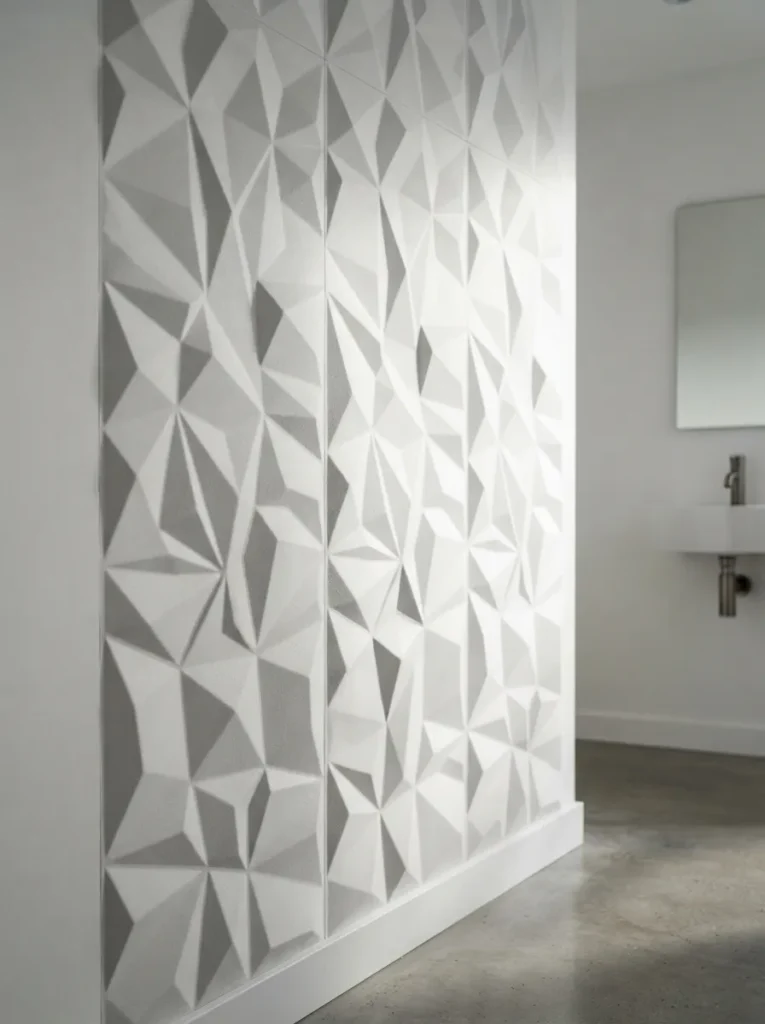
What it looks like: Sculptural and raw shadow does most of the visual work here, not color.
Why it works: Raised geometric texture relies entirely on light angle to read as interesting; flat overhead lighting flattens it completely, while a single side-angled light source creates the shadow depth that makes the pattern visible at all.
How to copy it: Install one accent lamp or sconce at a low side angle rather than overhead lighting, and keep every surrounding wall flat and plain so the texture stays the only visual event in the room.
Best for: A single statement wall never use this texture on more than one wall in the same room.
Mistake to Avoid: Grouting or caulking the raised panel seams like tile. Most 3D panels are designed to butt seamlessly without visible sealant lines adding caulk here actually draws attention to the joints instead of hiding them.
14. Panels Behind Open Shelving as a Display Niche
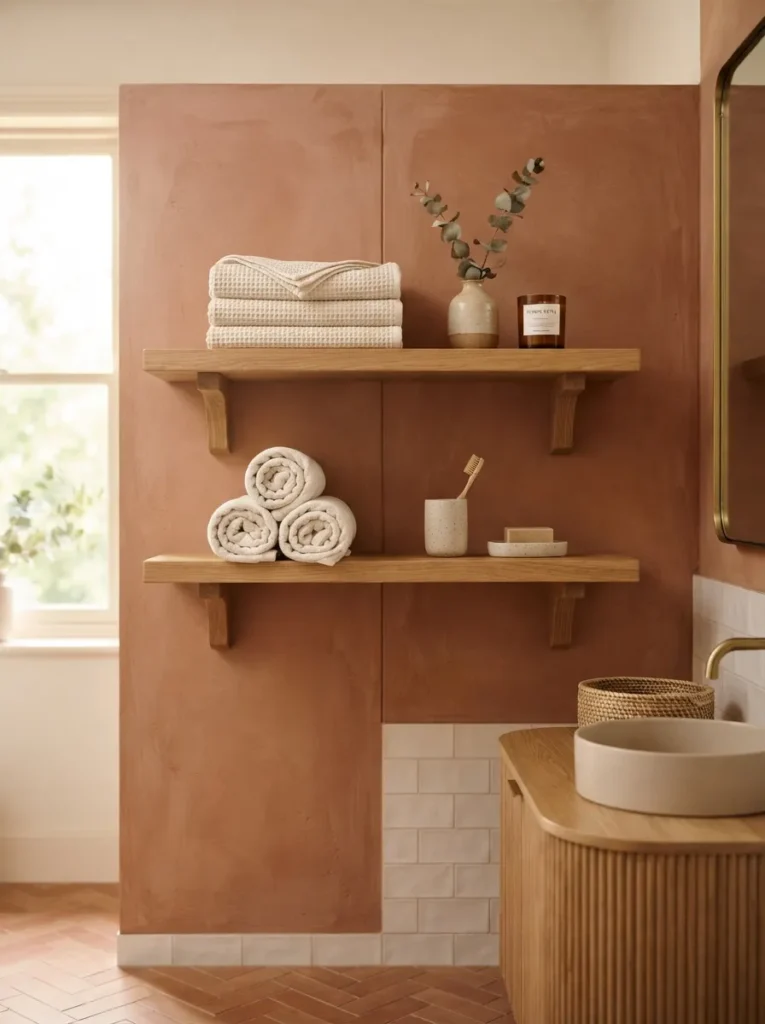
What it looks like: Warm and layered the panel acts as a backdrop that makes plain towels look styled.
Why it works: A colored panel behind open shelving gives objects visual contrast against the wall, using color and negative space so the shelf contents read as intentional display rather than clutter against a matching wall.
How to copy it: Choose a panel color one to two shades deeper than anything you’ll display on the shelves, so items stand forward instead of blending in.
Best for: Small bathrooms that need storage but not a full cabinet taking up floor space. The same open-shelving-against-a-backdrop trick works well beyond the bathroom, too it’s a big part of what makes these craft closet ideas feel organized instead of cluttered.
Important: Panels rated for wall use aren’t automatically rated to support shelf brackets check the panel’s weight rating or anchor directly into studs behind it, not just into the panel surface.
15. Matte Black Trim Panels for Contrast
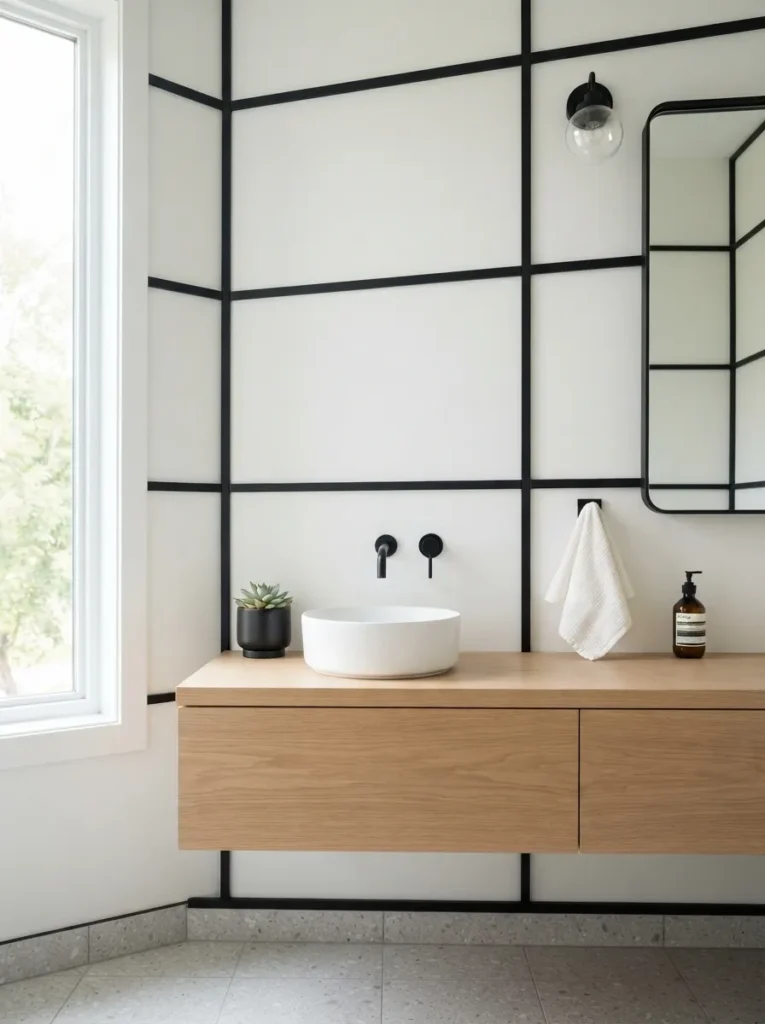
What it looks like: Crisp and defined every seam becomes an intentional line instead of something to hide.
Why it works: Instead of matching trim to the panel color to disguise seams, black trim uses contrast deliberately, turning the panel grid into a graphic design element the same way window mullions define a glass wall.
How to copy it: Order trim in matte black specifically glossy black trim reflects light unevenly and looks like a manufacturing defect rather than a design choice.
Best for: Small bathrooms where black trim can visually anchor the room instead of shrinking it, since it defines edges rather than adding visual weight everywhere.
Small-Space Tip: Limit black trim to vertical seams only in a small room running it along every horizontal line as well can start to feel like a grid cage rather than a design detail.
This next fix is for the one layout problem no amount of decorating solves: a corner that’s too tight to work with.
16. Curved Corner Panel Detail for Tight Layouts
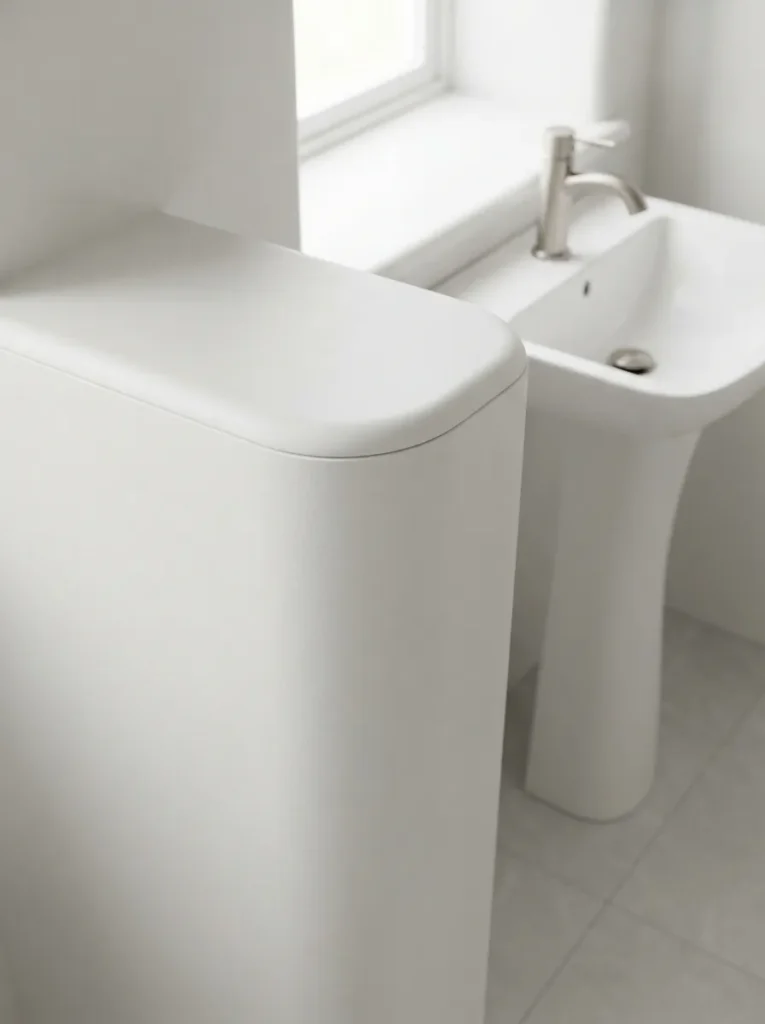
What it looks like: Soft and rounded the sharp corner most small bathrooms fight with simply isn’t there.
Why it works: A curved bullnose panel piece eliminates the hard edge that makes tight corners feel like they’re closing in, using rounded form instead of color or lighting to soften a genuinely small space.
How to copy it: Order a pre-formed curved corner piece from the same panel line rather than trying to bend a flat panel on-site factory-curved pieces keep a consistent radius that field-bent panels can’t match.
Best for: Bathrooms under 30 square feet with at least one awkward tight corner.
Pro Tip: Curved corner trim pieces are sold separately from standard flat trim order from the same manufacturer and product line as your flat panels, since radius sizing isn’t standardized across brands.
17. Waterproof Composite Panels for a Tub Surround
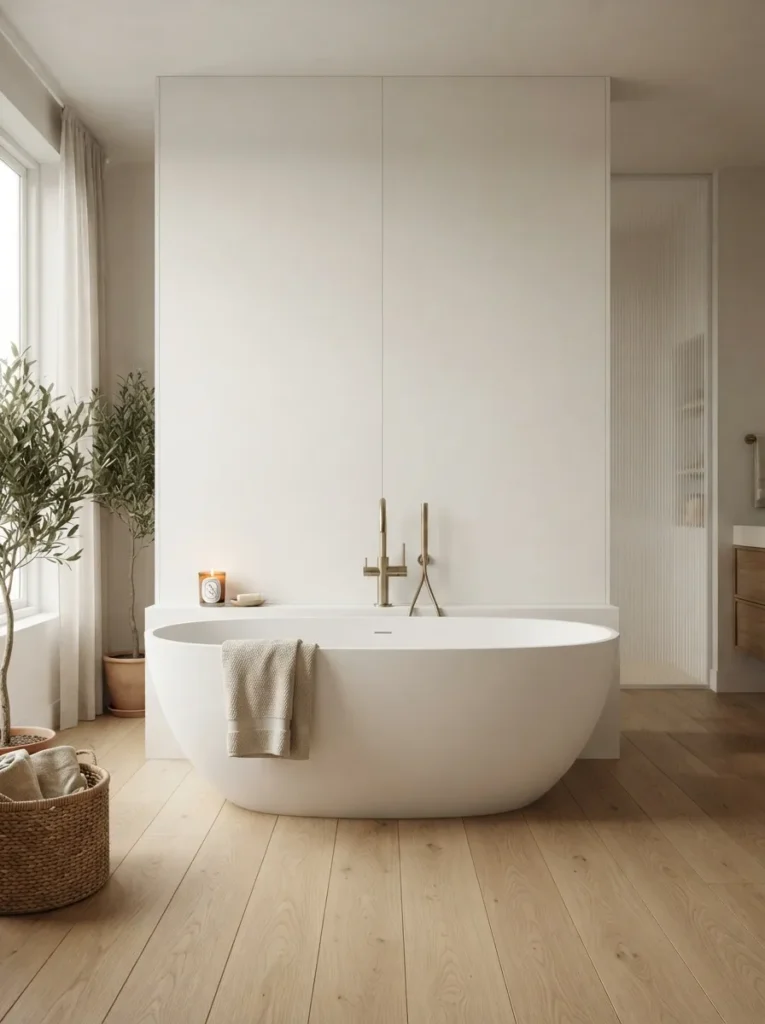
What it looks like: Still and calm a single continuous surface behind the tub instead of a wall full of grout lines and splash marks.
Why it works: Tub surrounds see constant splashing but rarely direct water pressure the way a shower does, so a composite panel a step down in waterproof rating from full shower-grade PVC handles it fine at a lower cost.
How to copy it: Size the panel four to six inches wider than the tub on each side so splashing near the edges hits panel, not painted drywall, which is where water damage actually starts.
Best for: Anyone adding a freestanding tub without a full shower in the same space.
Budget Version: Composite tub-surround panels run noticeably cheaper than shower-grade PVC appropriate here specifically because tub splash exposure is lighter than direct shower spray.
18. Terracotta-Toned Panels for Warmth in a Cool Bathroom
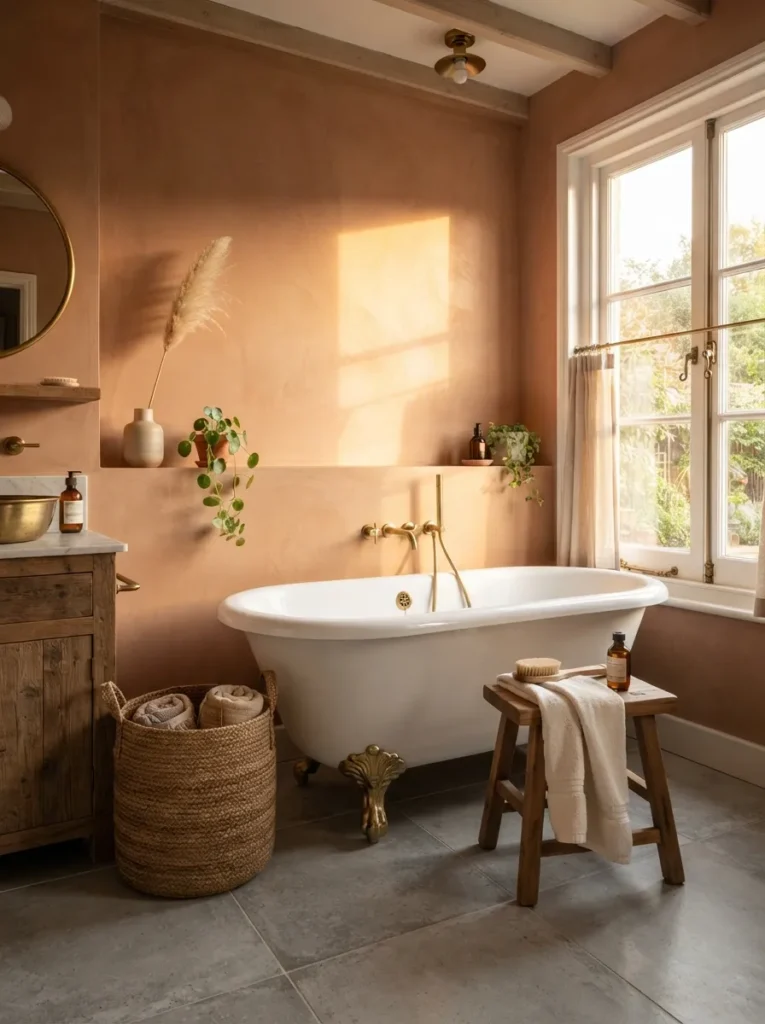
What it looks like: Sun-warmed against cool tile the kind of contrast that keeps a gray-floored bathroom from feeling cold.
Why it works: Terracotta sits opposite blue-gray on the color wheel, so it directly counteracts the coolness of gray tile or chrome fixtures rather than just adding another neutral to the mix.
How to copy it: Pair terracotta panels with brass or warm gold fixtures specifically chrome and terracotta fight each other, while brass shares the same warm undertone and reads as intentional.
Best for: Bathrooms with cool gray or white tile flooring that reads sterile rather than calm.
Important: Terracotta panels can clash with pink-toned or cool white porcelain fixtures. Check your existing tub and sink undertone before ordering swapping fixtures afterward costs far more than swapping panel color upfront.
The last few ideas cover the details people usually add last and regret not planning for first.
19. Two-Tone Panel Wainscoting for Visual Height
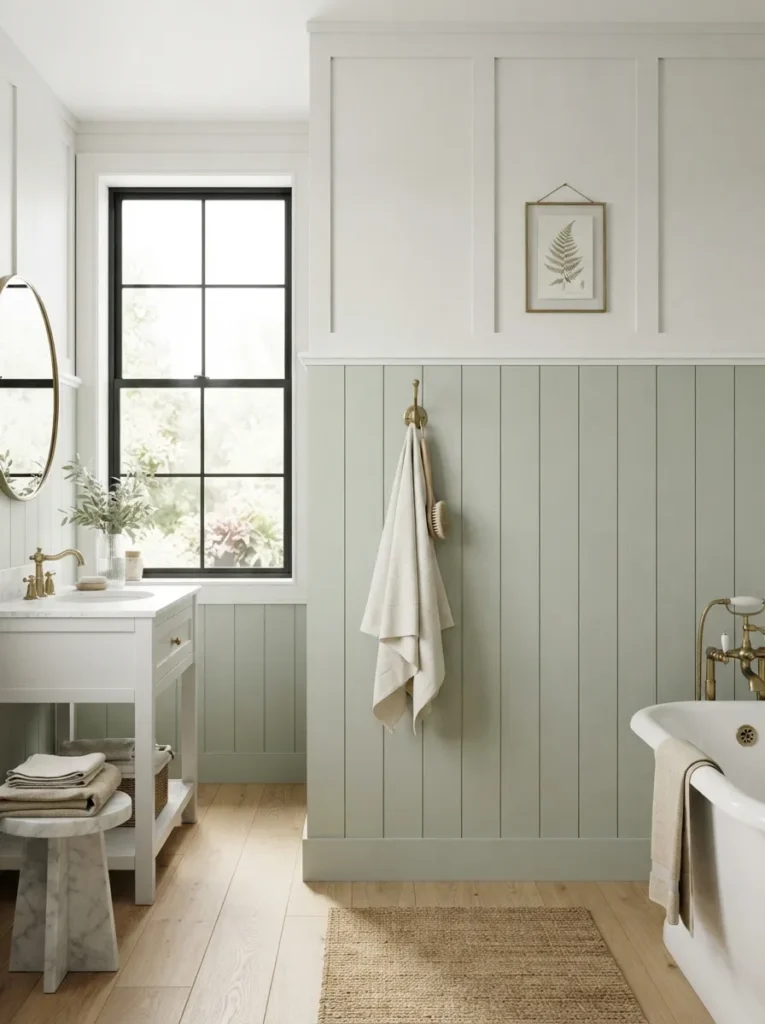
What it looks like: Layered but airy two tones meeting at a line high enough that the room still feels tall.
Why it works: Setting the color break at roughly two-thirds wall height, rather than the traditional one-third chair-rail height, keeps most of the wall in the lighter tone, which preserves the sense of height that a lower break would cut short.
How to copy it: Measure two-thirds of your total wall height for the reveal line for an 8-foot ceiling, that’s roughly 64 inches, noticeably higher than a standard 32-inch chair rail.
Best for: Rooms with ceilings under 8 feet where a traditional low chair-rail break would make the ceiling feel closer.
Quick Win: Keep both panel tones in the same finish matte with matte, or gloss with gloss mismatched sheen levels between the two tones is what makes two-tone walls look unplanned.
20. Brass Trim Strips as a Finishing Detail
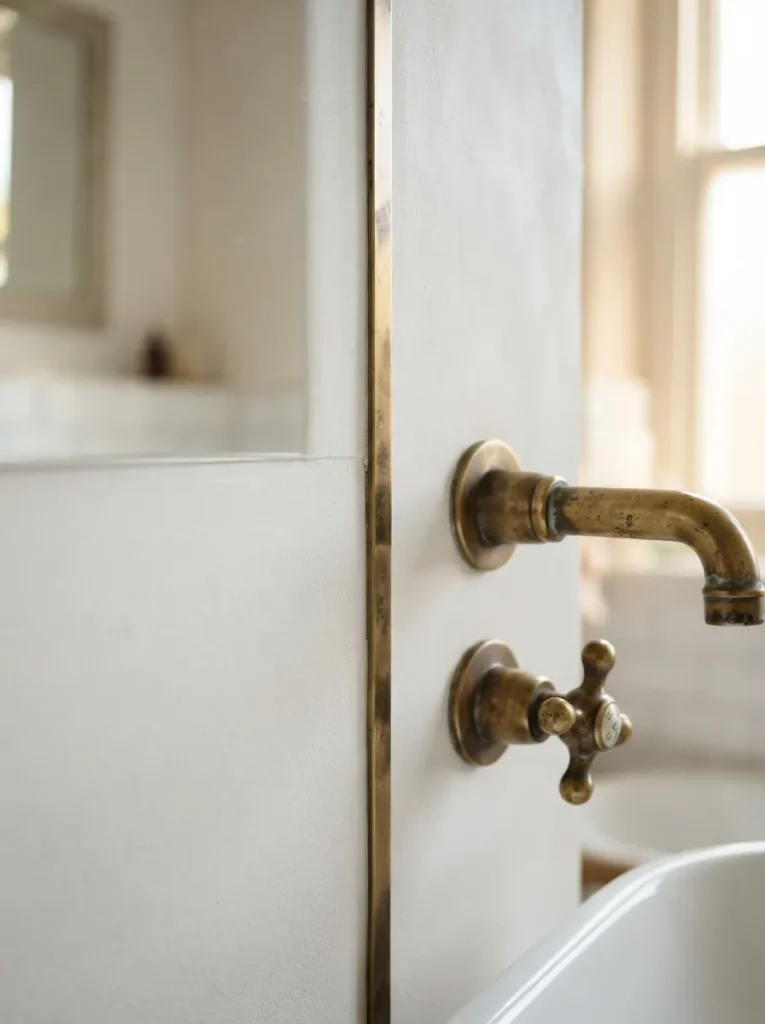
What it looks like: Refined and warm a thin metal line doing more visual work than an entire accent wall would.
Why it works: A metal trim strip at panel seams turns a purely functional part the piece that covers the joint into a deliberate design line, the same principle as exposed brass hardware on furniture.
How to copy it: Match the trim finish to your existing fixtures exactly unlacquered brass patinas over time, so pairing it with a chrome faucet will look mismatched within a year as the brass ages and the chrome doesn’t.
Best for: Anyone who already has brass fixtures and wants the panel install to feel coordinated rather than added on.
Pro Tip: Order trim in unlacquered brass specifically if your fixtures are also unlacquered lacquered trim stays shiny while unlacquered fixtures darken, and the mismatch becomes obvious within months.
What You’ll Need
| Product |
|---|
| Unlacquered brass panel trim strips |
| Brass panel corner end caps |
| Panel construction adhesive, brass-safe formula |
| Brass towel hook, unlacquered finish |
| Brass faucet, unlacquered finish |
21. Warm White Panels to Brighten a Windowless Bath
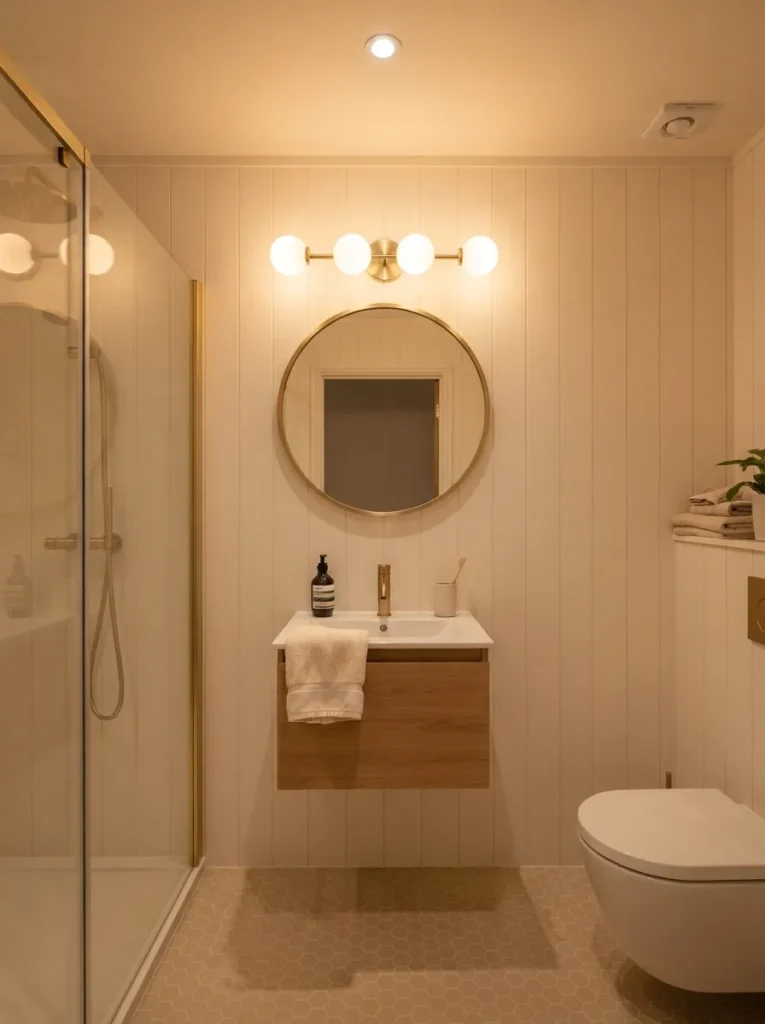
What it looks like: Bright and even, without the slightly clinical look a stark white can give a windowless room.
Why it works: True white or cool white reads flat and sterile without daylight to balance it a warm white panel paired with warm-temperature bulbs avoids the greenish, flat cast that windowless bathrooms often get under cool lighting alone.
How to copy it: Pair warm white panels specifically with 2700K–3000K bulbs, not daylight-temperature 4000K+ bulbs the panel color and bulb temperature have to match in warmth or the room reads muddy instead of bright.
Best for: Interior windowless bathrooms and powder rooms relying entirely on artificial light.
Styling Note: Add one warm metal fixture brass or warm nickel since an all-white room with cool chrome hardware can tip back toward looking sterile despite the warm wall tone.
22. Budget Half-Height Panel Install, Shower Height Only
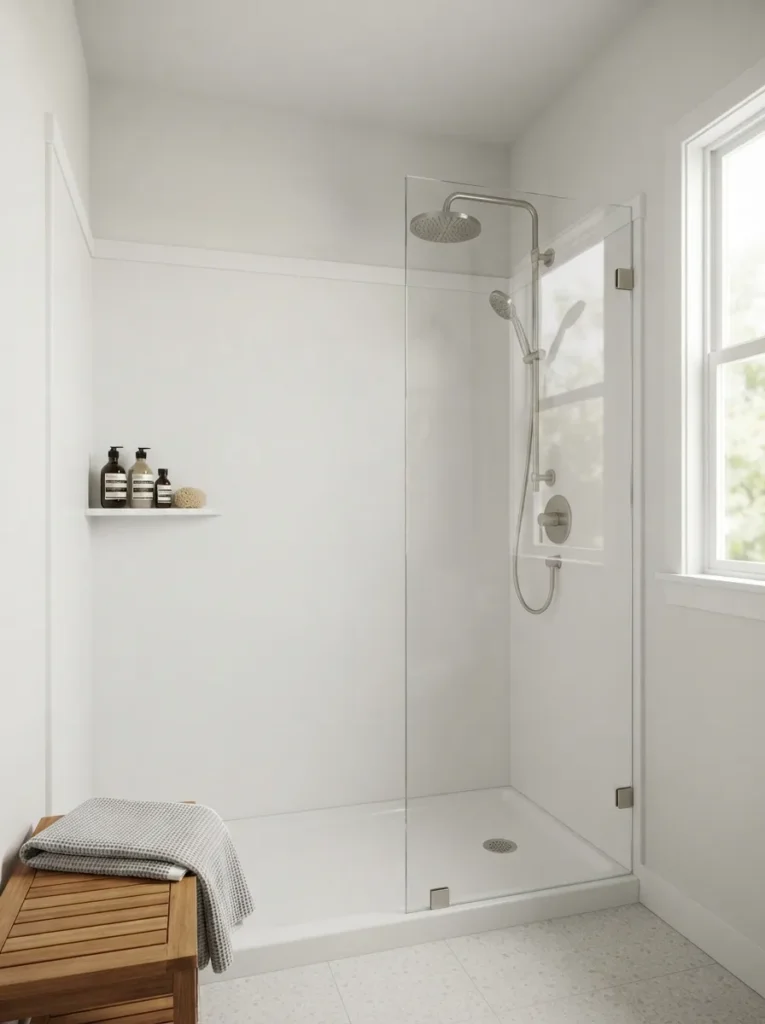
What it looks like: Clean and quietly practical the transition line is barely noticeable when both surfaces match in tone.
Why it works: Water damage happens almost entirely within splash range, roughly 80 inches up from the shower floor paneling only that zone waterproofs the part that actually needs it, while paint covers everything above at a fraction of the material cost.
How to copy it: Match the panel color to the paint above as closely as possible, and cap the transition with a single thin trim strip so the height change reads as a deliberate detail rather than a budget shortcut.
Best for: Renovators working with a tight budget who still need real waterproofing where it matters most.
Warning: Skipping trim at the top edge of a half-height install is the most common reason water gets behind the panel from above that top edge needs the same sealing attention as the seams do.
How to Start Your Bathroom Wall Panel Project
What I’ve found with real spaces is that the shower surround always comes first, ahead of any accent wall or accessory. That’s the zone where grout actually fails, so it’s where a panel install pays for itself fastest everything else on this list is easier to add once that one wall is solved.
The most common fixable mistake is skipping the expansion gap at seams and corners. Rigid panels butted flush look perfect on install day, then open a hairline gap within a year or two as the house settles. A 1/16-inch gap, sealed properly, solves this before it starts.
Three items under $50 that make an immediate difference: a set of matte black or brushed brass panel edge trim strips, a single sample panel ordered before committing to a full run, and a tube of manufacturer-matched seam sealant instead of a generic silicone caulk.
A single accent wall install typically takes a weekend, start to finish, for around $150–$400 including trim and adhesive. A full shower surround runs closer to three to five days and $400–$1,200 depending on panel grade. A full-bath refresh shower, one accent wall, and new trim throughout realistically takes one to two weeks including drying and curing time.
Ready to Get Started?
You’ve now got 22 ways to rethink a bathroom wall from full waterproof shower systems to a single $50 trim upgrade, in colors ranging from warm oak to charcoal slate. Start with one wall, not the whole room; a single panel install still solves the actual problem tile leaves behind.
Today, order one sample panel in the finish you’re leaning toward before committing to a full sheet order. A well-chosen panel wall means fewer weekends spent scrubbing grout and more of them spent actually using the room. When you land on the combination that works, save this one you’ll want the checklist again before install day.
Keep Exploring