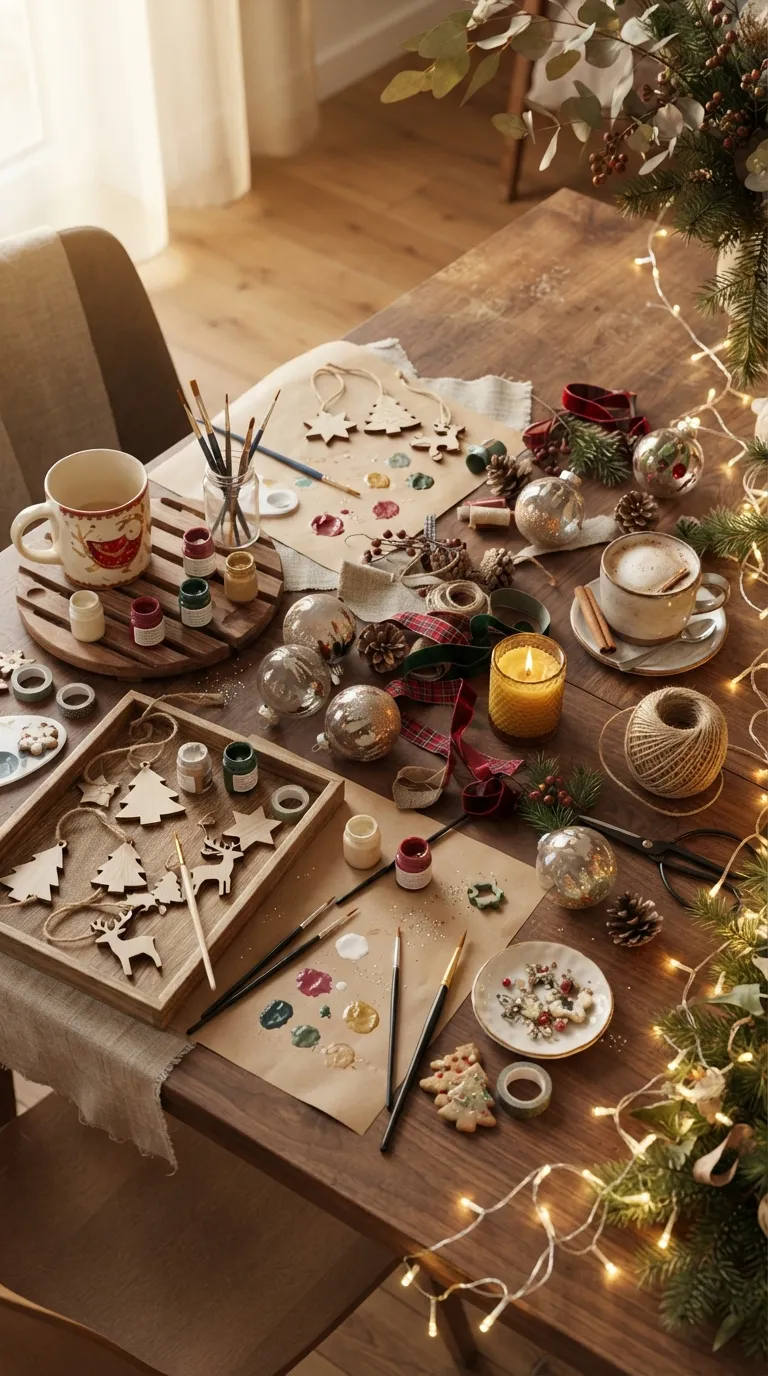
15 Christmas Themed Girls Night Craft Ideas Worth Actually Repeating
A Christmas-themed girls’ night craft is exactly what it sounds like a few hours with friends, wine or cocoa in hand, making something festive with your own two hands instead of watching another holiday movie you’ve already seen. This guide hands you 15 specific, tested craft ideas from five-minute ornament stations to a full DIY candle bar so you can plan the whole night without guessing what works around a living room table.
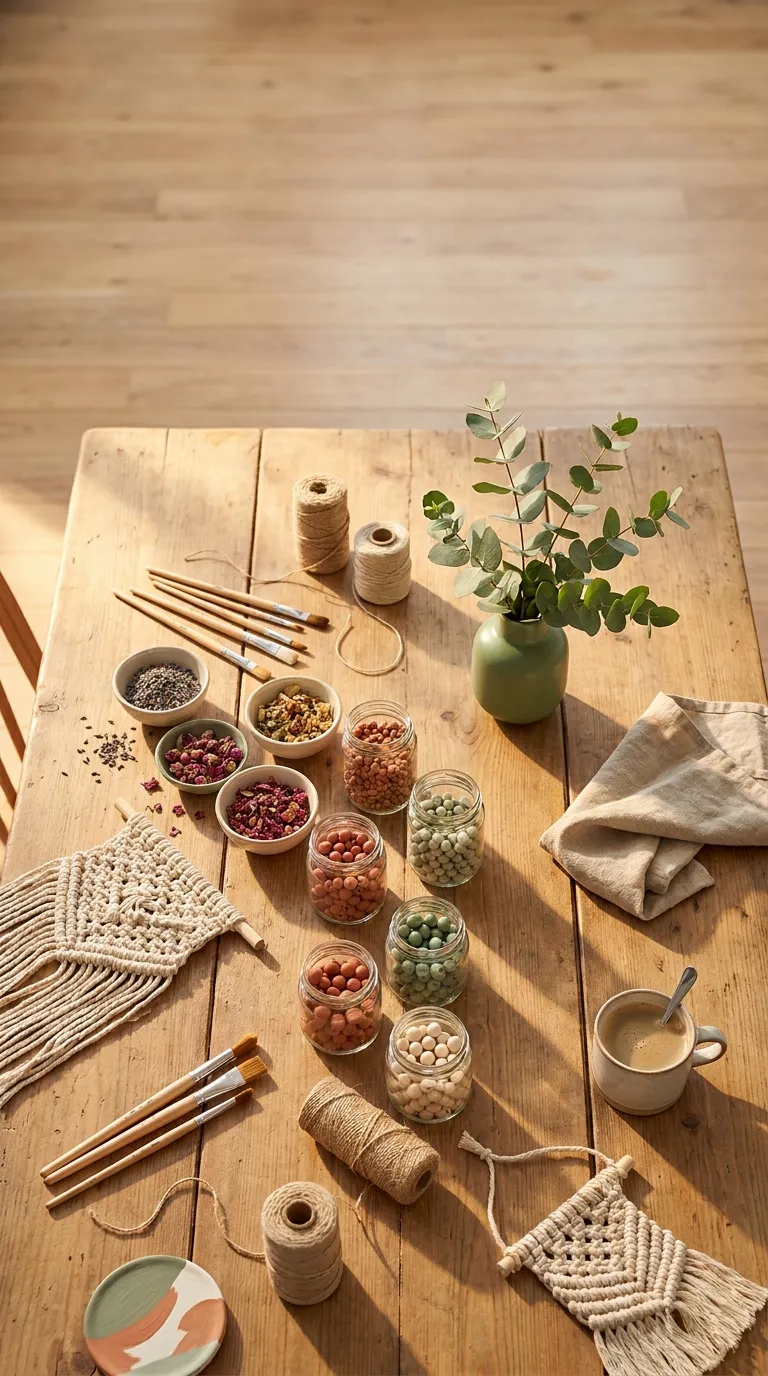
There’s a particular warmth that comes from a table covered in ribbon scraps, half-dried paint, and someone’s laugh landing over a Michael Bublé playlist. Glue guns hum next to mugs of cocoa. Nobody’s phone comes out much after the first hour that’s usually the tell that a craft night is working. Fifteen ideas, coming up, starting with the ones that need almost no setup at all.
Quick Navigation
- Why Christmas Craft Nights Make Such a Difference
- 15 Christmas-Themed Girls Night Craft Ideas to Try This Season
- How to Start Your Christmas Craft Night
- Ready to Plan Your Own Christmas Girls Night Craft Party?
- You Might Also Like
Why Christmas Craft Nights Make Such a Difference
Christmas craft nights work because they give a group of friends a reason to sit still together rarer every December than people admit. The best ones lean on real materials: warm-white string lights, natural pine, soy wax, acrylic paint pens in metallic gold and cranberry red.
They’re trending right now because small at-home gatherings have quietly replaced big holiday parties for a lot of women in their late 20s through 40s. Even a studio apartment can host six people comfortably if you prioritize one folding table over a full dining setup.
| Best starting point | Pick 2–3 crafts, not all 15 |
| Biggest impact area | One dedicated “craft bar” station |
| Budget to start | $60–$120 for 6–8 guests |
| Time to complete | 2–3 hours, plus setup |
15 Christmas-Themed Girls Night Craft Ideas to Try This Season
Start with the next three if you’re short on time or budget this year each one needs almost no setup and still reads like an event.
1. A DIY Mini Ornament Painting Bar
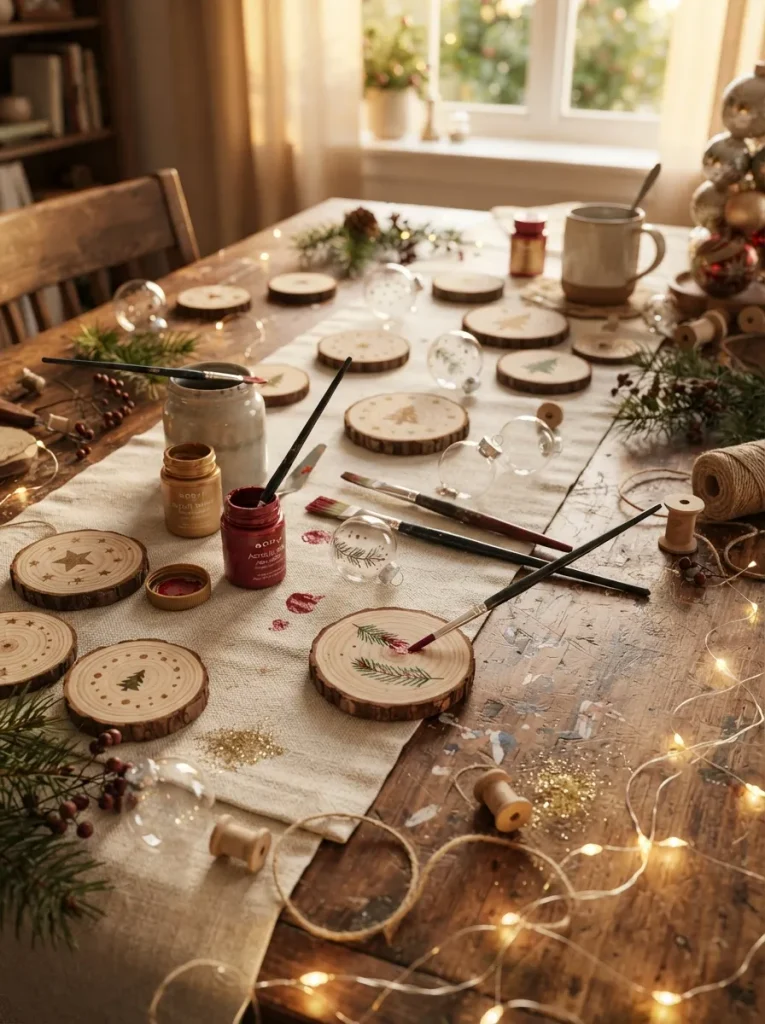
What it looks like: A table gone slightly chaotic half-painted ornaments drying on a towel, paint pots bunched in the center, nobody’s hands staying clean.
Why it works: Unfinished wood and clear glass ornaments hold paint differently, so giving guests both options creates natural variety without anyone needing real skill. Paint pens instead of loose brushes keep the mess contained, which matters more than people expect once wine is involved.
How to copy it: Buy a 12-pack of unfinished wood-slice ornaments and a 12-pack of clear glass balls, plus metallic acrylic paint pens in gold, silver, and cranberry. Skip loose paint and brushes pens dry faster and don’t drip onto furniture.
Best for: Groups with mixed craft experience, since there’s no wrong way to paint an ornament.
Pro Tip: Buy twice as many ornaments as guests. Everyone ruins their first attempt and wants a redo, and nobody warns you about that part in advance.
What You’ll Need
| Product |
|---|
| Unfinished wood-slice ornaments (12-pack) |
| Clear glass ball ornaments, 3-inch |
| Metallic acrylic paint pens, fine tip |
| Small paint palette tray |
| Cotton twine for hanging |
2. A Custom Hot Cocoa Mug Painting Station
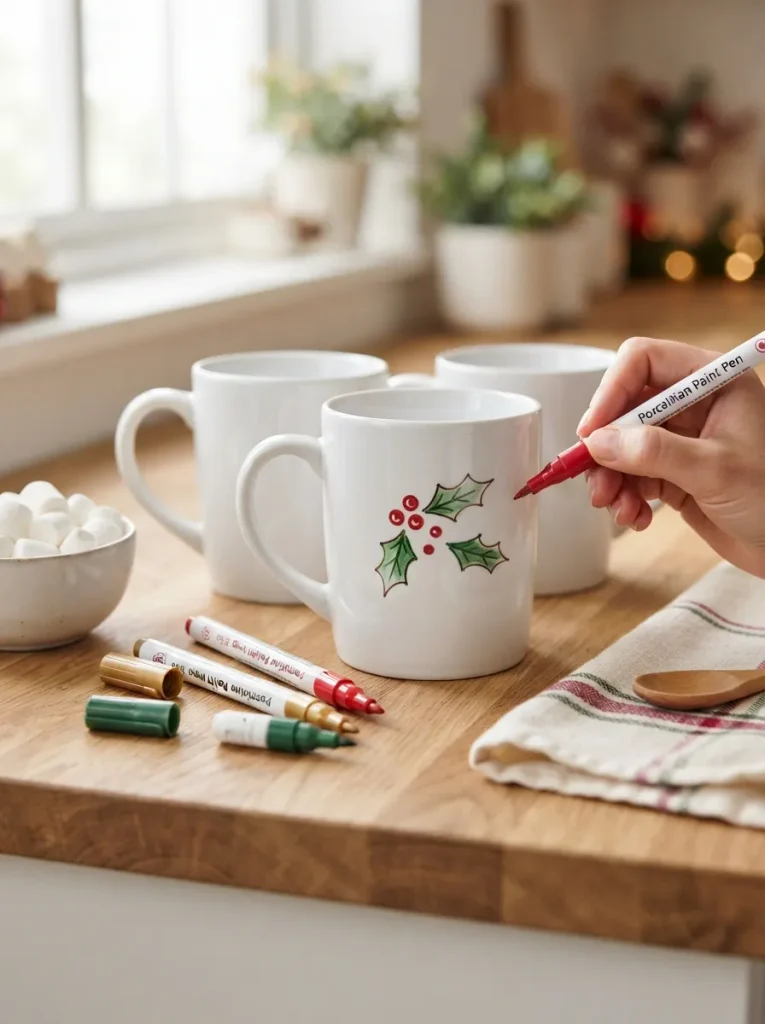
What it looks like: Plain mugs turning personal one pen stroke at a time, a small tray of cocoa fixings waiting nearby for the reveal.
Why it works: Oven-bake porcelain paint sets permanently, so what feels like a doodle turns into something guests keep and use that shift from disposable to permanent is what makes this idea stick with people.
How to copy it: Get plain white ceramic mugs and a set of oven-bake porcelain paint pens, then bake decorated mugs at 325°F for 30 minutes once the paint’s fully dry. Skip dishwasher-safe claims on cheap pens they chip within weeks.
Best for: Hosts who want every guest leaving with a finished, usable gift.
Quick Win: Print a simple holly or snowflake stencil ahead of time so anyone nervous about freehand drawing has a guide to trace.
3. A Pinecone and Ribbon Wreath

What it looks like: A bare wire form slowly disappearing under pinecones and ribbon, texture building up in uneven, satisfying clumps.
Why it works: Pinecones create natural visual weight and repetition without needing any design training the wreath practically arranges itself once you wire pieces on in clusters instead of one at a time.
How to copy it: Start with a 12-inch wire wreath form and attach pinecones in groups of three using thin floral wire, then weave 1.5-inch velvet ribbon through the gaps last. Working in clusters, not individually, is what keeps it from looking sparse.
Best for: Anyone who wants a finished piece that goes straight on the front door that night.
Important: Hot glue alone won’t hold pinecones through winter humidity floral wire is what actually keeps a wreath together past January.
Up next: the material choice that quietly makes the rest of the table smell like Christmas without anyone lighting a single candle.
4. A Gingerbread House Decorating Bar
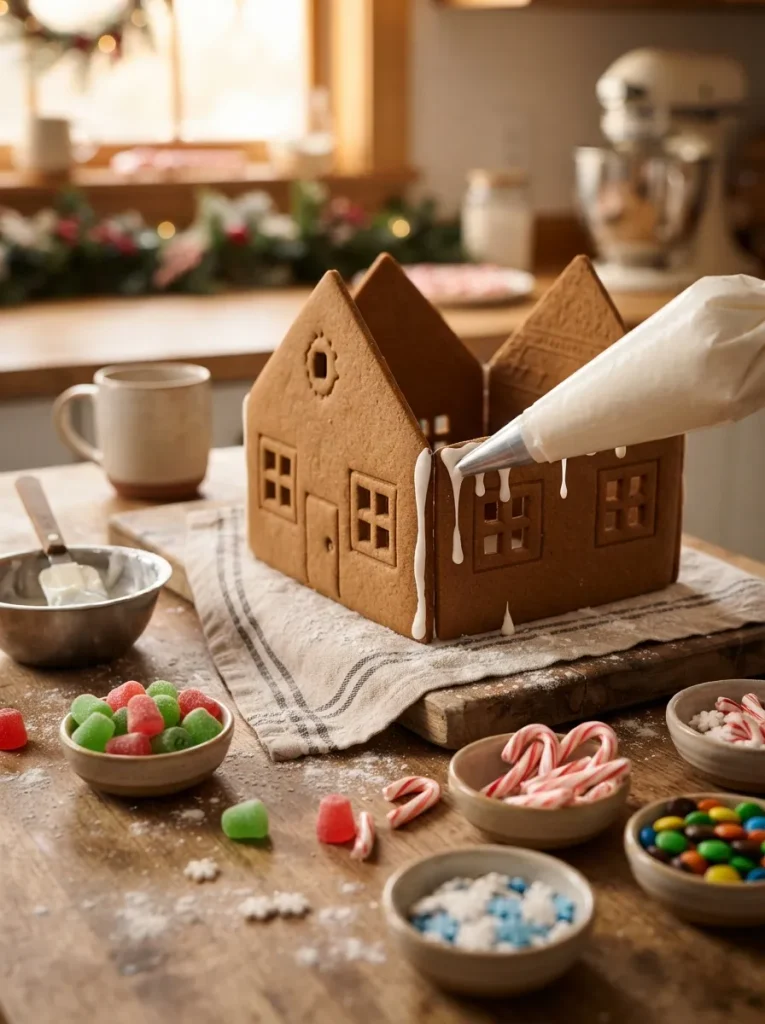
What it looks like: A row of identical house panels turning into wildly different results once icing and candy get involved.
Why it works: Pre-baked, flat-pack gingerbread kits remove the one part that fails at parties baking and assembly so guests only handle the fun, low-stakes decorating step.
How to copy it: Buy pre-baked flat gingerbread house panels (not the fully assembled kits, which crack easily) and a tub of pre-made royal icing plus a mixed bag of small candies. Portion candy into individual bowls before guests arrive so nobody’s reaching across the table.
Best for: Groups who want a slightly messier, more food-forward craft option.
Budget Version: Swap store-bought panels for graham crackers stuck together with royal icing same visual effect for a fraction of the cost.
5. A DIY Christmas Candle Pouring Station
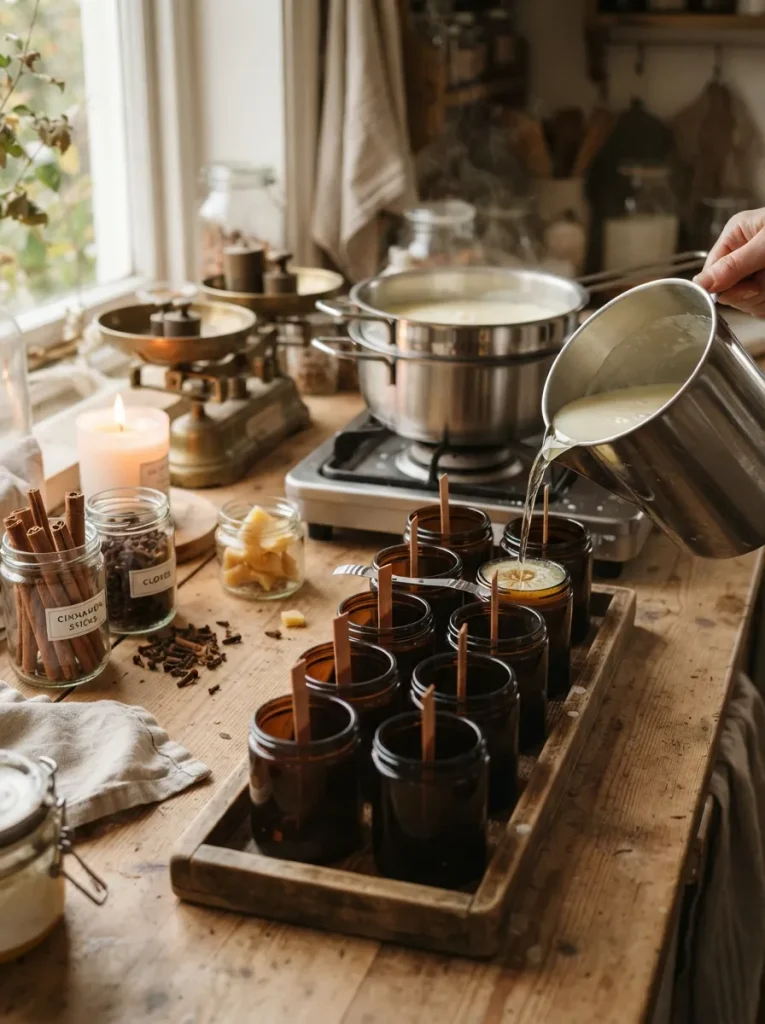
What it looks like: Jars lined up like a tiny assembly line, wax cooling from clear liquid to solid cream over the course of the night.
Why it works: Soy wax holds fragrance oil better than paraffin and cools without the cracking that ruins a lot of first-time pours, so beginners get a usable result on the first try instead of a lesson in what went wrong.
How to copy it: Melt soy wax flakes in a double boiler to 185°F, stir in fragrance oil at a 1-ounce-per-pound ratio, then pour into jars once the wax cools to 135°F. Pouring too hot is the single most common reason candles crack later.
Best for: Hosts who have an hour of downtime built into the night, since wax needs to melt and cure in stages.
✅ Candle Pouring Checklist:
- [ ] Melt wax to 185°F before adding fragrance oil
- [ ] Secure wicks with a clothespin or wick holder before pouring
- [ ] Let wax cool to 135°F before pouring into jars
- [ ] Leave candles undisturbed for at least 4 hours to cure
6. A Personalized Stocking Iron-On Station
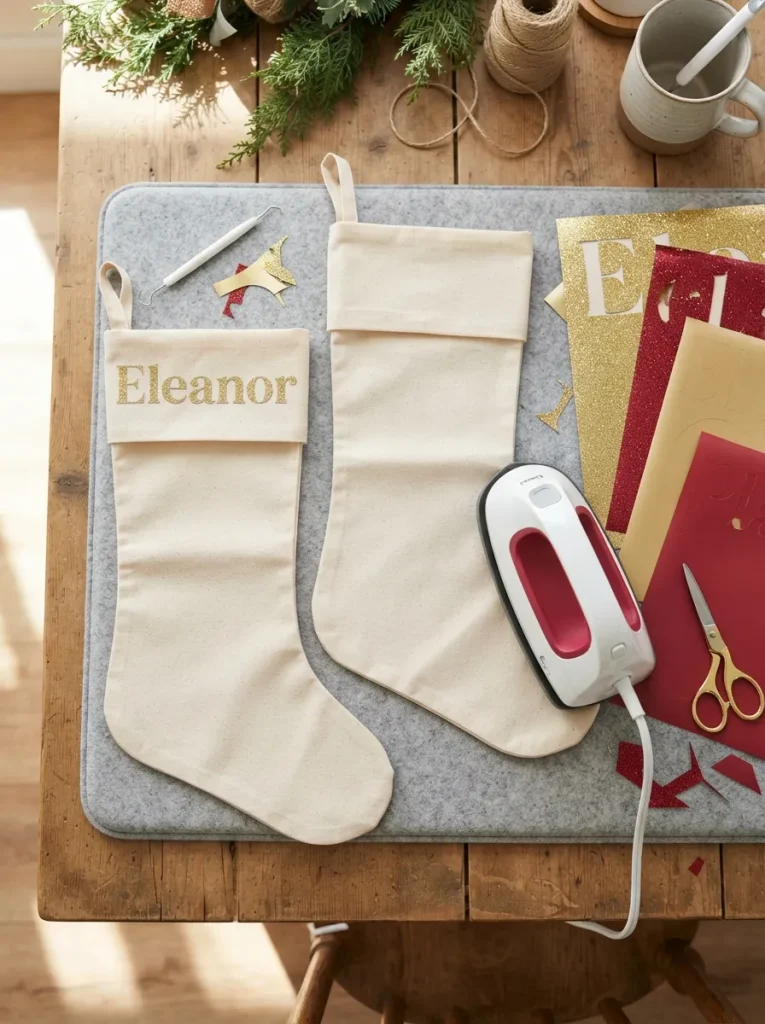
What it looks like: Blank canvas stockings turning into name-labeled ones, one pressed letter at a time.
Why it works: Iron-on vinyl requires zero sewing skill and produces a crisp, permanent result in under ten minutes per stocking, which makes it one of the fastest personalization crafts on this whole list.
How to copy it: Buy plain canvas stockings, glitter or matte heat-transfer vinyl sheets, and a home cutting machine or pre-cut letters if nobody owns one. Press each letter at 305°F for 15 seconds using a Teflon sheet to protect the vinyl finish.
Best for: Guests who want a personalized keepsake without any freehand crafting involved.
Styling Note: Mix two vinyl finishes matte lettering over a glitter cuff so the stocking doesn’t read as flat or overly glossy.
This next one surprised even experienced hosts the first time they tried it it doubles as a cocktail upgrade.
7. A Wine Glass Etching Station
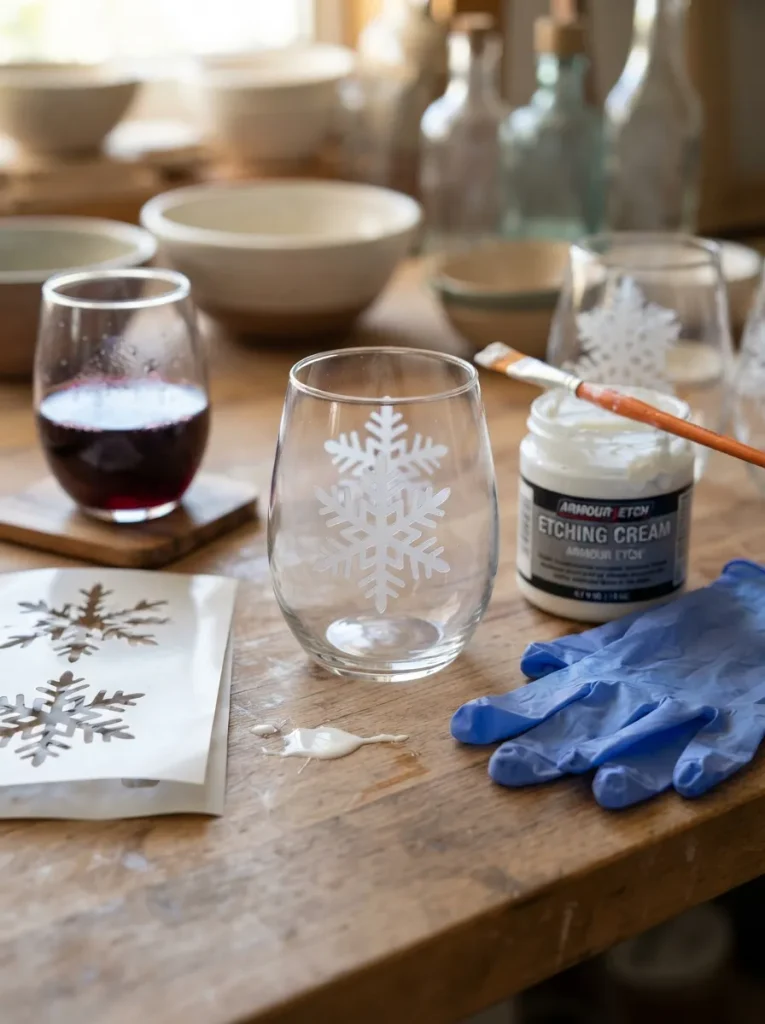
What it looks like: Clear glass turning permanently frosted wherever cream touches it, stencil edges staying crisp and clean.
Why it works: Etching cream reacts with glass in minutes, not hours, giving guests a permanent result before the wine buzz wears off most craft techniques can’t promise that kind of speed.
How to copy it: Apply adhesive vinyl stencils to clean, dry stemless wine glasses, then brush on etching cream in a thick, even layer and let it sit for exactly 5 minutes before rinsing. Rinsing too early is the most common reason the design comes out patchy.
Best for: A cocktail-forward crowd who wants glassware they’ll reach for again.
Warning: Etching cream contains hydrofluoric compounds that irritate skin on contact gloves are non-negotiable, and it needs a well-ventilated room, not a closed-up kitchen.
8. A Photo Ornament Keepsake Station
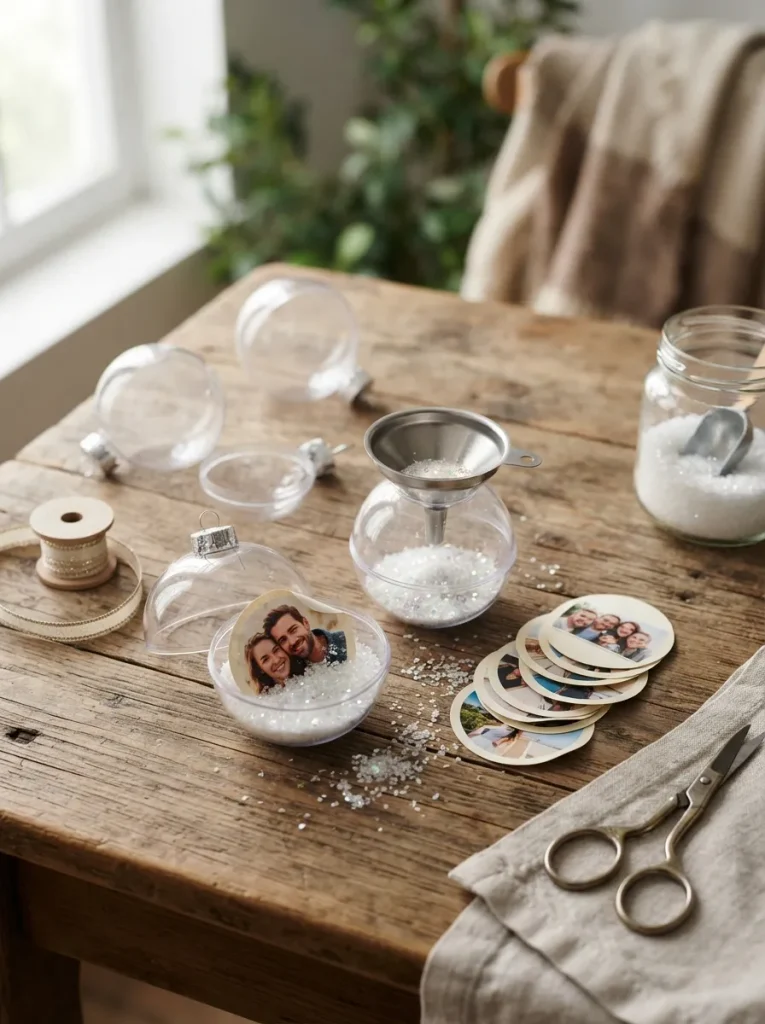
What it looks like: Small circle-cut photos disappearing inside clear ornaments, faux snow settling around them once sealed.
Why it works: Fillable plastic ornaments let guests build a keepsake around an actual memory instead of a generic design, which tends to be the craft people talk about again the following Christmas.
How to copy it: Print photos ahead of time at exactly 2.5-inch diameter to fit standard fillable ornaments, then layer a cut photo, a pinch of faux snow, and a small pom-pom or charm inside before snapping the ornament shut. Pre-cutting photos before the night starts saves real time.
Best for: Friend groups, book clubs, or coworkers who’ve shared a specific year together.
Mistake to Avoid: Printing photos on regular paper instead of matte photo stock regular paper wrinkles inside the ornament within days.
9. A Christmas Card and Gift Tag Stamping Station
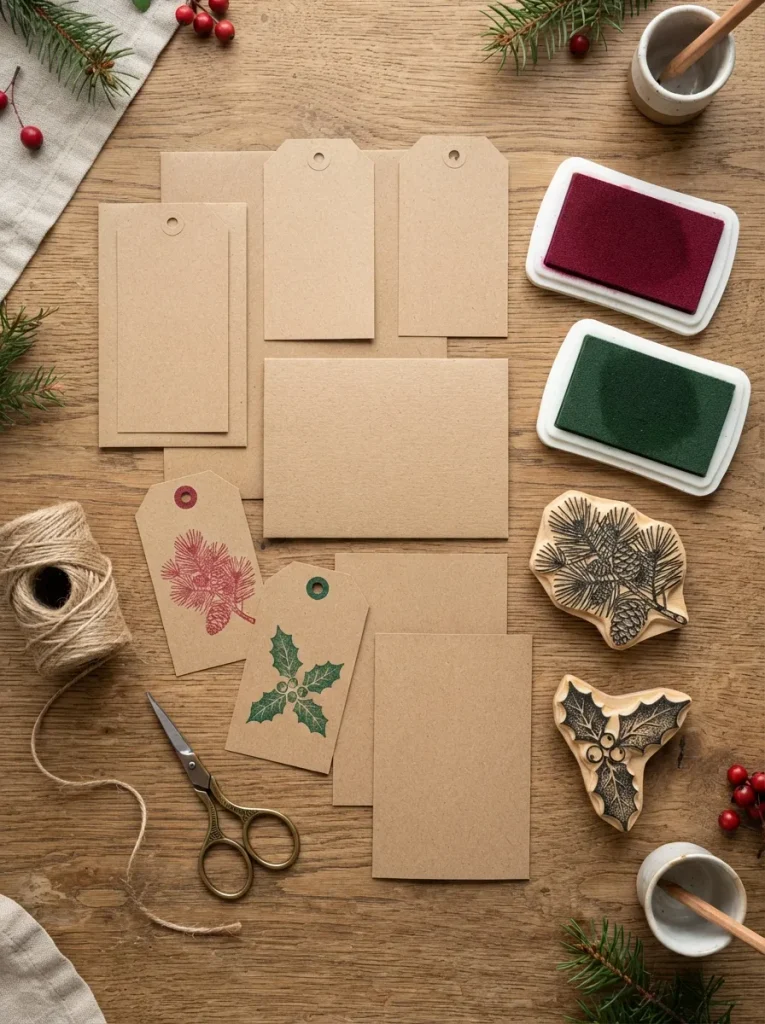
What it looks like: Plain kraft cards filling up with stamped pine branches and holly, ink smudges here and there that somehow still look intentional.
Why it works: Rubber stamping removes the pressure of drawing while still producing a handmade card, which is exactly the gap most people are looking to fill between store-bought and fully DIY.
How to copy it: Stock kraft-paper cards and tags, two or three nature-themed rubber stamps, and pigment ink pads in cranberry and forest green. Stamp on kraft paper rather than white cardstock the texture holds ink more evenly and hides small mistakes.
Best for: Budget-conscious hosts, since supplies here run under $30 total for a full group.
Pro Tip: Keep a damp paper towel at the station pigment ink smudges badly if a stamp gets set down before it’s dry.
The next idea is easy to overlook, and it costs almost nothing.
10. A Dried Orange and Cinnamon Garland
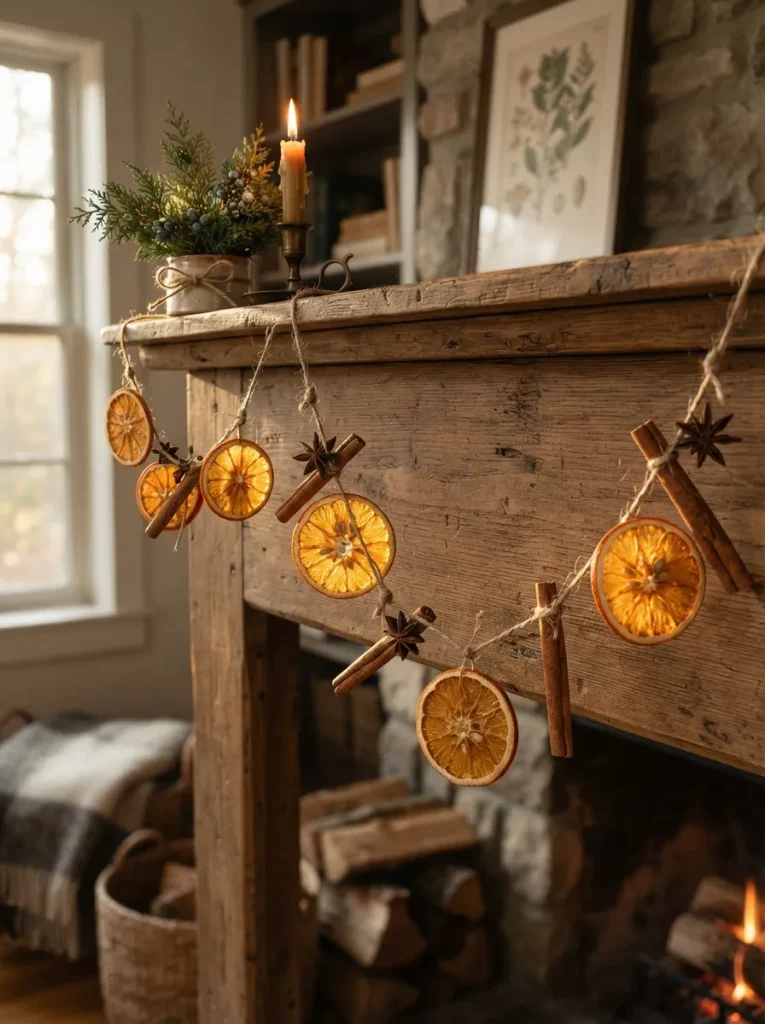
What it looks like: Slices of dried orange strung between cinnamon sticks, the whole thing looking more expensive than it actually costs.
Why it works: Dried citrus and cinnamon release natural fragrance for weeks without a single candle burning, and the garland’s irregular, handmade shape reads as intentional rather than sloppy a rare craft where imperfection is the actual selling point.
How to copy it: Slice oranges 1/4-inch thick and dry them at 200°F for 3 hours before the craft night starts, then have guests thread slices and cinnamon sticks onto jute twine using a large plastic needle. Pre-drying is the one step that can’t happen during the party itself.
Best for: Anyone decorating a small space, since a single garland does double duty as both craft and decor.
Small-Space Tip: No mantel? Drape the finished garland across a doorway or over a window instead it reads just as festive strung horizontally.
11. Twinkle-Light Mason Jar Luminaries
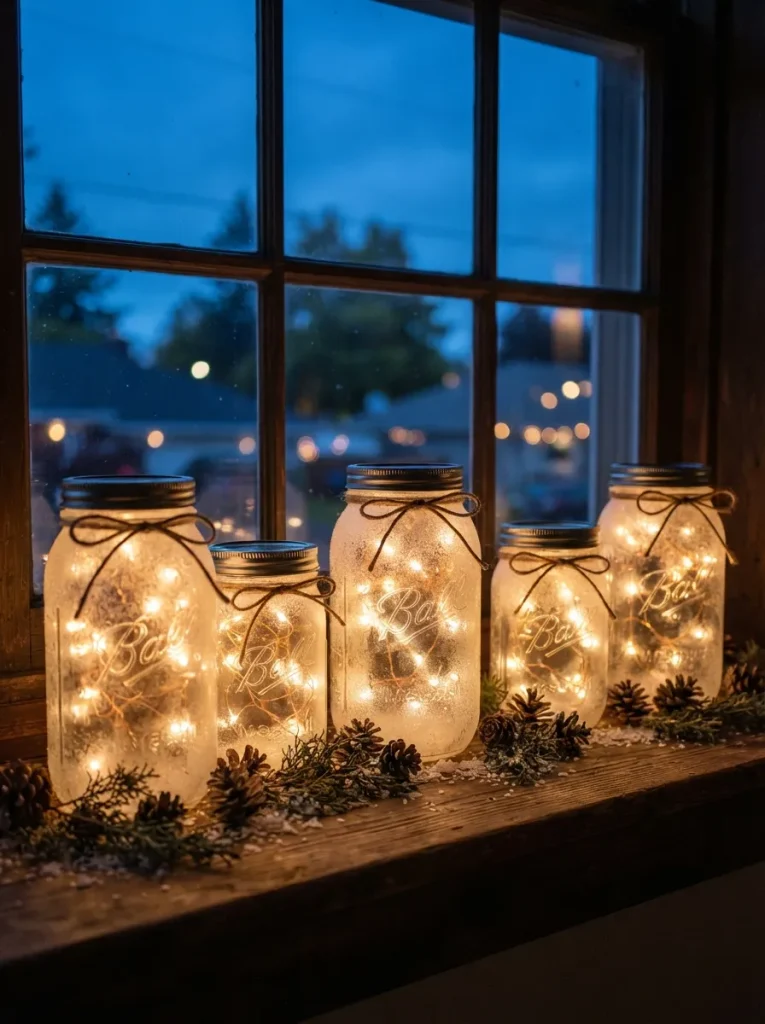
What it looks like: Plain glass jars turning into soft glowing lanterns once the lights and frosting go on.
Why it works: Battery-powered fairy lights make this the rare craft with zero cords or outlets to manage, so the finished pieces can move anywhere in a room without a second thought about placement.
How to copy it: Lightly mist mason jars with frosted glass spray paint, let dry for 20 minutes, then tuck a battery-operated warm-white fairy light strand inside each one. Battery packs with a built-in timer save guests from remembering to turn them off every night.
Best for: Renters who need decor that requires no drilling, hanging, or wiring.
Important: Frosted spray paint needs two light coats, not one heavy one a single thick coat drips and pools at the jar’s base.
What You’ll Need
| Product |
|---|
| Wide-mouth mason jars |
| Frosted glass spray paint |
| Battery-operated warm-white fairy lights |
| Small pinecones for the base |
| Painter’s tape for clean edges |
Up next: the material choice that quietly anchors every drink at the table.
12. No-Sew Felt Christmas Tree Coasters
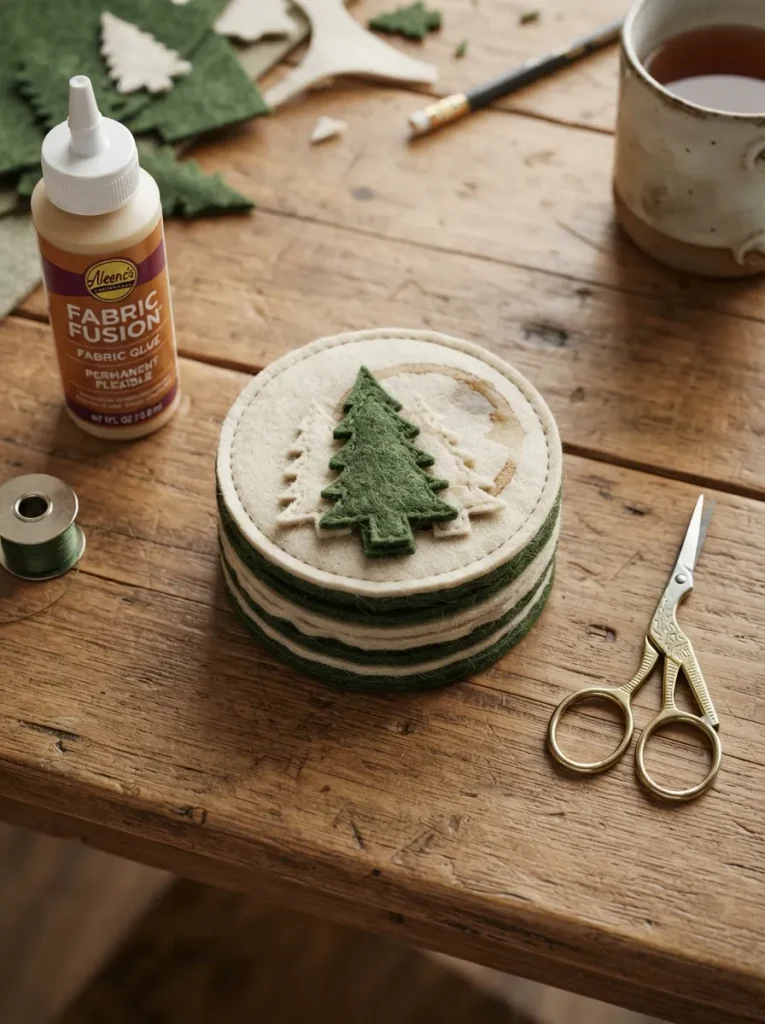
What it looks like: Flat felt shapes stacking into small, sturdy tree-shaped coasters, thick enough to hold a warm mug.
Why it works: Felt doesn’t fray at cut edges the way woven fabric does, so this is one of the only fabric crafts on the list that needs no sewing machine or hemming to look finished.
How to copy it: Cut 3 layered tree shapes per coaster from thick wool-blend felt, then stack and bond them with fabric glue instead of a needle and thread. Wool-blend felt holds its shape far better than the cheaper acrylic craft felt sold in most big-box stores.
Best for: Guests who want a functional, everyday item rather than a purely decorative one.
Quick Win: Pre-cut the felt shapes before guests arrive using a die-cutting machine assembly alone takes under 10 minutes per set.
13. A DIY Snow Globe Making Station
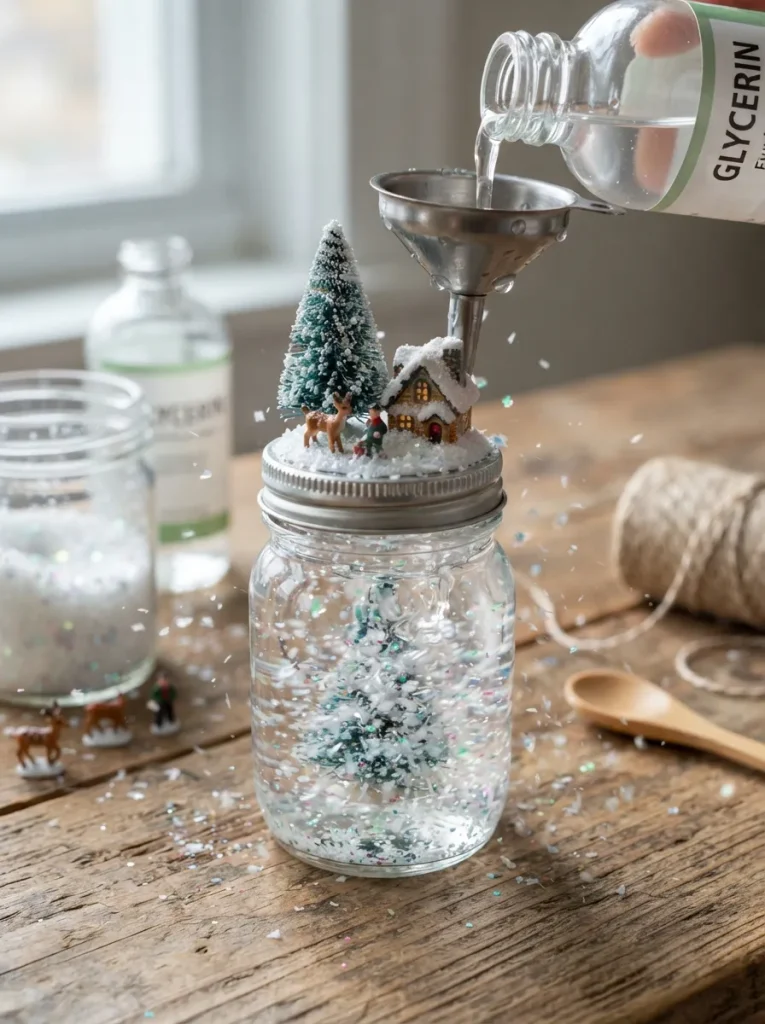
What it looks like: Tiny scenes glued into jar lids, then sealed under a swirl of glitter and slow-falling faux snow.
Why it works: Adding a spoonful of glycerin to the water is what makes the snow drift slowly instead of dumping straight to the bottom, which is the one detail that separates a convincing snow globe from a jar of glitter water.
How to copy it: Glue a miniature figurine to the inside of a mason jar lid with waterproof epoxy, let it cure fully, then fill the jar with distilled water, a teaspoon of glycerin, and fine iridescent glitter before sealing tight. Epoxy needs a full hour to cure before the jar can be flipped and filled.
Best for: Guests who enjoy fussier, more detail-oriented crafts over quick ones.
Styling Note: Stick to one small figurine per globe crowding the scene makes the glitter settle unevenly and hides the piece entirely.
14. A Christmas Cookie Decorating Bar
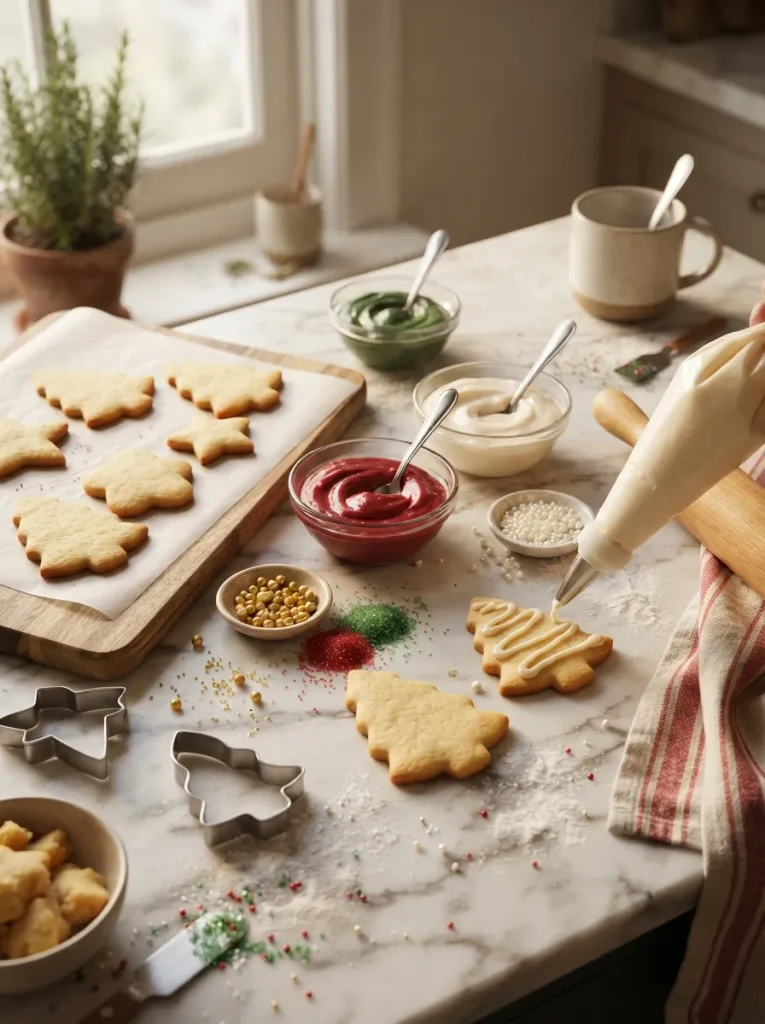
What it looks like: Plain-baked cookies disappearing under swirls of colored icing and sprinkles, no two turning out alike.
Why it works: Pre-baked, undecorated cookies remove the only part of this craft that can go wrong, so guests spend their time on the fast, forgiving, low-stakes step instead of worrying about dough or oven timing.
How to copy it: Bake sugar cookies the day before and store them airtight, then set out royal icing tinted in 3–4 colors, thinned slightly for flooding and kept thick for piping outlines. Thin icing for flooding, thick icing for outlines mixing the two up is the most common rookie mistake.
Best for: Groups who want a craft that doubles as the night’s dessert.
Budget Version: Swap homemade cookies for a plain store-bought sugar cookie tray the decorating is what people remember, not who baked them.
15. A Handmade Ornament Swap and Wrapping Station
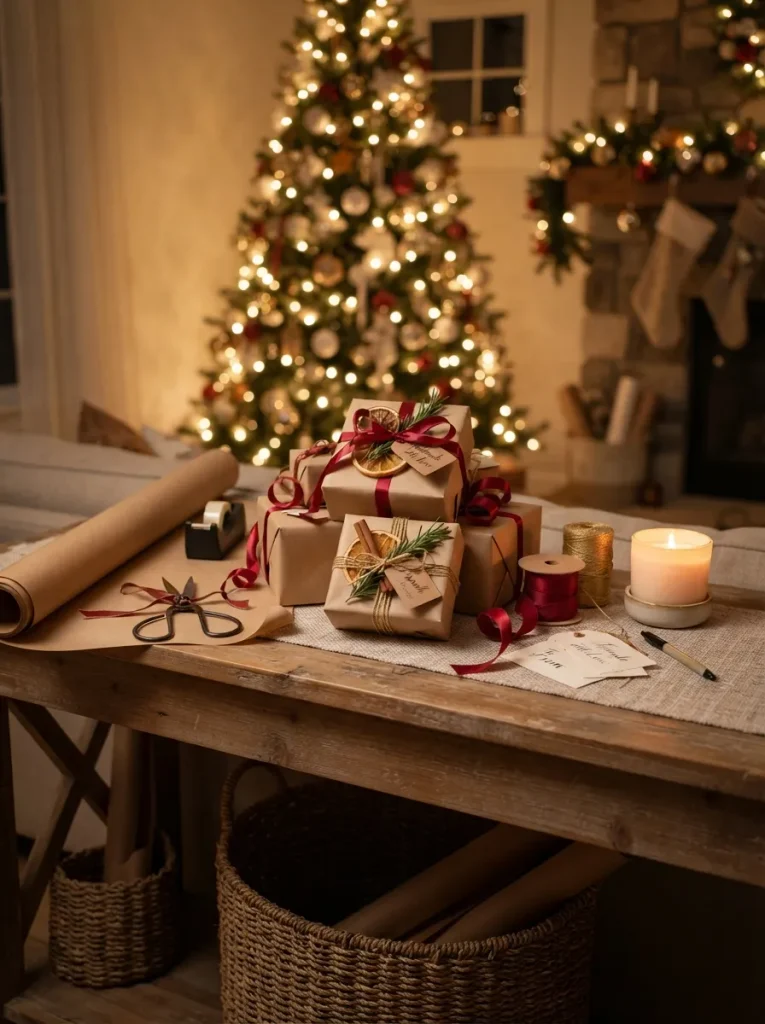
What it looks like: A pile of the night’s finished crafts, wrapped up and swapped so everyone leaves with something they didn’t make themselves too.
Why it works: Ending the night with an exchange gives every earlier craft a second life as a gift, and it solves the awkward moment of six half-finished projects sitting on a table with nowhere to go.
How to copy it: Have each guest wrap their favorite piece from the night in kraft paper and ribbon, then draw names from a bowl for a simple swap. Setting a $0 spending rule keeps it about the crafts made that night, not a last-minute store run.
Best for: Recurring groups who want a built-in reason to come back next year.
Pro Tip: Set a hard 9:30pm start for wrapping, or the swap gets skipped entirely once people settle into conversation.
My Views:
In my experience, hosting six or more crafters at one long table always backfires by hour two glue bottles get knocked over, ribbon ends up in someone’s wine glass. Split into two smaller stations of three to four people each, even in a one-bedroom apartment, and the whole night runs noticeably cleaner. It’s a small layout fix nobody thinks about until the first spill.
How to Start Your Christmas Craft Night
What I’ve found with real craft nights is that picking one “hero craft” first usually the ornament painting bar or the mug station anchors the whole event. Order that craft’s supplies a full week ahead, since paint pens and porcelain markers are the items most likely to sell out in December. Everything else can flex around it.
In practice, the most common mistake is buying supplies for all 15 ideas instead of committing to 2–3. Overbuying doesn’t just waste money it overwhelms guests with too many stations and turns a relaxed night into a scavenger hunt. Pick two or three, set them up properly, and let the rest of this list wait for next year.
Three specific items under $50 create real impact fast: a set of metallic acrylic paint pens for around $12, a 12-pack of unfinished wood ornaments for about $15, and a spool of 1.5-inch velvet cranberry ribbon for roughly $9. All three show up across multiple ideas on this list, so they’re rarely wasted.
A full night setup, two to three crafts, and cleanup realistically takes about four hours end to end, even though the crafting itself runs closer to two. Budget for a starter version around $60–$80 for six guests, or closer to $150 if you’re running three full stations with take-home materials for everyone.
Ready to Plan Your Own Christmas Girls Night Craft Party?
These 15 ideas cover a lot of ground paint and wax, paper and felt, food and light so there’s a real starting point no matter what your group actually enjoys doing with their hands. Nobody needs to attempt all fifteen in one night, and starting small with two crafts you’re confident about beats an ambitious night that falls apart by 8pm.
Tonight, pick one hero craft and order its supplies before you second-guess it. The best part of a night like this isn’t really the finished ornament or the mug on the shelf it’s the specific, unhurried feeling of a few hours where nobody’s rushing anywhere. Save this list now, so it’s there waiting the next time you’re staring at a blank December calendar wondering what to plan.
You Might Also Like
- 10 Mason Jar Christmas Crafts You Can Finish in an Evening
- 12 Handmade Christmas Gift Ideas Your Friends Will Actually Use
- 8 Christmas Craft Night Themes to Plan Before December