13 Craft Night Ideas for Ladies That Actually Get Finished
A ladies’ craft night is just a group of women, a kitchen table or a cleared-off floor, and a project small enough to finish before anyone’s second glass of wine is empty. This roundup gives you exactly 13 craft night ideas real projects with real supply lists, not vague “get creative” suggestions.
Hands stay busy, conversation gets louder, and nobody’s staring at a phone by nine o’clock. There’s a specific kind of ease that comes from a table covered in paint and beads and half-finished wreaths. Pick two or three from this list, buy the supplies once, and you’ve got a standing plan instead of another “we should hang out soon” text that never turns into anything and if you want to build a whole night around a bigger concept first, our craft night themes guide is a good next stop.
Jump To
- Custom Tote Bag Painting
- Photo Frame Decorating Bar
- Flower Crown Making
- DIY Dried Flower Wreaths
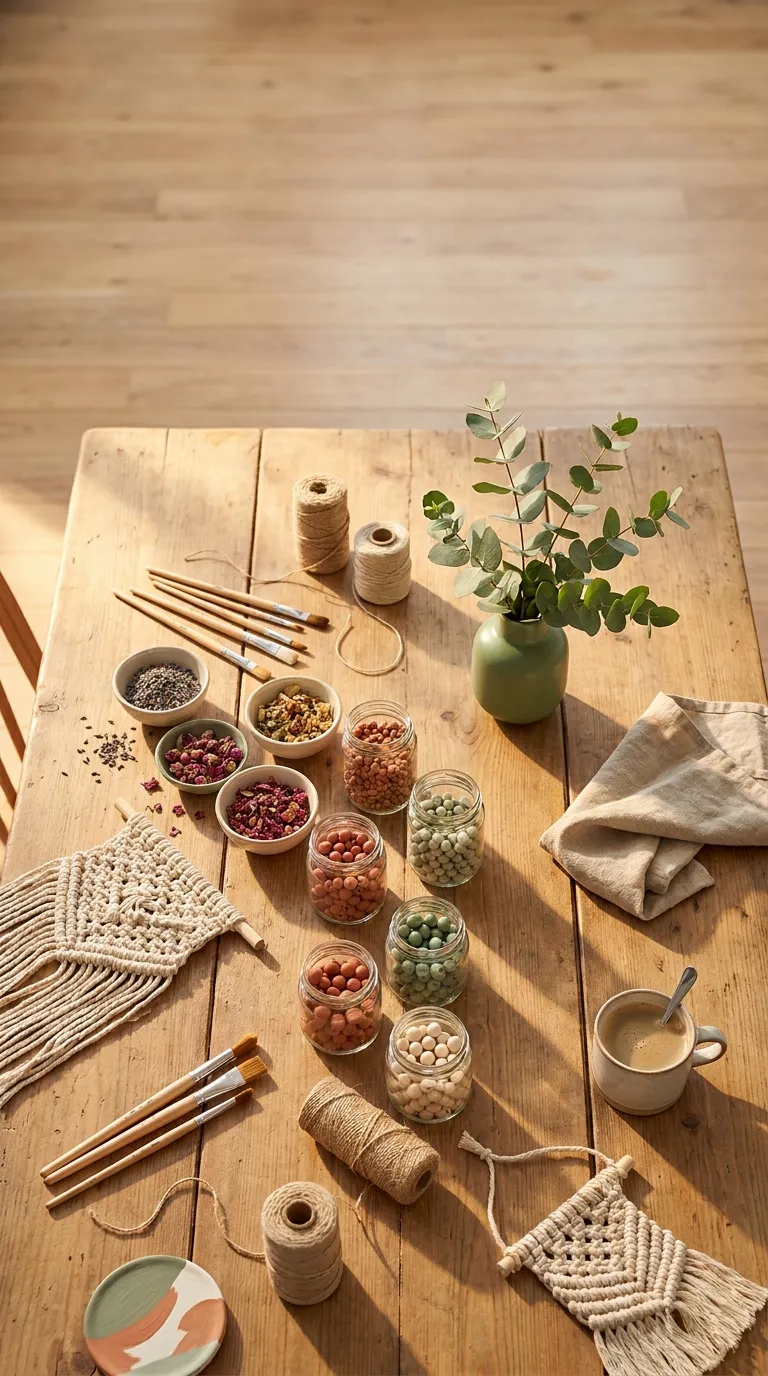
- Macrame Plant Hangers
- Wine Glass Painting
- Embroidery Hoop Art
- Candle Pouring Station
- Resin Coaster Making
- Terrarium Building
- Beaded Jewelry Bar
- Vision Board Making
- DIY Sugar Scrub Jars
Why Craft Night Makes Such a Difference
A recurring craft night works because it removes the two biggest reasons get-togethers fall apart no agenda and no reason to stay off your phone. Give people’s hands a job (fabric paint, embroidery floss, unfinished wood beads, soy wax) and conversation gets easier, not harder.
It works in a studio apartment as easily as a full dining room the only real requirement is a washable surface and enough chairs. If you’re hosting your first one, prioritize a project everyone can finish in one sitting before you try anything with a cure time or a drying window.
| Best starting point | Tote bag or photo frame decorating no drying wait, done in one sitting |
| Biggest impact area | A shared supply table guests can grab from without asking |
| Budget to start | $6–$12 per guest for a simple project |
| Time to complete | 90 minutes to 2 hours per craft night |
1. Custom Tote Bag Painting
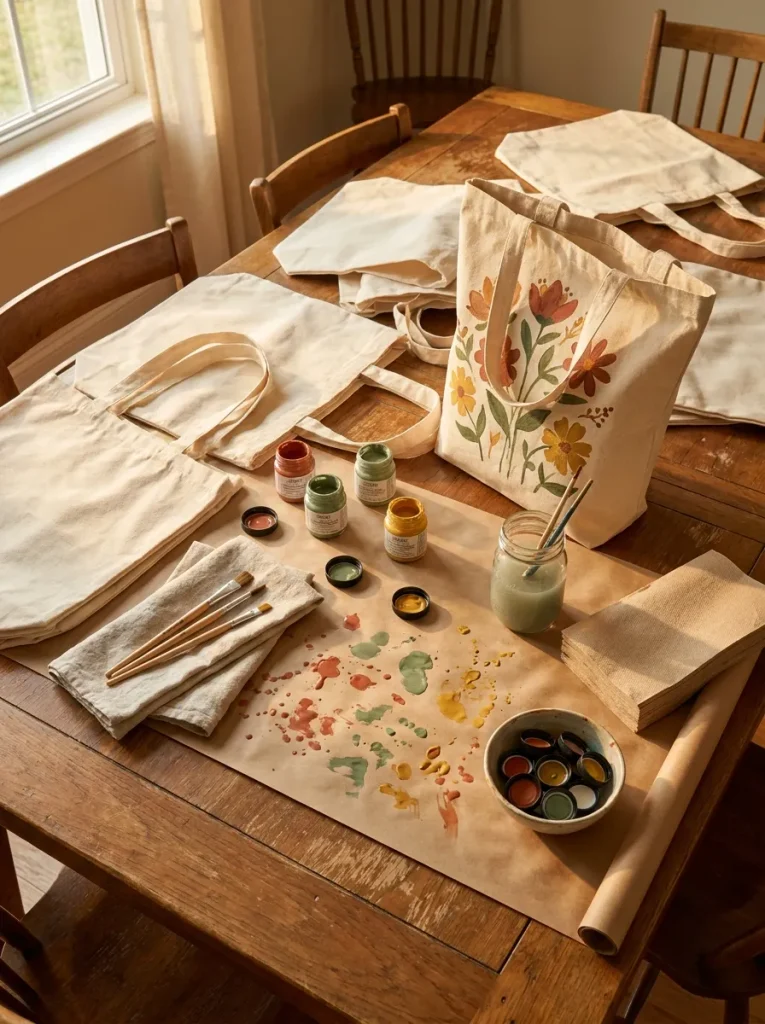
What it looks like: Blank canvas totes turn into one-of-a-kind bags in under an hour loose, hand-painted, a little imperfect on purpose.
Why it works: Fabric paint on canvas has almost no learning curve, and the low stakes actually make people looser and more creative with color choices they’d never risk on a wall.
How to copy it: Buy plain 100% cotton canvas totes and fabric paint in a small palette of 4–5 colors so bags coordinate without matching. Slide cardboard inside each bag before painting so color doesn’t bleed through to the back.
Best for: First-timers and anyone who wants a project with zero drying anxiety it’s wearable art, not a masterpiece.
Budget Version: Skip specialty fabric paint and use acrylic craft paint mixed with a fabric medium (about $3 a bottle) same wash-durability, a fraction of the cost.
What You’ll Need
| Product |
|---|
| Blank cotton canvas tote bags, set of 6 |
| Fabric paint set, 8-color starter pack |
| Fabric medium additive bottle |
| Stencil brush set, assorted sizes |
| Cardboard inserts for tote bags |
2. Photo Frame Decorating Bar
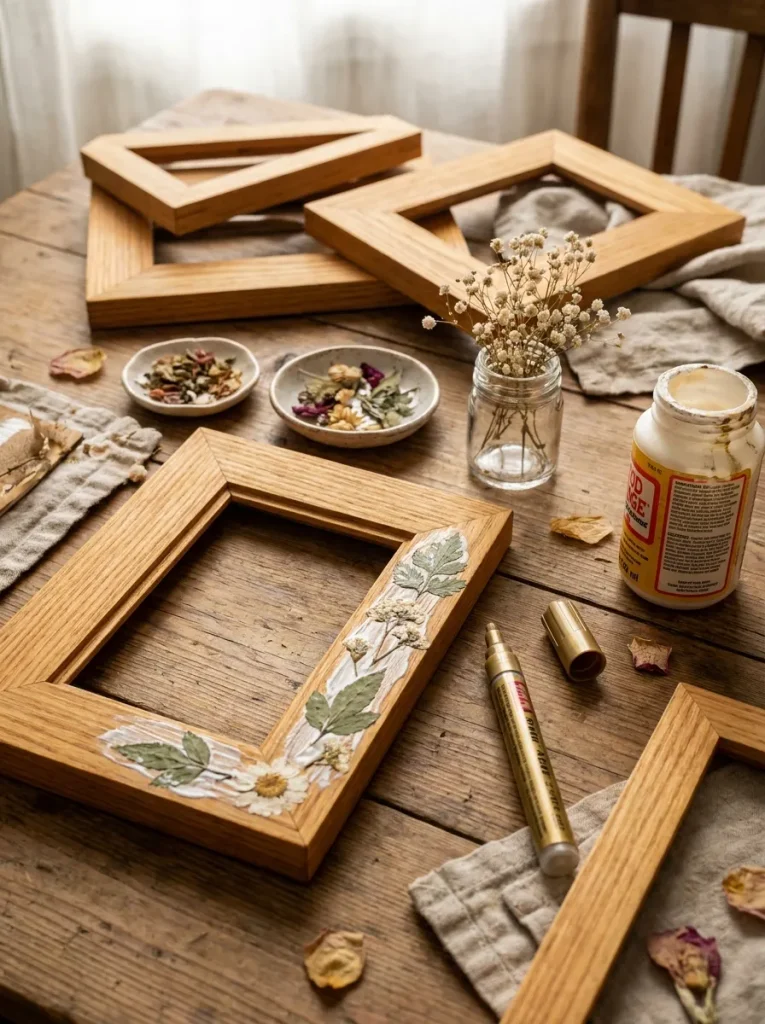
What it looks like: A table set up like a topping bar unfinished wood frames, dried botanicals, paint pens, glue where everyone builds a frame their own way.
Why it works: The “bar” format removes decision fatigue. Instead of a blank page, guests choose from a limited set of materials laid out in front of them, which speeds up the actual making.
How to copy it: Buy plain unfinished wood frames in one consistent size (4×6 or 5×7) so the finished pieces look intentional as a set even though every design is different. Set out mod podge for anyone layering pressed flowers under a glaze coat.
Best for: Groups who want a keepsake project these frames get gifted or kept, not tossed, and they pair naturally with other handmade gift ideas if you want the whole night gift-focused.
Pro Tip: Seal pressed flowers with two thin coats of mod podge rather than one thick one one heavy coat traps air bubbles and yellows the petals faster.
3. Flower Crown Making
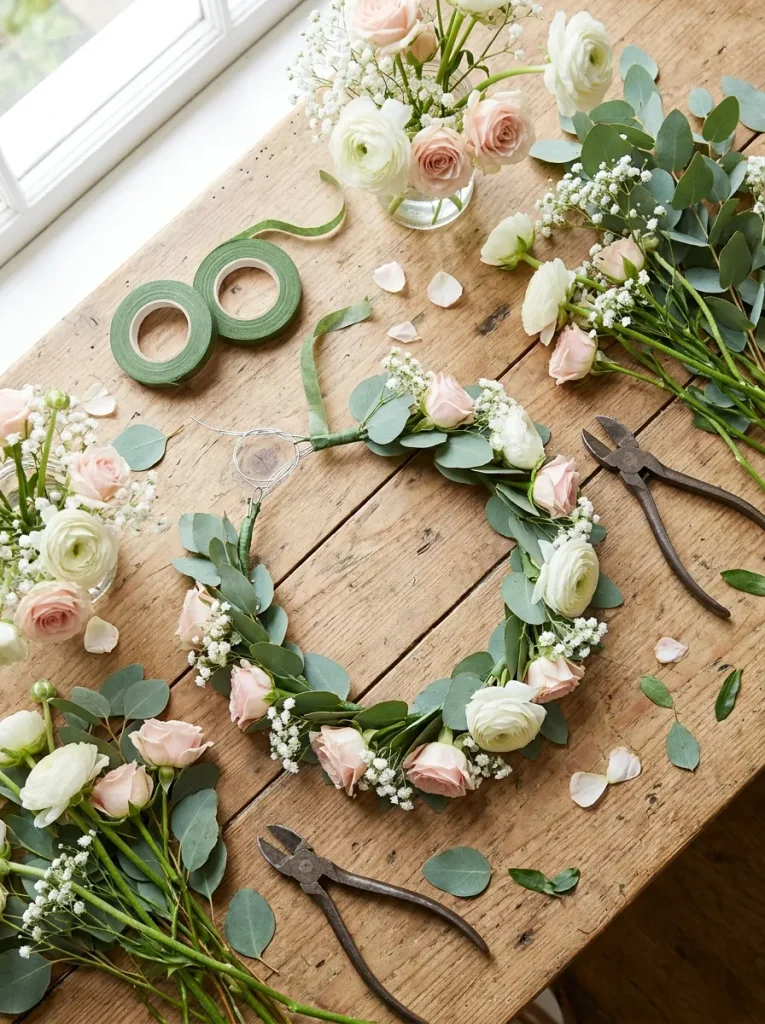
What it looks like: Loose, slightly wild flower crowns built from floral wire and a mix of greenery nothing stiff or overly symmetrical.
Why it works: Working with real stems teaches proportion and negative space almost by accident too many flowers in one spot and the crown looks lopsided, which gives people an instant, visual feedback loop.
How to copy it: Use 18-gauge floral wire as the base and wrap in floral tape before attaching stems with short pieces of the same tape every inch and a half. Mix one focal flower type with two filler greens for a fuller, less flat result.
Best for: Spring and summer gatherings, birthdays, or bachelorette-style craft nights.
Styling Note: Vary stem length as you go instead of trimming everything uniform the slight irregularity is what makes it look gathered rather than store-bought.
4. DIY Dried Flower Wreaths
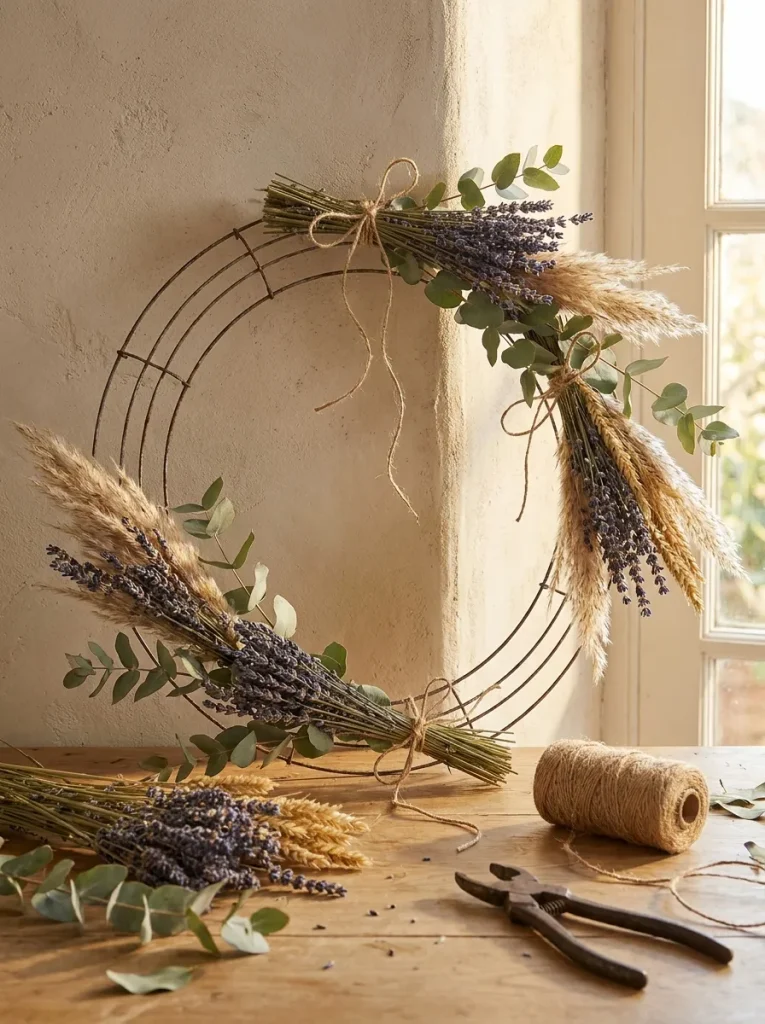
What it looks like: A wire wreath form disappears under layered bundles of dried lavender, pampas, and eucalyptus full at the base, looser toward the top.
Why it works: Wreaths rely on repetition and visual weight dense at the bottom, tapering up which is a design principle people can actually see working as they build rather than having to trust instructions blindly.
How to copy it: Work in small bundles of three to five stems, secure each with floral wire, then attach bundles to the form in the same direction so every layer hides the wire from the last one. Start heavy at the bottom third of the wreath and thin out as you move up.
Best for: Anyone who wants a piece that lasts on a door or wall for months afterward, not just for the night.
Important: Most dried florals aren’t actually shelf-stable indefinitely direct sunlight fades lavender and pampas within a few weeks, so plan wreaths for a hallway or interior wall, not a south-facing door.
What You’ll Need
| Product |
|---|
| 12-inch wire wreath form |
| Dried lavender bundles |
| Dried pampas grass stems |
| Natural jute twine spool |
| Floral wire, 22-gauge |
The next idea trades flowers for fiber and it’s the one people always underestimate.
5. Macrame Plant Hangers
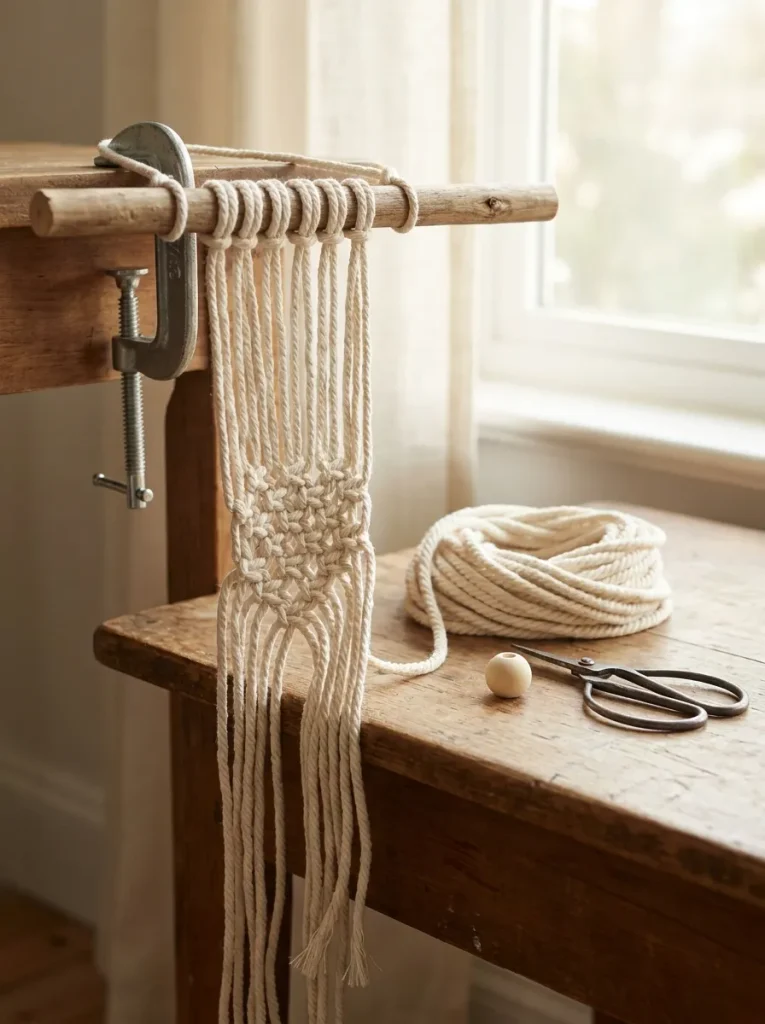
What it looks like: Unbleached cotton cord knotted into a simple, repeating pattern that holds a small potted plant nothing fussy, all texture.
Why it works: Macrame is one continuous rhythm of the same knot repeated, which makes it genuinely calming to do in a group and forgiving if someone’s knots are looser than the person next to them.
How to copy it: Cut eight cords at 8 feet each, fold in half over a ring, and repeat a basic square knot in sets of four cords, spacing knot rows about two inches apart. Stick to one knot type for a first attempt pattern mixing comes later.
Best for: Small apartments and plant owners this is one of the few craft night projects with an obvious daily use afterward. If the knot work clicks for you, crochet wall hangings are a natural next fiber project.
Small-Space Tip: No dowel or clamp at home? Loop the starting cords over a closet rod or a sturdy curtain rail instead anything horizontal and load-bearing works.
6. Wine Glass Painting
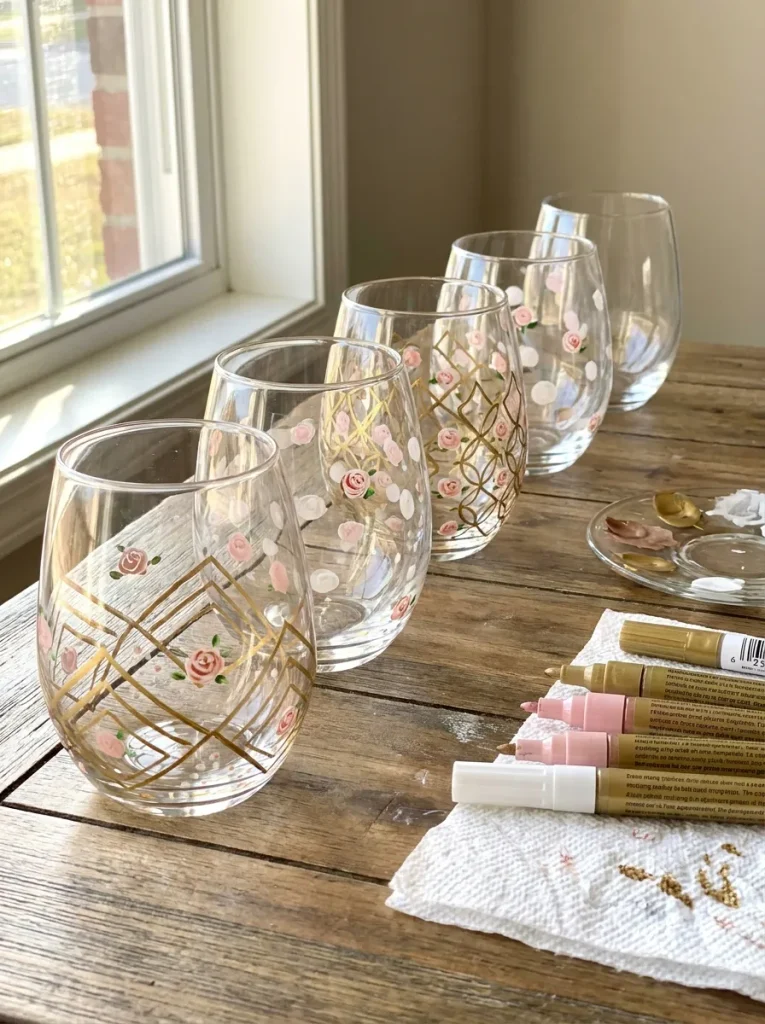
What it looks like: Plain stemless glasses covered in fine, confident paint-pen lines geometric bands, tiny florals, a monogram, whatever the guest wants.
Why it works: Glass is a hard, non-porous surface, so mistakes wipe off before they cure, which makes this one of the lowest-pressure crafts on this whole list nobody’s afraid to try.
How to copy it: Use enamel paint pens made for glass, not standard acrylic paint pens, and bake finished glasses at 325°F for 30 minutes to cure the design dishwasher-safe on the top rack. Practice each design on a scrap piece of glass or a mirror first.
Best for: Anyone hosting who wants guests to leave with something they’ll actually use again next week.
Pro Tip: Tape off a straight guideline with painter’s tape before freehanding a geometric band it’s the difference between a clean line and a wobbly one, and it peels off in seconds.
7. Embroidery Hoop Art
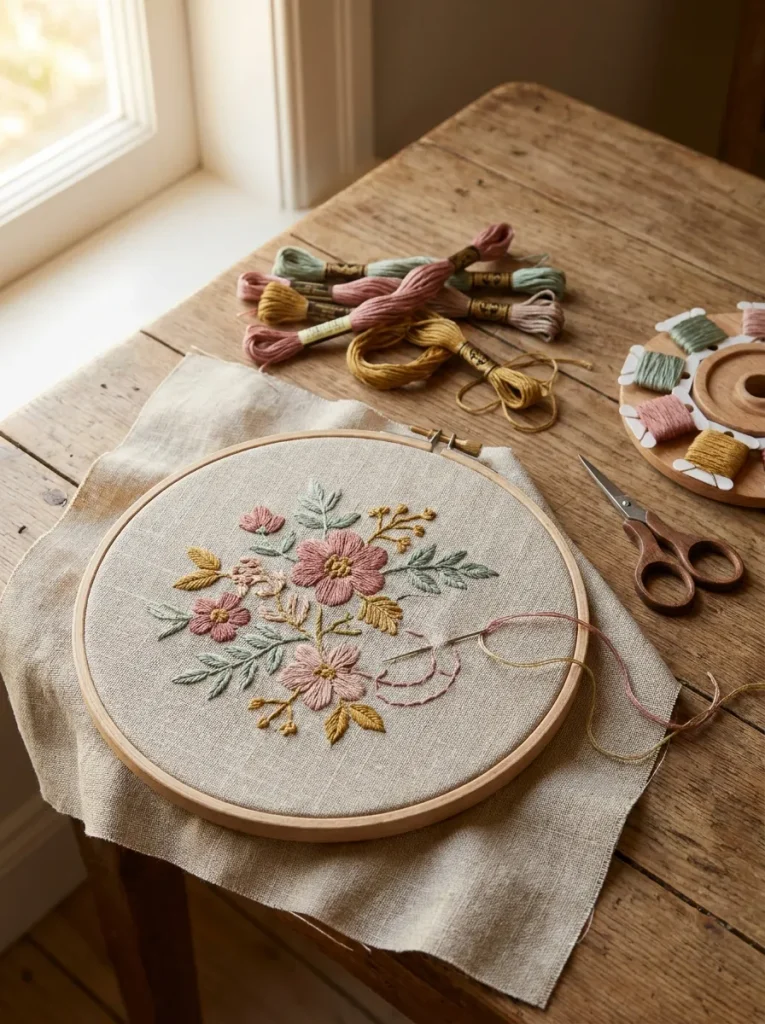
What it looks like: Simple stitched shapes a single flower, initials, a small line drawing worked in embroidery floss on taut linen inside a wooden hoop.
Why it works: A hoop naturally frames the finished piece, so there’s no separate step of mounting or matting afterward the tool doubles as the display.
How to copy it: Print or trace a simple line design directly onto the fabric with a heat-erasable pen before stitching, and stick to two stitch types for beginners: backstitch for outlines, satin stitch for fill. Keep floss lengths under 18 inches so it doesn’t tangle mid-stitch.
Best for: Anyone who wants a quieter, slower-paced craft this one’s better suited to conversation than the more hands-on projects on this list.
Mistake to Avoid: Skipping the fabric stabilizer behind the linen is the most common beginner error without it, stitches pucker the fabric and the finished piece never lies flat, even after framing.
Up next: the one craft that actually needs a little supervision and everyone loves it anyway.
8. Candle Pouring Station
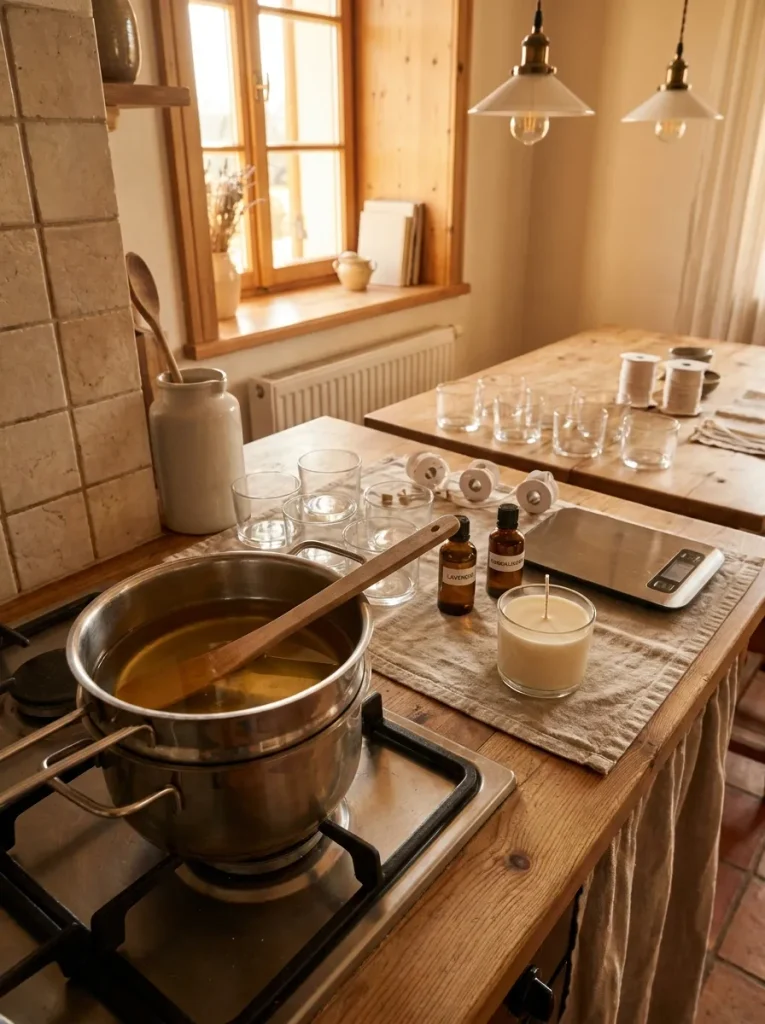
What it looks like: A stovetop double boiler of melted soy wax, a row of empty glass tins with centered wicks, and the slow, satisfying pour that fills each one.
Why it works: Watching wax go from solid to liquid to a finished candle in real time gives people an immediate, visible payoff it’s one of the few crafts on this list with a built-in “wow” moment mid-process.
How to copy it: Melt soy wax flakes to 185°F in a dedicated pouring pot, add fragrance oil once melted, and pour at 135–145°F for the cleanest set with minimal frosting on top. Center each wick with a clothespin bridge across the tin before pouring.
Best for: Groups comfortable around a stovetop this one needs one adult clearly running the melting step.
Warning: Never pour wax above 185°F or add fragrance oil to actively boiling wax overheated wax is a genuine fire risk near an open flame, and it also burns off the fragrance before the candle ever sets.
9. Resin Coaster Making
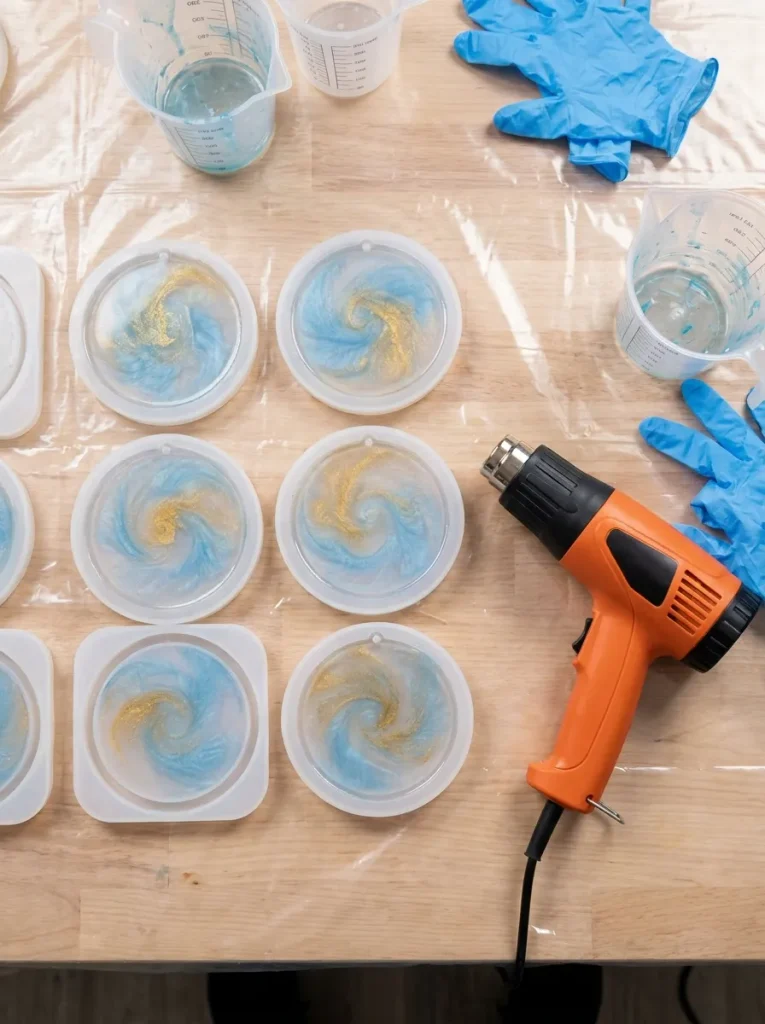
What it looks like: Silicone molds filled with clear epoxy resin, swirled with mica powder in soft blue and gold before it sets into a hard, glass-like coaster.
Why it works: Resin rewards precision an exact 1:1 mix ratio, a measured amount of color which makes it the most technical craft on this list, but that structure is exactly what keeps people focused and engaged rather than restless.
How to copy it: Measure resin and hardener by weight, not volume, using a kitchen scale for accuracy, and mix slowly for a full three minutes to avoid trapping air. Use a heat gun in quick passes to pop surface bubbles right after pouring, not later.
Best for: Small groups working at a well-ventilated table this isn’t the one to run with ten people at once.
✅ Coaster-Pouring Checklist:
- [ ] Cover the entire work surface with plastic sheeting before opening any resin
- [ ] Measure resin and hardener by weight in a 1:1 ratio
- [ ] Mix for a full three minutes, scraping the sides and bottom of the cup
- [ ] Pour into molds and pass a heat gun over the surface once to clear bubbles
- [ ] Let cure undisturbed for 24 hours before demolding
What You’ll Need
| Product |
|---|
| Clear epoxy resin kit, 1:1 ratio |
| Silicone coaster molds, round set |
| Mica powder pigment set |
| Digital kitchen scale |
| Disposable nitrile gloves |
Three left starting with the smallest, easiest one on the whole list.
10. Terrarium Building
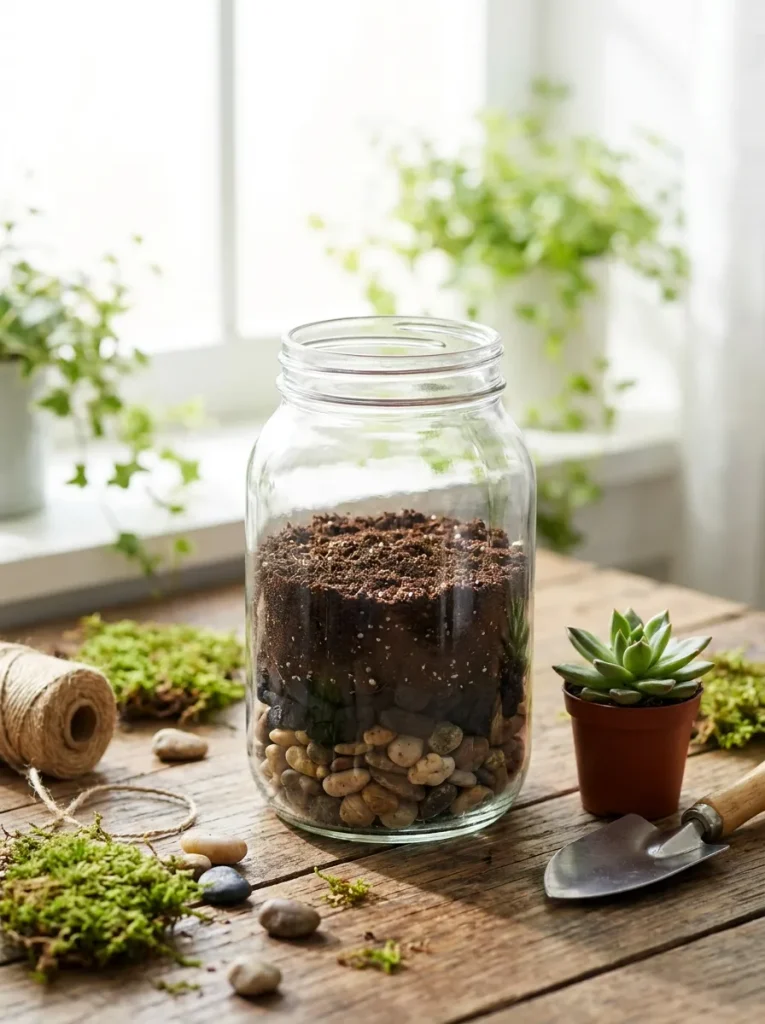
What it looks like: A wide-mouth glass jar layered with pebbles, charcoal, and soil, topped with a small succulent or air plant a tiny, self-contained landscape.
Why it works: The layering itself is the visual interest here clear glass turns a purely functional drainage system into the main design feature instead of hiding it.
How to copy it: Layer one inch of pebbles, a thin layer of activated charcoal to prevent mold, then two to three inches of cactus-specific potting soil before planting. Water sparingly about once every two to three weeks for a closed or lightly covered jar.
Best for: Small-space guests this is genuinely one of the only projects on this list built to live on a studio apartment windowsill. For more plant pairings beyond a single succulent, see our succulent planter ideas.
Quick Win: No time to build layers from scratch? Pre-mixed succulent soil with drainage additive already blended in cuts the layering step down to two minutes.
11. Beaded Jewelry Bar
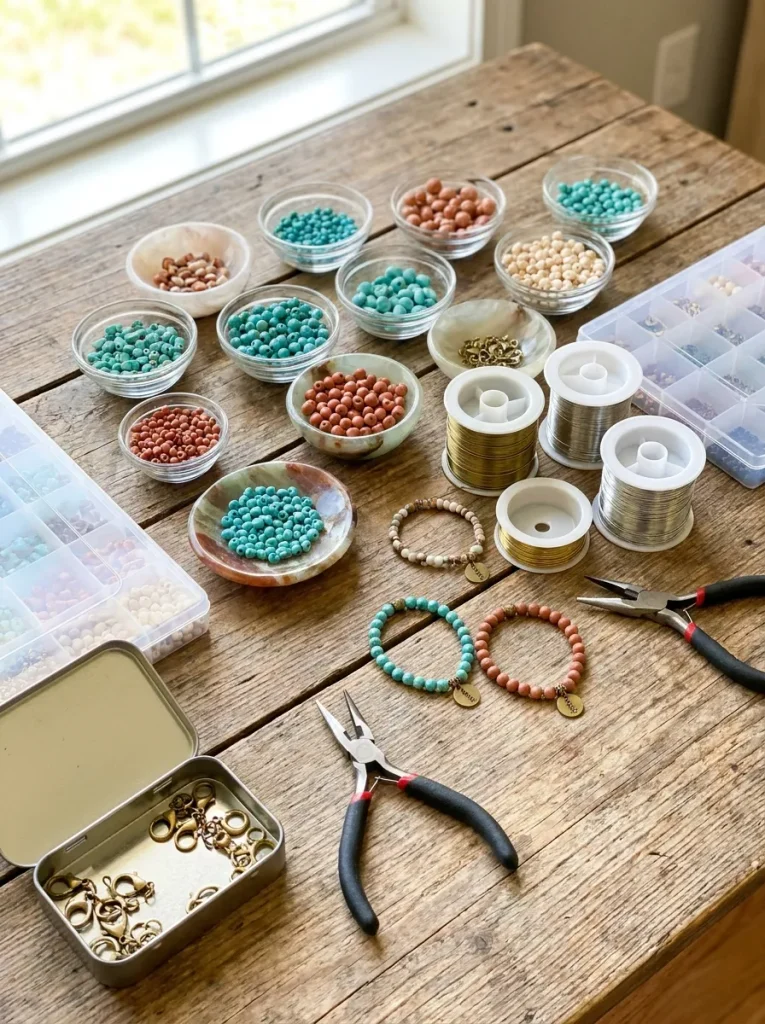
What it looks like: Small dishes of glass and stone beads sorted by color, ready to be strung into bracelets or short necklaces at each seat.
Why it works: Pre-sorted materials remove the biggest slowdown in beading decision paralysis in front of one giant mixed bin so people get to actual assembly within a minute of sitting down.
How to copy it: String beads on flexible beading wire rather than thread for durability, and finish ends with crimp beads and pliers rather than knots, which hold securely without bulk. Set out three or four coordinating color palettes rather than every color at once.
Best for: Larger groups this is one of the easiest crafts to scale up without buying more equipment, just more beads.
Pro Tip: Crimp beads only need one firm squeeze with flat-nose pliers over-crimping is the most common beginner mistake, and it weakens the metal enough to snap later.
What You’ll Need
| Product |
|---|
| Assorted glass bead mix, sorted by color |
| Flexible beading wire spool |
| Crimp beads and clasps set |
| Crimping pliers |
| Bead sorting tray |
Here’s something most guides won’t tell you: the craft that generates the most conversation isn’t the prettiest one, it’s the one with the longest hands-on wait candle pouring and resin both have a built-in five-to-ten-minute lull where people are just standing around watching wax melt or bubbles clear, and that’s when the actual talking happens. If your goal is connection over Instagram-ready output, build your night around one of those two, not four fast projects back to back.
12. Vision Board Making
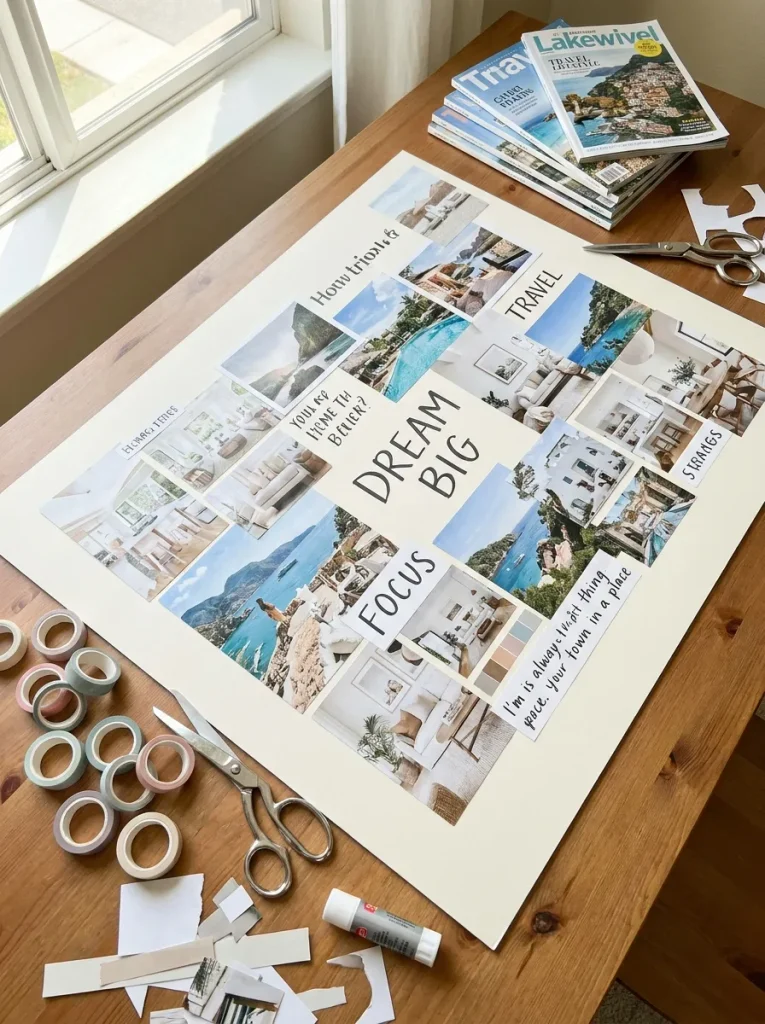
What it looks like: A poster board covered in cut images and words, a personal collage built from magazines, printed photos, and washi tape.
Why it works: Vision boards use collage principles layering, overlap, intentional white space the same way a designer would build a mood board, just applied to personal goals instead of a room.
How to copy it: Set out a stack of varied magazines plus a few printed images from home, and encourage cutting loosely rather than perfectly along outlines imperfect edges actually read as more collaged and less clip-art. Glue the largest image first as an anchor, then build outward.
Best for: January craft nights, birthdays, or any gathering with a “new chapter” theme. If cutting and layering paper turns out to be your favorite part, check out more easy paper craft ideas.
13. DIY Sugar Scrub Jars
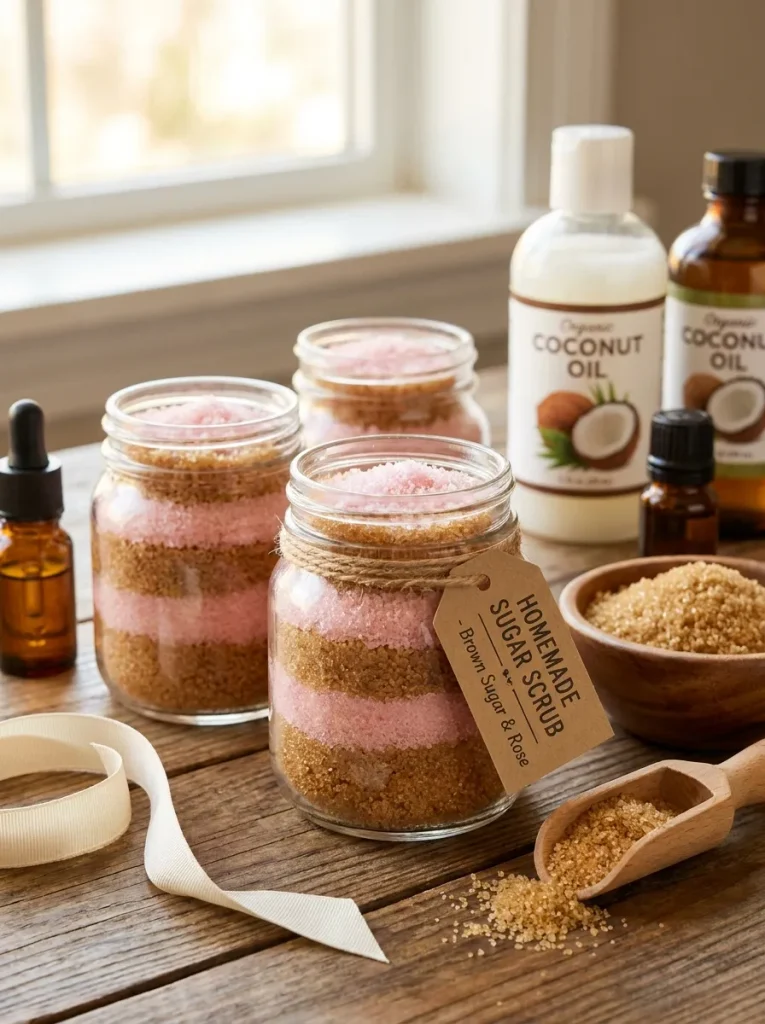
What it looks like: Small glass jars packed with a coarse, oil-based sugar scrub in warm, layered tones part craft, part take-home gift.
Why it works: This is the one project on the list that’s genuinely useful the next morning, which gives the whole night a practical payoff beyond the making itself.
How to copy it: Mix two parts raw sugar to one part melted coconut oil, add ten to fifteen drops of essential oil per half-cup batch, and pack into small glass jars while the mixture is still slightly warm and pourable. Tie a strip of twine and a small handwritten tag around the finished lid.
Best for: Hosts who want the night to double as favors nobody leaves empty-handed. Group a few finished jars together and you’ve basically built one of our handmade gift basket ideas without extra shopping.
How to Start Your Craft Night Ideas Transformation
What I’ve found with real groups is that the first move isn’t buying supplies it’s picking one project everyone can finish in a single sitting, like tote bag painting or wine glass painting. Starting with something that has a built-in stopping point protects the whole night from the classic craft-night trap: half-finished projects nobody wants to pack up and take home unfinished.
In practice, the most common mistake is buying too many different craft kits for one night. Five half-stocked project stations spread everyone’s attention thin and mean nobody actually finishes anything pick one or two projects, buy enough supplies for every guest to make a full one, and stop there.
Three items under $50 that make any craft night better immediately: a roll of butcher paper to protect the table for under $8, a multi-pack of disposable aprons for under $12, and a set of small glass mason jars for holding paintbrushes, beads, or scrap wire for around $10.
A single simple craft night tote bags, photo frames, wine glasses takes about 90 minutes start to finish and costs $6 to $12 per guest in supplies. A more involved night with resin or candle pouring runs closer to two and a half hours and $15 to $20 per guest, mostly because of cure and cooling time built into the schedule.
Ready to Create Your Own Craft Night?
Thirteen ideas is a lot to look at once, so don’t feel like you need color, wax, and resin all in the same week pick the one that matches how much cleanup you’re up for tonight. Start small if you need to; a single tote bag painting session with three friends still counts as a craft night, not a trial run of a bigger one.
Tonight, the easiest first move is texting two friends a date and picking just one project from this list to build the whole evening around. There’s something genuinely grounding about a table full of hands doing something slow on purpose, in a world that mostly asks you to move fast. Save this one before your next planning text goes out you’ll want the supply list handy.