18 Bachelorette Craft Night Themes That Aren’t Cheesy
A bachelorette craft night is just a hands-on evening with your closest people, built around making something you’ll actually keep no sash required. Here are 18 themes that swap dollar-store tiaras and the same tired paint-and-sip setup for projects your bride tribe will genuinely want to display afterward.
There’s a particular kind of quiet that settles over a table full of people working with their hands less performance, more presence. Candlelight, a playlist nobody’s arguing over, wine glasses sweating next to spools of thread and jars of dried petals. It feels less like a “party activity” and more like an evening that happened to include a project. Pick the right one, and nobody spends the drive home wishing they’d just gone to dinner instead.
Jump To
- Why the Right Craft Night Theme Makes Such a Difference
- 18 Bachelorette Craft Night Themes Worth Hosting
- How to Start Planning Your Bachelorette Craft Night
- Ready to Plan Your Bachelorette Craft Night?
Why the Right Craft Night Theme Makes Such a Difference
A good bachelorette craft night theme isn’t about a Pinterest aesthetic it’s about picking one clear activity, with the right materials, that a mixed group of skill levels can actually finish in an evening. Think dried statice and eucalyptus, soy candle wax, natural linen embroidery hoops, unbleached kraft cord materials with texture, not plastic novelty props.
It matters right now because bachelorette parties have quietly moved away from generic “wine and paint” toward experiences guests keep using long after the night ends. Most of these themes work in a small apartment or rental just as well as a backyard; the thing to prioritize first is always the setup, not the decorations.
| Best starting point | Pick one craft and build individual kits, not a shared supply pile |
| Biggest impact area | The craft station — lighting, seating, and pre-portioned materials |
| Budget to start | $15–$40 per guest, depending on materials |
| Time to complete | 2–3 hours for the craft portion of the night |
18 Bachelorette Craft Night Themes Worth Hosting
Most “cheesy” bachelorette crafts fail for one of two reasons: everyone gets the same generic project with zero personalization, or the “easy” activity turns out to need three trips to the craft store nobody planned for.
The themes below fix both problems each one is genuinely doable in one evening, and every guest walks away with something that actually looks like it belongs to them.
1. Flower Crown & Dried Botanical Bar
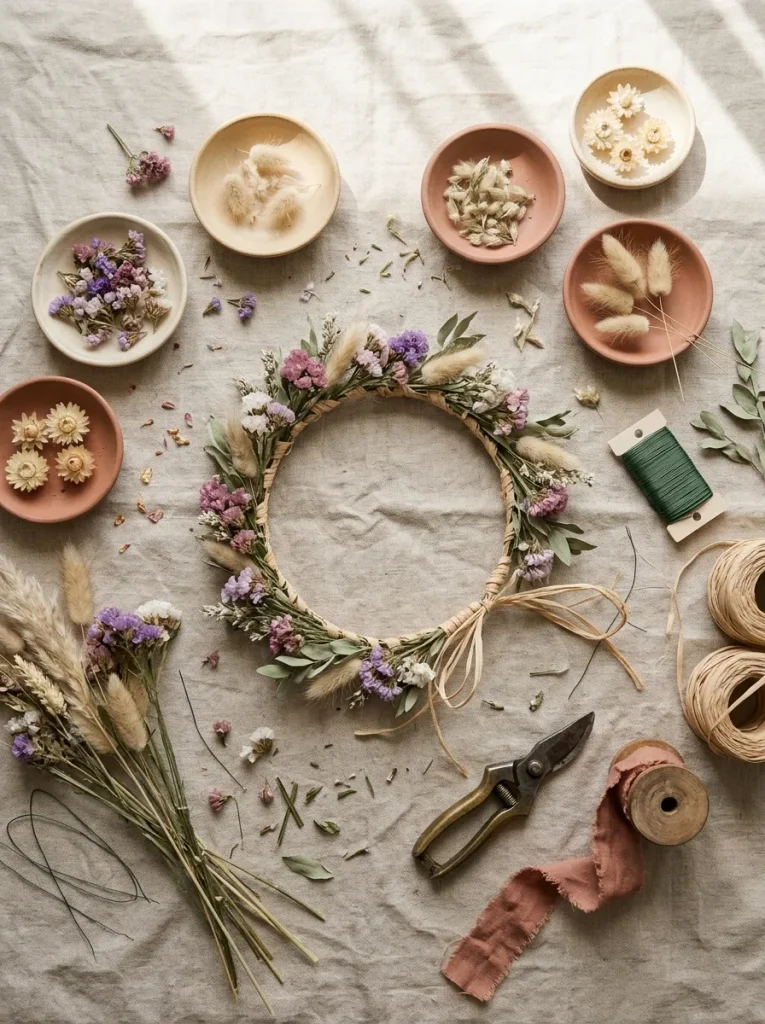
What it looks like: Sun-warmed stems, wire, and ribbon spread across a table like an open florist’s kit.
Why it works: Dried botanicals hold their shape for months, so the finished crown isn’t a wilted afternoon-only prop it’s the design principle of “permanence over performance” that makes the craft feel worth the time.
How to copy it: Pre-cut 18-inch lengths of 22-gauge floral wire per guest and pre-sort stems into small dishes so nobody has to hunt for materials mid-conversation. Wrap the base wire in floral tape before attaching any stems.
Best for: Groups who want a photo-ready moment without anything fragile or edible to manage.
What You’ll Need
| Product |
|---|
| Bulk dried statice and dried baby’s breath bundles |
| 22-gauge floral wire, pre-cut or on a spool |
| Floral tape in green and natural tan |
| Small floral shears, one per two guests |
| Natural raffia ribbon in assorted widths |
One thing most people skip: wire-wrap the stems with floral tape before hot-gluing anything on. Bare wire pokes through hair by the end of the night and undoes an otherwise polished-looking crown.
The next theme trades botanicals for glaze and it’s the one guests keep asking to repeat.
2. Paint-Your-Own Ceramics Night
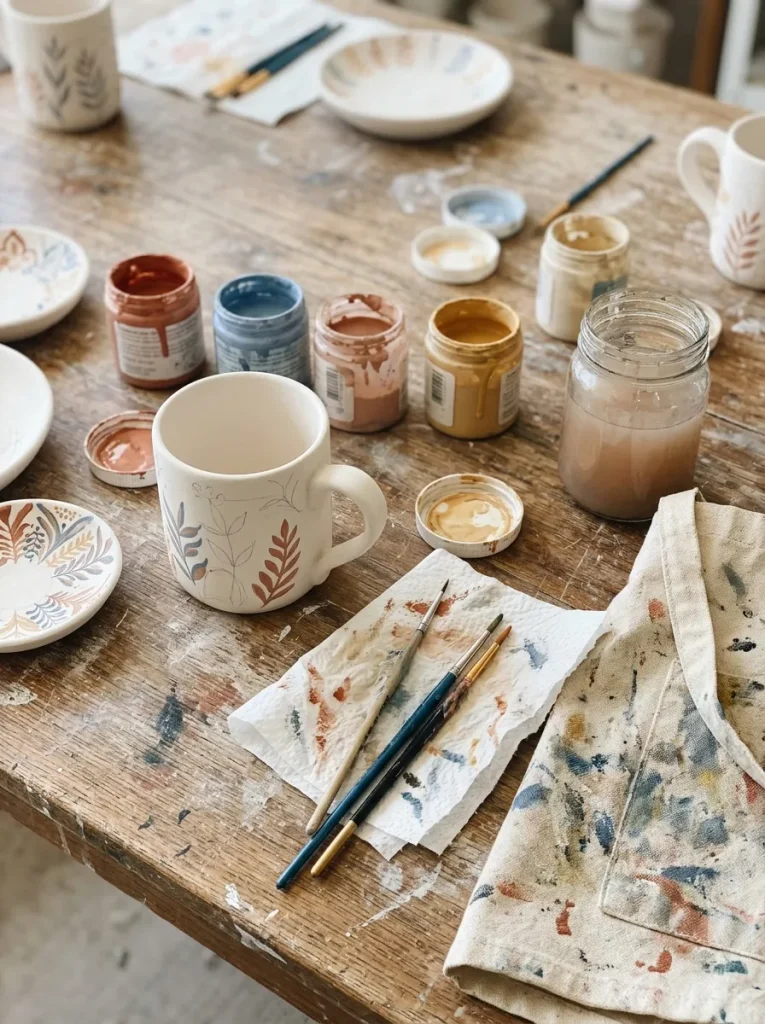
What it looks like: Rows of stark-white bisque pieces slowly gaining color, brush stroke by brush stroke.
Why it works: Underglaze paint dries matte and chalky before firing, which means every guest can see their real design taking shape immediately instant visual feedback keeps low-confidence painters engaged instead of guessing at how it’ll turn out.
How to copy it: Order pre-bisqued mugs or small trinket dishes online instead of booking studio time, and set out painter’s tape so guests can mask off clean stripes or initials before free-handing anything else.
Best for: Groups spread across different craft skill levels who all want a keepsake they’ll actually use.
Budget Version: Skip a pottery studio’s per-piece pricing and order bisque ornaments or mini planters online for $3–6 each; a set of underglaze paint pens replaces the studio’s glaze bar for under $20 total.
3. Candle Pouring Bar
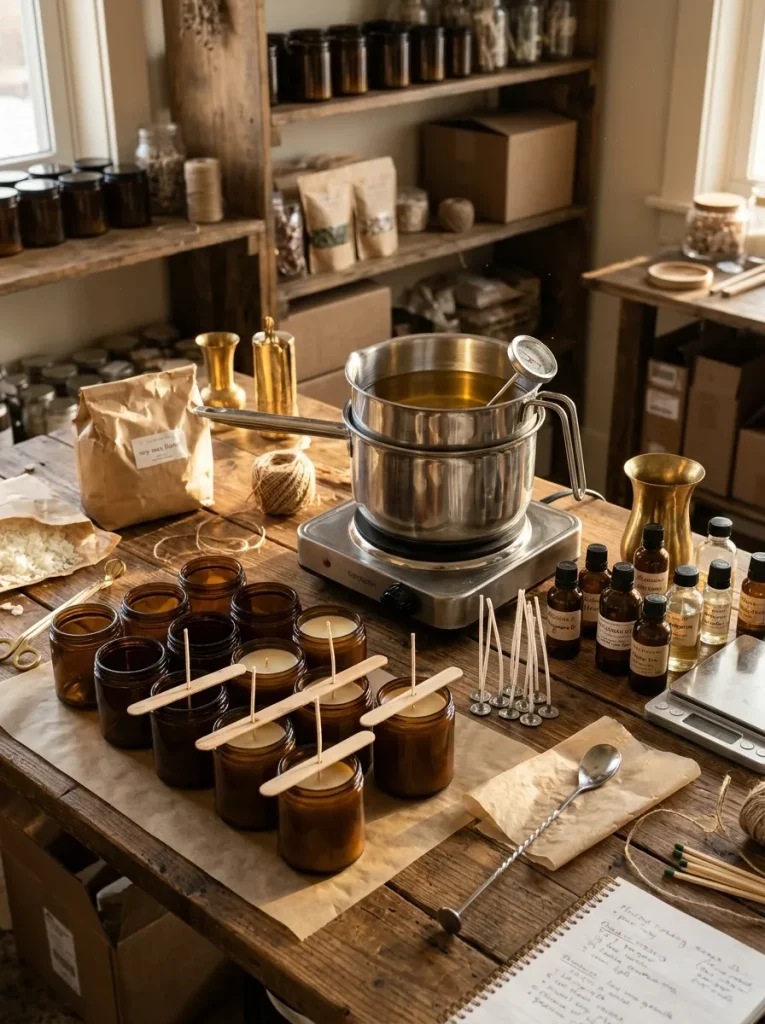
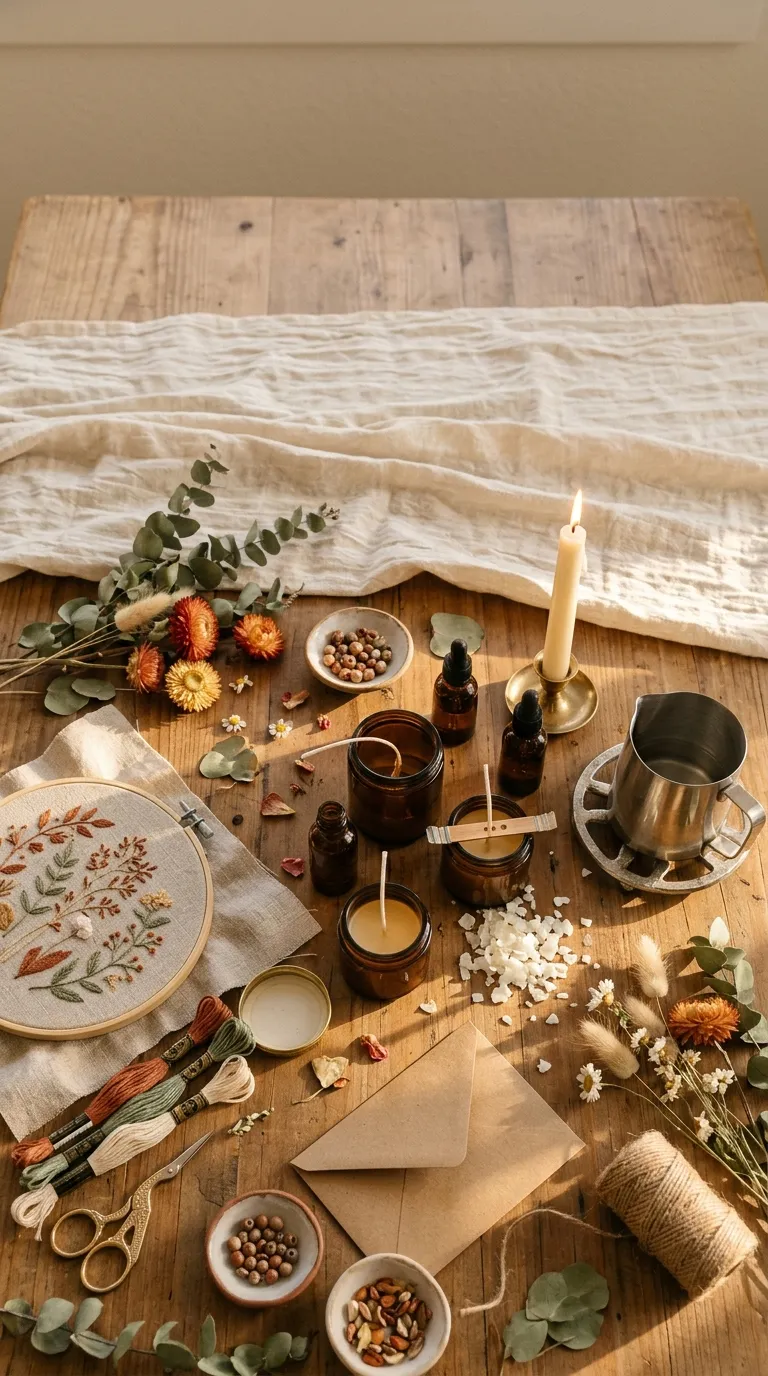
What it looks like: Amber jars catching golden light while wax cools from liquid to matte.
Why it works: Soy wax has a narrow pour-temperature window, and hitting it is the entire design principle behind a clean, crack-free candle the craft rewards precision, which gives people something concrete to focus on together.
How to copy it: Melt soy flakes in a dedicated pouring pitcher, not a shared pot, so each guest controls their own fragrance ratio without waiting on a communal station.
Best for: Groups who want a scent-forward keepsake and don’t mind a little supervised heat.
What You’ll Need
| Product |
|---|
| Natural soy candle wax flakes, sold in bulk |
| Cotton wicks, pre-tabbed and centered |
| Fragrance oil sample sets in varied scents |
| Amber or clear glass candle vessels |
| A candy thermometer for each pouring station |
Candle Pouring Night Setup:
- [ ] Melt soy wax flakes to 185°F in a double boiler
- [ ] Stir in fragrance oil at roughly 1 ounce per pound once wax cools to 165°F
- [ ] Center the wick and pour wax into each vessel between 135–145°F
- [ ] Let candles cure undisturbed for at least 24 hours before guests take them home
Up next: a printing technique that turns one tote bag into eight completely different designs.
4. Tote Bag Block Printing Station
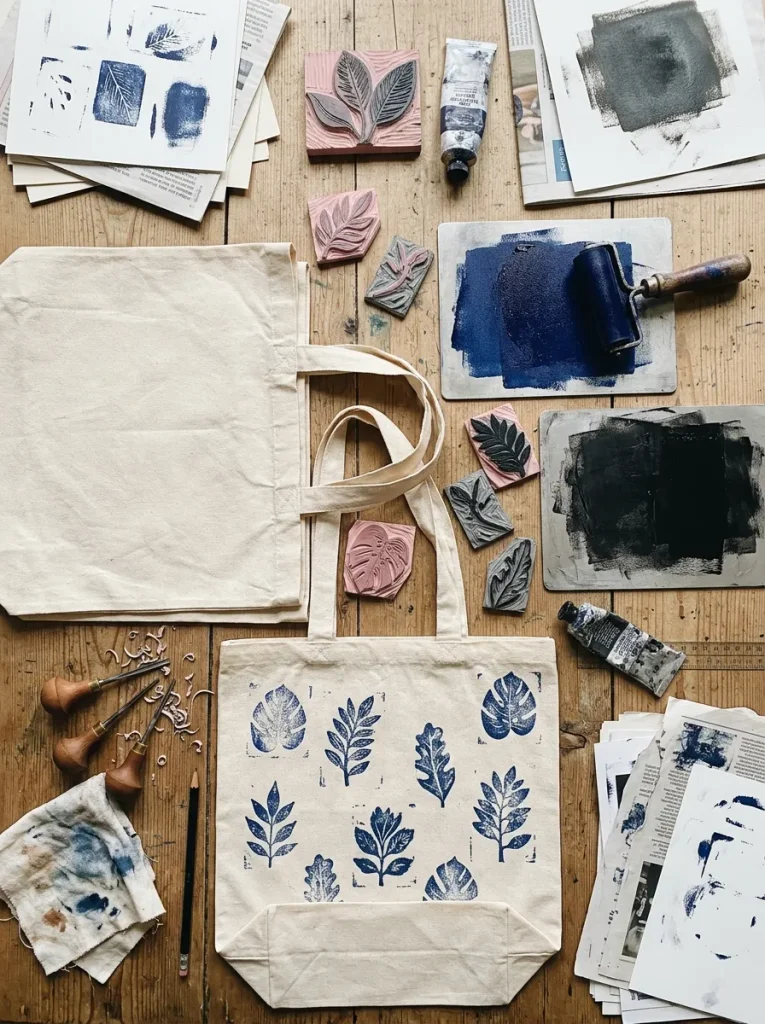
What it looks like: Blank canvas totes lined up like a printmaker’s proofing table, mid-stamp.
Why it works: Repetition is the design principle doing the work here printing the same stamp two or three times across a bag creates a pattern instead of a single lonely graphic, which reads as intentional rather than accidental.
How to copy it: Set up two ink trays per station so guests can layer two colors without cross-contaminating the pads, and always test-stamp on scrap paper before the first press on fabric.
Best for: Larger groups, since block printing scales easily with more stations.
Quick Win: Pre-carved rubber stamp blocks not hand-carved ones let non-crafty guests get a clean print on their first try. Save hand-carving for the bride if she wants one fully custom design.
5. Custom Cocktail Glass Etching Bar
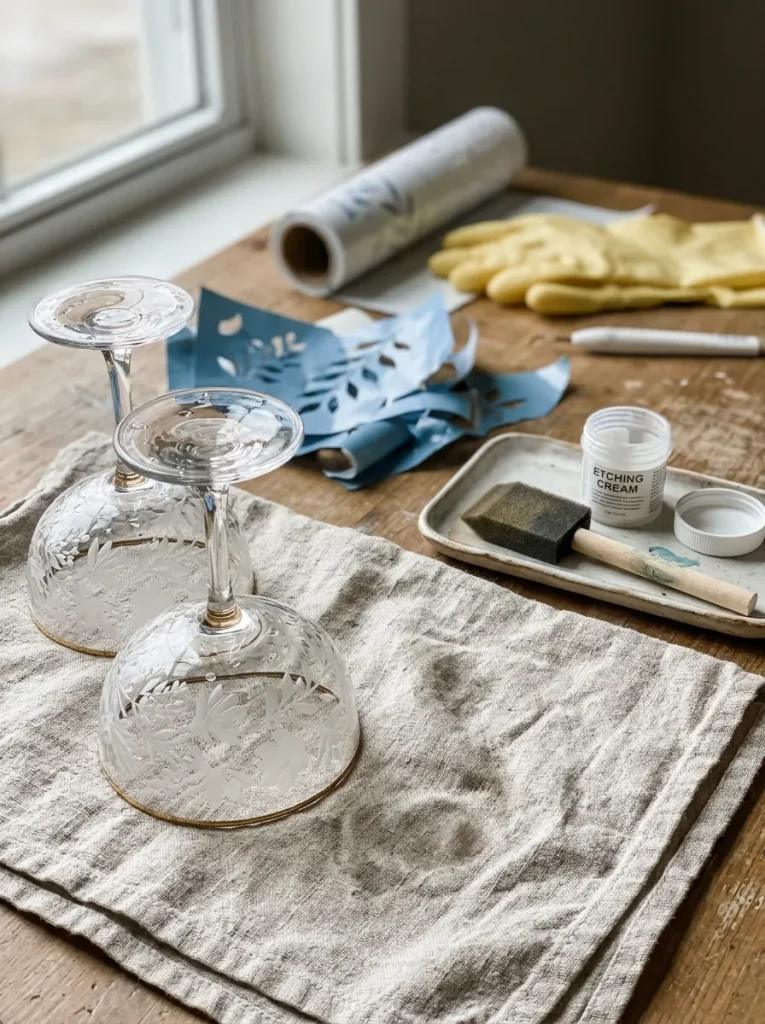
What it looks like: Clear glass turning permanently frosted wherever the stencil let the cream through.
Why it works: Negative space is the whole trick the stencil protects everything except the design, so the contrast between frosted and clear glass does all the visual work without a single brushstroke of paint.
How to copy it: Cut initials or simple shapes from adhesive vinyl on a cutting machine ahead of time, and press the stencil edges down firmly with a credit card before applying any cream. Handmade gift ideas that lean into personalized drinkware and keepsakes tend to hold up better as favors than anything edible.
Best for: Guests who want an elegant favor without touching a hot glue gun.
Warning: Etching cream is genuinely caustic it needs gloves, ventilation, and roughly 3–5 minutes of contact time per manufacturer instructions. Skipping gloves or rushing the timing either burns skin or leaves a patchy, half-etched design.
6. Modern Embroidery Hoop Night
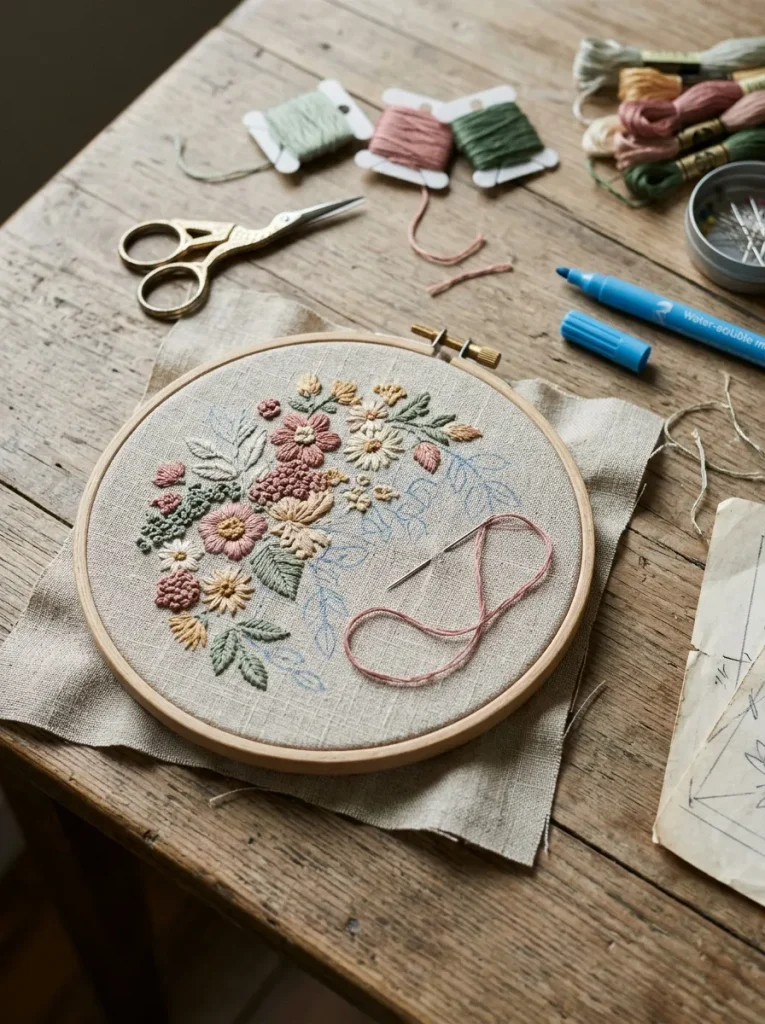
What it looks like: Loose linen pulled taut in a wooden hoop, thread building a shape one stitch at a time.
Why it works: Repetitive hand-stitching is genuinely calming for a group that’s been on their feet or drinking the design principle is pacing, and embroidery is one of the few crafts that naturally slows a room down instead of speeding it up.
How to copy it: Use water-soluble marking pens to pre-trace a simple design onto linen before the party, so guests are filling in outlines instead of freehanding shapes. For extra texture-focused inspiration, the modern take on hoop and fiber wall art covers finishing and display techniques worth borrowing.
Best for: A slower-paced night, or groups who want conversation more than chaos.
Pro Tip: Pre-trace each guest’s design onto the fabric in water-soluble pen before the party nobody wants to freehand a floral outline after their second glass of rosé.
What You’ll Need
| Product |
|---|
| Natural linen fabric, pre-cut into hoop-sized squares |
| Wooden embroidery hoops, 6-inch |
| Embroidery floss in a curated color set |
| Water-soluble fabric marking pens |
| Small embroidery scissors |
7. Silk Scarf Shibori Dyeing Bar
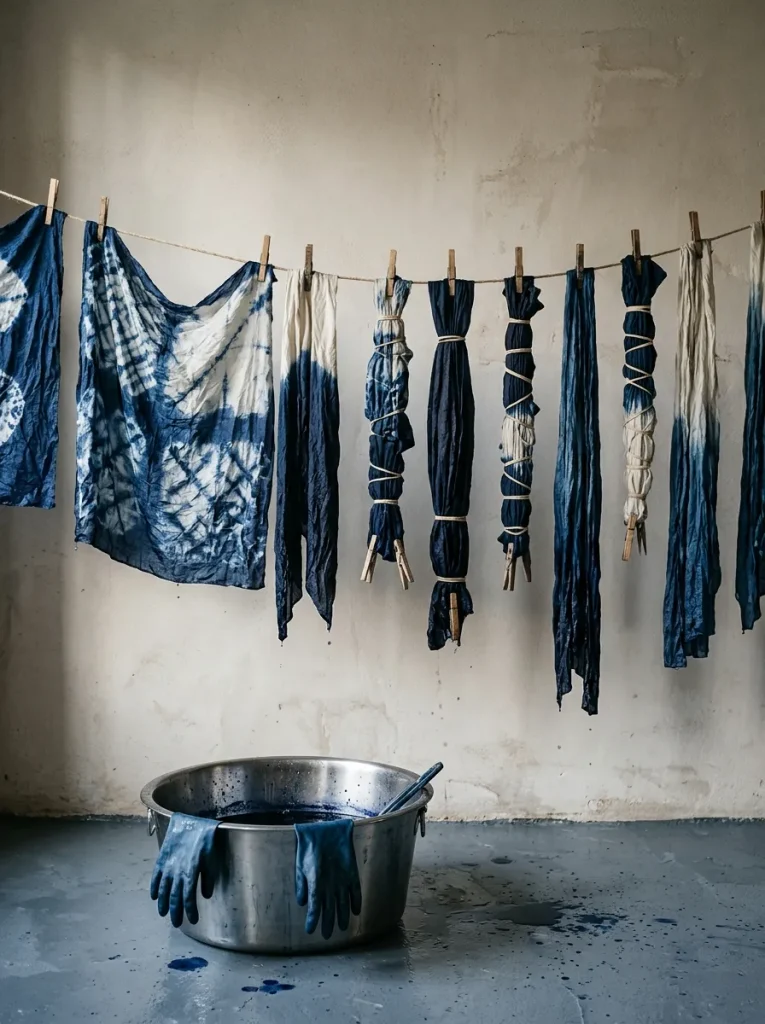
What it looks like: Plain white silk emerging from a folded, rubber-banded bundle in deep, uneven indigo.
Why it works: The unpredictability is the point every fold and rubber band placement resists dye differently, so no two scarves come out the same, which is exactly the kind of one-off result a Pinterest tutorial can’t fake.
How to copy it: Fold silk in an accordion pattern, then bind sections tightly with rubber bands before dipping the tighter the bind, the crisper the resist line where the dye can’t reach.
Best for: Guests who want a wearable souvenir, not just a home decor object.
Mistake to Avoid: Skipping gloves is the most common regret indigo dye stains skin for days, not hours. Set out a $6 box of nitrile gloves and a towel reserved only for dye-covered hands.
This next one surprised even seasoned crafters the first time they tried it the cord matters more than the knot.
8. Perfume & Fragrance Blending Bar
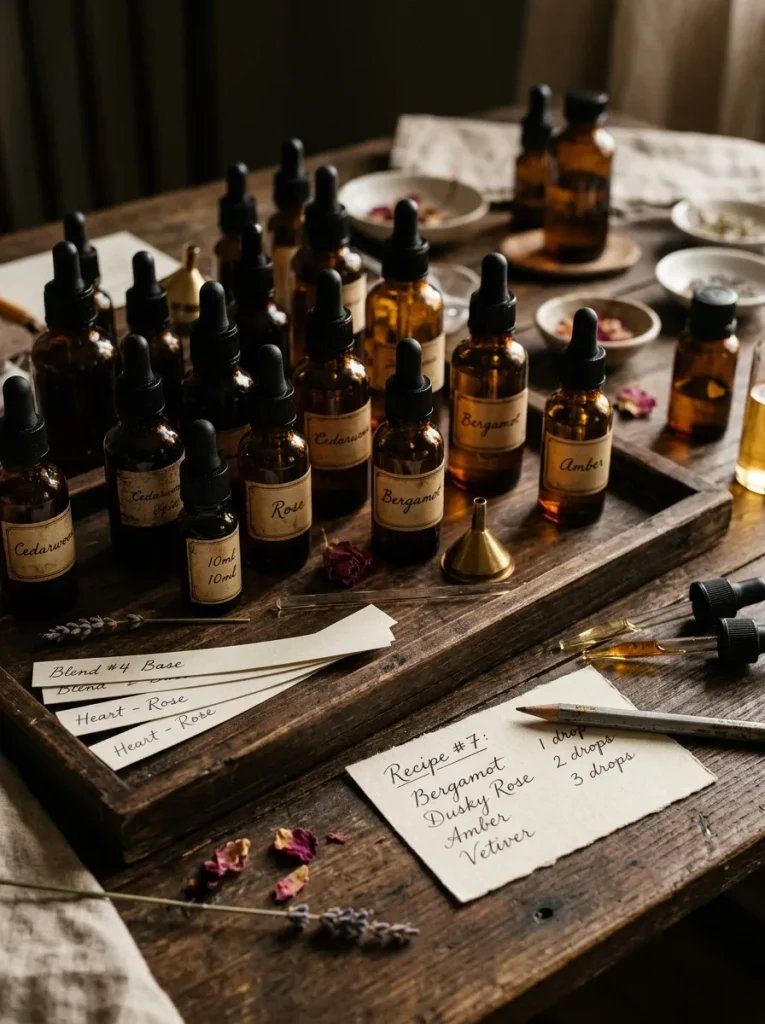
What it looks like: Rows of amber dropper bottles under low lamp light, more apothecary counter than craft table.
Why it works: Scent layering follows a real design principle top, middle, and base notes so giving guests that structure instead of “mix whatever smells nice” turns a vague activity into one with an actual skill to learn.
How to copy it: Pre-portion three or four oils into labeled dropper bottles per “note” category, so guests build a blend from one top, one middle, and one base note instead of guessing at ratios.
Best for: A quieter, lower-mess alternative to anything involving wax or paint.
Styling Note: Set out blotter strips instead of asking guests to smell straight from the bottle noses fatigue fast, and blotters let each person compare three blends side by side before committing.
9. Custom Denim Jacket Patch Bar
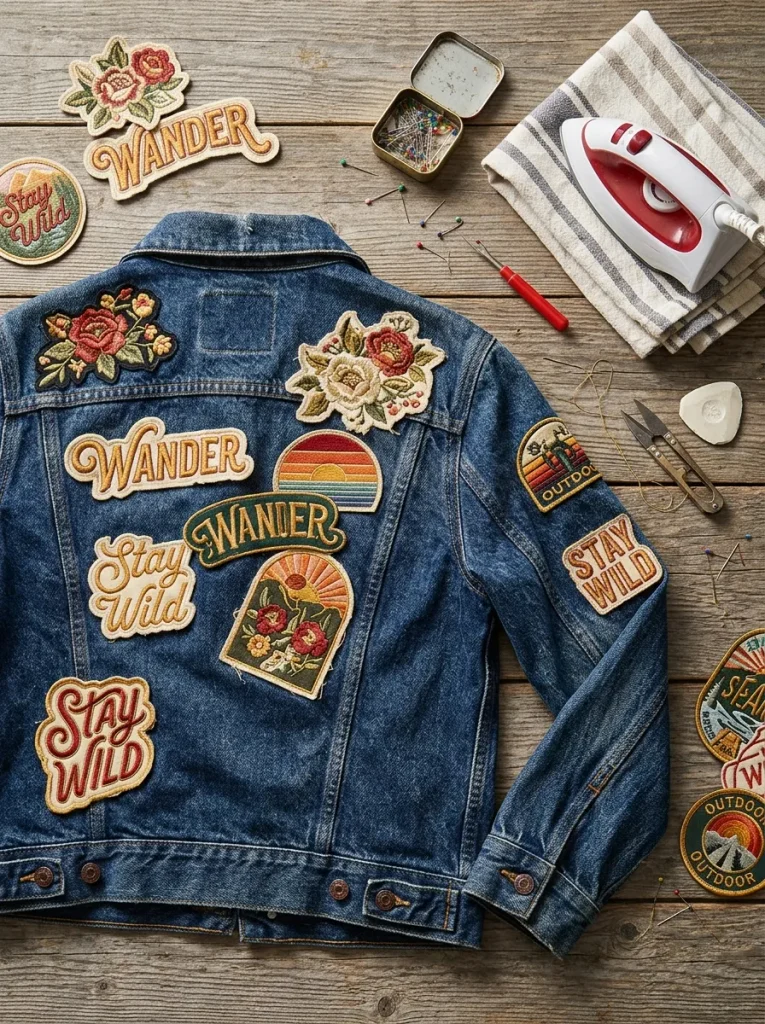
What it looks like: A worn denim jacket becoming a personal mood board, one patch at a time.
Why it works: Visual weight is the principle at play clustering three or four patches in one zone reads as a deliberate design choice, where scattering single patches across the whole jacket just looks unfinished.
How to copy it: Have guests arrange and pin all their patches with straight pins first, try the jacket on, then iron repositioning after ironing means peeling off half-melted adhesive. Button and notion-based crafts pair naturally here, and button crafts built for adult skill levels covers similar embellishment techniques worth mixing in.
Best for: Guests who already own or want to thrift a plain jacket as a canvas.
Warning: Fusible patches need a hot, dry iron and 30-plus seconds of steady pressure per side a cool iron or a rushed five-second press means the patch peels off in the wash within a week. Test one patch on scrap denim before the party starts.
What You’ll Need
| Product |
|---|
| Plain denim jackets, one per guest |
| Embroidered iron-on patches, assorted designs |
| A travel iron and a pressing cloth |
| Straight pins for pre-placement |
| A seam ripper for adjustments |
10. Friendship Bracelet Bar, Elevated
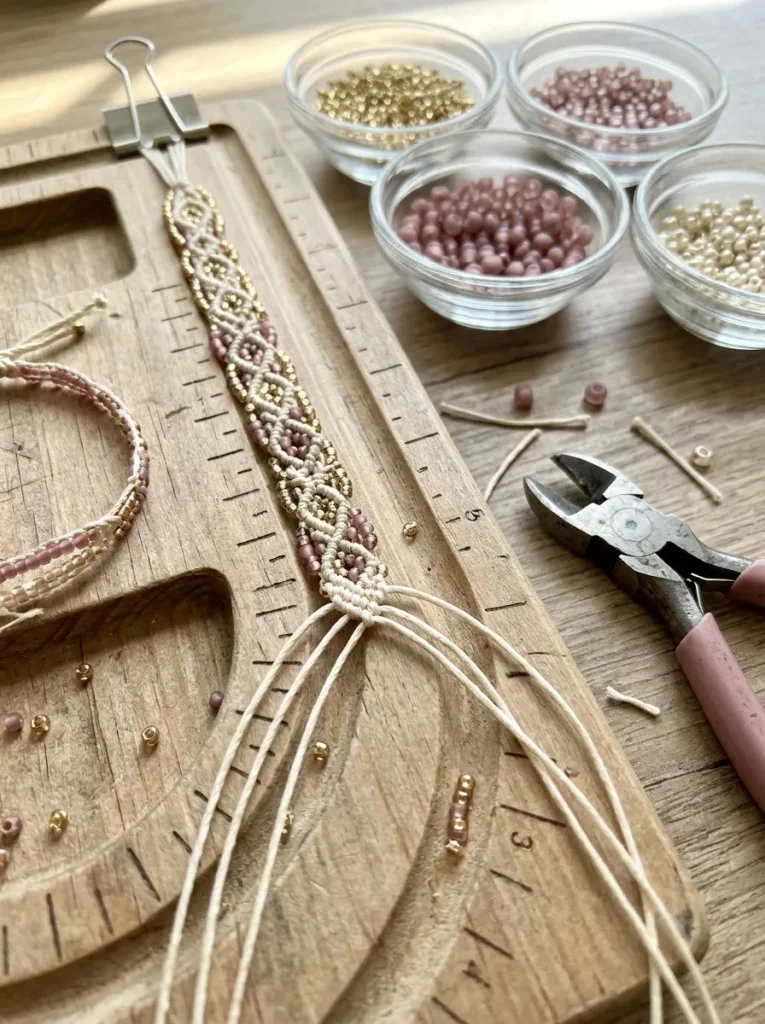
What it looks like: Neat rows of sorted beads waiting to become something a lot more polished than camp-craft bracelets.
Why it works: Swapping plastic pony beads for gold-tone metal and waxed cord changes the entire material story same basic knotting technique, but the finished piece reads as jewelry instead of a kids’ activity.
How to copy it: Use a bead board with a printed length guide so bracelets come out sized correctly the first time, instead of guessing and re-stringing.
Best for: Guests who want something they’ll actually wear the next morning. Handmade favors in this category overlap nicely with broader handmade gift ideas for the whole bridal party.
Budget Version: Swap gold-filled findings for gold-tone brass ones visually near-identical from a few feet away and roughly a third of the cost per guest.
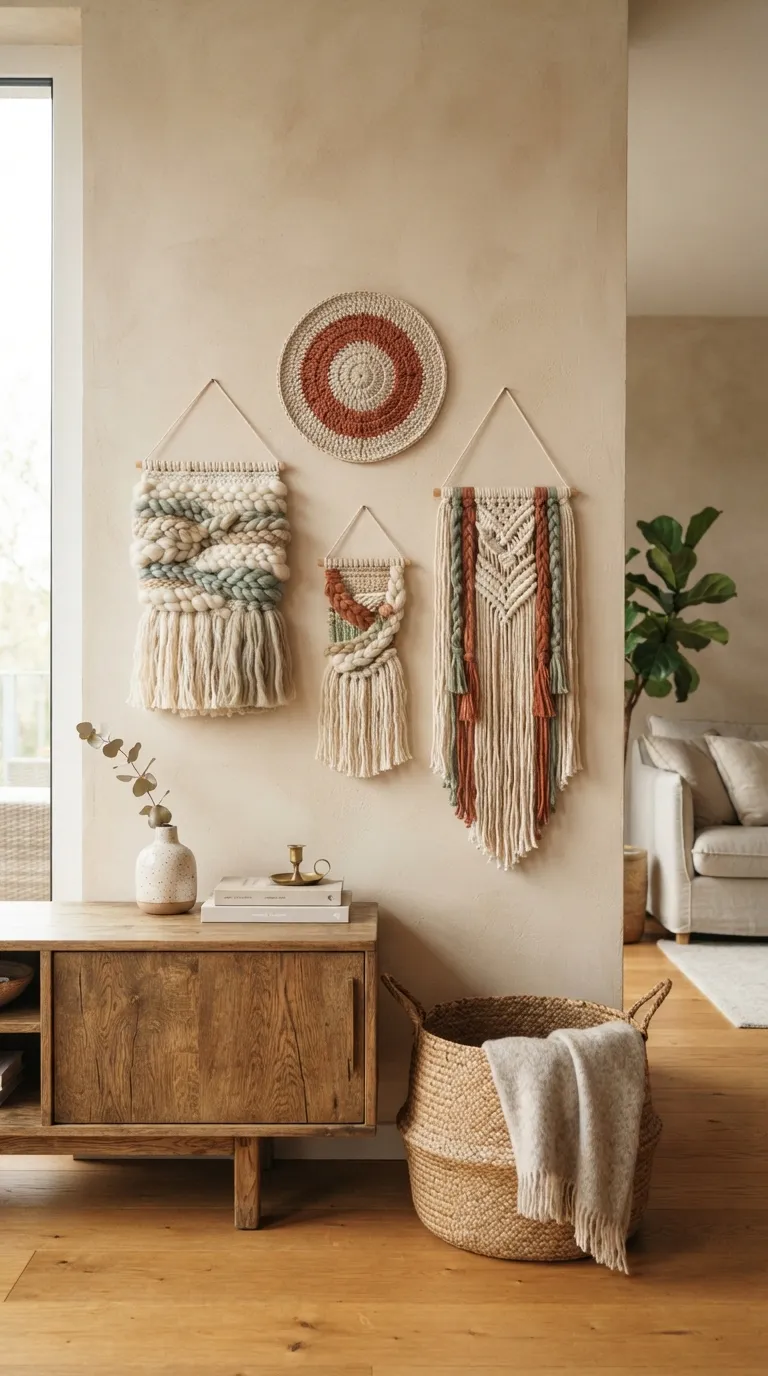
11. Macramé Plant Hanger Bar
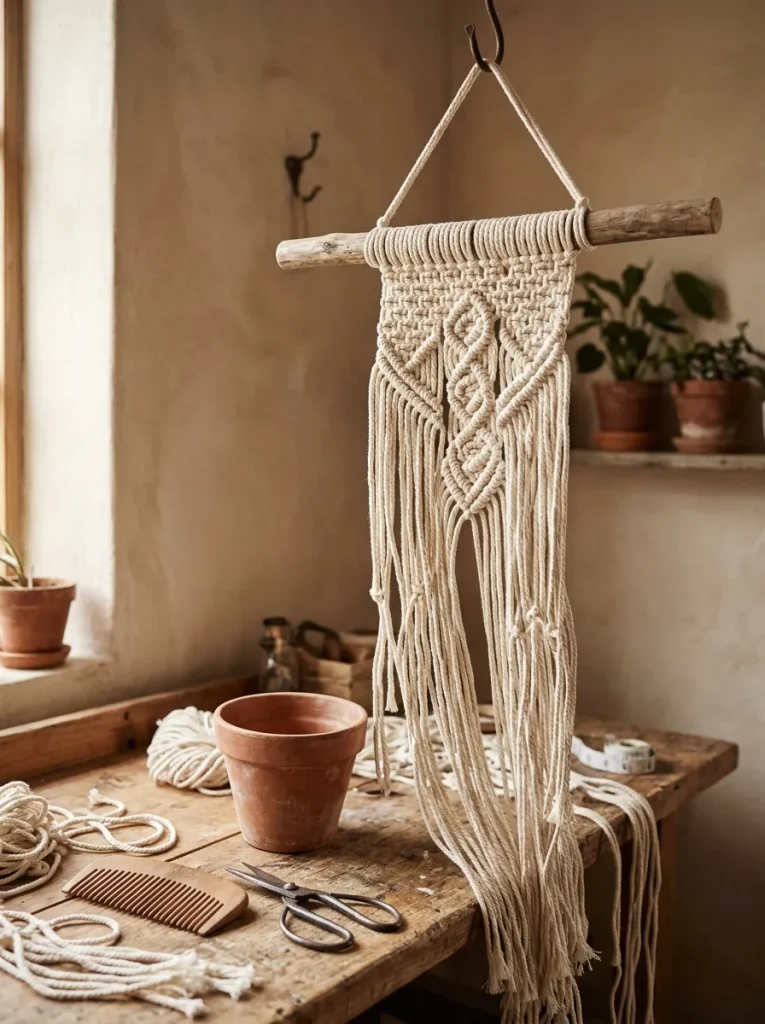
What it looks like: Thick cotton cord building a chunky, textured knot pattern from ceiling hook to pot.
Why it works: Texture layering is the design principle the raw, nubby cord and visible knots are the whole aesthetic, so this is one of the few crafts where a slightly imperfect knot still looks intentional.
How to copy it: Cut cord to at least four times the finished hanger’s length before starting; running short mid-knot is the single most common macramé mistake at group events. Plant hanger projects like this pair naturally with the modern succulent planter ideas guide for pot and plant pairings after the knotting is done.
Best for: Guests who want a functional home decor piece, not just a keepsake.
Mistake to Avoid: Using cord under 4mm makes the knots look flimsy no matter how well they’re tied. Stick with 5mm single-strand cotton cord for a hanger that reads finished, not frayed.
Next up is the theme that quietly steals the show at almost every reveal.
12. Custom Tarot Card Painting Night
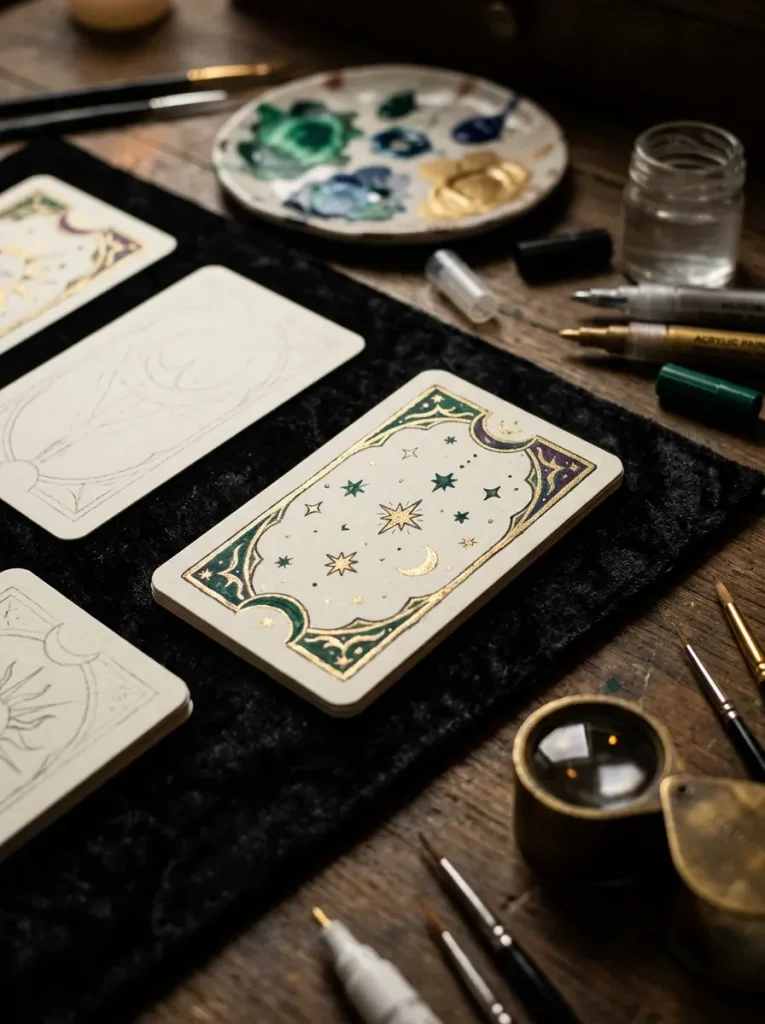
What it looks like: Blank ivory cards slowly filling with tiny, jewel-toned symbols under low light.
Why it works: Scale contrast does the heavy lifting a small card format forces simple, bold shapes instead of overly detailed illustrations, which is exactly why beginners can produce something that looks finished.
How to copy it: Give each guest one blank card and one specific symbol to design rather than a full 78-card deck combine everyone’s cards into a single custom deck for the bride at the end of the night.
Best for: Groups who lean more artistic and want a genuinely one-of-a-kind gift for the bride.
Important: Most people assume acrylic paint pens dry instantly. Metallic gold especially needs a full 10–15 minutes before a second layer, or the colors muddy together plan for a drying rack, not a race.
13. Photo Zine & Scrapbook Station
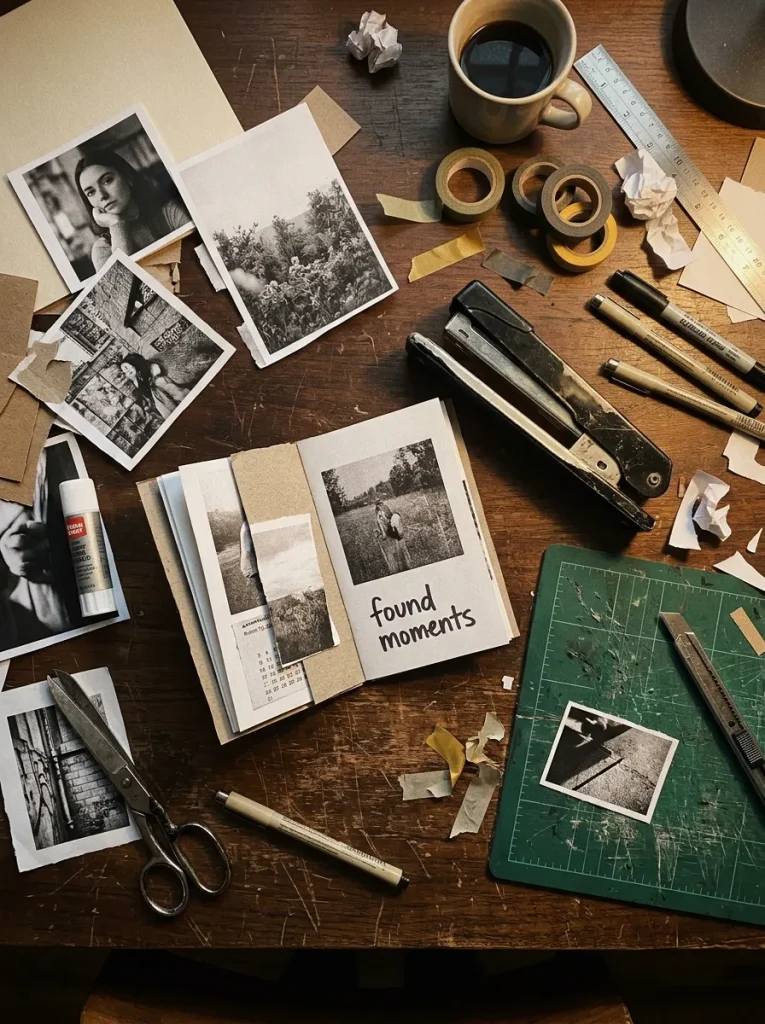
What it looks like: A pile of printed photos slowly folding into a small, stapled keepsake booklet.
Why it works: Consistency is the trick here printing every photo in the same warm-toned black and white unifies snapshots from a dozen different phone cameras into something that reads as one cohesive object.
How to copy it: Fold and score cardstock covers ahead of time so guests are only responsible for arranging photos and captions, not fighting with a paper cutter. The same paper-based approach shows up in book-page crafts designed to look far pricier than they are, which are worth browsing for cover ideas.
Best for: Groups with a long shared history and plenty of old photos to work with.
Quick Win: Pre-print photos in a warm-tone black and white instead of full color it unifies snapshots from a dozen different phones into one cohesive-looking zine.
What You’ll Need
| Product |
|---|
| Photo printer paper, matte finish |
| A long-arm or heavy-duty stapler |
| Assorted washi tape in muted tones |
| Cardstock in a neutral color for covers |
| Fine-tip permanent markers |
In my experience, the theme that flops isn’t the ambitious one — it’s the “easy” one with too many small parts. A 12-guest candle pouring bar with only two wax melters turns into a 40-minute bottleneck while everyone waits their turn. Budget one melting station per four guests, not one per table, or build in a second parallel activity so nobody’s just standing around.
14. Wine Glass Calligraphy Bar
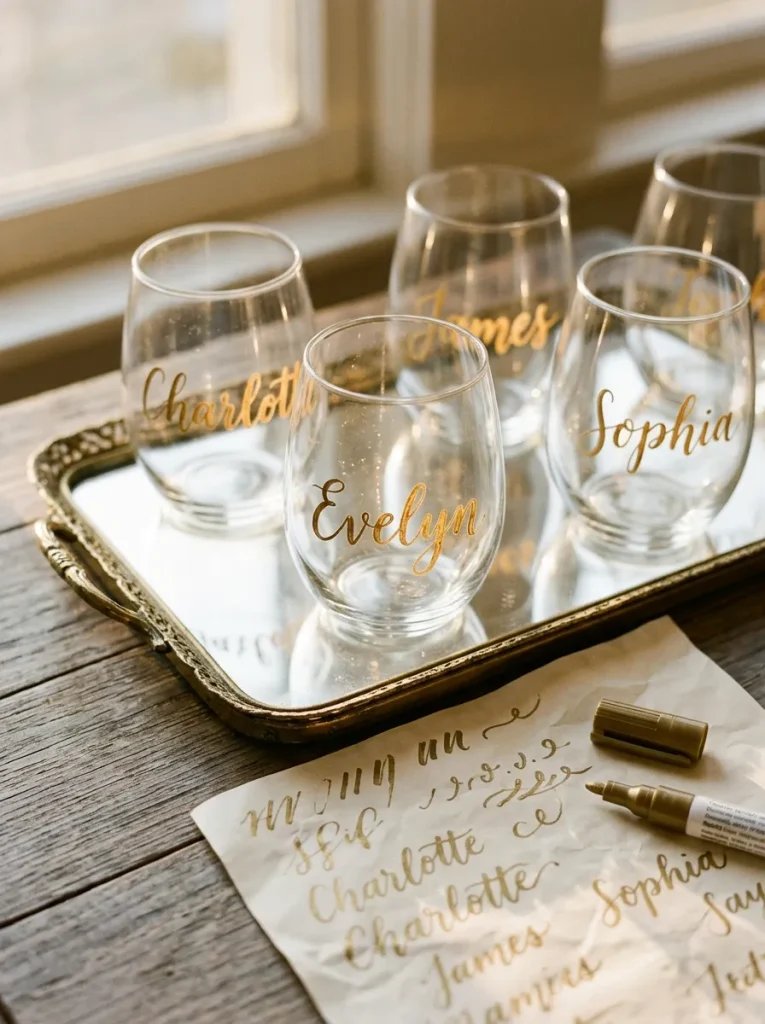
What it looks like: Names and small phrases curving across stemless glass in a clean, confident script.
Why it works: Consistency in stroke weight is the actual design principle behind good hand-lettering a porcelain paint pen with a fixed tip removes the pressure-control skill calligraphy normally requires, so beginners can still get a clean line.
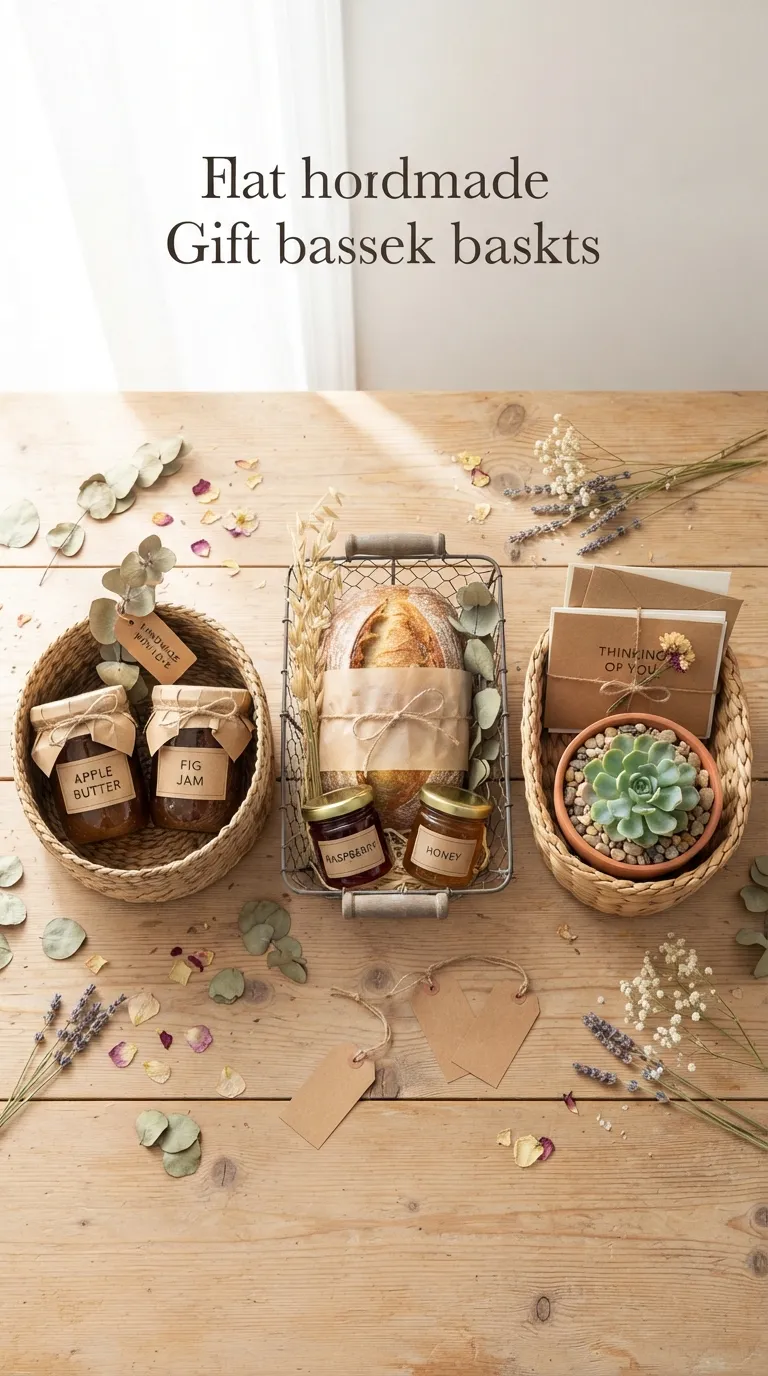
How to copy it: Set up a laminated practice sheet with the exact letterforms guests will use, so they warm up on paper before committing paint to glass. Personalized drinkware favors like these pair well with gift basket ideas built around handmade pieces if you’re sending guests home with more than one item.
Best for: Guests who want a functional, everyday item rather than a display piece.
Styling Note: Group the finished glasses on a mirrored tray in the center of the table as they’re completed it becomes a mini display that doubles as the night’s centerpiece.
15. Personalized Robe Embroidery Station
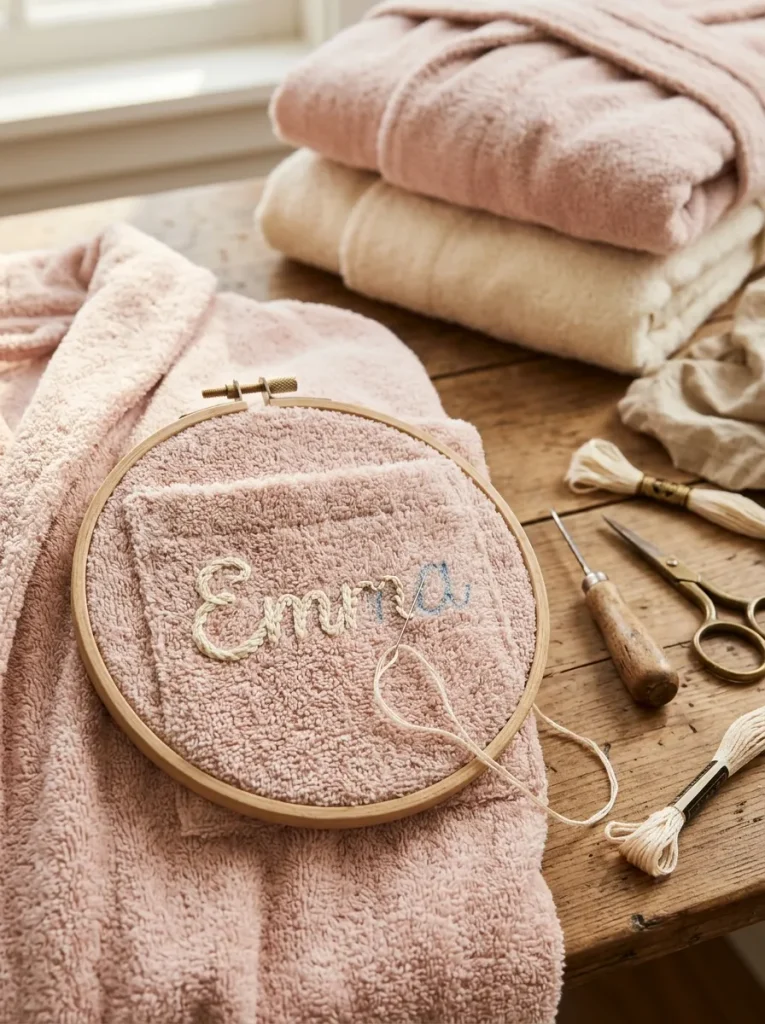
What it looks like: A plain terry robe slowly gaining a name in simple, slightly uneven hand stitching.
Why it works: Imperfection is genuinely part of the charm here unlike a printed monogram, visibly hand-stitched lettering signals it was made by a specific person that night, which is the entire point of a bachelorette keepsake.
How to copy it: Stick to a short first name or single initial rather than a full name terry cloth is thick and slow to stitch through, and long words eat up the whole evening for one guest.
Best for: A slower theme that pairs well as a second activity alongside something faster-paced.
Pro Tip: Pre-punch the stitch holes with an awl on thick terry cloth robes hand-pushing a needle through robe fabric for 12 guests will wreck wrists and patience fast.
16. Leather Coaster Stamping Bar
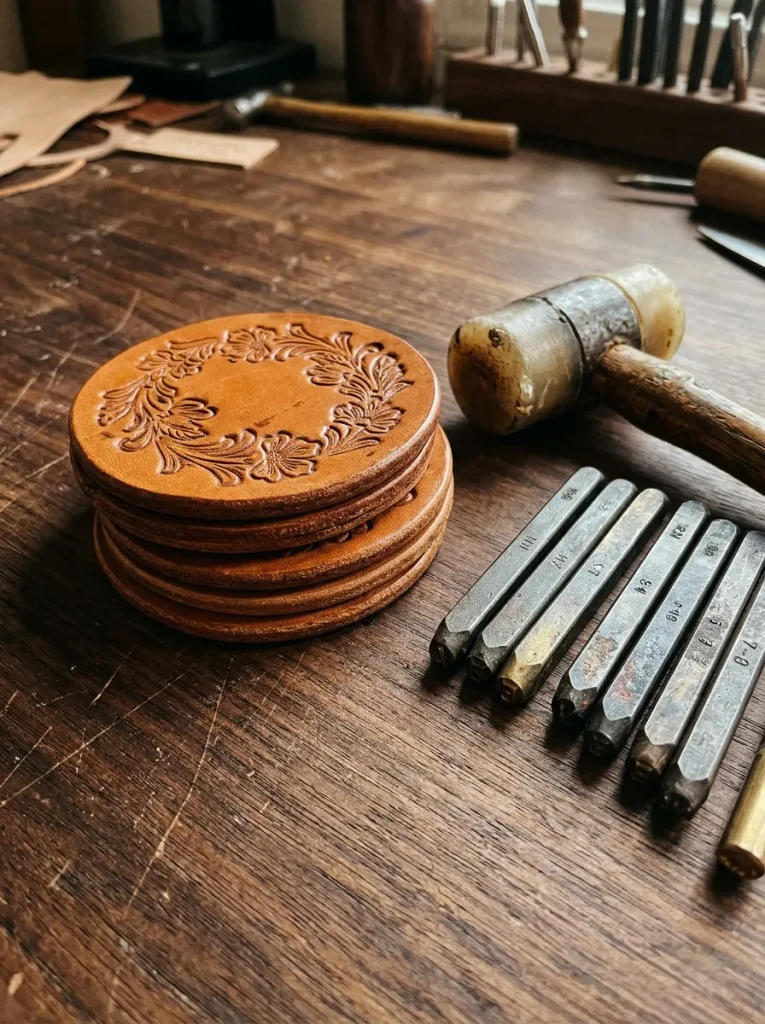
What it looks like: Blank tan leather rounds taking on a deep, pressed design with each mallet strike.
Why it works: Pressure and repetition create the entire visual effect leather stamping doesn’t require drawing skill, just consistent mallet force, which makes it one of the most forgiving crafts on this list for people who insist they’re “not creative.”
How to copy it: Dampen the leather with a barely-wet sponge before stamping dry leather doesn’t hold an impression nearly as crisply, and over-wet leather darkens unevenly.
Best for: Guests who want something rustic and low-fuss with a genuinely professional-looking result.
Budget Version: Pre-cut veg-tan leather blanks run about $2 each in bulk online, versus $8–10 individually at craft stores buy a 25-pack even for a group of a dozen.
17. Air-Dry Clay Trinket Dish Bar
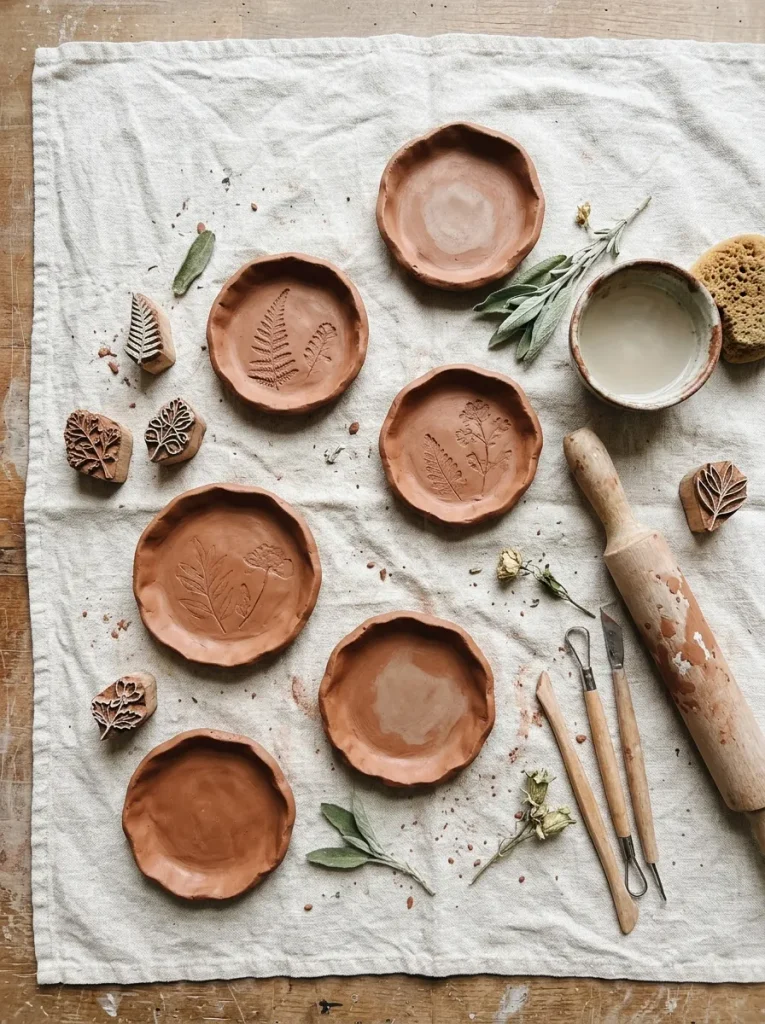
What it looks like: Soft slabs of clay being pinched and pressed into shallow, slightly irregular dishes.
Why it works: Negative space and asymmetry are the whole design language of a good trinket dish a slightly uneven edge reads as handmade charm rather than a flaw, which lowers the pressure for anyone worried about precision.
How to copy it: Roll clay to a consistent quarter-inch thickness with guide sticks on either side of the rolling pin, so every dish dries and cures at the same rate without cracking.
Best for: A relaxed, low-mess activity that works well earlier in the evening before drinks pick up.
Quick Win: Press dried flowers or a house key into the wet clay for texture instead of freehand carving it’s foolproof and still looks intentional.
18. Terrarium Building Bar
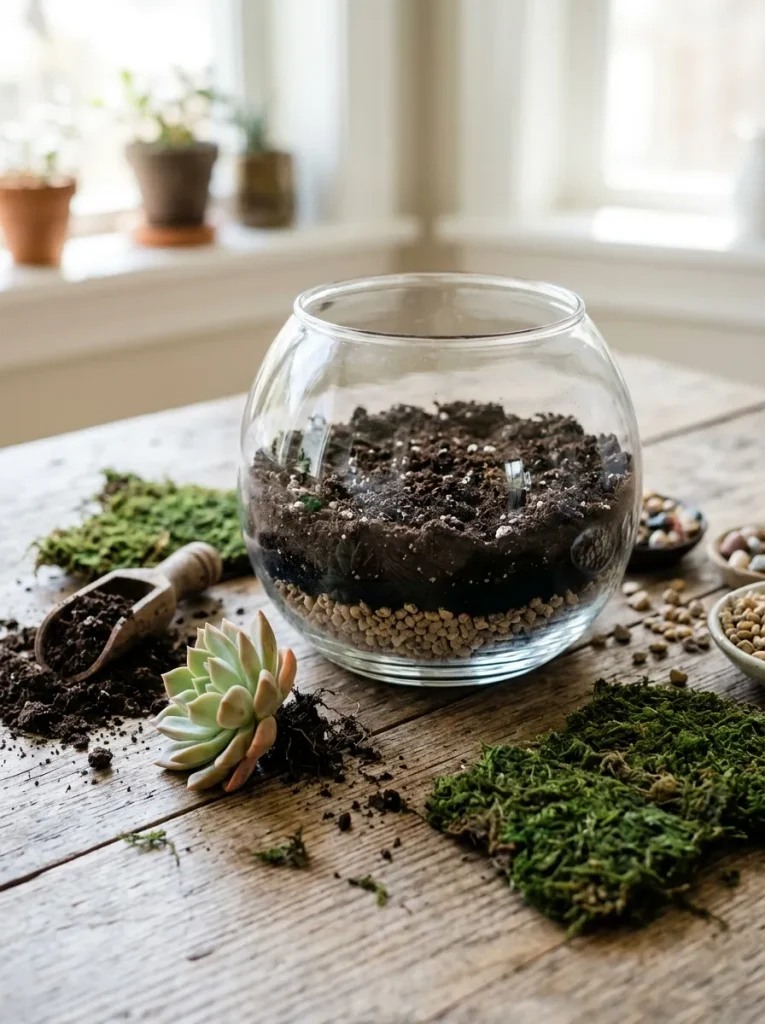
What it looks like: Clear layers of gravel, charcoal, and soil building up inside glass like a tiny landscape.
Why it works: Layering by function, not just looks, is the actual design principle drainage at the bottom, charcoal to filter, soil on top which means the terrarium stays healthy long after the party, not just photogenic for one night.
How to copy it: Use vessels no smaller than 4 inches wide; anything narrower makes layering and planting nearly impossible without knocking soil everywhere.
Best for: Small apartments and rentals this needs the least table space of any theme here, and the finished piece works on even the tiniest windowsill.
Important: Most beginners assume any glass vessel works, but a sealed jar without drainage rock at the bottom will rot succulent roots within two weeks. A half-inch layer of pea gravel under the soil is non-negotiable.
How to Start Planning Your Bachelorette Craft Night
What I’ve found with real bachelorette groups is that picking one craft and buying its base material in bulk a five-pound block of soy wax, or a 20-pack of blank embroidery hoops sets the pace for the entire night more than any decoration choice does. That single decision determines the budget, the table setup, and how long the craft portion actually runs.
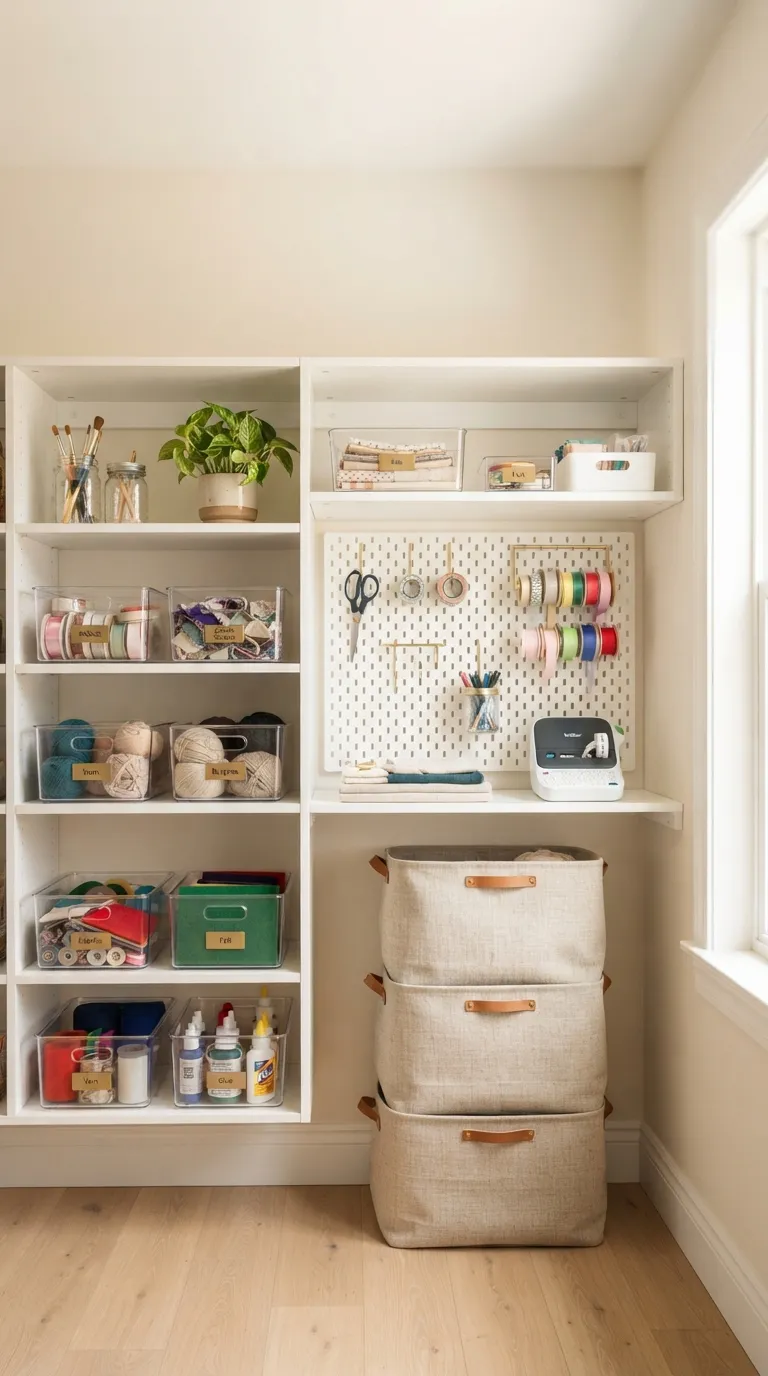
The most common beginner mistake is setting out one shared pile of supplies instead of pre-portioned individual kits. A communal bead bowl or one shared tube of glue turns a relaxed activity into a slow-moving line, and it’s the single easiest thing to fix bag or box each guest’s materials before anyone arrives.
Three items under $50 that make almost any theme look more finished: battery-powered tea lights, a 24-pack runs about $12; a roll of natural kraft paper for a table runner, around $9; and a set of a dozen small glass jars for rinse water or scrap storage, roughly $14.
A full setup typically takes a weekend to source materials, with the craft portion itself running 2–3 hours the night of. Budget starts around $15 per guest for a simple theme like friendship bracelets, and climbs toward $40–45 per guest for anything involving glass, wax, or leather.
Ready to Plan Your Bachelorette Craft Night?
Between the botanicals, the wax, the linen, and the clay, these 18 themes cover a lot more ground than a single generic “craft station” ever could. Nobody needs to pull off all eighteen pick the one that matches your group’s energy and let it be genuinely good instead of trying to cram in three half-finished projects.
If you’re not sure where to start, order the base materials for just one theme this week and build the rest of the evening around it. There’s something specific about handing someone a finished piece they made themselves, at a table full of people who love them, that a rented photo booth just can’t replicate. Save your favorite theme now future-you, three weeks out from the wedding, will be very glad the planning is already done.
Keep Exploring
- 27 Craft Night Ideas for Ladies Who Want More Than Wine and Painting
- 15 Halloween Craft Night Ideas That Feel Elevated, Not Kitschy
- 20 Bachelorette Party Decor Ideas That Don’t Scream “Bride Tribe”